Love this? Save it for later!
Share the inspiration with your friends
“I don’t eat those pre-made sandwich things,” my roommate had insisted for years. Then one random Saturday afternoon, I was half-heartedly assembling an Easy Homemade Uncrustables Peanut Butter & Jelly Sandwich just for myself, and I caught her sneaking a bite—and then another. Honestly, I was expecting a polite grimace or a quick “no thanks,” but instead, there she was, quietly enjoying it like it was some secret treat. Let me tell you, that moment changed the snack game in our apartment forever.
She’d always been skeptical of anything that felt too “packaged,” but the way these homemade Uncrustables came together—soft bread, exactly the right amount of peanut butter and jelly, and that neat little sealed edge—made the difference. Maybe it was the fact that I forgot to buy the usual crustless bread and had to improvise with a fresh bakery loaf from the corner store, or the small mess from jelly dribbling down my hand, but it all made this sandwich feel more real than any store-bought version.
If you’ve been there—wanting that no-fuss, grab-and-go snack without the preservatives or mystery ingredients—this recipe is for you. It’s quick, satisfying, and, honestly, a little bit fun to make. I keep coming back to these Easy Homemade Uncrustables Peanut Butter & Jelly Sandwiches because they remind me that sometimes the simplest things, done by hand, are the best surprises.
Why You’ll Love This Recipe
After testing several versions of homemade peanut butter and jelly sandwiches, I can say this is the one that truly hits the spot. It’s perfect for busy days when you want a wholesome snack without fuss or long prep. Here’s why this recipe stands out:
- Quick & Easy: Ready in under 15 minutes, making it ideal for busy mornings or afternoon cravings.
- Simple Ingredients: Uses pantry staples you likely already have—no need for specialty shopping trips.
- Perfect for On-the-Go: Compact and mess-free, these sandwiches are great for school lunches, road trips, or quick snacks.
- Crowd-Pleaser: Loved by kids and adults alike, with balanced sweetness and the comforting texture of soft bread.
- Better Than Store-Bought: No preservatives or artificial flavors, and you control the peanut butter and jelly ratios exactly.
What makes this recipe truly different is the sealing technique that creates that iconic “Uncrustables” shape without any special equipment. Plus, I use a touch of creamy peanut butter blended with a hint of honey for smoothness, which melts slightly into the jelly for a luscious bite. It’s comfort food that feels fresh and homemade, not packaged or stale.
Honestly, there’s just something satisfying about peeling back the sealed edge and biting into those soft layers—it’s a little moment of joy. Whether you’re packing lunches or just need a nostalgic snack, this recipe has that perfect blend of convenience and heart.
What Ingredients You Will Need
This Easy Homemade Uncrustables Peanut Butter & Jelly Sandwich recipe calls for simple, wholesome ingredients that come together to create a classic snack with a homemade touch. The ingredients are straightforward and mostly pantry staples, which makes it a breeze to prepare anytime.
- Bread: White sandwich bread, soft and fresh (look for crustless or remove crusts yourself). I prefer Arnold’s Nature’s Pride for its softness.
- Peanut Butter: Creamy peanut butter works best for smooth spreading and sealing. You can add a teaspoon of honey if you want a slightly sweeter, silkier texture.
- Jelly or Jam: Grape jelly is classic, but strawberry or raspberry jam also works beautifully. Opt for your favorite brand or homemade preserves for a fresh taste.
- Butter or Softened Cream Cheese (optional): Just a smidge to help seal the edges more effectively and add a subtle richness.
Substitution tips:
- Use almond butter or sunflower seed butter for nut-free alternatives.
- Swap jelly with fresh fruit slices or mashed berries for a more natural filling.
- Choose gluten-free bread to make the recipe suitable for gluten sensitivities.
These ingredients keep it simple but flexible, allowing you to customize based on what you have on hand or dietary needs.
Equipment Needed
- Round Cookie Cutter or Drinking Glass: About 3 inches (7.5 cm) diameter to cut the sandwich shape.
- Butter Knife or Spreader: For spreading peanut butter and jelly smoothly.
- Small Bowl: To mix peanut butter with honey if desired.
- Baking Sheet or Plate: To assemble sandwiches before sealing.
- Optional: Rolling Pin to gently flatten bread for easier sealing.
If you don’t have a round cutter, any sandwich cutter or even a square cutter can work—just adjust the shape accordingly. I’ve found that pressing the edges firmly with the back of a fork helps seal the sandwich without fancy tools. For those on a budget, a drinking glass works perfectly and doubles as a kitchen multitasker.
Preparation Method
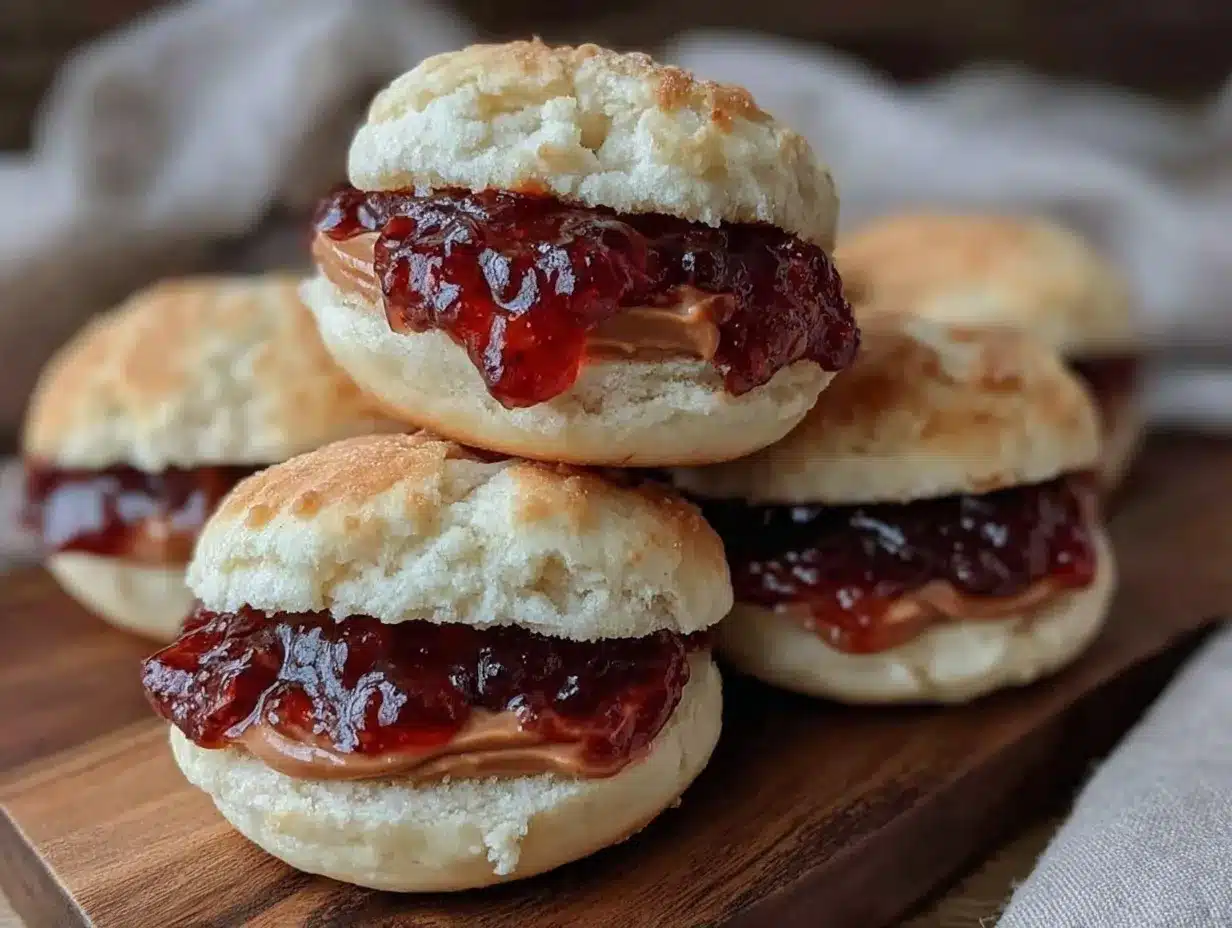
- Prepare Your Work Area (5 minutes): Lay out bread slices on a clean surface. If your bread has crusts, remove them gently with a sharp knife. This makes for that neat “uncrustable” look. I usually keep a small bowl nearby to toss the crusts (kids sneak those sometimes!).
- Mix the Peanut Butter (2 minutes): In a small bowl, stir creamy peanut butter with a teaspoon of honey if you want a touch of sweetness and easier spreading. This step is optional but adds a nice smoothness.
- Spread the Fillings (5 minutes): On one slice of bread, spread about 1 to 1.5 tablespoons (15-22 grams) of peanut butter evenly, leaving a small border around the edges. On another slice, spread the same amount of jelly or jam. Try to keep the jelly layer thin to avoid sogginess.
- Assemble the Sandwich (2 minutes): Carefully place the jelly slice on top of the peanut butter slice, jelly side down. Press gently to adhere.
- Seal the Edges (5 minutes): Use a round cookie cutter or a 3-inch glass to press firmly around the sandwich to create a sealed circle. Remove the excess bread and press the edges with the back of a fork to crimp and seal completely. This prevents the jelly from leaking out and creates that classic “Uncrustables” look.
- Optional: Chill the Sandwich (10 minutes): For a more compact texture, place the sealed sandwiches on a plate and refrigerate for 10 minutes before packing or serving. This sets the filling slightly and makes them easier to handle.
Some quick tips: If your bread is very soft, rolling it gently with a rolling pin before spreading can help create a sturdier base. Also, don’t overload with jelly—it’s tempting, but too much will make sealing tricky and messier. If you get jelly on the edge, wipe it before sealing.
Cooking Tips & Techniques
Making homemade Uncrustables might sound simple, but there are a few tricks I learned the hard way to get that perfect sealed sandwich every time.
- Use Soft but Not Too Fresh Bread: Bread that’s a day old or slightly stale holds its shape better and seals without tearing. Fresh bread can be too squishy and tricky to cut cleanly.
- Seal Like a Pro: Press firmly with your cutter and then crimp the edges with a fork. This double-sealing method keeps the jelly from leaking, even if the sandwich is tossed in a lunch bag.
- Don’t Overfill: Too much jelly or peanut butter leads to drips and mess. A thin, even layer is key.
- Chill for Firmness: Refrigerating the sandwiches before packing helps them hold their shape and makes for less sticky handling.
- Multitasking Tip: While your sandwiches chill, prep fruits or snacks to round out the meal.
One time, I tried sealing four sandwiches at once without wiping jelly off the edges. Let’s just say it was a sticky disaster—but a good reminder that a little patience pays off. Honestly, the sealing step is where most people trip up, but once you get the hang of it, it becomes second nature.
Variations & Adaptations
This Easy Homemade Uncrustables recipe is incredibly adaptable, so you can tweak it based on dietary needs, flavors, or what you have on hand.
- Nut-Free Version: Swap peanut butter for sunflower seed or soy nut butter to avoid allergens.
- Seasonal Fruit Fillings: In summer, try fresh sliced strawberries or mashed blueberries instead of jelly for a fresher taste.
- Grain-Free Option: Use almond flour or coconut flour flatbreads as a base instead of regular bread.
- Sweet Twist: Add a sprinkle of cinnamon or a smear of cream cheese inside with the jelly for a richer flavor.
Personally, I experimented with a chocolate hazelnut spread and raspberry jam combo once—and it was a hit at a weekend brunch. Just be mindful that some spreads are less sticky and might need extra sealing care.
Serving & Storage Suggestions
These sandwiches are best served fresh or chilled, making them a convenient snack or lunchbox staple. I recommend packing them with a small ice pack if you’re taking them on the go, especially during warmer months.
- Serving Temperature: Enjoy them chilled straight from the fridge or at room temperature for softer bread.
- Pairings: Serve alongside crunchy carrot sticks, apple slices, or a small handful of nuts for a balanced snack.
- Storage: Keep sandwiches in an airtight container or wrapped tightly in plastic wrap. They last up to 3 days in the refrigerator.
- Freezing: These freeze well! Wrap individually in plastic wrap and store in a freezer bag for up to 1 month. Thaw overnight in the fridge before eating.
- Reheating: Let thawed sandwiches come to room temperature or warm gently in a microwave for 10-15 seconds if desired.
Flavors tend to meld better after a few hours in the fridge, so sometimes I make these in the evening for next-day snacks—it’s like a little time-saver gift to myself.
Nutritional Information & Benefits
Each Easy Homemade Uncrustables Peanut Butter & Jelly Sandwich provides an estimated 250-300 calories, with a good balance of protein, healthy fats, and carbohydrates to keep energy steady.
- Protein & Healthy Fats: From peanut butter, supporting muscle repair and satiety.
- Natural Sugars: From jelly or jam, offering quick energy with less processed sugar when you choose natural options.
- Low in Additives: Since you control the ingredients, these sandwiches avoid preservatives and artificial flavorings common in store-bought versions.
- Dietary Considerations: Easily customizable for gluten-free, nut-free, or lower-sugar diets.
From a wellness perspective, this recipe lets you enjoy a nostalgic treat without the guilt, helping keep snacks wholesome and satisfying.
Conclusion
Making these Easy Homemade Uncrustables Peanut Butter & Jelly Sandwiches has become a quiet little ritual—and honestly, it’s one of those recipes I keep coming back to because it’s just so darn dependable. Whether you’re packing lunches or craving a quick, nostalgic snack, this recipe gives you control over ingredients, flavor, and texture without the fuss.
Feel free to customize with your favorite nut butters, jams, or even a sprinkle of cinnamon to make it your own. I hope you find the same quiet satisfaction in making—and sneaking bites of—these sandwiches that my roommate and I discovered together.
If you try this recipe, I’d love to hear how you made it your own. Drop a comment below sharing your tweaks or favorite fillings. Happy sandwich-making!
Frequently Asked Questions
Can I use whole wheat bread for these sandwiches?
Yes, whole wheat or any soft sandwich bread works well. Just make sure it’s soft and fresh for easy sealing.
How long can I store homemade Uncrustables?
Store them in the refrigerator for up to 3 days, or freeze for up to a month. Always keep them wrapped airtight to maintain freshness.
What if I don’t have a round cookie cutter?
No worries! A drinking glass or any round object about 3 inches in diameter works perfectly to cut and seal your sandwiches.
Can I use crunchy peanut butter instead of creamy?
You can, but creamy spreads seal better and create a neater sandwich. Crunchy peanut butter might make sealing a bit trickier.
Is it okay to add other fillings like banana slices?
Absolutely! Just be mindful that moist fruits can make the bread soggy, so it’s best to eat those sandwiches sooner rather than later.
Pin This Recipe!
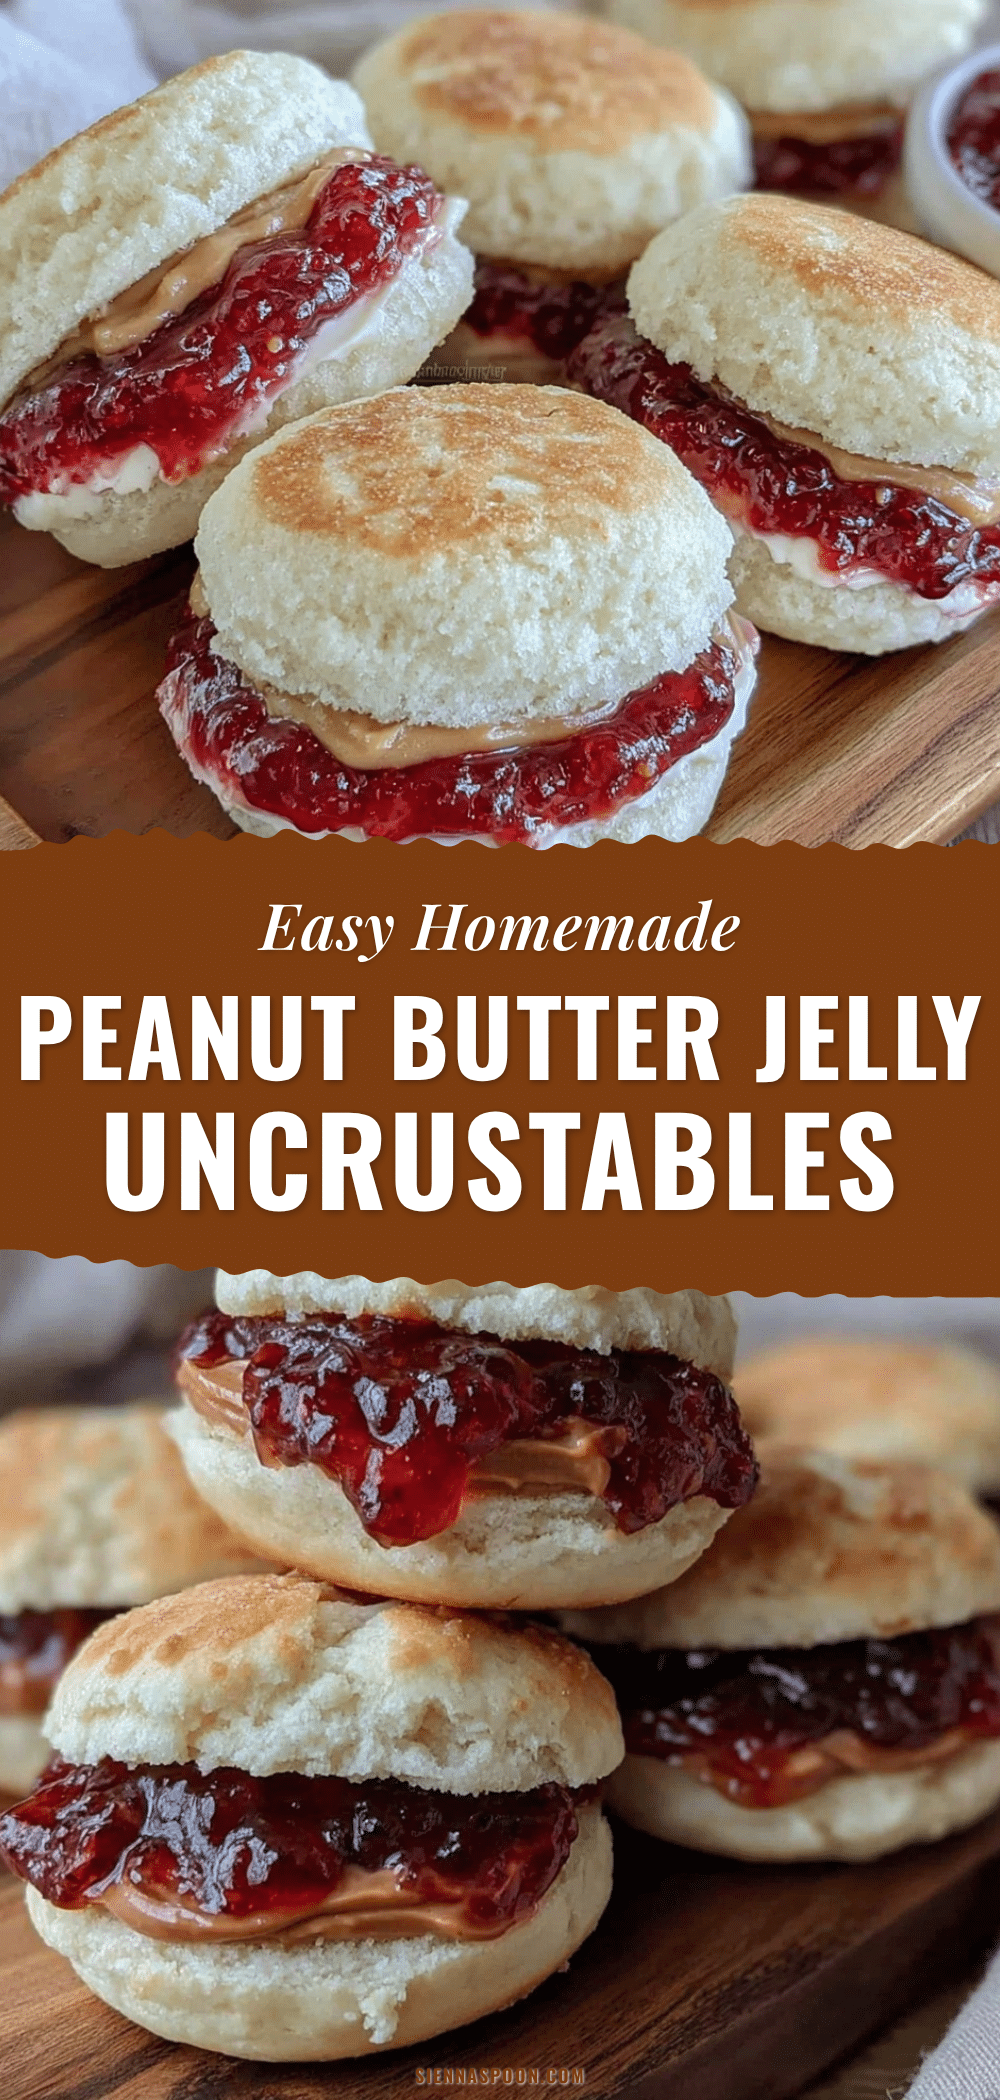
Easy Homemade Uncrustables Peanut Butter & Jelly Sandwiches Recipe for Perfect Snacks
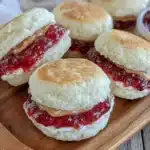
A quick and easy recipe for homemade peanut butter and jelly sandwiches that mimic the classic Uncrustables, perfect for on-the-go snacks without preservatives or mystery ingredients.
- Prep Time: 14 minutes
- Cook Time: 0 minutes
- Total Time: 14 minutes
- Yield: 1 sandwich
- Category: Snack
- Cuisine: American
Ingredients
- White sandwich bread, soft and fresh (crusts removed)
- Creamy peanut butter (add 1 teaspoon honey for sweetness, optional)
- Grape jelly or jam (strawberry or raspberry jam also works)
- Butter or softened cream cheese (optional, for sealing edges)
Instructions
- Prepare your work area by laying out bread slices on a clean surface and removing crusts if needed (about 5 minutes).
- Mix creamy peanut butter with a teaspoon of honey in a small bowl if desired (about 2 minutes).
- Spread 1 to 1.5 tablespoons (15-22 grams) of peanut butter evenly on one slice of bread, leaving a small border around the edges.
- Spread the same amount of jelly or jam thinly on another slice of bread.
- Place the jelly slice on top of the peanut butter slice, jelly side down, and press gently to adhere.
- Use a 3-inch round cookie cutter or drinking glass to press firmly around the sandwich to create a sealed circle. Remove excess bread and crimp edges with the back of a fork to seal completely (about 5 minutes).
- Optional: Chill the sandwiches in the refrigerator for 10 minutes before serving or packing to set the filling.
Notes
Use bread that is a day old or slightly stale for easier sealing. Press edges firmly and crimp with a fork to prevent jelly leakage. Avoid overfilling with jelly or peanut butter to reduce mess. Chill sandwiches before packing for better firmness. Substitute nut butters or gluten-free bread for dietary needs.
Nutrition
- Serving Size: 1 sandwich
- Calories: 275
- Sugar: 12
- Sodium: 220
- Fat: 14
- Saturated Fat: 2.5
- Carbohydrates: 30
- Fiber: 3
- Protein: 8
Keywords: Uncrustables, peanut butter and jelly, homemade sandwich, easy snack, kid-friendly, no preservatives, quick snack