Love this? Save it for later!
Share the inspiration with your friends
The power went out halfway through my afternoon of meal prep last Tuesday. There I was, standing in a dark kitchen at 3 PM with a hungry toddler tugging at my pant leg and a fridge full of ingredients I couldn’t cook. I’d promised myself I’d have snacks ready for the week—something healthy, something that would actually keep us full between meals. The pantry had peanut butter, a half-empty jar of maple syrup, and a bag of oats staring back at me. No oven, no stovetop, no microwave. Just me and three ingredients that needed to become something edible. Fast.
I’ll be honest—I almost gave up and ordered takeout. But desperation makes you creative, you know? I grabbed a bowl and started mixing, not really sure if this would work. The mixture came together in my hands, and I rolled it into little balls, hoping they’d hold their shape. They did. And honestly? They were better than anything I’d baked in weeks.
These easy no-bake protein balls with peanut butter and oats became my emergency snack that week. I ate them during the blackout, then made another batch when the power came back. Now they’re a staple in my kitchen. Maybe you’ve been there—needing something quick, healthy, and satisfying without turning on a single appliance. These little bites saved my week, and I think they might just save yours too.
Why You’ll Love This Recipe
These easy no-bake protein balls with peanut butter and oats aren’t just another snack recipe. They’re the kind of recipe you’ll come back to again and again because they actually work. I’ve tested this batch at least a dozen times, tweaking the ratios until the texture was just right—not too sticky, not too dry, just perfectly chewy and satisfying.
- Quick & Easy: Ready in under 10 minutes with zero cooking. No oven, no stove, no waiting.
- Simple Ingredients: You probably have peanut butter, oats, and a sweetener in your pantry right now. No fancy health food store runs needed.
- Perfect for Busy Days: Grab one before work, toss a couple in your bag for a hike, or keep them in the fridge for after-school snacks.
- Crowd-Pleaser: My picky nephew devours these, and my gym buddy loves them post-workout. Kids and adults agree.
- Unbelievably Delicious: The combo of creamy peanut butter and hearty oats hits that sweet-salty spot that makes you close your eyes after the first bite.
What makes these different from every other protein ball recipe out there? It’s the texture. Most recipes turn out either too crumbly or too sticky. I spent weeks getting the ratio right so you get a firm, rollable dough that holds its shape without falling apart in your lunchbox. Plus, they’re naturally sweetened with maple syrup—no refined sugar, no weird ingredients.
These easy no-bake protein balls with peanut butter and oats have gotten me through frantic mornings, afternoon slumps, and post-dinner cravings. They’re comfort food reimagined—healthier, faster, but with the same soul-soothing satisfaction.
What Ingredients You Will Need
This recipe uses simple, wholesome ingredients to deliver bold flavor and satisfying texture without the fuss. Most of these are pantry staples, so you can whip up a batch whenever the craving hits.
- Peanut butter, creamy, unsweetened preferred (adds richness and binds the dough). I recommend using a natural peanut butter with no added sugar or oil—just peanuts and salt. The consistency matters here; runny peanut butter will make your dough too wet.
- Rolled oats, old-fashioned (provides chewy texture and fiber). Quick oats work in a pinch, but the texture will be softer and less satisfying. Gluten-free certified oats are available if needed.
- Maple syrup, pure (adds natural sweetness and helps bind). Honey works perfectly as a substitute, or use agave for a vegan option. Brown rice syrup also works but makes the balls slightly firmer.
- Vanilla extract, pure (enhances flavor depth—don’t skip this!). A tiny splash makes a big difference in rounding out the flavors.
- Salt, fine sea salt (balances sweetness and intensifies peanut flavor). If your peanut butter is already salted, reduce or omit this.
- Mini chocolate chips, optional but highly recommended (adds little bursts of sweetness). Dark chocolate chips keep things a bit healthier, or try white chocolate for a sweeter twist.
- Flaxseed meal, optional (boosts omega-3s and adds extra binding). Chia seeds work too, but they’ll add a slight crunch.
For the best results, use room-temperature peanut butter. Cold peanut butter straight from the fridge is harder to mix and may not incorporate evenly. Let it sit out for 10 minutes before starting.
If you’re avoiding peanuts, almond butter or sunflower seed butter work beautifully. Just note that sunflower seed butter can react with baking soda if you ever bake these—but since we’re going no-bake here, you’re safe. I’ve made these with cashew butter too, and they turned out incredibly creamy.
Equipment Needed
You don’t need much for these easy no-bake protein balls with peanut butter and oats, which is part of their charm.
- Large mixing bowl: Any medium-to-large bowl works. I use a ceramic one because it doesn’t slide around on the counter.
- Spatula or wooden spoon: For mixing everything together. A sturdy spatula makes scraping the sides easy.
- Measuring cups and spoons: Accurate measurements matter for the right texture. I’ve eyeballed it before and ended up with crumbly balls—learn from my mistake.
- Baking sheet or plate: To hold the rolled balls while they firm up. Line it with parchment paper if you want easy cleanup.
- Cookie scoop or tablespoon: For uniform-sized balls. A 1-tablespoon scoop gives you perfectly portioned bites every time.
- Parchment paper: Optional, but makes cleanup a breeze. Wax paper works too if that’s what you have.
- Air-tight container: For storage. A glass container with a tight lid keeps them fresh for over a week.
If you don’t have a cookie scoop, just use your hands. Slightly damp hands make rolling easier and prevent the dough from sticking. I learned that trick after my first batch turned into a sticky mess all over my fingers.
Preparation Method
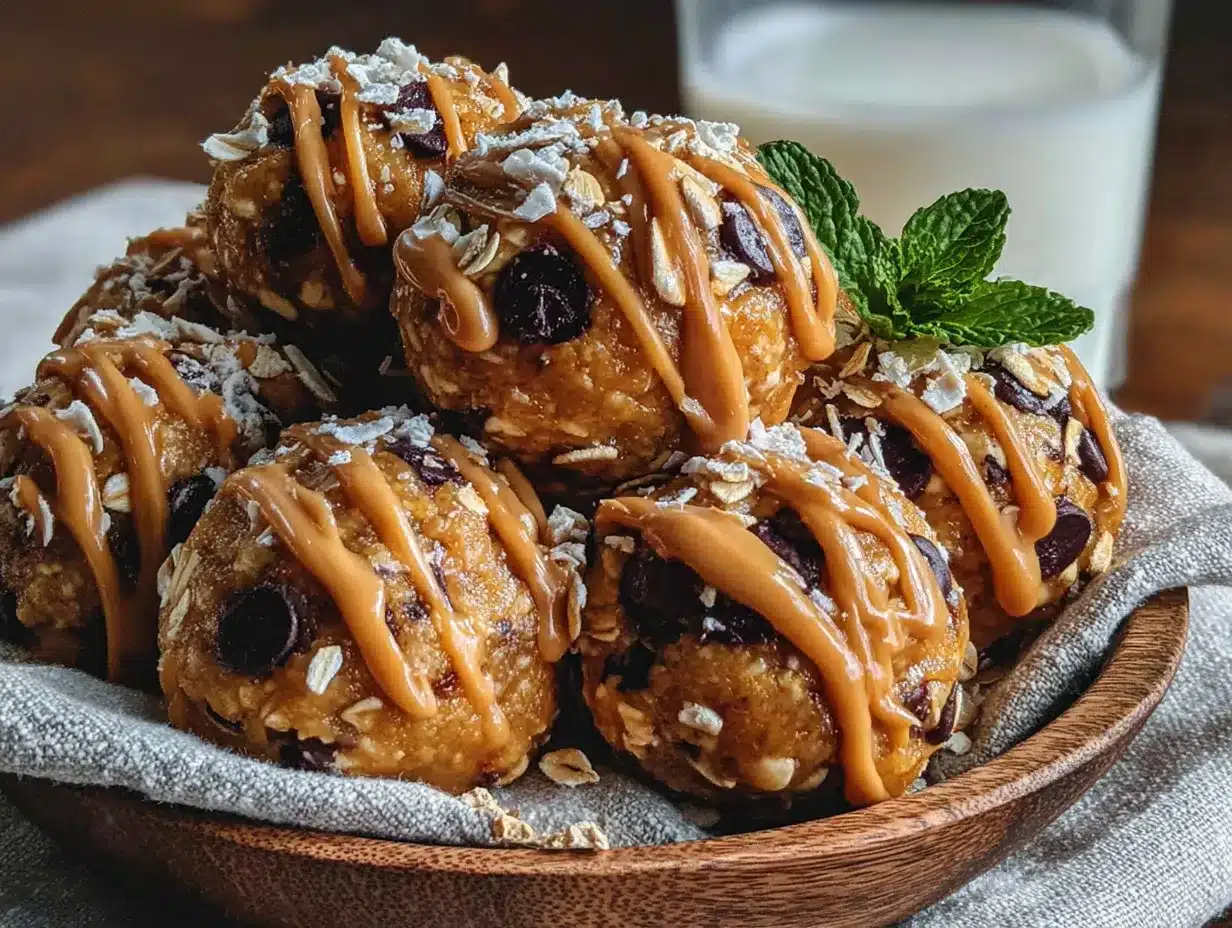
Follow these steps carefully, and you’ll have perfect easy no-bake protein balls with peanut butter and oats every time. I’ve included sensory cues so you know exactly what to look for.
- Measure your oats first: Scoop 1 cup (90g) of rolled oats into your large mixing bowl. Give them a quick look to make sure there are no stray bits or clumps. The oats should be dry and smell slightly nutty—if they smell stale, your balls won’t taste fresh.
- Add the peanut butter: Spoon out ½ cup (128g) of creamy peanut butter directly into the bowl. Don’t pack it down—just a gentle scoop. If your peanut butter is cold, microwave it for 10 seconds to soften. You want it scoopable, not hot.
- Pour in the maple syrup: Add ¼ cup (60ml) of pure maple syrup. Drizzle it evenly over the peanut butter so it incorporates more easily. If you’re using honey instead, it’ll be a bit thicker—just mix a little longer.
- Add the flavor boosters: Toss in 1 teaspoon of vanilla extract and a pinch of salt (about ⅛ teaspoon if your peanut butter is unsalted). If you’re using flaxseed meal, add 1 tablespoon now. This is where the magic starts happening.
- Mix everything together: Stir with your spatula or wooden spoon until fully combined. The mixture will look dry at first—keep going. Scrape the bottom and sides of the bowl. You’re looking for a cohesive, slightly sticky dough that holds together when pressed. If it crumbles, add 1 teaspoon of maple syrup or water. If it’s too wet, add 1 tablespoon of oats.
- Fold in the chocolate chips: If using, add ¼ cup (45g) of mini chocolate chips. Fold them in gently so they distribute evenly without breaking. The dough should look speckled with dark spots.
- Chill the dough: Pop the bowl in the fridge for 15 minutes. This step is crucial—it firms up the peanut butter and makes rolling much easier. I skipped this once and ended up with misshapen, sticky blobs. Trust me on this one.
- Roll into balls: Scoop out about 1 tablespoon of dough and roll it between your palms. Use gentle pressure—you want round balls, not flattened discs. You should get about 16-18 balls. If the dough starts sticking to your hands, dampen your palms slightly with water.
- Place on a lined baking sheet: Set each ball on your parchment-lined baking sheet or plate. Leave a little space between them so they don’t stick together. They won’t spread, so don’t worry about crowding.
- Refrigerate to set: Put the baking sheet in the fridge for at least 30 minutes. This final chill solidifies the balls and makes them easy to handle. After that, transfer them to an air-tight container.
The whole process takes about 10 minutes of active work plus 45 minutes of chilling. Not bad for a week’s worth of healthy snacks!
Cooking Tips & Techniques
I’ve made these easy no-bake protein balls with peanut butter and oats more times than I can count, and I’ve learned a few things along the way. Here are my best tips for perfect results every time.
Don’t skip the chill: I know it’s tempting to skip the chilling step when you’re hungry, but the dough needs that time to firm up. Warm peanut butter is too soft to hold its shape. Fifteen minutes in the fridge makes a world of difference.
Use room-temperature ingredients: Cold peanut butter straight from the fridge is a nightmare to mix. It clumps up and refuses to incorporate. Let it sit out for 10-15 minutes before starting. Your arm will thank you.
Watch your consistency: The dough should feel like play-dough—firm but pliable, slightly tacky but not sticky. If it crumbles when you squeeze it, add a tiny splash of maple syrup or water. If it sticks to your hands like glue, add more oats a tablespoon at a time.
Damp hands are your friend: Rolling sticky dough is frustrating. Lightly wet your palms with water before rolling each ball. The dough won’t stick, and you’ll get perfectly smooth balls. I learned this after my first batch looked like lumpy potatoes.
Measure accurately: I once added “a little extra” peanut butter because I love it so much. The balls turned out greasy and refused to hold their shape. Stick to the measurements for the best texture.
Use old-fashioned oats: Quick oats turn these into mush. They absorb moisture differently and create a pasty texture. Rolled oats give you that satisfying chew that makes these balls so addictive.
Chill between batches: If you’re making a double batch, keep the unused dough in the fridge while you roll the first batch. Warm hands can soften the dough and make it harder to work with.
One time, I forgot to add the vanilla extract. The balls were edible but flat—like something was missing. That tiny ingredient really rounds out the flavor, so don’t leave it out.
Variations & Adaptations
These easy no-bake protein balls with peanut butter and oats are incredibly versatile. Here are some of my favorite variations:
- Chocolate Peanut Butter: Add 1 tablespoon of unsweetened cocoa powder to the dough. The chocolate-peanut butter combo is classic for a reason. You might need an extra teaspoon of maple syrup to balance the bitterness.
- Coconut Almond: Swap the peanut butter for almond butter and add ¼ cup of shredded coconut. Roll the finished balls in more coconut for a pretty finish. This version tastes like a tropical vacation.
- Protein-Packed: Add 1 scoop (about 30g) of vanilla or chocolate protein powder. You’ll need to add 2-3 tablespoons of milk or water to compensate for the extra dry ingredients. Chocolate protein powder makes them taste like brownie bites.
- Vegan Option: Use maple syrup instead of honey and ensure your chocolate chips are dairy-free. These are naturally vegan with those swaps, and they taste just as good.
- Nut-Free Version: Substitute sunflower seed butter or tahini for the peanut butter. Sunflower seed butter gives a slightly earthy flavor that pairs beautifully with maple syrup. Just note that the color will be greenish—that’s normal!
- Spiced Pumpkin: Add 2 tablespoons of pumpkin puree and ½ teaspoon of pumpkin pie spice. Reduce the maple syrup to 3 tablespoons since the pumpkin adds moisture. These taste like fall in a bite.
- Berry Blast: Fold in ¼ cup of freeze-dried strawberries or raspberries. The tart berries balance the sweet peanut butter perfectly. Crush them slightly before adding for even distribution.
I tried a matcha version once—added 1 teaspoon of matcha powder and used white chocolate chips. It was surprisingly good, though the green color freaked out my kids. They still ate them, so I call that a win.
Serving & Storage Suggestions
These easy no-bake protein balls with peanut butter and oats are best served chilled or at room temperature. Here’s how to enjoy them at their peak.
Serving temperature: Straight from the fridge, they’re firm and chewy—perfect for packing in lunches. At room temperature, they soften slightly and become almost fudge-like. I prefer them cold, but my husband likes them after sitting out for 10 minutes.
Presentation ideas: Arrange them on a small platter for parties or pack them in a mason jar for a cute gift. Roll them in cocoa powder, shredded coconut, or crushed nuts for a prettier finish. I once brought them to a brunch and everyone thought I bought them from a bakery.
Complementary dishes: Pair them with fresh fruit for a balanced snack, or crumble one over Greek yogurt for a quick breakfast. They also go great with a cup of coffee or a glass of cold milk.
Storage instructions: Keep them in an air-tight container in the refrigerator for up to 10 days. They’ll stay fresh and firm. If your kitchen is warm, they might soften, so the fridge is your best bet.
Freezer tips: These freeze beautifully! Place them in a single layer on a baking sheet and freeze for 1 hour, then transfer to a freezer bag. They’ll keep for up to 3 months. Thaw in the fridge overnight or eat them frozen—they’re like little protein ice cream bites.
Reheating: You don’t really need to reheat these, but if you want a softer texture, microwave one for 5-7 seconds. Don’t overdo it, or the chocolate chips will melt and make a mess.
Flavor development: The flavors actually get better after a day or two in the fridge. The oats soften slightly, and the peanut butter and maple syrup meld together. I always make a batch the day before I need them for best results.
Nutritional Information & Benefits
These easy no-bake protein balls with peanut butter and oats are packed with good-for-you ingredients. Here’s a rough breakdown per ball (based on 16 servings):
- Calories: Approximately 120-140 per ball
- Protein: 4-5 grams
- Fat: 7-8 grams (mostly healthy unsaturated fats from peanut butter)
- Carbohydrates: 12-14 grams
- Fiber: 2-3 grams
- Sugar: 5-7 grams (naturally occurring from maple syrup)
Health benefits: Peanut butter provides protein and healthy fats that keep you full and satisfied. Oats are rich in beta-glucan, a type of soluble fiber that supports heart health and digestion. Maple syrup contains antioxidants and minerals like zinc and manganese. If you add flaxseed meal, you’re getting omega-3 fatty acids and extra fiber.
Dietary considerations: These are naturally gluten-free if you use certified gluten-free oats. They’re also dairy-free and vegan (with maple syrup). For a lower-sugar option, reduce the maple syrup to 2 tablespoons and add an extra tablespoon of peanut butter. The balls will be less sweet but still delicious.
Allergen note: Contains peanuts and oats. For nut-free versions, use sunflower seed butter. For oat-free versions, try using unsweetened shredded coconut or crispy rice cereal instead.
I love that these protein balls give me sustained energy without the sugar crash. They’re my go-to pre-workout snack—just enough fuel without feeling heavy.
Conclusion
These easy no-bake protein balls with peanut butter and oats have become my emergency snack, my meal prep hero, and my favorite way to use up the last bits of peanut butter in the jar. They’re proof that you don’t need complicated ingredients or fancy equipment to make something truly satisfying. Whether you’re a seasoned meal prepper or someone who just needs a quick snack to get through the afternoon, these little bites deliver every time.
I love that you can customize them to fit your cravings—chocolate, coconut, spices, whatever you’re in the mood for. They’re forgiving, flexible, and always delicious. Honestly, I don’t think I’ve ever had a batch I didn’t love.
Now it’s your turn! Try this recipe and let me know how it goes. Did you add chocolate chips? Swap the nut butter? Made a crazy variation I haven’t thought of? Drop a comment below and share your creation. And if you loved these, pin this recipe for later or share it with a friend who needs a quick, healthy snack in their life. Happy rolling!
Frequently Asked Questions
Can I use quick oats instead of rolled oats?
Yes, but the texture will be softer and less chewy. Quick oats absorb moisture faster and break down more, so your protein balls may feel more like a paste. If you only have quick oats, reduce the maple syrup by 1 tablespoon to compensate for the extra absorption.
Why are my protein balls too dry and crumbly?
This usually happens when the peanut butter is too thick or the oats are measured too generously. Add 1 teaspoon of maple syrup or water at a time until the dough holds together when pressed. Make sure you’re using creamy peanut butter, not the natural kind that separates easily.
Can I make these without maple syrup?
Absolutely! Honey, agave nectar, or brown rice syrup all work as substitutes. For a sugar-free option, use 2 tablespoons of liquid stevia or monk fruit syrup. The texture may vary slightly, but the balls will still hold together.
How long do these protein balls last at room temperature?
They can sit out for up to 4 hours without issues, but I recommend keeping them refrigerated for best texture. If you’re bringing them to a picnic or packing them in a lunchbox, use an ice pack to keep them cool. In warm weather, they can soften and become messy.
Can I add protein powder to this recipe?
Yes! Add 1 scoop (about 30g) of your favorite protein powder. You’ll need to add 2-3 tablespoons of milk or water to balance the extra dry ingredients. Vanilla or chocolate protein powder works best. Avoid collagen powder, as it can make the dough too sticky.
Pin This Recipe!
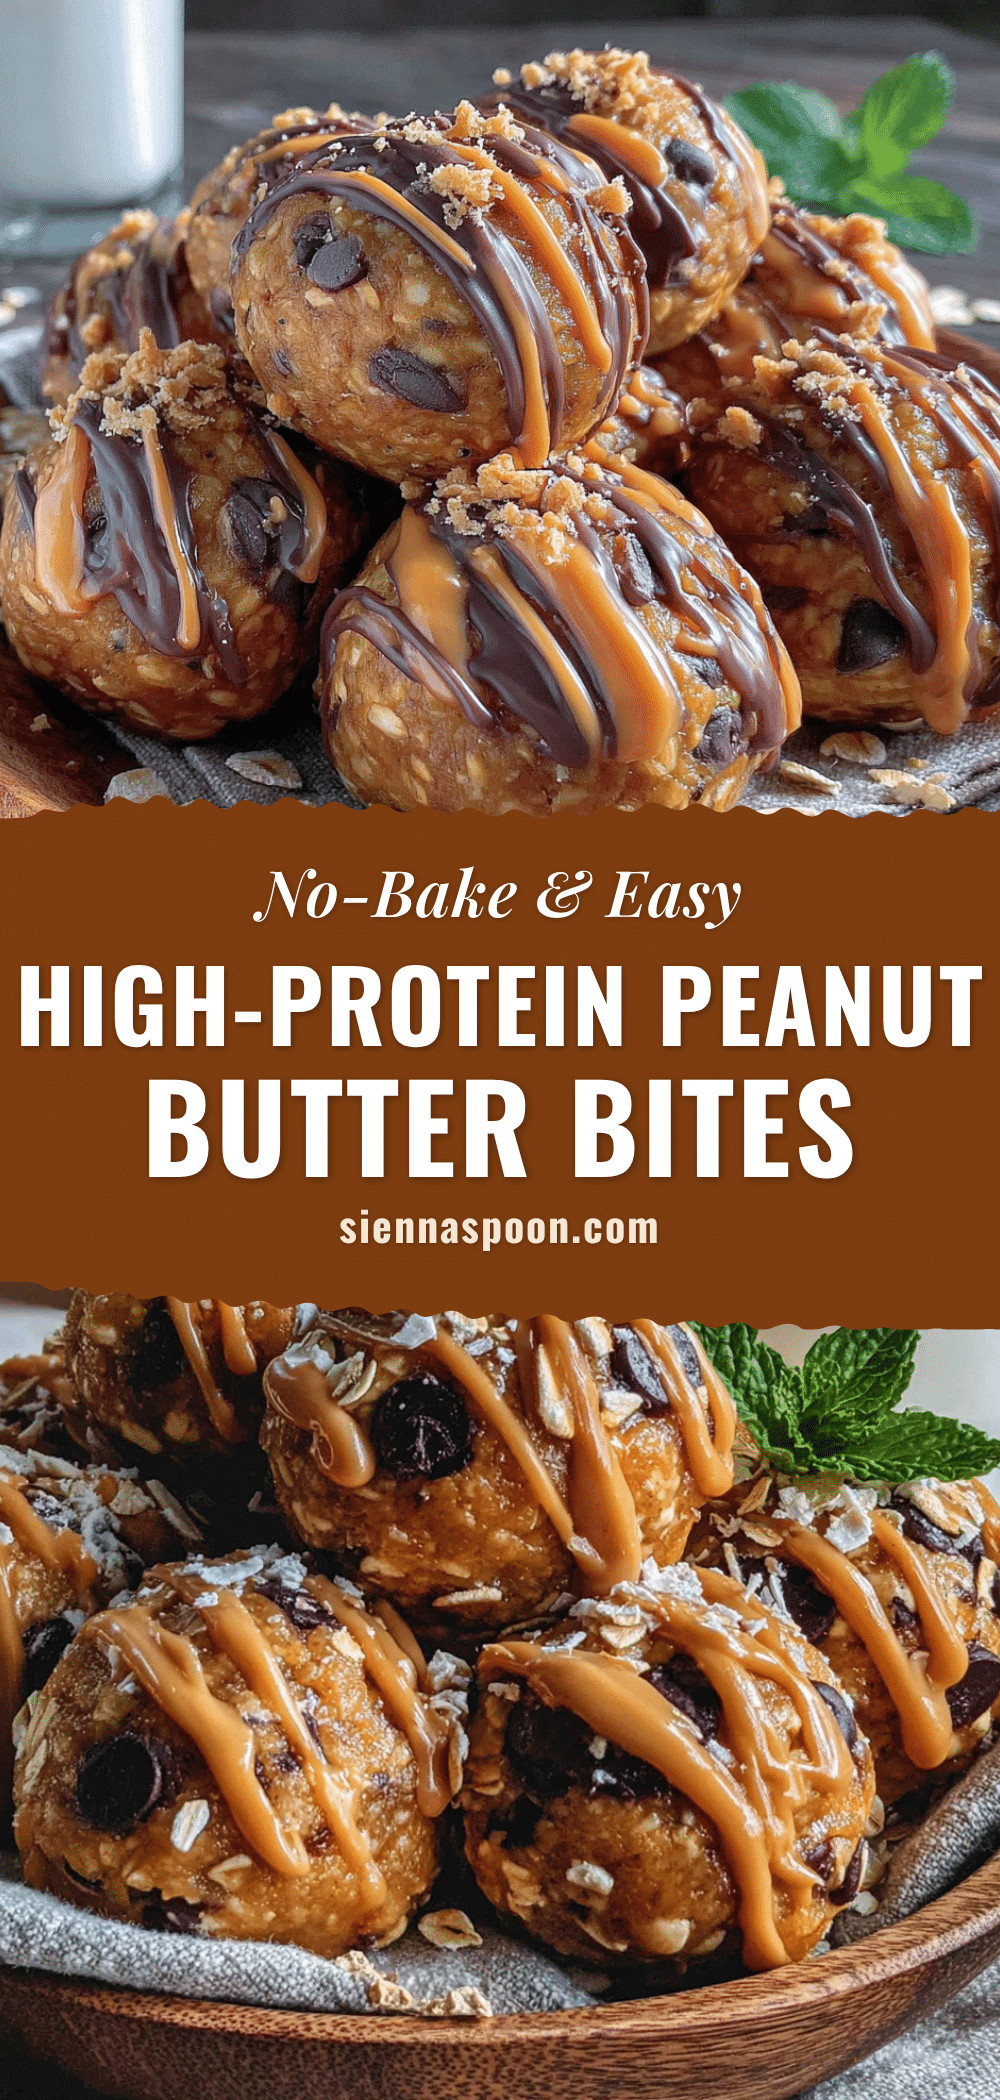
Easy No-Bake Protein Balls: 3-Ingredient Peanut Butter Oats
These easy no-bake protein balls with peanut butter and oats are the perfect emergency snack—ready in under 10 minutes with zero cooking. Made with simple pantry staples, they’re naturally sweetened, satisfying, and customizable for any craving.
- Prep Time: 10 minutes
- Cook Time: 0 minutes
- Total Time: 55 minutes (includes 45 minutes chilling)
- Yield: 16-18 balls 1x
- Category: Snack
- Cuisine: American
Ingredients
- 1 cup (90g) rolled oats (old-fashioned)
- ½ cup (128g) creamy peanut butter (unsweetened preferred, room temperature)
- ¼ cup (60ml) pure maple syrup
- 1 teaspoon pure vanilla extract
- ⅛ teaspoon fine sea salt (omit if peanut butter is salted)
- ¼ cup (45g) mini chocolate chips (optional)
- 1 tablespoon flaxseed meal (optional)
Instructions
- Measure 1 cup (90g) of rolled oats into a large mixing bowl. Ensure they are dry and smell fresh.
- Add ½ cup (128g) of creamy peanut butter to the bowl. If cold, microwave for 10 seconds to soften.
- Drizzle ¼ cup (60ml) of pure maple syrup evenly over the peanut butter.
- Add 1 teaspoon of vanilla extract and a pinch (⅛ teaspoon) of salt. If using flaxseed meal, add 1 tablespoon now.
- Stir with a spatula or wooden spoon until fully combined. The mixture should be cohesive and slightly sticky. If too dry, add 1 teaspoon of maple syrup or water; if too wet, add 1 tablespoon of oats.
- If using, fold in ¼ cup (45g) of mini chocolate chips gently until evenly distributed.
- Chill the dough in the refrigerator for 15 minutes to firm up.
- Scoop about 1 tablespoon of dough and roll between your palms into balls. Dampen hands slightly if sticky. You should get 16-18 balls.
- Place the balls on a parchment-lined baking sheet or plate, leaving a little space between them.
- Refrigerate for at least 30 minutes to set. Transfer to an air-tight container for storage.
Notes
Use room-temperature peanut butter for easier mixing. Don’t skip the chilling steps—they ensure the balls hold their shape. For best texture, use old-fashioned rolled oats, not quick oats. The flavors develop and improve after a day in the fridge. For nut-free version, substitute sunflower seed butter or tahini. For lower sugar, reduce maple syrup to 2 tablespoons and add 1 extra tablespoon peanut butter.
Nutrition
- Serving Size: 1 ball
- Calories: 130
- Sugar: 6
- Sodium: 85
- Fat: 7.5
- Saturated Fat: 1.5
- Carbohydrates: 13
- Fiber: 2.5
- Protein: 4.5
Keywords: no-bake protein balls, peanut butter oats, healthy snack, easy protein balls, 3-ingredient snack, gluten-free snack, vegan snack, meal prep snack