Love this? Save it for later!
Share the inspiration with your friends
Last Saturday afternoon, I was fumbling with a batch of plain fries, trying to keep things interesting for an impromptu game day gathering. My neighbor, Mrs. Caldwell, watched me struggle for a bit without saying much. Then she casually walked over and said, “You know, if you want to really make the crowd happy, you gotta make a loaded chili cheese fries bar.” She didn’t lay down a formal recipe or anything—just started pulling out ingredients from her fridge and pantry, chatting about her own spin on it as she went. Honestly, it felt less like a cooking lesson and more like a warm kitchen conversation between friends.
She pulled out her homemade chili, shredded cheese, jalapeños, and some other toppings, layering them like she was telling a story with food. I ended up making my own version of that cozy loaded chili cheese fries bar recipe she shared, tweaking it slightly for our tastes and the ingredients I had on hand. Maybe you’ve been there too—the moment when a simple idea from a neighbor turns into a go-to comfort food staple in your kitchen.
That afternoon got a little messy (I ended up dropping a bowl), but it also birthed one of my favorite game day snacks that’s just as fun to assemble as it is to eat. This recipe stuck with me because it’s not just about the chili or the cheese but about creating a laid-back, interactive experience that brings everyone together. Let me tell you, once you have a loaded chili cheese fries bar set up, the chatter flows as freely as the toppings!
Why You’ll Love This Recipe
After testing and tweaking this cozy loaded chili cheese fries bar recipe several times, I can say it’s a total game changer for casual entertaining. Here’s why it’s worth having in your recipe collection:
- Quick & Easy: You can have everything ready in under 45 minutes, making it perfect for last-minute game day snacks or casual get-togethers.
- Simple Ingredients: No need for exotic items—most of the ingredients are pantry staples or easily found at your local store.
- Perfect for Game Day: It’s the kind of snack that turns a crowd into a cheering squad, ideal for sports, movie nights, or casual celebrations.
- Crowd-Pleaser: Kids, teens, and adults all love piling on their favorite toppings to create their own flavor combos.
- Unbelievably Delicious: The crispy fries, savory chili, melty cheese, and tangy toppings combine for a comforting, crave-worthy bite every time.
This isn’t just another chili cheese fries recipe—it’s a flexible bar-style setup that invites everyone to get creative. My favorite twist? Using a blend of sharp cheddar and pepper jack cheese for extra flavor depth. Plus, setting it up buffet-style means less fuss in the kitchen and more time catching the game or chatting with friends.
Honestly, this loaded chili cheese fries bar recipe has become my secret weapon for stress-free entertaining that still feels special. It’s the kind of snack that makes you close your eyes and savor every bite, no matter what team you’re rooting for.
What Ingredients You Will Need
This recipe uses simple, wholesome ingredients to deliver bold flavors and satisfying textures without any fuss. Most are pantry staples you probably have on hand, with a few fresh add-ons to bring it all together.
- For the Fries:
- Frozen crispy French fries or homemade fries (about 4 cups/600g)
- Vegetable oil or olive oil for baking or frying
- Salt and pepper to taste
- For the Chili:
- Ground beef or turkey (1 lb / 450g)
- Onion, finely chopped (1 medium)
- Garlic cloves, minced (2 large)
- Tomato sauce (1 cup / 240ml)
- Kidney beans or black beans, rinsed and drained (1 cup / 170g)
- Chili powder (2 tbsp)
- Cumin (1 tsp)
- Smoked paprika (1 tsp)
- Salt and black pepper to taste
- Optional: a pinch of cayenne for heat
- Cheese and Toppings:
- Sharp cheddar cheese, shredded (1½ cups / 150g)
- Pepper jack cheese, shredded (1 cup / 100g) for a little kick
- Jalapeños, sliced (fresh or pickled)
- Green onions, thinly sliced
- Sour cream or Greek yogurt for dolloping
- Fresh cilantro leaves (optional)
- Pickled jalapeños or banana peppers for tang
- Crumbled cooked bacon (optional but highly recommended)
For the chili, I usually go for organic ground beef from Trader Joe’s because it’s flavorful and consistent, but lean turkey works just as well if you want to keep it lighter. Frozen fries from Ore-Ida are my go-to—crispy and easy to bake. If you’re feeling creative, swapping cheddar for a dairy-free cheese or using sweet potato fries can add a nice twist.
Equipment Needed
Here’s what I find essential for making this cozy loaded chili cheese fries bar recipe come together smoothly:
- Baking sheet or air fryer basket for cooking fries
- Large skillet or sauté pan to cook the chili
- Mixing bowls for holding toppings and assembling the bar
- Sharp knife and cutting board for prepping onions, jalapeños, and other toppings
- Grater for shredding cheese freshly (pre-shredded works, but fresh melts better)
- Serving platters or disposable trays if you want to keep cleanup easy
If you don’t have an air fryer, no worries—the oven works perfectly fine for getting those fries crispy. I’ve also used a slow cooker to keep chili warm during the game, which is a total lifesaver. For budget-friendly options, a simple cast-iron skillet and a rimmed baking sheet do the trick without breaking the bank.
Preparation Method
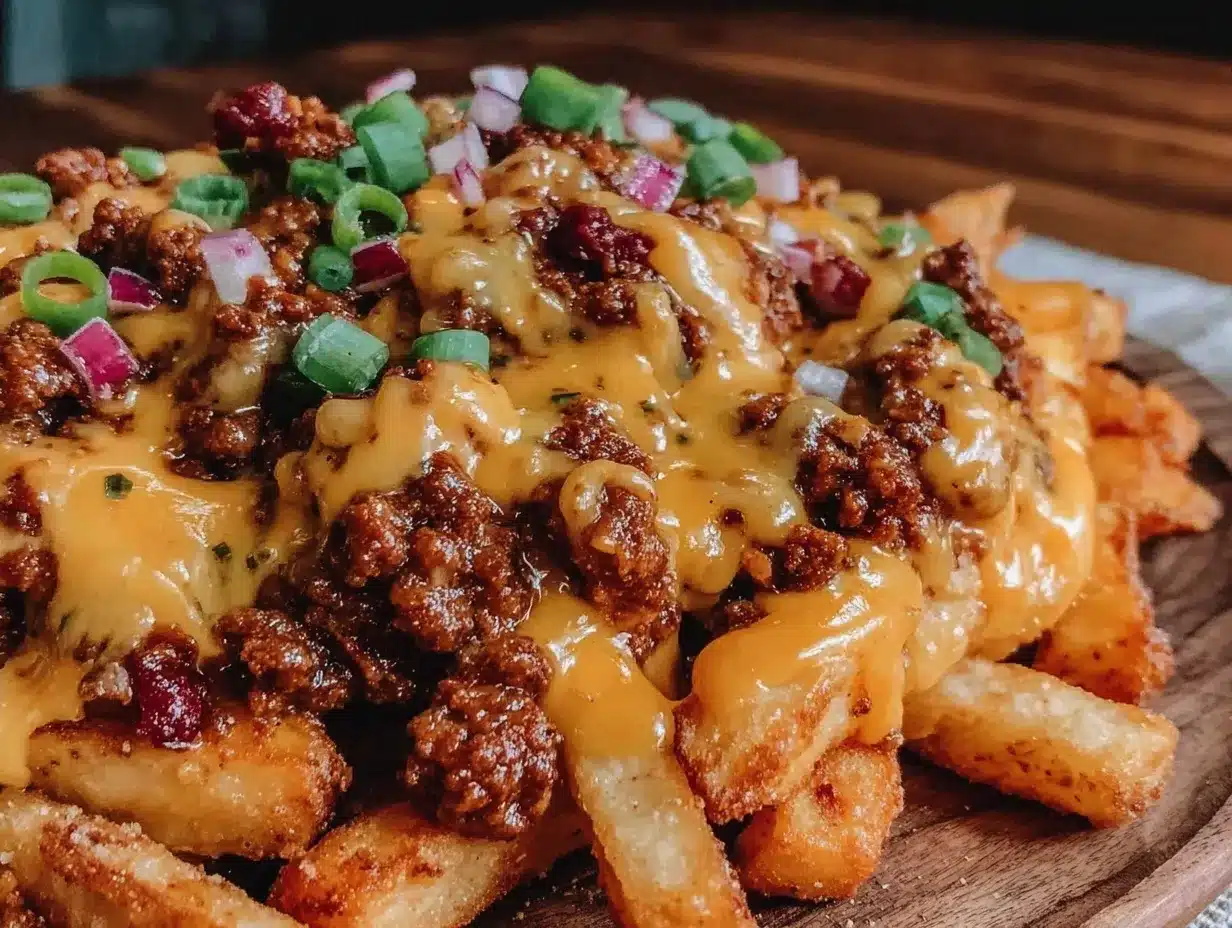
- Cook the Fries: Preheat your oven to 425°F (220°C). Spread the frozen fries evenly on a baking sheet lined with parchment paper. Drizzle with a little olive oil and season with salt and pepper. Bake for 20-25 minutes until golden and crispy, flipping halfway through. If using an air fryer, cook at 400°F (200°C) for about 15 minutes. Tip: Don’t overcrowd the fries or they’ll steam instead of crisp.
- Prepare the Chili: While the fries bake, heat a large skillet over medium heat. Add the ground beef or turkey, breaking it apart with a wooden spoon. Cook until browned, about 6-8 minutes. Drain excess fat if needed.
- Add the chopped onion and garlic to the skillet and sauté for 3-4 minutes until softened and fragrant.
- Stir in the tomato sauce, beans, chili powder, cumin, smoked paprika, salt, pepper, and cayenne (if using). Reduce heat and let simmer gently for 15-20 minutes, stirring occasionally. The chili should thicken and develop a rich aroma. Note: If it gets too thick, add a splash of water or broth.
- Shred the Cheese and Prep Toppings: While chili simmers, shred the sharp cheddar and pepper jack cheeses. Slice jalapeños and green onions, crumble bacon if using, and set out sour cream and cilantro.
- Assemble the Loaded Chili Cheese Fries Bar: Arrange the crispy fries on a large platter or individual plates. Spoon generous amounts of chili over the fries, then sprinkle with shredded cheese so it melts over the warm chili. Add jalapeños, green onions, bacon, and dollops of sour cream. Garnish with fresh cilantro leaves for a pop of color and freshness.
- Serve Immediately: This is best enjoyed fresh and hot. Let your guests build their own loaded chili cheese fries with as many toppings as they like. Pro tip: Have extra napkins on hand—you’re going to need them!
Cooking Tips & Techniques
When I first attempted this cozy loaded chili cheese fries bar recipe, I learned a few valuable lessons that saved me from soggy fries and bland chili:
- Get the fries crispy: Oven-baked fries can sometimes turn limp under chili. To keep that crunch, bake them extra crispy before topping and avoid piling on too much chili at once.
- Layer flavors in the chili: Don’t rush the simmering step. Letting the chili cook low and slow brings out deeper, more complex flavors. I like to add smoked paprika for a subtle smoky undertone without needing a grill.
- Freshly shredded cheese melts best: Pre-shredded cheese often has anti-caking agents that prevent smooth melting, so take the extra minute to shred your own for that gooey, melty effect.
- Keep toppings separate: Set up a toppings bar with jalapeños, green onions, and sour cream in separate bowls. This way, everyone can customize their fries without making a messy plate.
- Cook chili in advance: This recipe works well if you prepare chili a day ahead and reheat it. The flavors develop beautifully overnight, making your game day prep easier.
Honestly, don’t be afraid to experiment with timing. I once burned the first batch of fries because I got distracted chatting with friends—just remember, crispy fries make or break this dish!
Variations & Adaptations
This cozy loaded chili cheese fries bar recipe is super flexible, so you can tailor it to your taste or dietary needs:
- Vegetarian Option: Swap ground meat for crumbled plant-based beef or extra beans and veggies like mushrooms and bell peppers in your chili.
- Seasonal Twist: In summer, try topping your fries with fresh diced tomatoes, corn kernels, and avocado slices for a fresher bite.
- Spice Level: Adjust the heat by adding more jalapeños, or tame it down by removing seeds and using mild cheese varieties.
- Gluten-Free: Use naturally gluten-free fries and double-check your chili seasoning blends to avoid hidden gluten.
- Different Cheeses: I’ve made this using mozzarella or Monterey Jack for a milder melt, and even blue cheese crumbles for a tangy twist.
One time, I made a loaded chili cheese fries bar for brunch by adding fried eggs on top—talk about a crowd-pleaser! Feel free to get creative and make this recipe truly your own.
Serving & Storage Suggestions
This loaded chili cheese fries bar shines best when served hot and fresh. I like to spread the fries and chili out on a large platter so everyone can dig in and customize their plates. Serving it with a crisp green salad or simple coleslaw balances all that richness nicely.
If you have leftovers (and sometimes there are none!), store chili and fries separately in airtight containers in the refrigerator for up to 3 days. Reheat chili gently on the stove or microwave, and crisp up leftover fries in the oven at 400°F (200°C) for 5-7 minutes to restore some crunch.
The flavors in the chili actually deepen after a day or two, so if you’re prepping ahead, you’re in luck. Just assemble the fries bar right before serving to keep everything at its best.
Nutritional Information & Benefits
This cozy loaded chili cheese fries bar recipe provides a satisfying mix of protein, carbs, and fats that keep you fueled during long game days. Here’s a rough estimate per serving (about 1 cup chili and a generous serving of fries):
| Nutrient | Amount |
|---|---|
| Calories | 450-550 kcal |
| Protein | 25-30 g |
| Carbohydrates | 40-45 g |
| Fat | 20-25 g |
| Fiber | 7-9 g |
The beans and lean meat offer good protein and fiber, while the cheese provides calcium and richness. You can tweak the recipe for dietary needs by choosing leaner meats, dairy-free cheese, or baked fries for lower fat.
One thing I appreciate about this recipe is how it brings comfort without feeling overly heavy—perfect for sharing with friends and family when you want warmth and flavor without guilt.
Conclusion
This cozy loaded chili cheese fries bar recipe is definitely worth trying if you want a snack that’s fun, flavorful, and crowd-friendly. It’s easy enough to whip up on a busy day but special enough to make guests feel welcome and spoiled. Plus, the bar-style setup turns eating into a social event, which I love.
Feel free to customize toppings, switch proteins, or even change the fries base to suit your vibe. I keep coming back to this recipe because it reminds me of that easy, neighborly kitchen moment that made me realize food is really about connection as much as flavor.
If you give this recipe a try, I’d love to hear how you made it your own—drop a comment or share your tweaks. Happy cooking and snacking!
FAQs
Can I make the chili ahead of time?
Yes! The chili actually tastes better after sitting overnight. Just reheat gently before serving.
What’s the best way to keep fries crispy under the chili?
Bake fries extra crispy and add chili just before serving. Avoid piling on too much chili at once.
Can I use frozen toppings like jalapeños or green onions?
Fresh is best for toppings like jalapeños and green onions, but pickled jalapeños from a jar work well too.
Is this recipe suitable for vegetarians?
Absolutely. Swap meat for beans or plant-based crumbles to keep it hearty and meat-free.
How can I make this recipe gluten-free?
Use gluten-free fries and check your chili seasoning for gluten-containing ingredients. Most basic chili recipes are naturally gluten-free.
Pin This Recipe!
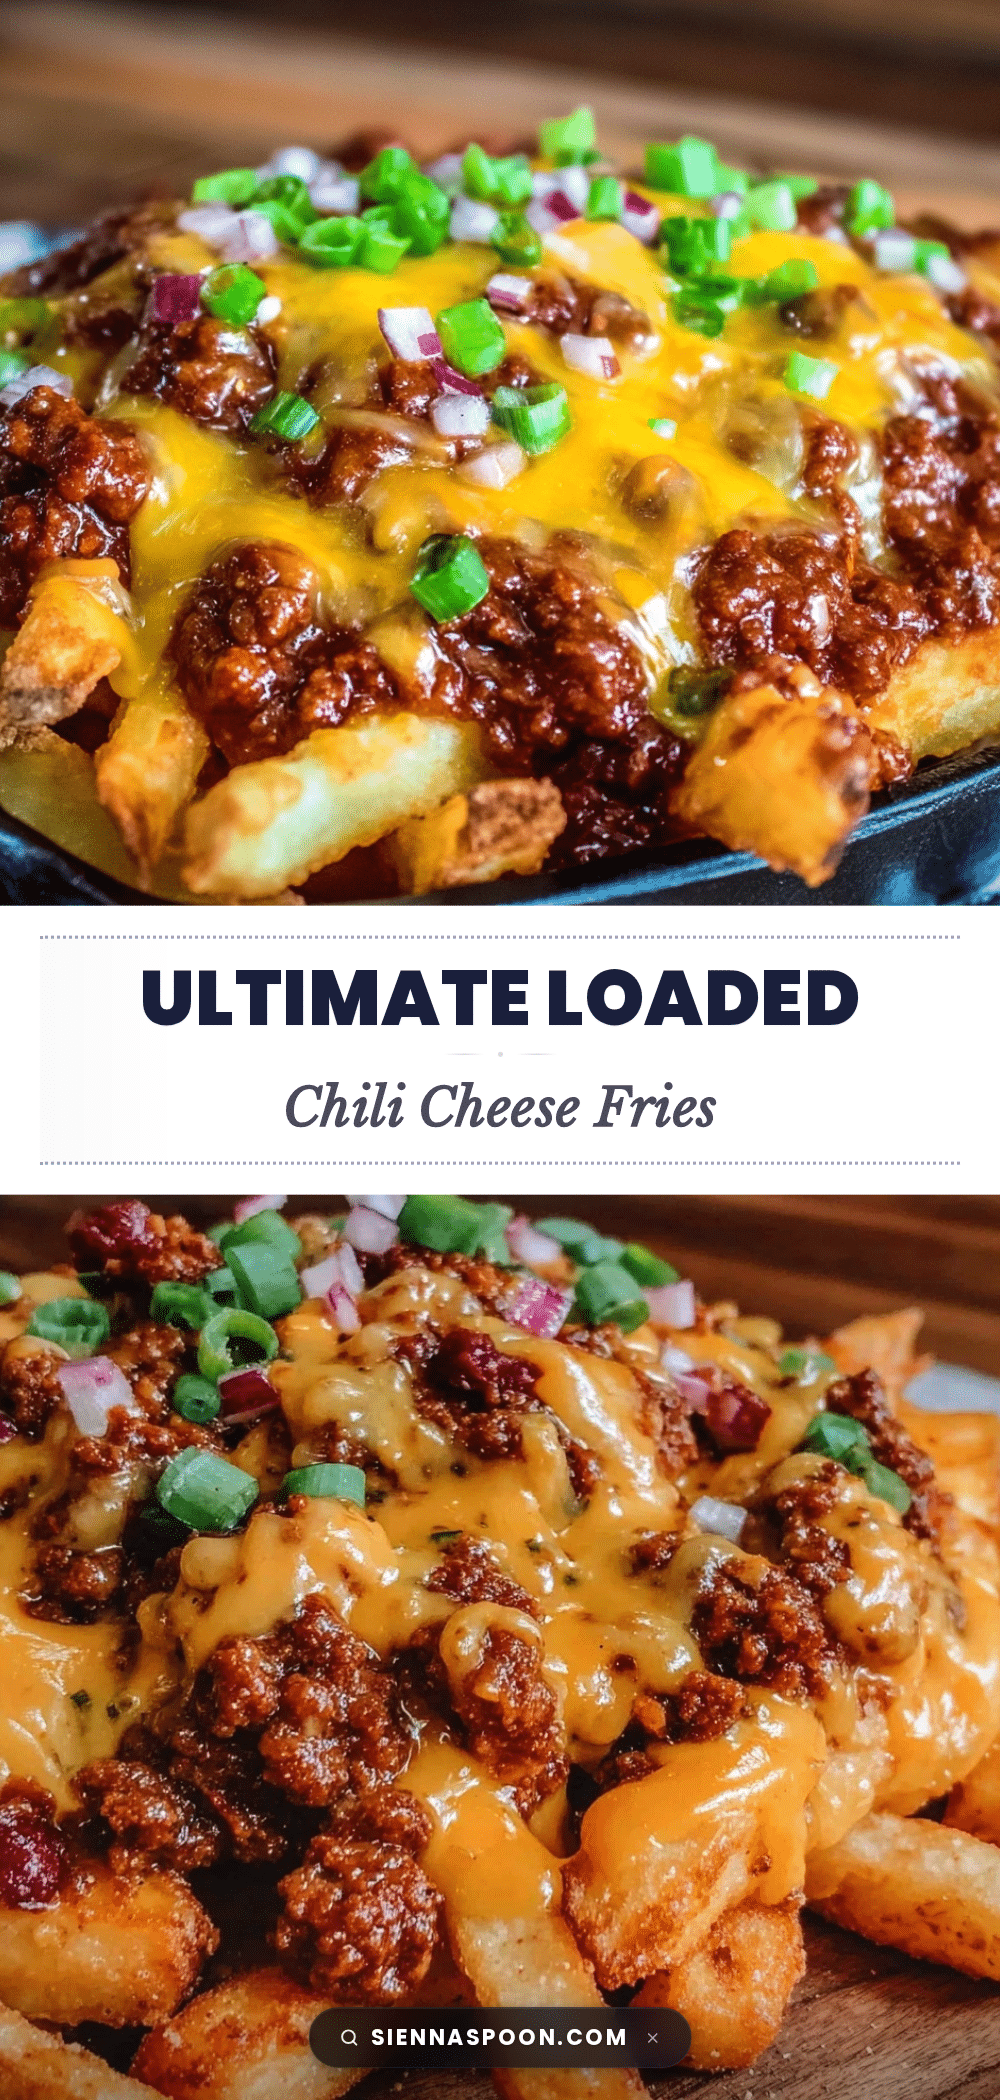
Loaded Chili Cheese Fries Bar Recipe

A cozy and crowd-pleasing loaded chili cheese fries bar perfect for game day snacks, featuring crispy fries, savory chili, melty cheese, and a variety of toppings for a fun, interactive experience.
- Prep Time: 15 minutes
- Cook Time: 30 minutes
- Total Time: 45 minutes
- Yield: 4 servings
- Category: Snack
- Cuisine: American
Ingredients
- Frozen crispy French fries or homemade fries (about 4 cups / 600g)
- Vegetable oil or olive oil for baking or frying
- Salt and pepper to taste
- Ground beef or turkey (1 lb / 450g)
- Onion, finely chopped (1 medium)
- Garlic cloves, minced (2 large)
- Tomato sauce (1 cup / 240ml)
- Kidney beans or black beans, rinsed and drained (1 cup / 170g)
- Chili powder (2 tbsp)
- Cumin (1 tsp)
- Smoked paprika (1 tsp)
- Salt and black pepper to taste
- Optional: a pinch of cayenne for heat
- Sharp cheddar cheese, shredded (1½ cups / 150g)
- Pepper jack cheese, shredded (1 cup / 100g)
- Jalapeños, sliced (fresh or pickled)
- Green onions, thinly sliced
- Sour cream or Greek yogurt for dolloping
- Fresh cilantro leaves (optional)
- Pickled jalapeños or banana peppers for tang
- Crumbled cooked bacon (optional)
Instructions
- Preheat your oven to 425°F (220°C). Spread the frozen fries evenly on a baking sheet lined with parchment paper. Drizzle with a little olive oil and season with salt and pepper. Bake for 20-25 minutes until golden and crispy, flipping halfway through. If using an air fryer, cook at 400°F (200°C) for about 15 minutes. Tip: Don’t overcrowd the fries or they’ll steam instead of crisp.
- While the fries bake, heat a large skillet over medium heat. Add the ground beef or turkey, breaking it apart with a wooden spoon. Cook until browned, about 6-8 minutes. Drain excess fat if needed.
- Add the chopped onion and garlic to the skillet and sauté for 3-4 minutes until softened and fragrant.
- Stir in the tomato sauce, beans, chili powder, cumin, smoked paprika, salt, pepper, and cayenne (if using). Reduce heat and let simmer gently for 15-20 minutes, stirring occasionally. The chili should thicken and develop a rich aroma. Note: If it gets too thick, add a splash of water or broth.
- While chili simmers, shred the sharp cheddar and pepper jack cheeses. Slice jalapeños and green onions, crumble bacon if using, and set out sour cream and cilantro.
- Arrange the crispy fries on a large platter or individual plates. Spoon generous amounts of chili over the fries, then sprinkle with shredded cheese so it melts over the warm chili. Add jalapeños, green onions, bacon, and dollops of sour cream. Garnish with fresh cilantro leaves for a pop of color and freshness.
- Serve immediately. This is best enjoyed fresh and hot. Let your guests build their own loaded chili cheese fries with as many toppings as they like. Pro tip: Have extra napkins on hand—you’re going to need them!
Notes
Bake fries extra crispy before topping to avoid sogginess. Let chili simmer low and slow for deeper flavor. Freshly shred cheese for best melting. Keep toppings separate for easy customization. Chili can be made ahead and reheated. Use gluten-free fries and check seasoning for gluten to keep recipe gluten-free. Vegetarian option by swapping meat for plant-based crumbles or extra beans.
Nutrition
- Serving Size: About 1 cup chili wi
- Calories: 450550
- Sugar: 46
- Sodium: 600800
- Fat: 2025
- Saturated Fat: 810
- Carbohydrates: 4045
- Fiber: 79
- Protein: 2530
Keywords: loaded chili cheese fries, game day snacks, chili cheese fries bar, easy chili recipe, loaded fries, party snacks, comfort food


