Love this? Save it for later!
Share the inspiration with your friends
I was elbow-deep in packing lunches for a weekend camping trip—peanut butter and jelly for my nephew, turkey and cheese for my niece, and something vaguely healthy for myself that I was already losing enthusiasm for. My neighbor, a retired school bus driver named Frank who I’d only ever seen watering his petunias, knocked on my door holding a Ziploc bag full of what looked like tiny, perfect ravioli. “Try these,” he said, shoving the bag into my hands. “I make ’em for my grandkids. No peanuts, so the school doesn’t freak out.”
I was skeptical, honestly. Frank wasn’t exactly known for his culinary genius—the man once told me his secret to chili was adding a can of soda. But inside that bag were these little sealed pockets of sunflower butter and jam, frozen solid, and they were beautiful. He’d used a fancy gadget I’d never seen before, but the idea was so simple I couldn’t believe I hadn’t thought of it myself. These easy sunflower butter and jelly freezer uncrustables were a game-changer for busy mornings, nut-free school lunches, and anyone who’s ever wanted a grab-and-go breakfast that doesn’t require a PhD in meal prep.
I mean, maybe you’ve been there—standing in front of the freezer at 7 a.m., wondering if you can convince your kid that a granola bar is a balanced meal. I know I have. That’s why Frank’s little invention stuck with me. I’ve made probably fifty batches since then, tweaking the method, testing different jams, and figuring out how to get that perfect seal without a fancy machine. And now, I’m sharing my version with you. These sunflower butter and jelly freezer uncrustables are about to make your mornings a whole lot easier.
Why You’ll Love This Recipe
Let me tell you why these little sandwiches have become my absolute favorite thing to keep in the freezer. They solve so many problems at once, it almost feels like cheating.
- Nut-Free School Lunches: With sunflower butter as the base, these are completely safe for nut-free classrooms, camps, and sports teams. No more stressing over ingredient labels or sending your kid with a boring alternative.
- Ready in Minutes: Once you’ve made a batch, breakfast or lunch is ready in the time it takes to grab one from the freezer and toss it in a lunchbox. By the time lunch rolls around, it’s perfectly thawed.
- Budget-Friendly: A jar of sunflower butter costs about the same as a loaf of decent bread, and you can make a dozen or more uncrustables for a fraction of the price of store-bought frozen sandwiches. Plus, you control the ingredients.
- Endlessly Customizable: Use any jam, jelly, or even Nutella-style hazelnut spread (if nuts are allowed). Add a sprinkle of cinnamon, swap in honey, or go wild with fruit preserves—the options are endless.
- Less Waste: No more half-eaten sandwiches or crusts thrown away. These are perfectly portioned, and the crustless design means even picky eaters will gobble them up.
I’ve tested this recipe with my niece and nephew, my picky-eater cousin, and a whole group of soccer moms who were skeptical until they tried one. The verdict? Everyone loved them. There’s something about that soft, slightly sweet bread, the creamy sunflower butter, and the burst of fruit jam that feels like a treat, not just a convenience food. And honestly, the fact that they take about 15 minutes to assemble for a week’s worth of lunches? That’s the kind of win I can get behind.
What Ingredients You Will Need
This recipe uses simple, everyday ingredients to create something that feels way more special than it should. You probably have most of these in your pantry right now, which is part of the magic.
- Bread: Use a soft, slightly squishy bread for the best texture after freezing. White bread, whole wheat, or even a brioche-style loaf all work great. Avoid dense, crusty breads—they don’t seal well and can get tough when frozen. I personally prefer a good-quality white bread for that classic uncrustable feel.
- Sunflower Butter: This is the star of the show. Look for a creamy, unsweetened or lightly sweetened sunflower butter. I recommend the SunButter brand for its smooth texture and clean flavor—no weird aftertaste. If you’re using a natural sunflower butter that separates, stir it really well before using.
- Jelly or Jam: Any flavor works! Strawberry, grape, raspberry, or even apple butter. I love using a good-quality fruit spread with real fruit chunks—it adds a nice texture. Avoid jelly that’s too runny, as it can make the bread soggy. If you’re using homemade jam, make sure it’s thick and not too liquidy.
- Optional: A Pinch of Salt: If your sunflower butter is unsalted, a tiny pinch of salt on the butter layer can really balance the sweetness of the jam. It’s a small trick that makes a big difference.
- Optional: Cinnamon or Vanilla: For a fun twist, sprinkle a little cinnamon over the sunflower butter, or add a drop of vanilla extract to the butter before spreading. It’s not necessary, but it’s a nice touch for special occasions.
That’s it! No preservatives, no weird additives, no mysterious ingredients you can’t pronounce. Just real food that tastes great and keeps your family happy. The beauty of this recipe is that it’s so simple, you can really focus on quality ingredients without breaking the bank. And if you’re feeling adventurous, you can even swap in almond butter or cashew butter if nuts are allowed—just keep in mind that changes the flavor profile and may affect the seal.
Equipment Needed
You don’t need a lot of fancy equipment to make these, which is part of why I love them so much. Here’s what you’ll need to get started:
- Uncrustables Sealer or Sandwich Sealer: This is the key tool. You can find these online or at kitchen supply stores for about $10-15. They come in different shapes—round, square, or even dinosaur shapes for kids. I have a classic round one that I’ve used for years, and it still works perfectly.
- Rolling Pin: A small rolling pin or even a clean wine bottle will work to flatten the bread slightly before sealing. This helps the edges stick together better.
- Butter Knife or Spatula: For spreading the sunflower butter and jam. A small offset spatula is my favorite—it gives you great control.
- Baking Sheet or Tray: To hold the uncrustables while you freeze them. Make sure it fits in your freezer.
- Parchment Paper or Wax Paper: To line the baking sheet so the sandwiches don’t stick.
- Freezer-Safe Bags or Container: For storing the finished uncrustables. I use gallon-sized zip-top bags, but a reusable container works too.
If you don’t have a sandwich sealer, you can use a round cookie cutter and a fork to crimp the edges—it takes a little more time, but it works. I’ve done it that way when my sealer was in the dishwasher, and honestly, the results were almost as good. Just make sure you press the edges firmly to create a seal.
Preparation Method
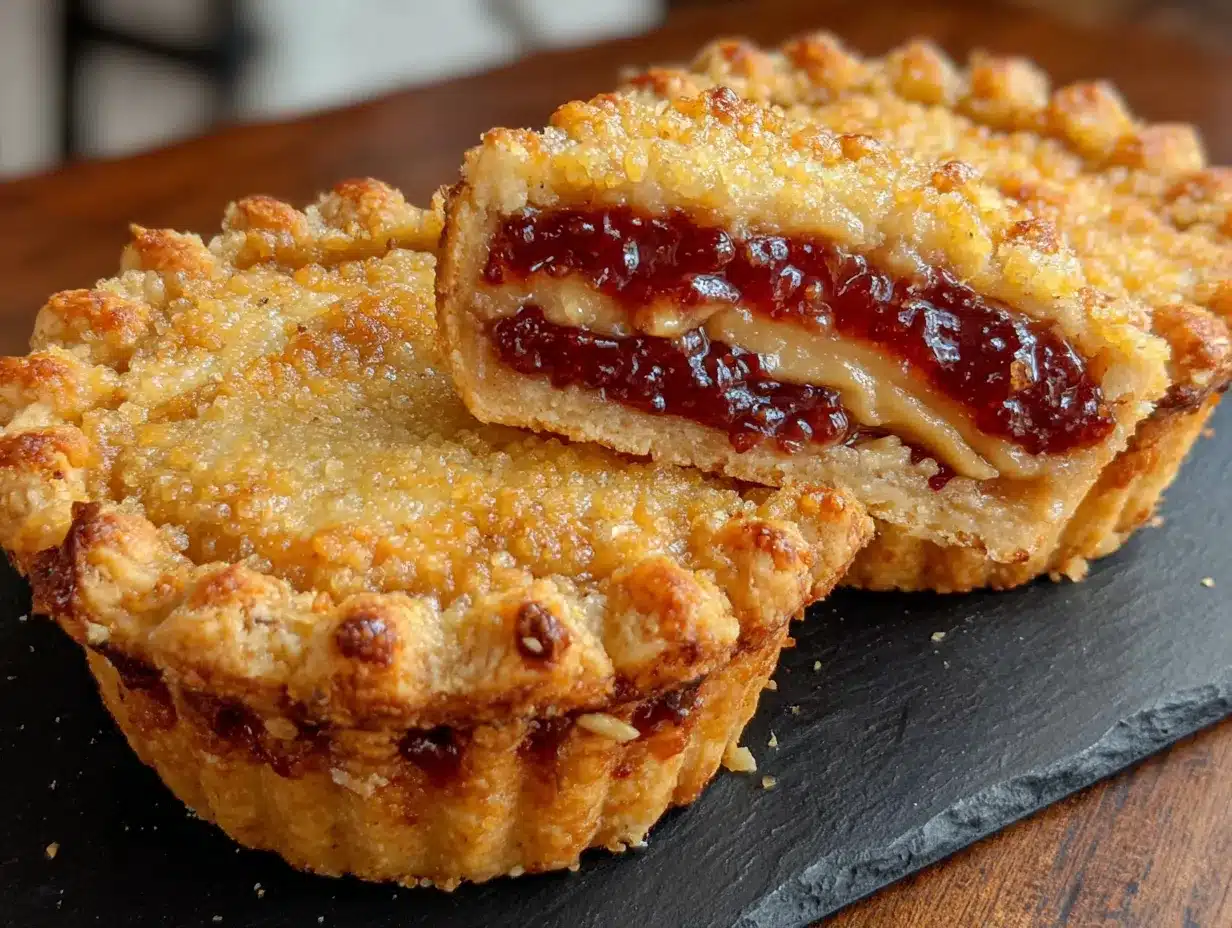
Making these is almost laughably easy. Here’s the step-by-step process I’ve perfected over many batches:
- Prep Your Workstation: Lay out all your ingredients and equipment. Take the bread out of the bag, but keep it in the bag to prevent it from drying out while you work. Line your baking sheet with parchment paper.
- Flatten the Bread: Take two slices of bread. Using your rolling pin, gently roll over each slice to flatten it slightly. You want it to be about 1/4 inch thick—thin enough to seal easily but not so thin it tears. This step is crucial for getting a good seal, so don’t skip it. If the bread is too puffy, the edges won’t stick together.
- Spread the Sunflower Butter: Using your butter knife or spatula, spread a thin, even layer of sunflower butter on one slice of bread. Go all the way to the edges—this helps create a seal when you press the two slices together. Use about 1 to 1.5 tablespoons per sandwich. Don’t overdo it, or it will squish out when you seal it.
- Add the Jelly: On the other slice of bread, spread a slightly thinner layer of jelly or jam. Again, go to the edges. Use about 1 to 1.5 teaspoons. If your jam is chunky, try to spread the fruit pieces evenly so every bite gets some.
- Assemble the Sandwich: Place the two slices together, jelly side facing sunflower butter side. Press down gently to help them stick. At this point, it looks like a regular sandwich, but we’re about to change that.
- Seal the Uncrustable: Place your sandwich sealer over the center of the sandwich, making sure the bread is evenly distributed inside the mold. Press down firmly. You’ll hear a satisfying crunch as the sealer cuts through the crust and seals the edges. If you’re using a cookie cutter and fork method, press the cutter down firmly, then use a fork to crimp the edges all around, pressing the tines into the bread to seal.
- Remove the Crust: Lift the sealer away—you should have a perfect little sealed pocket of goodness. The crust will remain in a ring around the sealer. Don’t throw it away! You can save the crusts to make breadcrumbs, croutons, or just toast them for a snack. I usually toss them in a bag in the freezer and use them later for stuffing or bread pudding.
- Freeze Immediately: Place the finished uncrustable on your parchment-lined baking sheet. Repeat with the remaining bread and filling. Once the sheet is full (or you’ve used all your bread), place the sheet in the freezer for at least 2-3 hours, or until the sandwiches are completely frozen solid. This step is important—if you try to pack them while they’re still soft, they’ll stick together.
- Transfer to Storage: Once frozen, transfer the uncrustables to a freezer-safe bag or container. They’ll keep for up to 3 months. Just make sure to squeeze out as much air as possible to prevent freezer burn.
A few notes from my own experience: If your bread is really fresh, it can be harder to seal because it’s too soft. Let it sit out for an hour or two to dry slightly, or use bread that’s a day or two old. Also, if you’re making a big batch, work in assembly-line fashion—flatten all the bread first, then spread all the sunflower butter, then all the jelly, then seal them all at once. It’s way more efficient.
Cooking Tips & Techniques
I’ve made plenty of mistakes with these, so let me save you the trouble. Here are my best tips for perfect sunflower butter and jelly freezer uncrustables every time:
- Don’t Overfill: This is the number one mistake. Too much filling will squish out when you seal the sandwich, making a mess and preventing a good seal. Use a light hand with both the sunflower butter and the jelly. You can always add more, but you can’t take it out once it’s squished.
- Keep the Edges Clean: When spreading the fillings, make sure you go all the way to the edges, but don’t let the filling drip over the edge. If there’s filling on the outer edge of the bread, the seal won’t hold, and you’ll end up with a leaky mess. Wipe any stray jam or butter off the edges before sealing.
- Use Room Temperature Fillings: Cold sunflower butter is harder to spread and can tear the bread. Let it sit at room temperature for 10-15 minutes before using. Same goes for jam—if it’s straight from the fridge, it can be too thick to spread evenly.
- Press Firmly, But Not Too Hard: When using the sealer, you want to press firmly enough to cut through the bread and seal the edges, but not so hard that you squish the filling out. It takes a little practice, but you’ll get a feel for it after a few tries.
- Freeze in a Single Layer: When you first put the uncrustables in the freezer, make sure they’re not touching each other. If they touch while still soft, they’ll freeze together and you’ll have to pry them apart, which can break the seal. Once they’re frozen solid, you can pile them up in a bag.
- Label Your Bags: I know it sounds silly, but after a month in the freezer, all frozen sandwiches look the same. Write the date and what’s inside (sunflower butter and jelly, or maybe a variation) on the bag. Future you will thank you.
One time, I forgot to flatten the bread, and the uncrustables came out lumpy and uneven. The seal was weak, and they leaked jam all over the lunchbox. It was a disaster. Now I never skip the flattening step—it’s the secret to that perfect, professional-looking seal. Also, don’t be afraid to experiment with the shape. I have a heart-shaped sealer that I use for Valentine’s Day lunches, and my niece absolutely loses her mind over it.
Variations & Adaptations
Once you’ve mastered the basic recipe, the possibilities are endless. Here are some of my favorite variations:
- Honey and Sunflower Butter: Swap the jelly for a drizzle of honey. It’s a simpler, less sweet option that kids love. Just be careful not to use too much honey, as it can make the bread soggy. A teaspoon per sandwich is plenty.
- Sunflower Butter and Banana: Spread the sunflower butter, then add a few thin slices of banana instead of jelly. The banana adds natural sweetness and a creamy texture. These don’t freeze as well because the banana can get mushy, so I recommend making these fresh and eating them within a day.
- Sunflower Butter and Apple Butter: For a fall-inspired twist, use apple butter instead of jelly. It has a warm, spiced flavor that pairs beautifully with sunflower butter. Add a sprinkle of cinnamon for extra coziness.
- Chocolate Sunflower Butter: Mix a tablespoon of cocoa powder into your sunflower butter before spreading. It creates a Nutella-like spread that’s nut-free and delicious. Kids will think they’re getting dessert for lunch.
- Savory Version: Yes, you can make savory uncrustables too! Use cream cheese and cucumber slices, or hummus and roasted red pepper. The method is exactly the same—just skip the sweet fillings. These are great for a quick lunch or snack.
- Gluten-Free Option: Use your favorite gluten-free bread. Just be aware that gluten-free bread can be more fragile and harder to seal. Flatten it gently, and consider using a slightly smaller sealer to avoid tearing. I’ve had good luck with Udi’s gluten-free white bread.
My personal favorite variation is the honey and sunflower butter combo. It’s so simple, but the sweetness of the honey with the nutty, savory sunflower butter is just perfect. I make a batch of those and a batch of the classic jelly version, and my family gets to choose their favorite. It feels like a little act of love, you know?
Serving & Storage Suggestions
These uncrustables are designed to be eaten straight from the freezer, which is part of their magic. Here’s how to serve and store them for the best experience:
- For School Lunches: Pack a frozen uncrustable in your child’s lunchbox in the morning. By lunchtime, it will be perfectly thawed and soft, but still cool. The bread won’t be soggy, and the filling will be at the perfect temperature. It’s like a little ice pack that doubles as a meal.
- For Breakfast on the Go: Grab one from the freezer and let it sit at room temperature for 10-15 minutes while you get ready. It’s a quick, filling breakfast that doesn’t require any cooking or cleanup. Pair it with a piece of fruit and you’re good to go.
- For Snacks: These make great after-school snacks. Just pop one in the microwave for 10-15 seconds if you want it slightly warm, or eat it straight from the fridge after it’s thawed. My nephew likes his with a glass of cold milk.
- Storage Instructions: Keep the uncrustables in a freezer-safe bag or container for up to 3 months. To prevent freezer burn, squeeze out as much air as possible before sealing the bag. If you’re stacking them, place a piece of parchment paper between layers so they don’t stick together.
- Thawing Tips: For best results, let the uncrustable thaw in the refrigerator overnight or at room temperature for about an hour. If you’re in a hurry, microwave on low power for 15-20 seconds. Just be careful not to overheat, or the filling can get too hot and burn your mouth.
One thing I love about these is that the flavors actually meld together as they freeze and thaw. The sunflower butter becomes a little creamier, and the jelly infuses into the bread slightly. It’s like the sandwich gets better with time. I’ve found that they taste best after they’ve been frozen for at least 24 hours—the texture is just right.
Nutritional Information & Benefits
These sunflower butter and jelly freezer uncrustables are a healthier alternative to store-bought frozen sandwiches, and they offer some surprising nutritional benefits:
- Sunflower Butter: Packed with healthy fats, vitamin E, magnesium, and selenium. It’s a great source of plant-based protein and fiber, which helps keep you full and satisfied. Unlike peanut butter, sunflower butter is nut-free, making it safe for school and daycare environments.
- Jelly or Jam: Depending on the brand, jelly can be a source of antioxidants from berries. Look for fruit spreads with no added sugar or high-fructose corn syrup for a healthier option. You can also use homemade jam to control the sugar content.
- Bread: Whole wheat bread adds fiber and complex carbohydrates for sustained energy. White bread is a good option for picky eaters and provides quick energy. Either way, you’re getting a balanced snack or meal.
- Calories: Each uncrustable contains approximately 200-250 calories, depending on the bread and fillings. That’s a reasonable amount for a snack or part of a lunch.
- Allergen Information: These are nut-free, soy-free (if you choose the right bread), and can be made gluten-free. Always check labels on your sunflower butter and bread to ensure they meet your dietary needs. Some sunflower butter is processed in facilities that also handle nuts, so look for certified nut-free brands if that’s a concern.
From a personal perspective, I love that these uncrustables let me feel good about what I’m feeding my family. They’re not just convenient—they’re actually nutritious. The sunflower butter provides lasting energy, the fruit adds vitamins, and the whole thing feels like a treat. It’s a win-win in my book.
Conclusion
These easy sunflower butter and jelly freezer uncrustables have honestly changed my morning routine. No more frantic sandwich-making at 7 a.m., no more worrying about nut allergies, and no more wasted crusts. They’re simple, affordable, and endlessly customizable—everything a good recipe should be.
I hope you’ll give them a try and make them your own. Maybe you’ll add a sprinkle of cinnamon, swap in your favorite jam, or even try a savory version. The beauty of this recipe is that it’s a starting point, not a rulebook. And if you come up with a variation that blows your mind, I’d love to hear about it. Drop a comment below and tell me how you made these uncrustables your own. Your next batch might just inspire someone else’s lunchbox revolution.
Happy cooking, and here’s to less stress and more delicious mornings!
FAQs
Can I use peanut butter instead of sunflower butter?
Absolutely! If nuts are allowed in your household or school, peanut butter works perfectly. Just keep in mind that the flavor and texture will be different, and the nutritional profile changes slightly. The method is exactly the same.
Do I have to use a sandwich sealer?
No, you can use a round cookie cutter and a fork to crimp the edges. It takes a little more time and patience, but it works. Just press the fork tines firmly into the bread all around the edge to create a seal. You can also use a glass with a thin rim to cut the shape and then crimp with a fork.
How long do these last in the freezer?
They’ll keep for up to 3 months in a well-sealed freezer bag or container. After that, they’re still safe to eat, but the texture may start to degrade. The bread can get a little dry or develop freezer burn if not stored properly.
Can I make these with gluten-free bread?
Yes, but gluten-free bread is more fragile and can be harder to seal. Flatten it gently, and consider using a slightly smaller sealer to avoid tearing. I’ve had good results with Udi’s gluten-free white bread. Just be prepared for a slightly different texture.
My uncrustables are leaking jam. What am I doing wrong?
This usually happens for one of three reasons: you’re using too much filling, the bread isn’t flattened enough, or the edges weren’t pressed firmly enough. Make sure you spread the fillings thinly and evenly, flatten the bread well, and press the sealer down firmly. Also, check that your jam isn’t too runny—thicker jams work better.
Pin This Recipe!
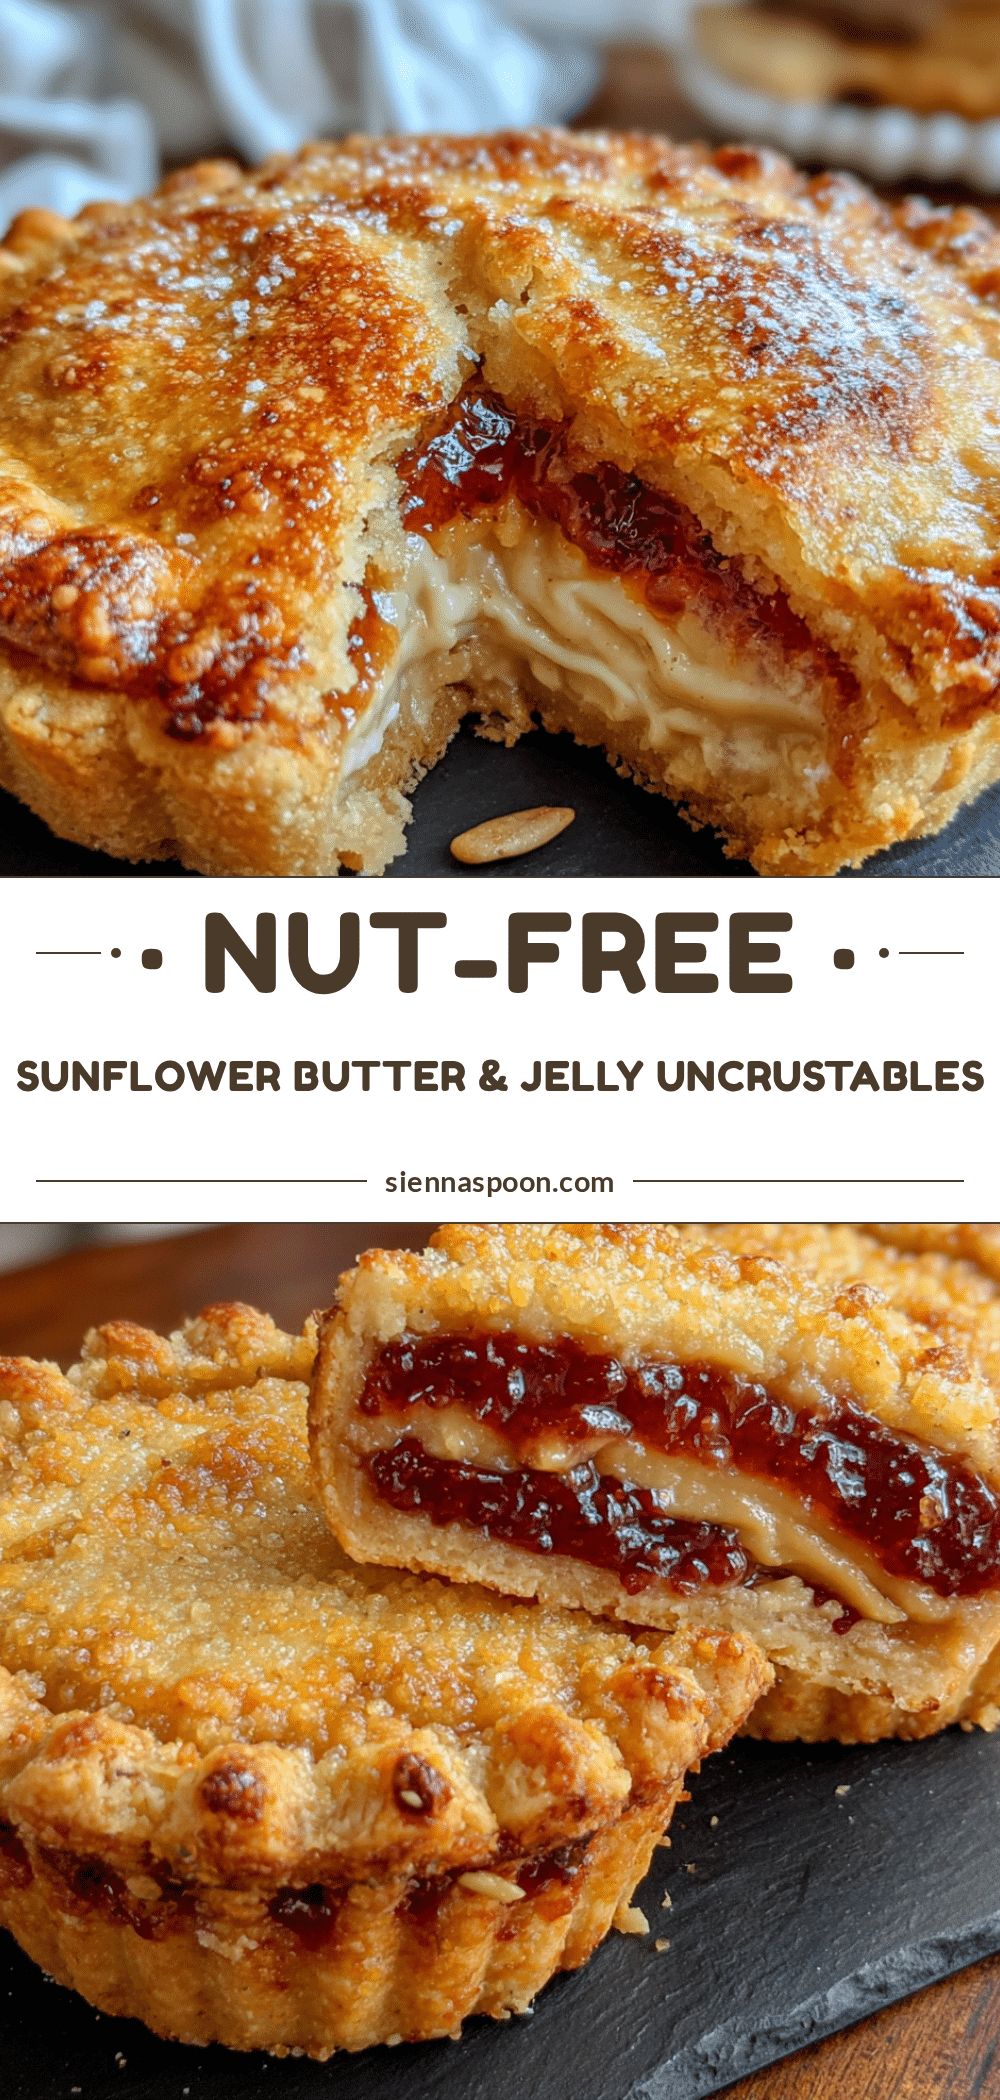
Easy Sunflower Butter and Jelly Freezer Uncrustables
These nut-free, freezer-friendly uncrustables are perfect for busy mornings and school lunches. Made with sunflower butter and your favorite jam, they’re ready in minutes and endlessly customizable.
- Prep Time: 15 minutes
- Cook Time: 0 minutes
- Total Time: 15 minutes (plus 2-3 hours freezing time)
- Yield: 4 servings 1x
- Category: Snack
- Cuisine: American
Ingredients
- 8 slices soft bread (white, whole wheat, or brioche)
- 1/2 cup creamy sunflower butter (e.g., SunButter)
- 1/4 cup jelly or jam (strawberry, grape, raspberry, etc.)
- Pinch of salt (optional, if sunflower butter is unsalted)
- Cinnamon or vanilla extract (optional)
Instructions
- Prep your workstation: Lay out all ingredients and equipment. Line a baking sheet with parchment paper.
- Flatten the bread: Using a rolling pin, gently roll each slice of bread to about 1/4 inch thick.
- Spread sunflower butter: Spread a thin, even layer (about 1 to 1.5 tablespoons) on one slice of bread, going all the way to the edges.
- Add jelly: Spread a thin layer (about 1 to 1.5 teaspoons) of jelly on the other slice of bread, also to the edges.
- Assemble the sandwich: Place the two slices together, jelly side facing sunflower butter side. Press down gently.
- Seal the uncrustable: Place a sandwich sealer over the center of the sandwich and press down firmly to cut and seal. Alternatively, use a round cookie cutter and crimp edges with a fork.
- Remove the crust: Lift the sealer away; save crusts for another use (e.g., breadcrumbs).
- Freeze immediately: Place the uncrustable on the prepared baking sheet. Repeat with remaining bread and filling.
- Freeze solid: Place the baking sheet in the freezer for at least 2-3 hours, until sandwiches are completely frozen.
- Transfer to storage: Once frozen, transfer uncrustables to a freezer-safe bag or container. Squeeze out excess air. Store for up to 3 months.
Notes
For best results, use bread that is a day or two old (not too fresh). Flatten bread well to ensure a good seal. Do not overfill. If using gluten-free bread, flatten gently and consider a smaller sealer. Let sunflower butter come to room temperature for easier spreading.
Nutrition
- Serving Size: 1 uncrustable
- Calories: 220
- Sugar: 10
- Sodium: 200
- Fat: 10
- Saturated Fat: 1.5
- Carbohydrates: 28
- Fiber: 3
- Protein: 6
Keywords: sunflower butter, jelly, freezer uncrustables, nut-free, school lunch, grab-and-go, breakfast, snack