Love this? Save it for later!
Share the inspiration with your friends
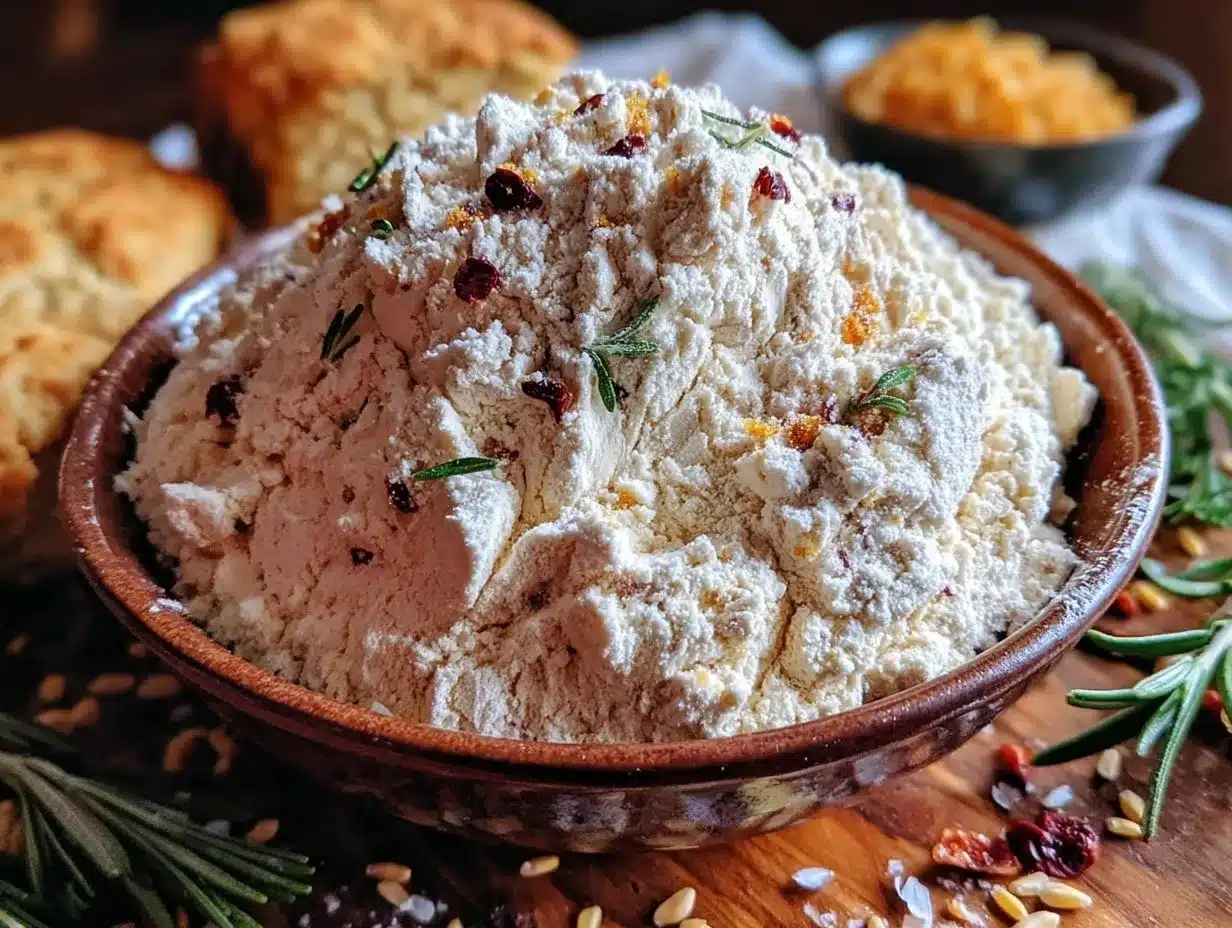
“I wasn’t expecting much when I grabbed that dusty notebook from the back corner of the library’s community shelf,” I confessed to myself one rainy Saturday afternoon. Inside, scribbled in faded ink, was a recipe titled Easy Perfect Gluten-Free Flour Blend for All-Purpose Baking. Honestly, I’d been burned before trying to mix my own gluten-free flours—cakes that crumbled like dry sand, cookies that tasted like cardboard. But something about those handwritten notes, a few extra scrawled tips, made me take a leap of faith.
That day, in my tiny kitchen cluttered with mismatched bowls and a cracked wooden spoon, I mixed, sifted, and tested batch after batch. My dog, Greta, kept me company, occasionally begging for a stray crumb. The first attempt was a mess—too dense, a bit gritty—but I tweaked the ratios and texture until I finally nailed it. This blend works like a charm for everything from fluffy pancakes to tender muffins, and I swear, it’s become my secret weapon for gluten-free baking that doesn’t feel like a compromise.
Maybe you’ve been there—staring at a cupboard full of strange flours, wondering if you’ll ever get that perfect crumb. Well, this recipe stayed with me because it’s simple, forgiving, and honestly, it just tastes right. So, if you’re ready to toss those expensive pre-mixed bags and bake with a blend that feels like it was made just for your kitchen, read on. Let me tell you why this easy perfect gluten-free flour blend might just change your baking game.
Why You’ll Love This Recipe
After countless trials and a few flour-covered mishaps, this easy perfect gluten-free flour blend has become my go-to for baking everything without gluten. It’s a real crowd-pleaser and surprisingly versatile. Here’s why I keep coming back to it:
- Quick & Easy: Ready in under 10 minutes, making it ideal for last-minute baking or busy mornings.
- Simple Ingredients: No need to hunt down rare flours—most are pantry staples or easy to find at your local store.
- Perfect for All-Purpose Use: Whether you’re baking bread, cookies, or even pancakes, this blend adapts beautifully.
- Crowd-Pleaser: Friends and family often can’t believe it’s gluten-free—it has that perfect crumb and texture.
- Unbelievably Delicious: The balance of flours creates a neutral taste that lets your recipe’s flavor shine.
What sets this blend apart? The secret lies in the carefully chosen ratios and the addition of a tiny bit of xanthan gum, which gives your baked goods that classic elasticity and chewiness. I’ve tested this blend alongside many commercial mixes, and honestly, it holds its own in every recipe. It’s like comfort food without the gluten fuss, and that’s exactly why it’s become a staple in my kitchen.
What Ingredients You Will Need
This gluten-free flour blend uses straightforward, wholesome ingredients to achieve a balanced texture and flavor that works across the board. If you’re used to complicated mixes, this one keeps it simple without sacrificing results.
- Brown Rice Flour: 2 cups (320 g) – provides a mild, nutty base that’s less gritty than white rice flour. I prefer Bob’s Red Mill for consistent quality.
- Tapioca Starch: 2/3 cup (85 g) – adds chewiness and a slight stretch, important for texture.
- Potato Starch: 1/3 cup (45 g) – lightens the blend and keeps baked goods tender.
- Sweet Rice Flour (Glutinous Rice Flour): 1/3 cup (45 g) – helps with binding and moisture retention.
- Xanthan Gum: 1 teaspoon – critical for structure and elasticity, especially in breads and cakes.
If you’re looking for a gluten-free blend that doesn’t rely on weird additives, this is it. All of these ingredients should be labeled gluten-free to avoid cross-contamination. If you don’t have sweet rice flour, you can swap it with more tapioca starch, but the texture might be slightly different. For a nutty twist, some people like adding almond flour in small amounts, but I find this basic blend covers most baking needs perfectly.
Equipment Needed
- Measuring Cups and Spoons: Accurate measurement really matters here to get the right balance.
- Mixing Bowl: A large, preferably glass or ceramic bowl for easy mixing.
- Whisk or Sifter: To thoroughly combine and aerate the flours, you can use a fine mesh sieve or a balloon whisk.
- Airtight Container: For storing your flour blend to keep it fresh and clump-free.
If you don’t have a sifter, no worries—just whisk the flours thoroughly. I used to mix mine in a big mixing bowl and sometimes got flour dust everywhere (a small price for good baking). An airtight container is key, though; trust me, the blend lasts well but can clump if exposed to moisture.
Preparation Method
- Measure the Flours: Use a kitchen scale if you can—it’s more accurate than cups. Measure 2 cups (320 g) brown rice flour, 2/3 cup (85 g) tapioca starch, 1/3 cup (45 g) potato starch, and 1/3 cup (45 g) sweet rice flour.
- Combine in a Large Bowl: Pour all the flours into your mixing bowl. If you’re using cups, spoon the flour lightly into the cup and level it off—don’t scoop directly from the bag to avoid compacting.
- Whisk Thoroughly: Use a balloon whisk or sift the flours together at least 3 times. This helps distribute the starches evenly and prevents clumps.
- Add Xanthan Gum: Stir in 1 teaspoon xanthan gum. This ingredient can be tricky—too little and your baked goods crumble, too much and they get gummy. One teaspoon per 3 cups of blend is just right.
- Store Properly: Transfer the blend to an airtight container. Label it with the date and contents. It keeps best in a cool, dry place for up to 3 months.
- Test it Out: Try it in a simple recipe like pancakes or muffins to see how it performs. The batter should feel smooth and pourable, not gritty or dry.
Note: If you notice your dough or batter feels too dry, adding a tablespoon or two of extra liquid (like milk or water) can help—gluten-free baking sometimes needs a little fussing. Also, don’t skip the xanthan gum unless your recipe already includes a binder.
Cooking Tips & Techniques
Gluten-free baking can be a bit temperamental, but with this blend, a few tricks go a long way:
- Mix Gently Yet Thoroughly: Unlike traditional wheat doughs, overmixing gluten-free batters can make them dense. Whisk or stir just until combined.
- Don’t Skip the Resting Time: Let the batter or dough rest 10-15 minutes before baking. This hydrates the flours and improves texture.
- Use Room Temperature Ingredients: Eggs, milk, and butter perform better when not cold, helping the blend come together smoothly.
- Watch Baking Times: Gluten-free goods often bake faster. Start checking 5 minutes before the recipe’s stated time to avoid dryness.
- Experiment with Add-ins: Spices, vanilla, or citrus zest complement the neutral flour blend beautifully.
My biggest lesson? Patience. I once baked a loaf of bread that looked perfect but was a bit crumbly because I forgot the xanthan gum. That taught me to double-check ingredients before mixing! Also, multitasking helps—while your batter rests, prep your pans or wash up to keep the kitchen manageable.
Variations & Adaptations
This blend is a fantastic base, but you can tweak it to suit your needs:
- Gluten-Free & Grain-Free: Swap brown rice flour for almond flour and use arrowroot powder instead of tapioca starch for a paleo-friendly mix.
- Seasonal Flavors: Add a tablespoon of ground cinnamon or pumpkin pie spice for fall-inspired baking.
- Lower Carb Option: Replace some starches with coconut flour, but reduce the quantity since coconut flour is very absorbent.
For different cooking methods, this blend works well in muffins, quick breads, pancakes, and cookies. I’ve personally tried it in a gluten-free version of crispy garlic chicken coating (yes, just as a breading mix!) and it held up surprisingly well. For allergy substitutions, if you’re sensitive to xanthan gum, try guar gum in equal amounts.
Serving & Storage Suggestions
When using this flour blend, baked goods come out best served fresh and slightly warm. A quick zap in the microwave or a few minutes in a low oven refreshes muffins and breads beautifully.
Serve with butter, honey, or your favorite jam to highlight the neutral flavor of the blend. It pairs especially well with a hot cup of tea or coffee for a cozy breakfast.
Store any unused blend in an airtight container in a cool, dry spot. For longer storage, keep it in the refrigerator or freezer to prevent rancidity, especially if your blend includes nut flours.
Leftover baked goods freeze well wrapped tightly. Thaw at room temperature, then toast or warm slightly to revive that fresh-baked texture. Flavors often deepen after a day or two, so don’t hesitate to make a batch ahead.
Nutritional Information & Benefits
Here’s a rough estimate per 1/4 cup (30 g) of the flour blend:
| Calories | 110 |
|---|---|
| Carbohydrates | 24 g |
| Fiber | 1.5 g |
| Protein | 2 g |
| Fat | 0.2 g |
Brown rice flour offers a mild protein boost and is naturally gluten-free. Tapioca and potato starches contribute to lightness without adding fat or gluten. Xanthan gum is used in tiny amounts but plays a big role in texture rather than nutrition.
This blend suits those avoiding gluten due to celiac disease or sensitivity. It’s naturally dairy-free and vegan, and with slight adjustments, can fit paleo or low-carb diets. Just watch for nut flour substitutions if allergies are a concern.
From a wellness perspective, baking with this blend lets you enjoy home-baked treats without the gut discomfort gluten can cause. It’s a small change that makes a big difference in comfort and enjoyment.
Conclusion
So there you have it—an easy perfect gluten-free flour blend that’s truly all-purpose and surprisingly forgiving. Whether you’re a seasoned baker or just starting out, this recipe lets you bake with confidence and fewer headaches. I love how it simplifies my pantry and makes every batch turn out just right, even on rushed mornings or last-minute dessert emergencies.
Give it a try, tweak it to your taste, and make it your own. I’d love to hear how it works in your kitchen or what creative twists you come up with. Share your experiences, questions, or even those funny kitchen mishaps—I’m all ears!
Happy baking, and remember, sometimes the simplest blends bring the biggest smiles.
FAQs
Is this gluten-free flour blend suitable for bread baking?
Yes! With the xanthan gum included, it provides enough structure for gluten-free breads to rise and hold together nicely.
Can I omit the xanthan gum?
It’s not recommended since xanthan gum acts as a binder. If you must, substitute with guar gum in equal amounts, but expect a different texture.
How should I store the gluten-free flour blend?
Keep it in an airtight container in a cool, dry place. For longer freshness, storing it in the fridge or freezer is best.
Can I use this blend for pastries and pie crusts?
Absolutely! It works well for delicate baked goods, but you might want to adjust fat content in your recipe for flakier results.
What if I don’t have sweet rice flour?
You can replace it with more tapioca starch, but the texture may be slightly less chewy. Sweet rice flour helps with moisture and binding.
Pin This Recipe!
Easy Perfect Gluten-Free Flour Blend for All-Purpose Baking
A simple, versatile gluten-free flour blend perfect for baking everything from pancakes to muffins, providing a great texture and neutral flavor.
- Prep Time: 10 minutes
- Cook Time: 0 minutes
- Total Time: 10 minutes
- Yield: About 3 cups of gluten-free flour blend 1x
- Category: Baking Ingredient
- Cuisine: Gluten-Free
Ingredients
- 2 cups (320 g) brown rice flour
- 2/3 cup (85 g) tapioca starch
- 1/3 cup (45 g) potato starch
- 1/3 cup (45 g) sweet rice flour (glutinous rice flour)
- 1 teaspoon xanthan gum
Instructions
- Measure the flours using a kitchen scale if possible: 2 cups (320 g) brown rice flour, 2/3 cup (85 g) tapioca starch, 1/3 cup (45 g) potato starch, and 1/3 cup (45 g) sweet rice flour.
- Pour all the flours into a large mixing bowl. If using cups, spoon the flour lightly into the cup and level it off—do not scoop directly from the bag.
- Whisk or sift the flours together at least 3 times to distribute starches evenly and prevent clumps.
- Stir in 1 teaspoon xanthan gum to provide structure and elasticity.
- Transfer the blend to an airtight container, label with date and contents, and store in a cool, dry place for up to 3 months.
- Test the blend in recipes like pancakes or muffins; batter should feel smooth and pourable, not gritty or dry.
Notes
Use a kitchen scale for accuracy. If you don’t have sweet rice flour, substitute with more tapioca starch but expect a slightly different texture. Store blend in an airtight container in a cool, dry place or refrigerate/freezer for longer freshness. Do not omit xanthan gum unless substituting with guar gum. Let batter rest 10-15 minutes before baking for best texture.
Nutrition
- Serving Size: 1/4 cup (30 g) of fl
- Calories: 110
- Fat: 0.2
- Carbohydrates: 24
- Fiber: 1.5
- Protein: 2
Keywords: gluten-free flour blend, all-purpose gluten-free flour, gluten-free baking, xanthan gum, brown rice flour, tapioca starch, potato starch, sweet rice flour