Love this? Save it for later!
Share the inspiration with your friends
My sister-in-law wasn’t trying to impress anyone. I’d stopped by on a Tuesday afternoon to drop off a book I’d borrowed, and the smell of peanut butter and something faintly sweet hit me before I even made it past her front door. She was standing at the kitchen counter with a toddler on her hip, a smear of peanut butter on her elbow, and a stack of flour tortillas in front of her. “Snack time,” she said, like it was nothing. Like she wasn’t about to change my entire approach to feeding kids.
She rolled up a banana in a tortilla like it was the most obvious thing in the world, sliced it into little rounds, and handed them to her daughter who practically inhaled them. I stood there watching, honestly a little stunned that I’d never thought of this before. It was so simple it almost felt like cheating. And let me tell you, I’ve been making these Easy Peanut Butter Banana Sushi Roll-Ups for Kids ever since that day, and they’ve never once let me down.
Maybe you’ve been there, standing in your kitchen at 3 PM wondering what on earth to feed a hungry kid who’s bored with everything. That’s exactly where this recipe shines. It takes about five minutes, uses stuff you probably already have, and somehow makes a snack feel like a treat. That’s the kind of magic you can’t plan for.
Why You’ll Love This Recipe
I’ve tested this recipe more times than I can count, and I can tell you with confidence it’s a winner. Here is why this snack deserves a permanent spot in your rotation:
- Quick & Easy: This comes together in under 5 minutes. No joke. Perfect for those moments when you need something fast and the hangry meltdown is about to start.
- Simple Ingredients: You need exactly three main ingredients. No fancy grocery trips, no obscure items you’ll use once and forget about.
- Perfect for Lunchboxes: These roll-ups pack beautifully and stay fresh for hours. They are a lunchbox hero that actually comes home empty.
- Crowd-Pleaser: Picky eaters, adventurous eaters, adults sneaking one from the plate — everyone loves these little guys.
- Unbelievably Delicious: The combination of creamy peanut butter, sweet banana, and soft tortilla is pure comfort food. It’s the kind of snack that makes you close your eyes after the first bite.
What makes this version different from the rest is the technique. Instead of spreading peanut butter on a tortilla and rolling it up like a burrito, I take an extra thirty seconds to mash the banana slightly before rolling. It creates this creamy, almost pudding-like texture that blends with the peanut butter perfectly. No weird dry bites, no slipping banana chunks. Just pure, even deliciousness in every single piece.
This isn’t just another snack idea. It’s the one that saves your afternoon, makes your kid smile, and takes literally no effort. Honestly, that’s the best kind of recipe there is.
What Ingredients You Will Need
This recipe uses such simple ingredients that you probably have them all right now. Here is what you need and why each one matters:
- Flour tortillas (8-inch): These are the perfect size for rolling. I prefer the soft taco size because they roll up easily without cracking. Look for ones that are pliable and fresh. You can use whole wheat or spinach tortillas for a fun color variation. My kids actually love the green ones — it makes the “sushi” look more authentic to them.
- Creamy peanut butter (about 2 tablespoons per roll-up): Go with a brand you trust. I like Skippy or Jif for their consistent texture, but any creamy peanut butter works. Natural peanut butter that separates can be a little trickier to spread evenly, so just stir it really well first. If you need a nut-free option, SunButter or WowButter work beautifully here.
- Ripe bananas (1 per roll-up): The riper the banana, the sweeter and softer your filling will be. Look for bananas with some brown spots on the peel. They mash easier and taste better. Under-ripe green bananas are harder to mash and lack that natural sweetness that makes this snack so good.
- Optional: Honey or maple syrup (1 teaspoon): If your bananas aren’t super ripe or you want an extra touch of sweetness, a tiny drizzle goes a long way. My kids like it with a little honey, but honestly, ripe bananas usually do the job on their own.
- Optional: Mini chocolate chips (1 tablespoon): These turn a great snack into a special treat. The little bursts of chocolate with the peanut butter and banana is a combination that never gets old. I use mini chips because they distribute more evenly.
- Optional: Cinnamon (a pinch): A light dusting of cinnamon adds warmth and makes the kitchen smell amazing. It also pairs beautifully with both peanut butter and banana.
That’s it. Three main ingredients and a few optional add-ins that you can mix and match based on what you have on hand. I always keep tortillas, peanut butter, and bananas in my kitchen now, just in case snack emergency strikes.
Equipment Needed
You don’t need much for this recipe, and that’s part of the beauty. Here is what you will need:
- A butter knife or offset spatula: For spreading the peanut butter evenly. An offset spatula makes it even easier, but a regular butter knife works great.
- A fork: For mashing the banana. You could also use a potato masher if you want, but a fork is simpler and easier to clean.
- A sharp chef’s knife or serrated knife: For slicing the roll-ups into rounds. A serrated knife works especially well because it cuts through the tortilla without squishing it. I learned this the hard way after using a dull knife and ending up with flattened, sad-looking pieces.
- A cutting board: Any cutting board works. I prefer a wooden one because it doesn’t slide around as much.
- A small bowl: For mashing the banana if you don’t want to do it directly on the tortilla.
- A plate or container: For serving or storing the finished roll-ups.
That’s genuinely all you need. No food processor, no fancy gadgets, no special pans. This is the kind of recipe that proves you don’t need a fully stocked kitchen to make something wonderful.
Preparation Method
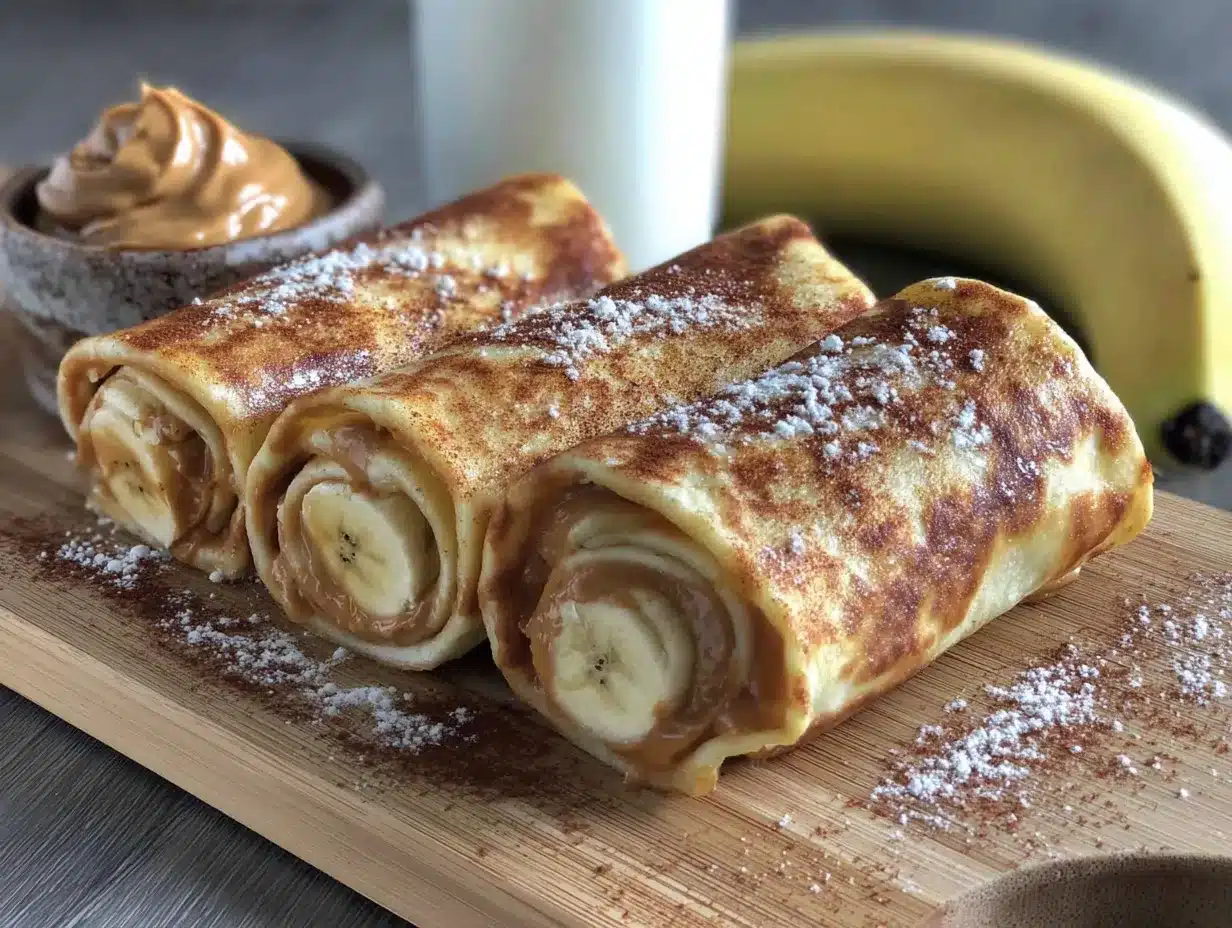
Let me walk you through exactly how to make these Easy Peanut Butter Banana Sushi Roll-Ups for Kids. I’ve made these dozens of times, and these steps give you perfect results every single time.
- Lay out your tortilla: Place one flour tortilla flat on your cutting board. If your tortillas have been in the fridge, let them sit at room temperature for a few minutes so they are pliable and won’t crack when you roll them.
- Spread the peanut butter: Using your butter knife or offset spatula, spread about 2 tablespoons of creamy peanut butter evenly across the entire surface of the tortilla. Go all the way to the edges — this helps everything stick together later. Don’t worry if it’s not perfect. A little unevenness adds character.
- Mash the banana: Peel your ripe banana and place it in a small bowl. Use your fork to mash it until it’s mostly smooth with a few small chunks remaining. You want it spreadable but not pureed. This step is the secret to avoiding those awkward bites where a whole chunk of banana slides out. I learned this trick after my first attempt fell apart in my daughter’s hands.
- Spread the banana: Using the same fork or a clean spoon, spread the mashed banana evenly over the peanut butter. Make sure it reaches the edges so every bite has that creamy banana flavor.
- Add optional toppings: If you are using honey, drizzle it lightly over the banana layer. If you are using mini chocolate chips, sprinkle them evenly across the surface. If you are using cinnamon, dust it lightly over everything. Don’t overdo it — a little goes a long way.
- Roll it up tightly: Starting from one edge, roll the tortilla as tightly as you can without tearing it. Use your fingers to keep the filling tucked in as you go. When you reach the end, place the roll seam-side down so it stays closed. This takes a little practice, but after two or three times, you will get the hang of it.
- Slice into rounds: Using your sharp serrated knife, slice the rolled tortilla into 1-inch thick rounds. A gentle sawing motion works better than pressing straight down. You should get about 6 to 8 pieces per roll-up. If the ends look a little messy, that’s totally fine — those are the cook’s snack.
- Arrange and serve: Place the slices on a plate with the spiral pattern facing up so they look like little sushi rolls. Serve immediately or pack them in a lunchbox. Watch them disappear.
One thing I’ve learned is that these roll-ups taste best within a few hours of making them. The tortilla stays soft, and the filling stays creamy. If you make them too far in advance, the tortilla can get a little soggy from the banana moisture. That’s why I usually make them fresh in the morning for lunchboxes.
Cooking Tips & Techniques
After making these Easy Peanut Butter Banana Sushi Roll-Ups for Kids more times than I can count, I’ve picked up a few tricks that make a real difference. Here are my best tips:
- Warm the tortilla slightly: If your tortilla is cold from the fridge, pop it in the microwave for 10 seconds. It becomes much more pliable and less likely to crack when you roll it. This is a game-changer for getting those tight, even rolls.
- Don’t overfill: It’s tempting to pile on the peanut butter and banana, but too much filling makes the roll-up hard to slice and messy to eat. Stick to about 2 tablespoons of peanut butter and one banana per tortilla. Trust me on this one.
- Use a damp paper towel: If you are making a batch to pack for later, place a slightly damp paper towel over the finished roll-ups in the container. It keeps the tortillas from drying out and getting stiff. I discovered this trick when I forgot to cover them once and ended up with sad, dry pieces.
- Slice with confidence: Use a sharp knife and slice with a gentle sawing motion. Pressing straight down squishes the roll and makes the filling ooze out. A serrated knife is your best friend here.
- Make it a dipping snack: My kids love these with a side of Greek yogurt or a little extra peanut butter for dipping. It turns a simple snack into an interactive experience that keeps them entertained.
- Double the batch: These disappear fast. I always make at least two or three roll-ups at a time because one never seems to be enough. Plus, they store well for a day in the fridge if you have leftovers, which honestly rarely happens.
The biggest mistake I see people make is using bananas that aren’t ripe enough. Green bananas are hard to mash and don’t have that natural sweetness that makes this snack so good. Wait until your bananas have some brown spots. Your taste buds will thank you.
Variations & Adaptations
One of the best things about this recipe is how easy it is to change it up. Here are some variations I’ve tried and loved:
- Nut-Free Version: Swap the peanut butter for sunflower seed butter or soy nut butter. WowButter is my go-to for school-safe snacks that still taste great. The texture is almost identical, and kids don’t notice the difference.
- Chocolate Lovers: Spread a thin layer of Nutella or chocolate hazelnut spread under the peanut butter. It turns these into a dessert-like treat that feels extra special. My kids request this version for birthday parties.
- Berry Blast: Add a few fresh raspberries or sliced strawberries on top of the banana before rolling. The little bursts of tartness balance the sweetness perfectly. This is my personal favorite variation.
- Crunchy Twist: Sprinkle crushed granola or chopped nuts over the banana layer for added texture. It gives each bite a satisfying crunch that kids love.
- Breakfast Version: Use a whole wheat tortilla and add a sprinkle of chia seeds or ground flaxseed. Serve it with a glass of milk, and you’ve got a balanced breakfast that takes five minutes to make.
- Frozen Treat: Slice the roll-ups and place them on a baking sheet in the freezer for 30 minutes. They turn into a cold, refreshing snack that’s perfect for hot summer days. My nephew calls them “banana sushi popsicles.”
The beauty of this recipe is that it’s a template, not a rigid formula. Once you get the basic technique down, you can adapt it to whatever you have in your kitchen or whatever your kids are in the mood for. That flexibility is what makes it such a reliable go-to.
Serving & Storage Suggestions
These Easy Peanut Butter Banana Sushi Roll-Ups for Kids are best served fresh, but they also hold up well for a few hours. Here is how to handle both situations:
Serving: Arrange the slices on a plate with the spiral pattern facing up. They look beautiful this way and are easy for little hands to grab. Serve them at room temperature or slightly chilled. My kids actually prefer them cold straight from the fridge. If you are serving them at a party or playdate, arrange them on a platter with a small bowl of yogurt or extra peanut butter for dipping. They disappear fast, so make plenty.
Storage: Place any leftover roll-ups in an airtight container. Layer them in a single row with a slightly damp paper towel on top to keep the tortillas soft. They will stay fresh in the refrigerator for up to 24 hours. I don’t recommend freezing them because the banana gets watery when it thaws, and the texture suffers. If you need to make them ahead, prepare them the night before and store them in the fridge overnight. They will still taste great the next day.
Reheating: These are meant to be eaten cold or at room temperature, so reheating isn’t really necessary. If you prefer them warm, you can pop them in the microwave for 10 seconds, but be careful not to overheat them or the tortilla will get chewy. Honestly, I think they taste best cold.
Lunchbox Tip: Pack the roll-ups in a small container with a piece of parchment paper between layers to prevent sticking. Add a small ice pack if you are packing them for school lunch, especially if you are using any dairy-based dips. They will stay fresh and delicious until lunchtime.
Nutritional Information & Benefits
These Easy Peanut Butter Banana Sushi Roll-Ups for Kids are not just delicious — they also offer some real nutritional benefits. Here is a rough breakdown for one roll-up (using one tortilla, 2 tablespoons peanut butter, and one banana):
| Nutrient | Amount |
|---|---|
| Calories | ~350 |
| Protein | 10g |
| Carbohydrates | 45g |
| Fiber | 5g |
| Sugar | 18g (natural from banana) |
| Fat | 16g |
| Potassium | 450mg |
Pin This Recipe!
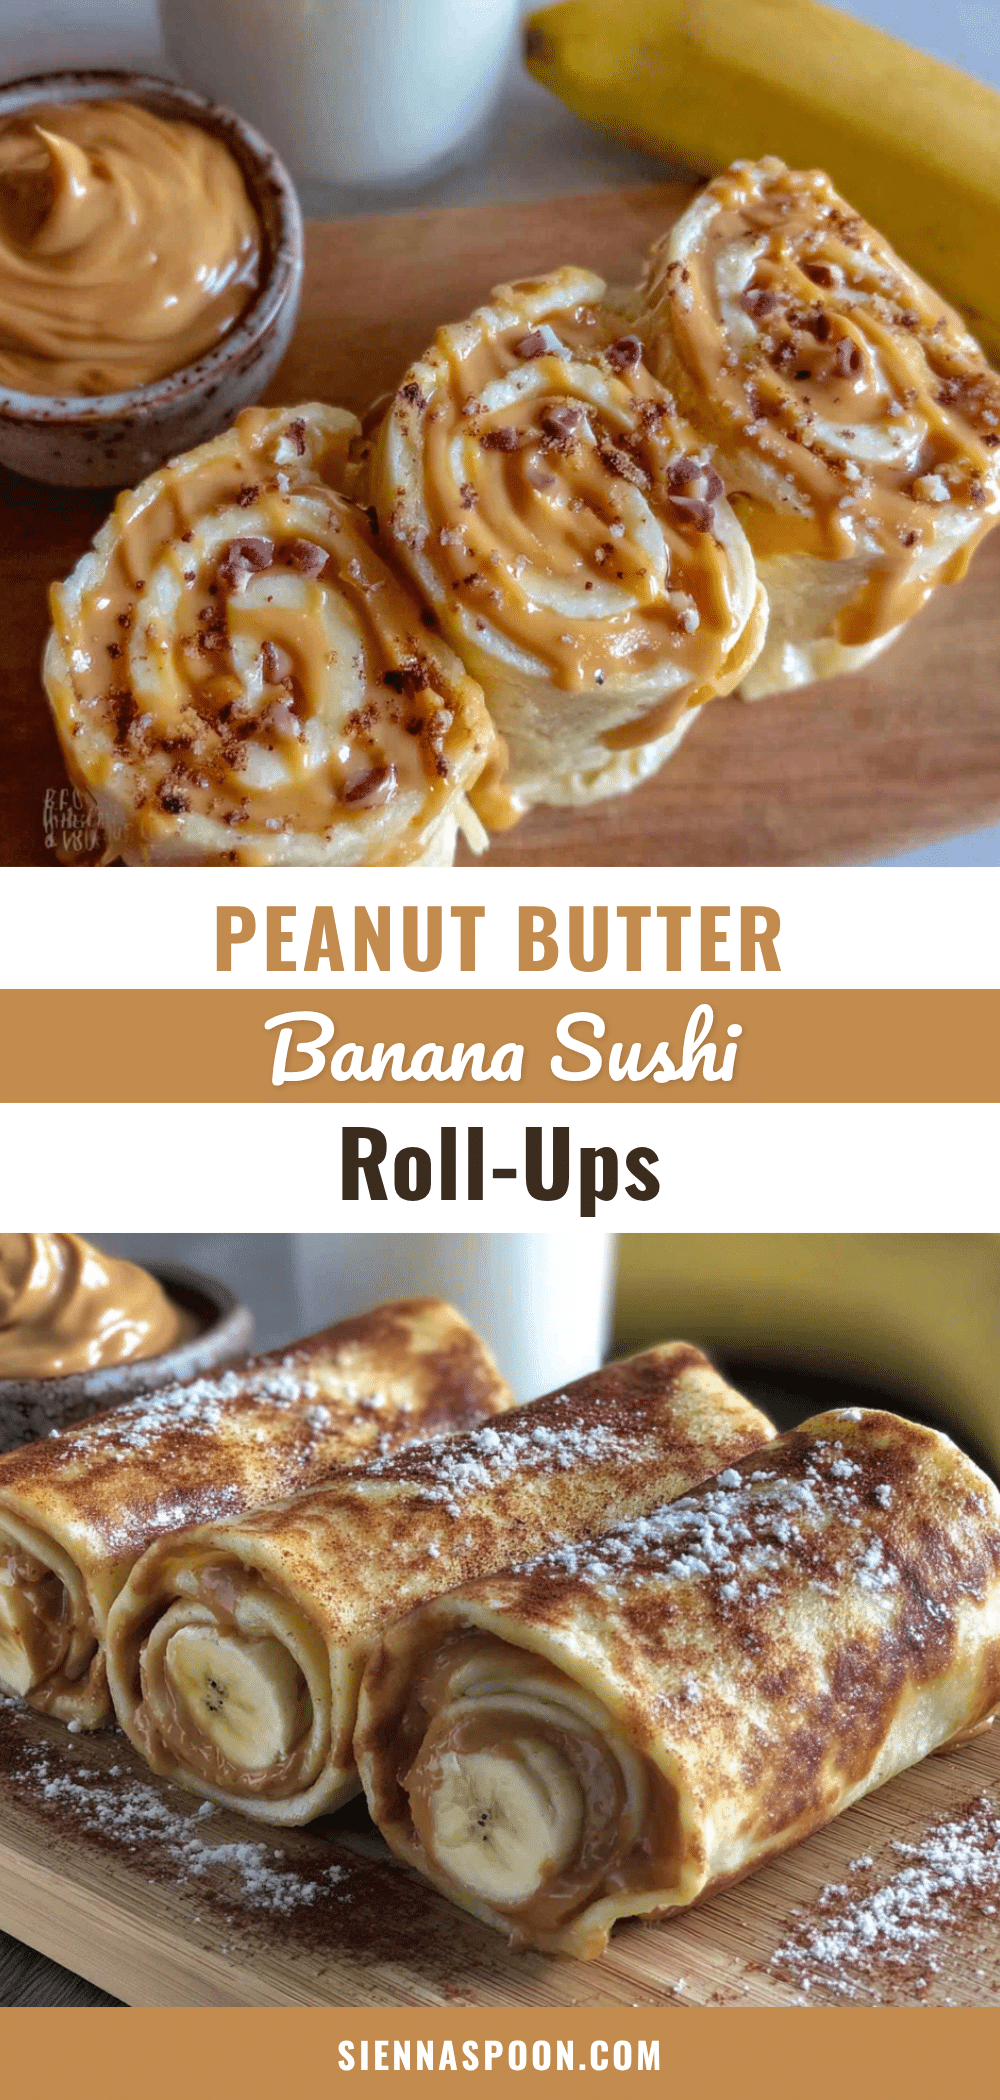
Easy Peanut Butter Banana Sushi Roll-Ups for Kids
Quick and easy peanut butter banana sushi roll-ups made with flour tortillas, creamy peanut butter, and ripe bananas. A fun, nutritious snack that kids love and takes under 5 minutes to prepare.
- Prep Time: 5 minutes
- Cook Time: 0 minutes
- Total Time: 5 minutes
- Yield: 1 serving 1x
- Category: Snack
- Cuisine: American
Ingredients
- 1 (8-inch) flour tortilla
- 2 tablespoons creamy peanut butter
- 1 ripe banana
- 1 teaspoon honey or maple syrup (optional)
- 1 tablespoon mini chocolate chips (optional)
- Pinch of cinnamon (optional)
Instructions
- Lay out your tortilla: Place one flour tortilla flat on your cutting board. If your tortillas have been in the fridge, let them sit at room temperature for a few minutes so they are pliable and won’t crack when you roll them.
- Spread the peanut butter: Using your butter knife or offset spatula, spread about 2 tablespoons of creamy peanut butter evenly across the entire surface of the tortilla. Go all the way to the edges — this helps everything stick together later.
- Mash the banana: Peel your ripe banana and place it in a small bowl. Use your fork to mash it until it’s mostly smooth with a few small chunks remaining. You want it spreadable but not pureed.
- Spread the banana: Using the same fork or a clean spoon, spread the mashed banana evenly over the peanut butter. Make sure it reaches the edges so every bite has that creamy banana flavor.
- Add optional toppings: If you are using honey, drizzle it lightly over the banana layer. If you are using mini chocolate chips, sprinkle them evenly across the surface. If you are using cinnamon, dust it lightly over everything.
- Roll it up tightly: Starting from one edge, roll the tortilla as tightly as you can without tearing it. Use your fingers to keep the filling tucked in as you go. When you reach the end, place the roll seam-side down so it stays closed.
- Slice into rounds: Using your sharp serrated knife, slice the rolled tortilla into 1-inch thick rounds. A gentle sawing motion works better than pressing straight down. You should get about 6 to 8 pieces per roll-up.
- Arrange and serve: Place the slices on a plate with the spiral pattern facing up so they look like little sushi rolls. Serve immediately or pack them in a lunchbox.
Notes
Use ripe bananas with brown spots for best sweetness and mashability. Warm tortilla in microwave for 10 seconds if cold to prevent cracking. For lunchboxes, pack with a slightly damp paper towel to keep tortillas soft. Best eaten within a few hours of making.
Nutrition
- Serving Size: 1 roll-up
- Calories: 350
- Sugar: 18
- Sodium: 300
- Fat: 16
- Saturated Fat: 3
- Carbohydrates: 45
- Fiber: 5
- Protein: 10
Keywords: peanut butter banana sushi, kids snack, easy snack, lunchbox idea, no-cook snack, peanut butter banana roll-ups