Love this? Save it for later!
Share the inspiration with your friends
My daughter asked why I couldn’t just skip the food processor and mix everything in one bowl. I started to explain why that wouldn’t work — then stopped. Honestly, I had no good reason. I’d been making protein balls for years, always pulling out the food processor, dirtying extra dishes, and making a mess of my counter. She looked at me with that patient expression kids get when they realize adults overcomplicate things. So I tried it her way. One bowl, a wooden spoon, and ten minutes later, we had the best batch of no-bake protein balls I’d ever made. The texture was somehow better — chunkier in all the right ways, with little pockets of oats that stayed whole instead of turning into dust. I felt a little ridiculous, honestly. All those years of extra cleanup for nothing.
That afternoon changed how I make these easy no-bake protein balls forever. The recipe itself isn’t complicated — oats, peanut butter, honey, chocolate chips, a few other staples. But the method? That’s where my daughter taught me something. Sometimes the simplest way really is the best way. I mean, how many of us have been there, convinced that more steps equal better results? Let me tell you, that’s not always true.
These no-bake protein balls have become my go-to snack for busy afternoons, post-workout refueling, and those moments when I need something sweet but don’t want to turn on the oven. They come together in about fifteen minutes flat, and they keep in the fridge for weeks — if they last that long. Every time I make them, I think about that Tuesday afternoon when my kid proved me wrong. And honestly? I’m grateful she did.
Why You’ll Love This Recipe
Let me tell you why these easy no-bake protein balls have earned a permanent spot in my fridge. I’ve tested countless versions over the years, and this one checks every box.
- Quick & Easy : Comes together in under 15 minutes with zero baking required. Perfect for those days when you need a snack now.
- Simple Ingredients : You probably have everything in your pantry already. No fancy protein powders or hard-to-find superfoods here.
- Perfect for Meal Prep : Make a batch on Sunday and grab them all week long. They’re lifesavers for busy mornings and afternoon slumps.
- Crowd-Pleaser : Kids devour them, adults sneak them, and nobody guesses they’re actually good for you.
- Unbelievably Delicious : The combination of creamy peanut butter, sweet honey, and melty chocolate chips is pure comfort food — just in a healthier package.
What makes these no-bake protein balls different from the dozens of other recipes out there? It’s the texture. Most recipes turn out either too dry and crumbly or too sticky and dense. These hit that sweet spot — firm enough to hold together, soft enough to bite into easily, with just the right amount of chewiness. The secret is letting the oats absorb the wet ingredients for a few minutes before rolling. That little pause makes all the difference.
These protein balls are the kind of snack that makes you feel good about eating them. They’re satisfying without being heavy, sweet without being sugary, and filling without weighing you down. I’ve brought them to potlucks, packed them in lunchboxes, and kept a stash in my purse for emergency hunger attacks. They always deliver.
What Ingredients You Will Need
This recipe uses simple, wholesome ingredients that work together to create something truly satisfying. Most of these are pantry staples, which makes these easy no-bake protein balls perfect for spontaneous snack cravings.
- Rolled Oats : 2 cups (180g) — Use old-fashioned rolled oats, not quick oats. They provide better texture and hold up during mixing. I prefer Bob’s Red Mill or Quaker. For a gluten-free version, look for certified gluten-free oats.
- Creamy Peanut Butter : 1 cup (240g) — Natural peanut butter works best here. The kind that separates and needs stirring. Avoid the sugary, hydrogenated stuff — it makes the balls greasy. If your peanut butter is too stiff, warm it slightly before mixing.
- Honey : 1/3 cup (110g) — Raw honey adds natural sweetness and helps bind everything together. Maple syrup works as a vegan alternative, though the texture will be slightly softer.
- Mini Chocolate Chips : 1/2 cup (90g) — Mini chips distribute more evenly than regular-sized ones. I use Enjoy Life brand for dairy-free options. Dark chocolate chips add a nice bitterness that balances the sweetness.
- Ground Flaxseed : 2 tablespoons (14g) — This is my secret ingredient. It adds fiber, omega-3s, and helps bind the mixture without making it dry. You can skip it, but the balls won’t hold together as well.
- Vanilla Extract : 1 teaspoon — Pure vanilla extract adds warmth and depth. Imitation works in a pinch, but pure is worth the splurge here.
- Salt : 1/4 teaspoon — A tiny pinch balances the sweetness and enhances the peanut butter flavor. Don’t skip it — I learned that the hard way.
- Optional Mix-Ins : 1/4 cup shredded coconut, 2 tablespoons chia seeds, or 1/4 cup chopped nuts. These are completely optional but add nice variety.
When selecting your peanut butter, look for one with just peanuts and salt on the ingredient list. The natural oils help the mixture come together without needing extra fat. If you’re using a no-stir peanut butter, you might need to add a tablespoon of coconut oil to get the right consistency.
For the oats, I’ve tried this recipe with both rolled and quick oats. Rolled oats win every time. Quick oats turn into mush and make the protein balls feel pasty. Stick with the good stuff.
Equipment Needed
The beauty of these easy no-bake protein balls is how little equipment they require. You don’t need a food processor, stand mixer, or any fancy gadgets. Just a few basics.
- Large Mixing Bowl : Any medium-to-large bowl works. I use a glass one because it doesn’t hold onto smells.
- Wooden Spoon or Silicone Spatula : Something sturdy enough to mix thick dough. A wooden spoon gives you good leverage.
- Measuring Cups and Spoons : Standard set for dry and wet ingredients. A 1/4 cup measure works great for portioning the balls.
- Baking Sheet or Plate : To hold the rolled balls while they firm up. Line it with parchment paper for easy cleanup.
- Parchment Paper : Not strictly necessary, but it makes life easier. The balls won’t stick to the paper.
- Refrigerator : The balls need at least 30 minutes to set. Airtight container for storage afterward.
If you don’t have a wooden spoon, your hands work perfectly fine. I often mix the final stages with my hands anyway — it’s faster and you can feel when the dough is ready. Just wash your hands thoroughly first.
For portioning, a small cookie scoop is nice but not necessary. I use a regular tablespoon and it works great. The key is making them all roughly the same size so they set evenly.
Preparation Method
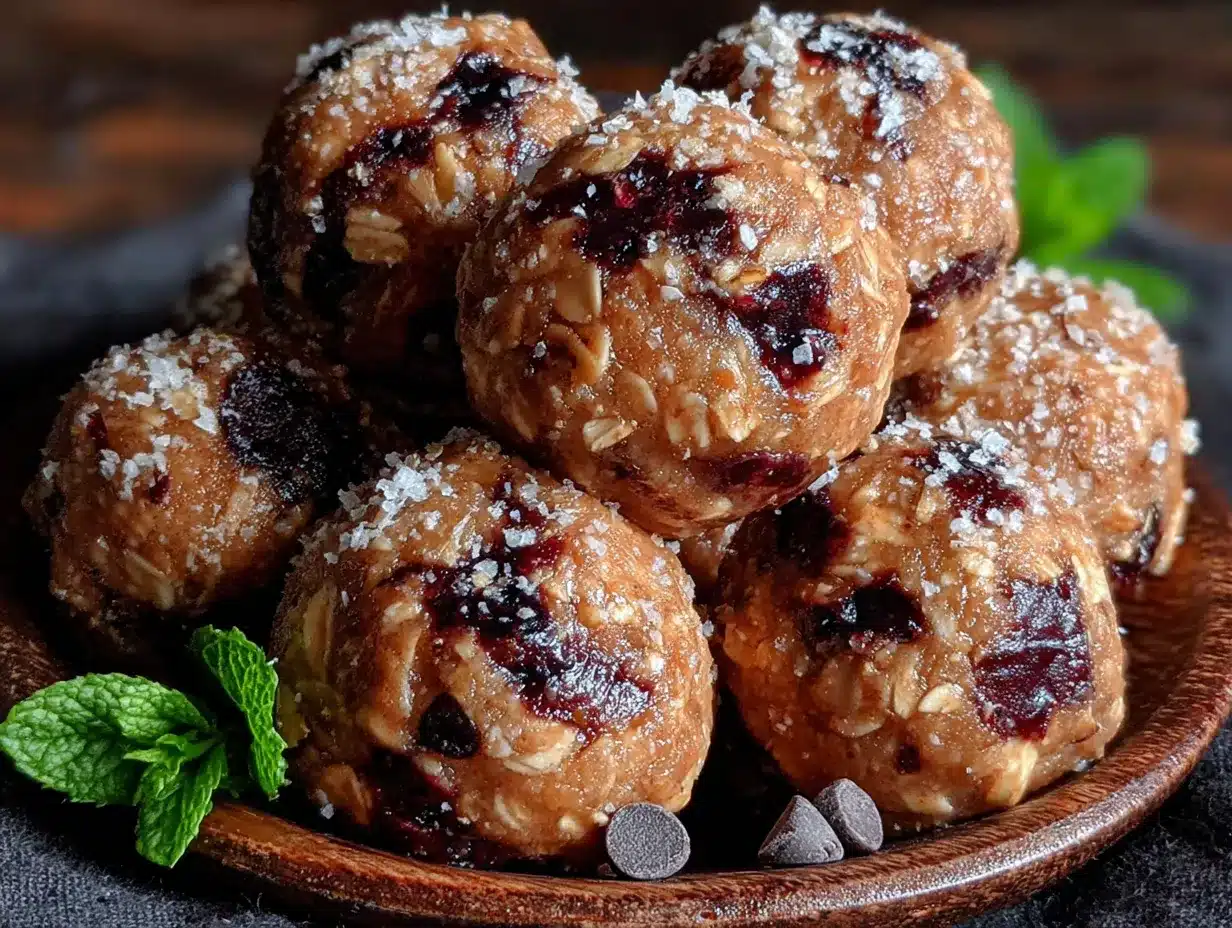
Making these no-bake protein balls is almost too easy. I’ve timed myself — from gathering ingredients to having them in the fridge takes about 12 minutes. Here’s exactly how to do it.
- Combine Dry Ingredients : In your large mixing bowl, add 2 cups rolled oats, 2 tablespoons ground flaxseed, and 1/4 teaspoon salt. Stir them together with your spoon until evenly distributed. This takes about 30 seconds.
- Add Wet Ingredients : Spoon in 1 cup creamy peanut butter, 1/3 cup honey, and 1 teaspoon vanilla extract. Don’t worry if the peanut butter seems stiff — it will loosen as you mix.
- Mix Thoroughly : Start stirring with your wooden spoon, pressing down firmly to incorporate everything. The mixture will look crumbly at first. Keep going. After about a minute, it will start coming together. If it seems too dry, add a tablespoon of honey or water. If too wet, add a tablespoon of oats.
- Let It Rest : Here’s the step I used to skip — let the mixture sit for 5 minutes. This allows the oats to absorb some moisture from the peanut butter and honey. The dough will be much easier to roll after this rest. I learned this after making batches that fell apart.
- Fold in Chocolate Chips : Add 1/2 cup mini chocolate chips and any optional mix-ins you’re using. Fold them in gently until evenly distributed. Don’t overmix at this stage or the chips might melt from the warmth of your hands.
- Portion the Dough : Using a tablespoon or small cookie scoop, scoop out portions of dough. I aim for about 1.5 tablespoons each — big enough to be satisfying, small enough to eat in two bites. You should get 18-20 balls.
- Roll into Balls : Roll each portion between your palms firmly but gently. If the dough sticks to your hands, dampen your palms slightly with water. The balls should be smooth and hold their shape without cracking.
- Chill and Set : Place the rolled balls on a parchment-lined baking sheet or plate. Refrigerate for at least 30 minutes. This firms them up and makes them easier to handle. I usually let them go for an hour.
- Transfer to Storage : Once firm, move the protein balls to an airtight container. Layer them between sheets of parchment paper if stacking to prevent sticking.
A few things to watch for: If your dough feels greasy, you probably used peanut butter with added oils. Next time, stick with natural peanut butter. If the balls are too crumbly, you might have overmeasured the oats or undermeasured the peanut butter. Cooking is forgiving — add a little more honey or peanut butter and try again.
The smell during mixing is incredible. That combination of peanut butter, honey, and vanilla is pure comfort. And the texture when you roll them — firm but pliable, with little flecks of oats visible — that’s how you know they’re right.
Cooking Tips & Techniques
After making these easy no-bake protein balls more times than I can count, I’ve picked up a few tricks that make a real difference. Let me share what I’ve learned — including some failures so you don’t repeat them.
Temperature Matters : Cold ingredients are harder to mix. Let your peanut butter and honey come to room temperature before starting. If your peanut butter has been in the fridge, microwave it for 15-20 seconds to soften it. I once tried mixing with cold ingredients and ended up with a lumpy, uneven mess.
The Resting Step Is Non-Negotiable : I cannot stress this enough. Letting the mixture sit for 5 minutes before rolling is the difference between perfect protein balls and crumbly disasters. The oats need time to absorb moisture. I learned this after making a batch that literally fell apart in my hands. My kitchen floor was a mess of oats and chocolate chips.
Wet Hands Are Your Friend : If the dough sticks to your palms, lightly dampen them with water. Not too much — just a quick rinse and shake off the excess. The water creates a barrier between the sticky dough and your skin. This trick works for cookie dough too.
Consistency Check : The dough should feel like play dough — firm but pliable, not sticky or crumbly. If it sticks to your fingers when you touch it, add a tablespoon of oats. If it cracks when you try to roll it, add a teaspoon of honey or water.
Batch Size Matters : Make all the balls roughly the same size so they set evenly. I use a tablespoon measure as a guide. Uneven sizes mean some balls will be too soft while others are too firm.
Chill Time Adjustments : If you’re in a hurry, pop them in the freezer for 15 minutes instead of the fridge for 30. They’ll firm up faster. Just don’t forget about them — frozen protein balls are still tasty, just very hard.
Double Batch Wisdom : This recipe doubles beautifully. I often make a double batch on Sunday and we snack on them all week. Just make sure you have enough storage containers. And maybe hide a few for yourself — they disappear fast.
Variations & Adaptations
One of the best things about these no-bake protein balls is how adaptable they are. I’ve tried dozens of variations over the years, and here are my favorites.
Chocolate Peanut Butter Bliss : Add 2 tablespoons of cocoa powder along with the dry ingredients. The chocolate-peanut butter combination is classic for a reason. You might need an extra tablespoon of honey to balance the bitterness of the cocoa.
Vegan Version : Swap the honey for maple syrup or agave nectar. Use dairy-free chocolate chips. Everything else stays the same. The texture will be slightly softer, so add an extra tablespoon of oats if needed.
Nut-Free Option : Replace the peanut butter with sunflower seed butter or tahini. The flavor changes completely — sunflower seed butter gives a more savory, earthy taste — but the texture works beautifully. Just note that sunflower seed butter can react with baking soda if you add any, but since this is no-bake, you’re fine.
Protein Boost : Add 2 tablespoons of your favorite protein powder. Vanilla or chocolate both work well. You’ll need to add an extra tablespoon of honey or water since protein powder absorbs moisture. I’ve used both whey and plant-based proteins successfully.
Seasonal Swaps : In fall, add 1 teaspoon of pumpkin pie spice and swap the chocolate chips for dried cranberries. In summer, use white chocolate chips and add dried cherries. In winter, add a pinch of cinnamon and nutmeg for warmth.
Low-Sugar Option : Reduce the honey to 3 tablespoons and add 2 tablespoons of unsweetened applesauce. The applesauce adds moisture without extra sugar. The balls will be slightly softer, so add an extra tablespoon of oats.
Crunchy Texture : Add 1/4 cup of chopped almonds or pecans along with the chocolate chips. The crunch contrasts nicely with the soft, chewy base. Toasting the nuts first brings out their flavor even more.
My personal favorite variation? The chocolate peanut butter version with a pinch of sea salt sprinkled on top before chilling. That sweet-salty combination is absolutely addictive. I made a batch for a party once and they were gone in twenty minutes.
Serving & Storage Suggestions
These easy no-bake protein balls are versatile when it comes to serving. Here’s how I handle them.
Serving Temperature : I prefer them straight from the fridge — they’re firm, cool, and satisfying. But they’re also delicious at room temperature, especially if you’re packing them for a snack on the go. If they’ve been sitting out for more than an hour, they’ll be softer but still hold their shape.
Presentation Ideas : For parties, arrange them on a wooden board with fresh fruit and nuts. They look beautiful alongside strawberries and almonds. For lunchboxes, pop them in a small container with a silicone muffin liner to prevent sticking.
What to Serve With Them : These protein balls pair beautifully with a glass of cold milk, a cup of coffee, or a smoothie. They’re also great crumbled over yogurt or oatmeal for extra texture and flavor.
Storage Instructions : Keep them in an airtight container in the refrigerator for up to 2 weeks. They actually get better after a day or two — the flavors meld together and the texture becomes more uniform. I’ve kept them for 3 weeks with no issues, though they rarely last that long.
Freezer Storage : These freeze beautifully. Place them in a single layer on a baking sheet and freeze for 1 hour, then transfer to a freezer-safe bag or container. They’ll keep for up to 3 months. Thaw in the refrigerator overnight or at room temperature for 15-20 minutes. You can eat them frozen too — they’re like little protein ice cream bites.
Reheating : These are meant to be eaten cold or at room temperature, so no reheating needed. If you want a warm treat, microwave one for 10-15 seconds. The chocolate chips will get slightly melty and it’s absolutely wonderful.
Flavor Development : The flavors intensify after a day in the fridge. The honey and peanut butter meld together, and the oats soften slightly. If you can resist eating them immediately, they’re even better the next day.
One tip: If you’re bringing them to a picnic or outdoor event, pack them in a cooler or insulated bag. They hold up well in moderate temperatures, but very hot weather can make them soft and sticky.
Nutritional Information & Benefits
These no-bake protein balls aren’t just delicious — they’re genuinely good for you. Here’s what you’re getting in each ball (based on 20 servings).
| Nutrient | Per Ball |
|---|---|
| Calories | 145 |
| Protein | 5g |
| Carbohydrates | 16g |
| Fiber | 3g |
| Sugar | 8g |
| Fat | 8g |
| Saturated Fat | 2g |
| Sodium | 85mg |
Health Benefits : Oats provide soluble fiber that supports heart health and keeps you full longer. Peanut butter offers plant-based protein and healthy monounsaturated fats. Flaxseed adds omega-3 fatty acids and additional fiber. Dark chocolate chips contain antioxidants — a little indulgence with benefits.
Dietary Considerations : This recipe is naturally vegetarian. With the substitutions mentioned earlier, it can be made vegan, gluten-free, and nut-free. It’s also dairy-free if you use dairy-free chocolate chips.
Potential Allergens : Contains peanuts and oats. May contain traces of other allergens depending on your ingredient brands. Always check labels if you’re serving someone with allergies.
Wellness Perspective : I love that these protein balls satisfy my sweet tooth while actually nourishing my body. They’re not a health food in the restrictive sense — they’re real food that happens to be good for you. That balance is something I’ve come to appreciate more and more.
Conclusion
These easy no-bake protein balls with oats and chocolate chips have become a staple in my kitchen for good reason. They’re quick, simple, and genuinely delicious — the kind of snack that makes you feel like you’re treating yourself while actually doing something good for your body.
I love that this recipe came from a moment of being wrong. My daughter’s suggestion to skip the food processor and mix everything by hand turned out to be the best advice I’ve ever gotten about this recipe. Sometimes the simplest approach really is the best one.
I hope you’ll try these protein balls and make them your own. Add your favorite mix-ins, adjust the sweetness to your taste, experiment with different nut butters. That’s the beauty of a simple recipe — it’s a starting point, not a rulebook.
When you make them, I’d love to hear how they turn out. Drop a comment below and let me know what variations you tried. Did you add coconut? Swap the chocolate chips for dried fruit? Make them vegan? Share your creation — your twist might inspire someone else.
Here’s to easy snacks, happy kitchens, and the joy of proving yourself wrong every once in a while. Happy rolling!
Frequently Asked Questions
Can I use quick oats instead of rolled oats?
You can, but I don’t recommend it. Quick oats are more processed and break down during mixing, resulting in a pasty, mushy texture. Rolled oats give the protein balls a better chew and hold their shape much better. If quick oats are all you have, use them, but expect a softer, less textured final product.
How long do these protein balls last?
In the refrigerator, they’ll stay fresh for up to 2 weeks in an airtight container. In the freezer, they last up to 3 months. I’ve found they actually taste better after a day or two — the flavors have time to meld together. Just make sure they’re stored properly to prevent them from drying out or absorbing other flavors from your fridge.
Can I make these without peanut butter?
Absolutely. You can substitute any nut or seed butter — almond butter, cashew butter, sunflower seed butter, or tahini all work well. Each will change the flavor profile, but the texture remains similar. If using sunflower seed butter, be aware that it can react with certain ingredients, but since this is a no-bake recipe, you won’t have any issues.
Why are my protein balls falling apart?
This usually happens for one of three reasons: the mixture didn’t rest long enough for the oats to absorb moisture, the peanut butter was too stiff and didn’t incorporate properly, or the ratios are slightly off. Try letting the mixture rest for a full 5 minutes before rolling. If they’re still crumbly, add another tablespoon of honey or peanut butter and mix again.
Can I add protein powder to this recipe?
Yes, you can add up to 2 tablespoons of your favorite protein powder. Just know that protein powder absorbs moisture, so you’ll need to compensate. Add an extra tablespoon of honey or water to keep the dough from becoming too dry. I’ve used both vanilla and chocolate protein powders successfully — chocolate gives them a richer flavor that pairs beautifully with the peanut butter.
Pin This Recipe!
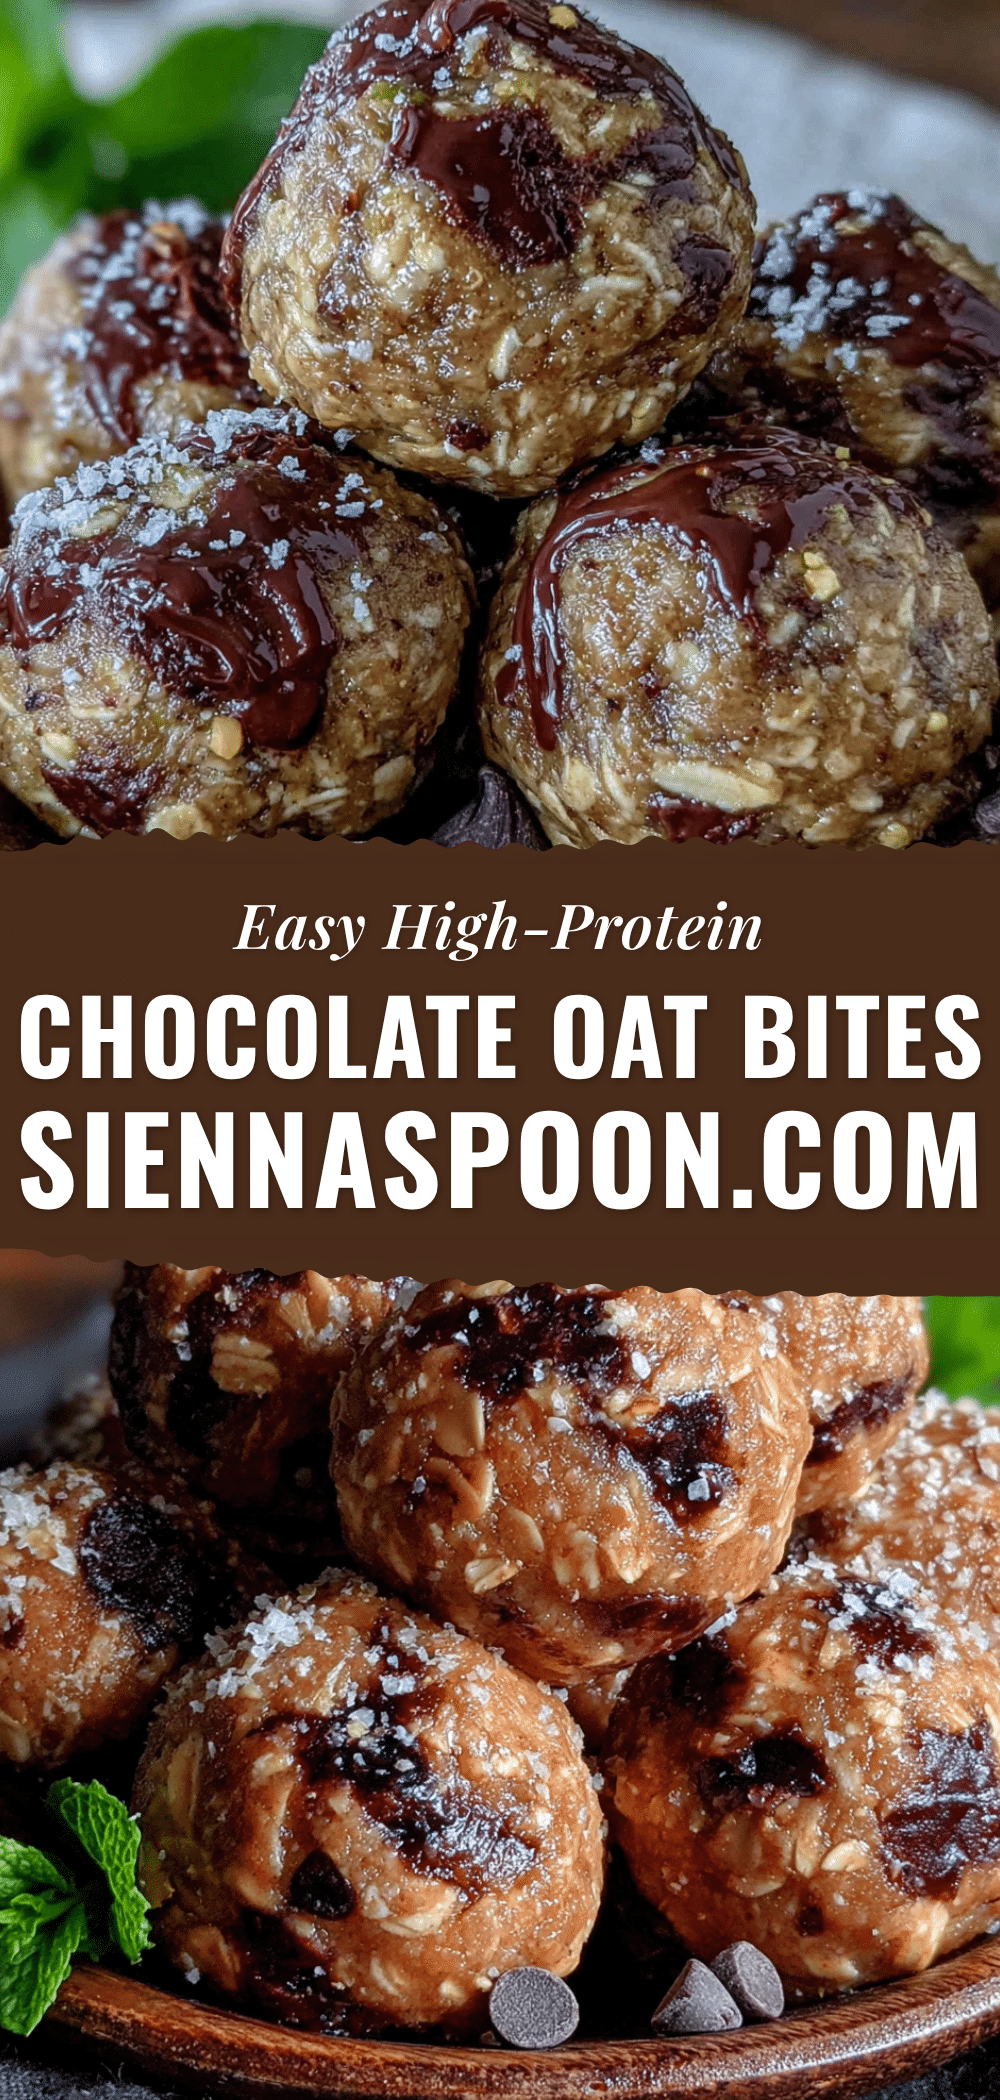
Easy No-Bake Protein Balls with Oats and Chocolate Chips
These easy no-bake protein balls come together in about 15 minutes with simple pantry ingredients. They’re perfect for busy afternoons, post-workout refueling, or a healthy sweet treat.
- Prep Time: 15 minutes
- Cook Time: 0 minutes
- Total Time: 45 minutes (includes 30 minutes chilling)
- Yield: 18-20 balls 1x
- Category: Snack
- Cuisine: American
Ingredients
- 2 cups (180g) rolled oats
- 1 cup (240g) creamy peanut butter (natural, no added sugar)
- 1/3 cup (110g) honey
- 1/2 cup (90g) mini chocolate chips
- 2 tablespoons (14g) ground flaxseed
- 1 teaspoon vanilla extract
- 1/4 teaspoon salt
- Optional: 1/4 cup shredded coconut, 2 tablespoons chia seeds, or 1/4 cup chopped nuts
Instructions
- Combine dry ingredients: In a large mixing bowl, add rolled oats, ground flaxseed, and salt. Stir together until evenly distributed.
- Add wet ingredients: Spoon in peanut butter, honey, and vanilla extract. Mix thoroughly with a wooden spoon or silicone spatula until the mixture starts coming together.
- Let the mixture rest for 5 minutes to allow the oats to absorb moisture.
- Fold in mini chocolate chips and any optional mix-ins gently until evenly distributed.
- Portion the dough using a tablespoon or small cookie scoop (about 1.5 tablespoons each). You should get 18-20 balls.
- Roll each portion into a ball between your palms. If sticky, lightly dampen your hands with water.
- Place the rolled balls on a parchment-lined baking sheet or plate. Refrigerate for at least 30 minutes to set.
- Transfer to an airtight container for storage. Layer between parchment paper if stacking.
Notes
Let the mixture rest for 5 minutes before rolling to allow oats to absorb moisture. If dough is too dry, add a tablespoon of honey or water; if too wet, add a tablespoon of oats. For vegan version, substitute honey with maple syrup. For nut-free, use sunflower seed butter. Protein powder can be added (up to 2 tablespoons) with an extra tablespoon of honey or water.
Nutrition
- Serving Size: 1 ball
- Calories: 145
- Sugar: 8
- Sodium: 85
- Fat: 8
- Saturated Fat: 2
- Carbohydrates: 16
- Fiber: 3
- Protein: 5
Keywords: no-bake protein balls, protein balls, energy balls, healthy snack, peanut butter, oats, chocolate chips, easy snack, meal prep


