Love this? Save it for later!
Share the inspiration with your friends
Last September, I stood in our school’s cafeteria pick-up line next to a mom I barely knew, watching her pull out a bento box with these perfect little sliders. Her kid was already halfway through one, and I’m not ashamed to admit I asked her—right there, with other parents listening—what in the world she had packed. She laughed and said, “Oh, these are just my turkey sliders. They’re nothing fancy.” Nothing fancy, she said. Meanwhile, my own kid was eating a soggy sandwich that had been crushed by a juice box. I went home that afternoon, and I couldn’t stop thinking about those sliders. Not in a dramatic way, but honestly, they haunted me for a solid week.
So I did what any slightly-obsessive home cook would do: I texted that mom. I got the basic idea, and then I spent about four batches trying to get them right for my own family. The first batch was too dry. The second batch fell apart. The third batch? My husband ate four of them standing over the counter, and I knew I was onto something. After twelve tries—twelve, you guys—I finally cracked the code for these Easy Mini Turkey and Cheddar Sliders. They’re the kind of lunch that makes your kid feel like a rockstar at the cafeteria table, and honestly, they take less time to assemble than wrestling with a soggy sandwich.
Maybe you’ve been there, staring into the fridge at 7 am wondering what on earth to pack that won’t come back home half-eaten. I get it. These sliders changed our lunch game completely, and I keep making them because they actually work. No more sad lunches, no more negotiating with a tired kid at 6:45 in the morning. Just warm, melty, handheld goodness that fits perfectly in a lunchbox. Let me show you how easy this really is.
Why You’ll Love These Easy Mini Turkey and Cheddar Sliders
I’ve tested these sliders more times than I care to admit, and here’s why they’ve become our go-to lunchbox hero:
- Quick & Easy: You can have these assembled in under 15 minutes. Seriously, I timed myself last Tuesday while my coffee was brewing.
- Simple Ingredients: No fancy grocery store trips. You probably have most of this stuff in your fridge right now.
- Perfect for School Lunches: They hold up beautifully in a lunchbox. No sogginess, no falling apart by lunchtime.
- Crowd-Pleaser: My kids devour these, my husband steals them from the fridge, and even my picky niece asked for the recipe.
- Unbelievably Delicious: The combination of melty cheddar, savory turkey, and that buttery golden top is pure comfort food magic.
What makes these different from every other slider recipe out there? It’s the technique. Instead of just throwing ingredients together, I use a simple trick with the butter mixture that keeps the buns soft on the inside and perfectly golden on top. No dry edges, no sad, cold centers. This isn’t just another recipe—it’s the one I’ve perfected through trial and error so you don’t have to make the same mistakes I did.
These sliders aren’t just good—they’re the kind that makes you close your eyes after the first bite. It’s comfort food reimagined for busy mornings, with the same soul-soothing satisfaction as a warm dinner roll but packed with protein to keep little bellies full until the afternoon bell rings.
What Ingredients You Will Need
This recipe uses simple, wholesome ingredients to deliver big flavor without the fuss. Most of these are probably already in your kitchen, which is exactly how I like it.
- 12 slider buns (Hawaiian sweet rolls work beautifully, but any soft dinner roll will do)
- 1 pound deli turkey (I prefer oven-roasted turkey from the deli counter—it’s less watery than pre-packaged slices)
- 8 slices cheddar cheese (sharp cheddar gives the best flavor, but mild works too)
- 4 tablespoons unsalted butter (melted—this is the magic that makes the tops golden and gorgeous)
- 1 tablespoon Dijon mustard (adds a subtle tang that cuts through the richness)
- 1 tablespoon poppy seeds (optional, but that crunch is everything)
- 1 teaspoon garlic powder (don’t skip this—it makes the butter mixture sing)
- 1 teaspoon onion powder (adds depth without being overpowering)
- 1 tablespoon Worcestershire sauce (trust me on this one—it’s the secret umami bomb)
For the butter mixture, I recommend using salted butter if that’s what you have, just reduce the added salt elsewhere. I’ve tested this with both Land O’Lakes and Kerrygold, and honestly, both work great—Kerrygold gives a richer flavor, but Land O’Lakes is more budget-friendly and still delicious.
If you’re watching sodium, look for low-sodium deli turkey. The cheese already adds plenty of saltiness, so you won’t miss it. For a dairy-free option, use vegan butter and dairy-free cheddar shreds—just note that the melt factor won’t be quite as gooey.
Equipment Needed
You don’t need a fancy kitchen to pull these off. Here’s what you’ll actually use:
- 9×13 baking dish (a rimmed baking sheet works in a pinch)
- Small mixing bowl (for the butter mixture)
- Pastry brush (or just use a spoon—I’ve done both)
- Sharp knife (to slice the rolls in half)
- Aluminum foil (for covering while baking)
If you don’t have a pastry brush, honestly, just drizzle the butter mixture over the tops and spread it around with the back of a spoon. It’s not fancy, but it works. I bought a silicone pastry brush from Target for like four dollars, and it’s held up for years. Worth it if you make these often, which you will.
Preparation Method
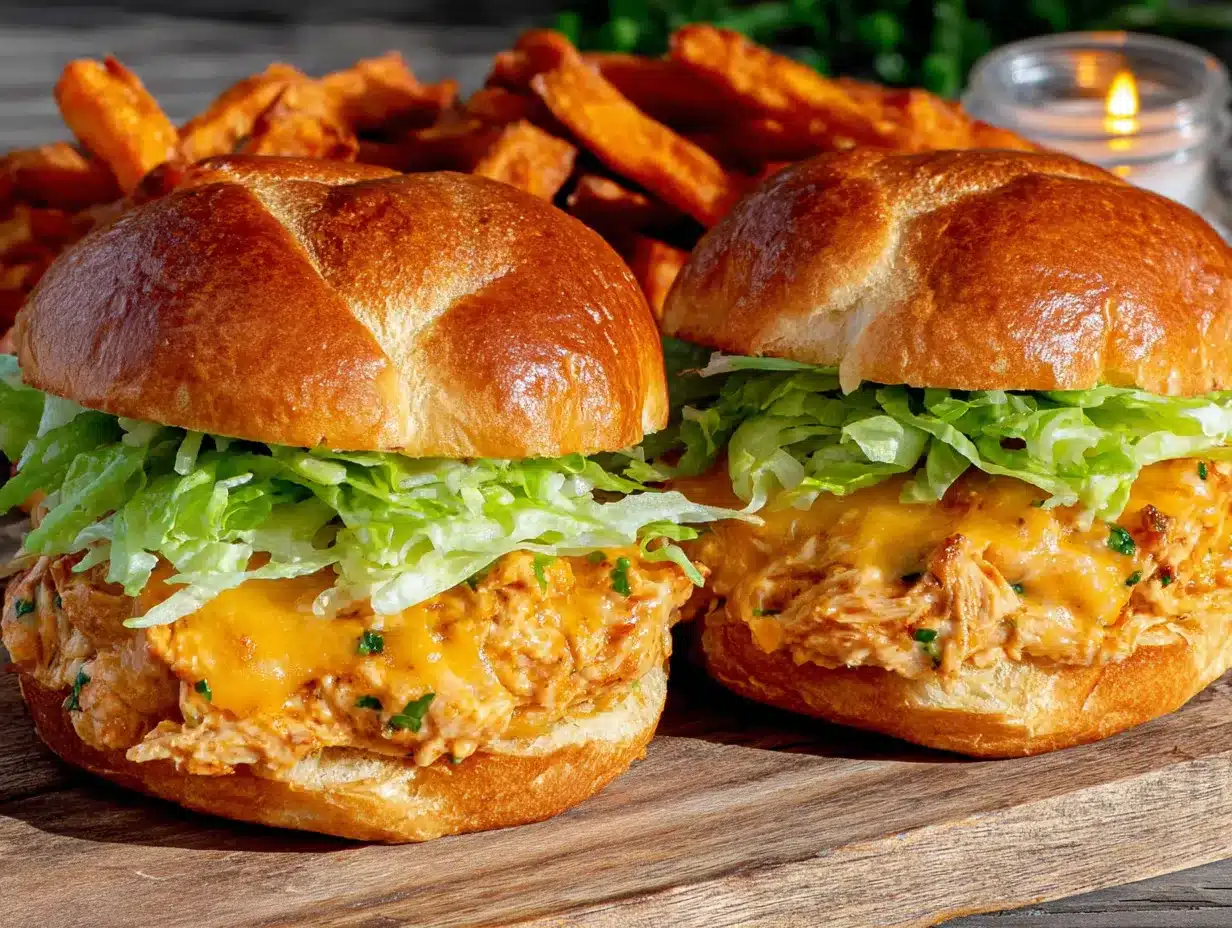
Let me walk you through this step by step. I’ve made these so many times I could do it in my sleep, but I’ll break it down so you don’t make the same mistakes I did.
- Preheat your oven to 350°F (175°C). While it’s heating, grab your 9×13 baking dish. Don’t bother greasing it—the butter from the buns will handle that.
- Slice the entire slab of rolls in half horizontally. Keep them connected as a whole slab if you can. Place the bottom half in the baking dish. This is important—if you separate them, they won’t hold together as nicely.
- Layer the turkey. Fold each slice of deli turkey in half and lay it over the bottom buns. Don’t worry about being perfect—just make sure every bun gets some turkey love. I usually use about 3-4 folded slices per bun area.
- Add the cheese. Lay the cheddar slices over the turkey. If your slices are small, tear them to fit. The cheese should cover most of the turkey layer. Pro tip: let the cheese come to room temperature first—it melts more evenly.
- Top with the bun tops. Place the top half of the rolls over the cheese. Gently press down so everything settles together.
- Make the butter mixture. In your small bowl, combine the melted butter, Dijon mustard, Worcestershire sauce, garlic powder, and onion powder. Whisk it together until it’s smooth and well combined. This is where the magic happens.
- Brush the tops. Using your pastry brush (or spoon), generously brush the butter mixture over the top of the rolls. Don’t be shy—you want every bit of that golden goodness. Sprinkle the poppy seeds over the top if you’re using them.
- Bake covered for 10 minutes. Cover the dish with aluminum foil and bake for 10 minutes. This steams the rolls and melts the cheese without burning the tops.
- Uncover and bake for 5-7 more minutes. Remove the foil and bake until the tops are golden brown and the cheese is bubbly around the edges. Your kitchen is going to smell incredible right about now.
- Let them rest for 5 minutes. This is the hardest part, I know. But if you cut into them immediately, everything slides apart. Give them five minutes to set up, then slice between the rolls with a sharp knife.
Your sliders should look golden and glossy on top, with little bits of melted cheese peeking out around the edges. The bottom should be slightly toasted but still soft. If the tops are browning too fast, tent with foil for the last few minutes. Every oven runs differently, so keep an eye on them after the 15-minute mark.
Cooking Tips & Techniques
I’ve made every mistake in the book with these sliders, so let me save you some trouble.
Don’t overbake them. I learned this the hard way. The difference between perfect sliders and dry sliders is about two minutes. When the cheese is melted and the tops are golden, pull them out. They’ll continue cooking slightly from the residual heat.
Let the butter mixture soak in. If you have time, brush the butter mixture on and let the assembled sliders sit for 10-15 minutes before baking. The buns absorb the flavor better, and the tops get that gorgeous golden crust.
Use room temperature ingredients. Cold cheese doesn’t melt evenly. Cold turkey separates weirdly. Take everything out of the fridge 10 minutes before you start assembling. Your sliders will thank you.
Slice with a serrated knife. A regular knife will squish the buns. A serrated knife glides through cleanly. I use my bread knife, and it works perfectly every time.
Make extra butter mixture. I always double the butter mixture because I inevitably spill some or want extra on top. Leftover butter mixture can be brushed on the inside of the buns for even more flavor.
Variations & Adaptations
These sliders are endlessly adaptable, which is why they never get boring in our house.
Turkey and Swiss: Swap the cheddar for Swiss cheese and add a smear of honey mustard. It’s a completely different vibe—sophisticated enough for grown-ups but still kid-approved.
Ham and Cheddar: Use ham instead of turkey. My husband actually prefers this version. Add a thin layer of pineapple for a Hawaiian twist that’s honestly amazing.
Vegetarian Version: Use plant-based deli slices or layer roasted vegetables (zucchini, bell peppers, mushrooms) instead of turkey. The cheese and butter mixture carry the flavor so well that you won’t miss the meat.
Spicy Kick: Add a thin layer of pickled jalapeños or a drizzle of sriracha before adding the top buns. My teenager loves this version, and it’s great for game day snacks too.
Breakfast Sliders: Use scrambled eggs, breakfast sausage, and cheddar. Same technique, completely different meal. We’ve made these for Christmas morning and they were gone in ten minutes.
Serving & Storage Suggestions
These sliders are best served warm, right out of the oven. The cheese is stretchy, the buns are soft, and the tops have that perfect buttery crunch. I like to serve them with a side of sweet potato chips or carrot sticks for a complete lunch that feels special.
For school lunches, let them cool completely before packing. I wrap each slider individually in foil or parchment paper, then place them in the lunchbox. They hold up beautifully for 4-5 hours. If you’re packing them the night before, store them in the fridge and let them come to room temperature before packing—cold sliders aren’t nearly as good.
Refrigerator Storage: Store leftover sliders in an airtight container for up to 3 days. To reheat, wrap in foil and warm in a 350°F oven for 5-7 minutes. The microwave works in a pinch, but the buns get a bit chewy.
Freezer Storage: These freeze beautifully. Assemble the sliders completely but don’t bake them. Wrap the entire dish tightly in plastic wrap, then foil, and freeze for up to 3 months. When you’re ready to bake, thaw overnight in the fridge, then bake as directed. You can also bake from frozen—just add 10-15 minutes to the covered baking time.
The flavors actually develop more after a day in the fridge. I sometimes make these on Sunday for Monday lunches, and they taste even better. The butter mixture soaks into the buns overnight, creating this incredible depth of flavor that you don’t get fresh out of the oven.
Nutritional Information & Benefits
Each slider (based on 12 servings) contains approximately:
- Calories: 220
- Protein: 14g
- Carbohydrates: 18g
- Fat: 10g
- Fiber: 1g
- Sodium: 480mg
These sliders pack a solid protein punch thanks to the turkey and cheese, which helps keep kids full through the afternoon. Turkey is a lean protein source that’s rich in B vitamins and selenium, while cheddar provides calcium for growing bones. The butter mixture adds healthy fats that aid in nutrient absorption.
If you’re watching sodium, use low-sodium turkey and reduce the added salt. For a lower-carb option, serve the filling in lettuce wraps instead of buns—though honestly, the buns are part of the magic here.
These sliders are nut-free and egg-free, making them school-safe for most allergy-conscious classrooms. Always check your specific ingredients for allergens, especially if using pre-shredded cheese (some contain anti-caking agents with potential allergens).
Conclusion
These Easy Mini Turkey and Cheddar Sliders have genuinely changed our lunch routine. No more last-minute panic, no more sad sandwiches, no more negotiating with a tired kid at 7 am. Just warm, melty, handheld goodness that makes lunch feel special without making you crazy.
I love that this recipe is flexible enough to adapt to whatever you have in the fridge, sturdy enough to survive a lunchbox, and delicious enough that the adults fight over the leftovers. It’s the kind of recipe that becomes a family staple—the one you make without thinking, the one that saves you on busy mornings, the one that makes your kid feel proud of their lunch.
I’d love to hear how these turn out for you! Drop a comment below and tell me what variations you tried or how your kids reacted. Did they disappear as fast as mine do? Did you discover a new favorite combo? Share your wins—I read every single comment, and honestly, they make my day. Happy cooking, friends!
Frequently Asked Questions
Can I make these sliders ahead of time for the whole week?
Absolutely! Assemble the sliders without baking, cover tightly, and refrigerate for up to 2 days. When you’re ready, just pop them in the oven. You can also bake them all at once and reheat individual sliders throughout the week.
Can I use a different type of cheese?
Yes! Provolone, mozzarella, Swiss, or pepper jack all work beautifully. Just avoid pre-shredded cheese if possible—it doesn’t melt as smoothly as block cheese that you slice yourself.
How do I keep the sliders from getting soggy in the lunchbox?
Let them cool completely before packing. I also recommend wrapping each slider individually in foil or parchment paper. The key is making sure they’re not steaming inside the lunchbox, which creates condensation.
Can I use leftover turkey instead of deli meat?
Definitely! Shred or thinly slice leftover roasted turkey. It’s actually more flavorful than deli meat. Just make sure it’s not too wet, or the buns might get soggy.
What’s the best way to reheat these sliders?
Wrap them in foil and warm in a 350°F oven for 5-7 minutes. The microwave works in a pinch (about 30 seconds), but the buns won’t be as crispy. For frozen sliders, thaw overnight in the fridge, then reheat in the oven.
Pin This Recipe!
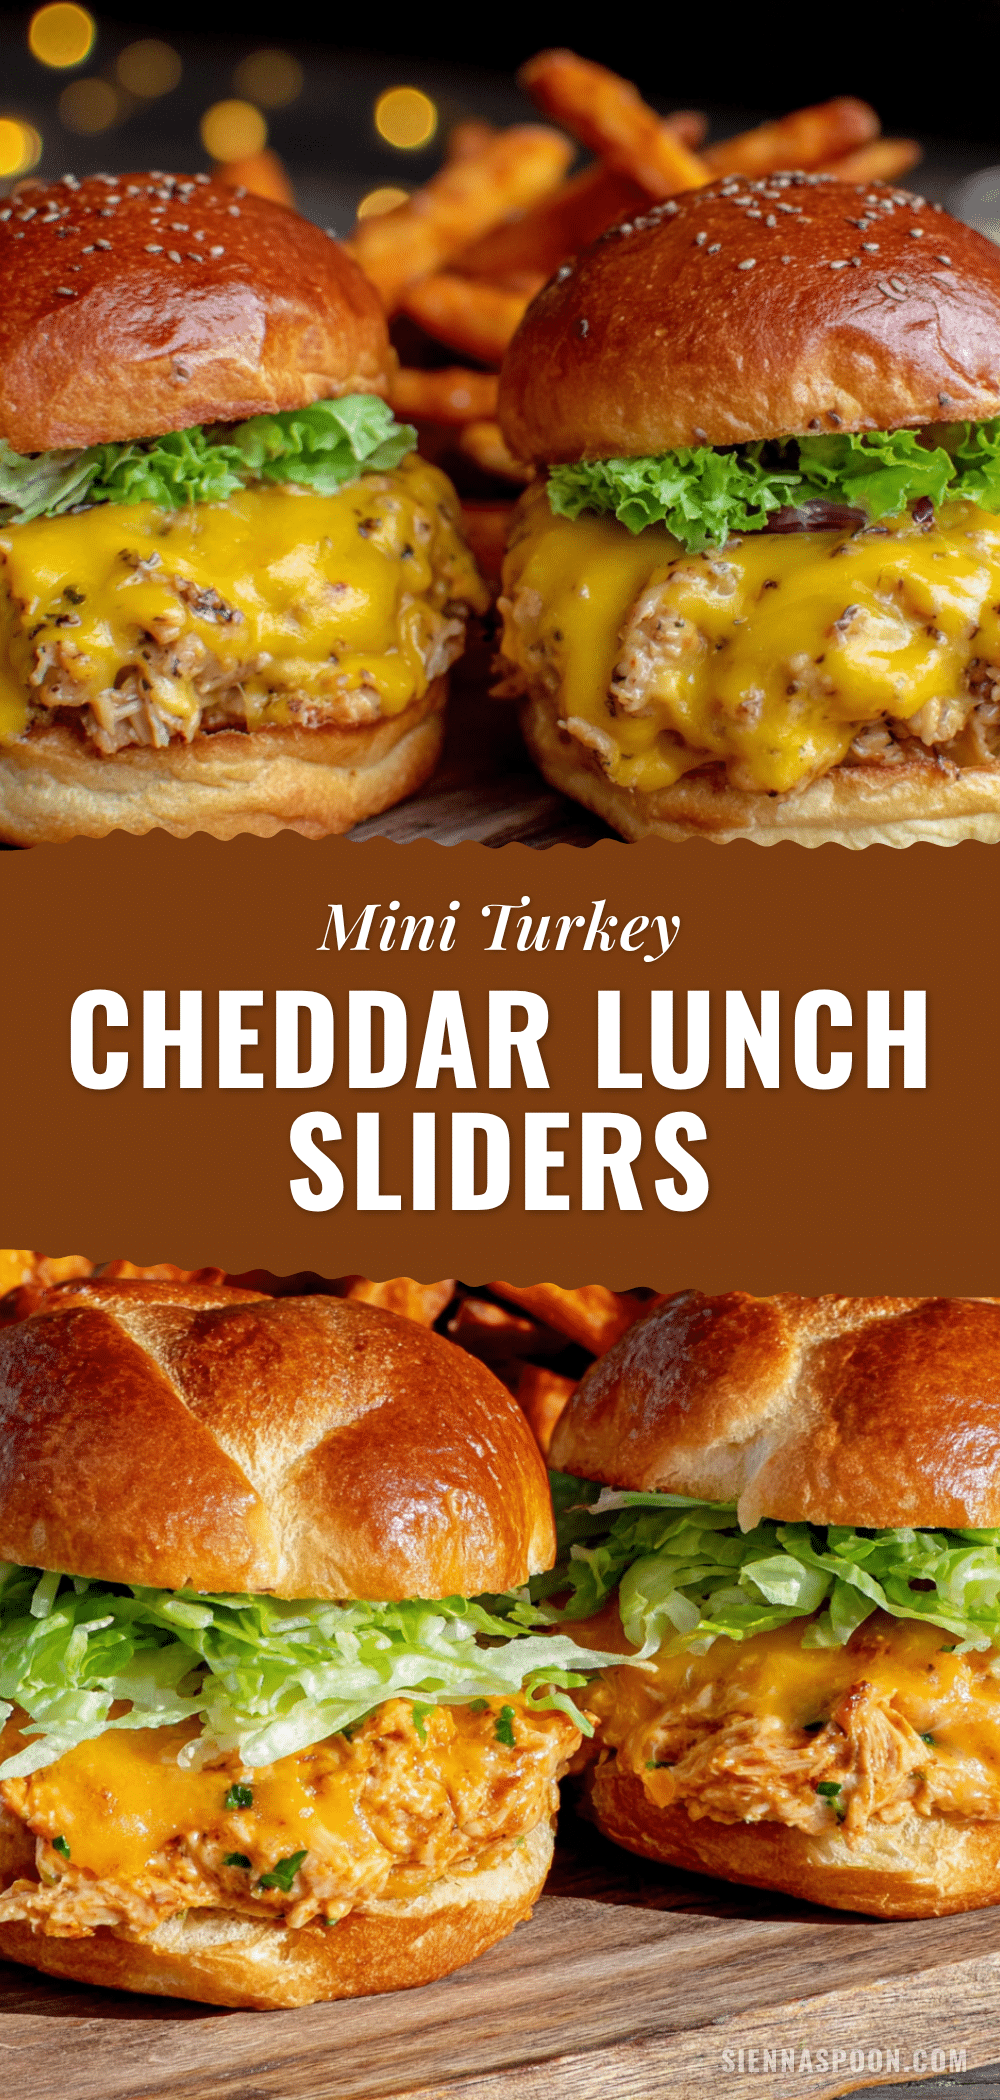
Easy Mini Turkey and Cheddar Sliders for Lunch

These easy mini turkey and cheddar sliders are perfect for school lunches or a quick meal. Made with simple ingredients and a buttery, golden top, they hold up beautifully in a lunchbox and are a crowd-pleaser.
- Prep Time: 15 minutes
- Cook Time: 15-17 minutes
- Total Time: 30-32 minutes
- Yield: 12 sliders 1x
- Category: Main Course
- Cuisine: American
Ingredients
- 12 slider buns (Hawaiian sweet rolls or soft dinner rolls)
- 1 pound deli turkey (oven-roasted preferred)
- 8 slices cheddar cheese (sharp cheddar recommended)
- 4 tablespoons unsalted butter (melted)
- 1 tablespoon Dijon mustard
- 1 tablespoon poppy seeds (optional)
- 1 teaspoon garlic powder
- 1 teaspoon onion powder
- 1 tablespoon Worcestershire sauce
Instructions
- Preheat your oven to 350°F (175°C).
- Slice the entire slab of rolls in half horizontally, keeping them connected. Place the bottom half in a 9×13 baking dish.
- Layer the turkey: Fold each slice of deli turkey in half and lay it over the bottom buns, ensuring every bun gets some turkey.
- Add the cheese: Lay the cheddar slices over the turkey, tearing to fit if needed. Let cheese come to room temperature for even melting.
- Top with the bun tops: Place the top half of the rolls over the cheese and gently press down.
- Make the butter mixture: In a small bowl, combine melted butter, Dijon mustard, Worcestershire sauce, garlic powder, and onion powder. Whisk until smooth.
- Brush the tops: Generously brush the butter mixture over the top of the rolls. Sprinkle poppy seeds on top if using.
- Bake covered for 10 minutes: Cover the dish with aluminum foil and bake for 10 minutes.
- Uncover and bake for 5-7 more minutes: Remove foil and bake until tops are golden brown and cheese is bubbly.
- Let them rest for 5 minutes before slicing between the rolls with a sharp knife.
Notes
For best results, let the butter mixture soak in for 10-15 minutes before baking. Use room temperature ingredients for even melting. Slice with a serrated knife to avoid squishing the buns. Leftover butter mixture can be brushed on the inside of the buns for extra flavor. To freeze, assemble without baking, wrap tightly, and freeze for up to 3 months. Thaw overnight in the fridge before baking, or bake from frozen adding 10-15 minutes to covered baking time.
Nutrition
- Serving Size: 1 slider
- Calories: 220
- Sugar: 4
- Sodium: 480
- Fat: 10
- Saturated Fat: 5
- Carbohydrates: 18
- Fiber: 1
- Protein: 14
Keywords: turkey sliders, mini sliders, cheddar sliders, lunchbox recipe, easy lunch, school lunch, kid-friendly