Love this? Save it for later!
Share the inspiration with your friends
I wasn’t expecting cooking advice from the man installing my new dishwasher, but there I was, standing in my own kitchen, watching him wipe his hands on a rag while he described exactly how to make a caramel apple crisp in a cast iron skillet. His name was Frank, he’d been installing appliances for thirty years, and apparently, his wife had been making this dessert for church potlucks since the 1980s. “The trick,” he said, pointing at my brand-new cast iron pan sitting on the stove, “is to use that thing for dessert, not just for steak.”
Honestly, I almost laughed. Here I was, worried about whether my dinner party menu was impressive enough for our closest friends, and Frank the appliance guy just handed me the showstopper. He scribbled the recipe on the back of his work order, which I still have tucked inside a cookbook. It’s a little smudged and the handwriting is terrible, but it works every single time.
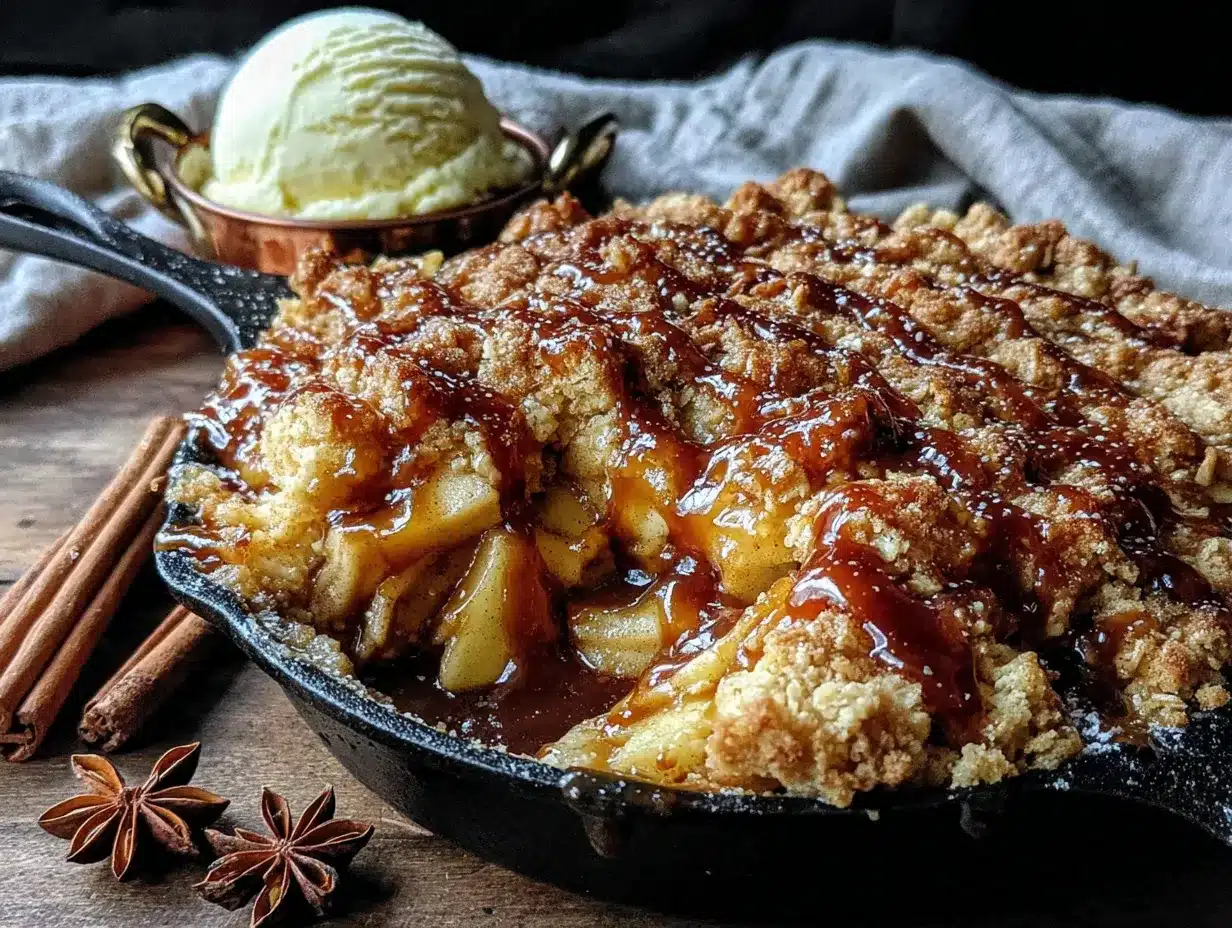
That first time I made this Guest-Favorite Caramel Apple Crisp for Two, I remember thinking there was no way something this simple could taste that good. I mean, we’re talking basic pantry ingredients and a handful of apples. But when I pulled that little cast iron skillet out of the oven, bubbling over with caramel and topped with a golden, buttery crumble, my husband actually stopped mid-conversation. You know that feeling when a dish just works? When you didn’t have to stress or fuss, and it still comes out looking like you spent hours on it?
This isn’t just any apple crisp. It’s the kind of dessert that makes people close their eyes after the first bite. It’s the one your friends will text you about the next morning, asking when you’re making it again. And the best part? It’s scaled perfectly for two people, so you don’t end up with a week’s worth of leftovers. Whether you’re hosting a romantic dinner or a small gathering, this cast iron caramel apple crisp is the move that makes you look like a hero without breaking a sweat.
Why You’ll Love This Recipe
Let me tell you why this Easy Cast Iron Caramel Apple Crisp for Two has become my secret weapon for dinner parties and cozy nights in. I’ve tested this recipe more times than I can count, tweaking the crumble topping and caramel ratio until it hit that sweet spot where everything feels effortless but tastes incredible.
- Perfectly Portioned for Two: No more massive 9×13 pans of dessert when you’re just hosting a small dinner party. This recipe makes exactly enough for two generous servings, which means no sad leftover crisp sitting in the fridge for a week.
- Cast Iron Magic: Using a cast iron skillet gives you that gorgeous golden crust on the bottom and edges of the crisp. The even heat distribution means your apples cook perfectly without burning the topping. Plus, it looks stunning right on the table.
- Simple Ingredients, Big Flavor: You probably already have most of these ingredients in your kitchen. Brown sugar, oats, flour, butter, and apples are all you need for the base. The caramel sauce comes together in minutes with pantry staples.
- Stress-Free Hosting: This is the kind of dessert you can prep ahead of time and pop in the oven when your guests arrive. The smell of apples and cinnamon baking will make everyone feel welcome before they even sit down.
- Always Gets Raves: I’ve served this to friends, family, and even my picky mother-in-law. Every single time, someone asks for the recipe. It’s that good.
What makes this version different from every other apple crisp out there? It’s the caramel. Instead of relying on store-bought sauce or complicated homemade caramel, we build the caramel right into the apple filling. The brown sugar and butter create a natural caramel as they bake, and a splash of heavy cream at the end takes it over the top. It’s not fussy, but it tastes like you spent all afternoon on it.
This recipe is comfort food at its finest. It’s the kind of dessert that makes you want to curl up on the couch with a spoon and someone you love. Perfect for impressing guests without the stress, or turning a simple Tuesday night into something memorable.
What Ingredients You Will Need
This recipe uses simple, wholesome ingredients to create something truly special. Most of these are pantry staples, which means you can whip up this Guest-Favorite Caramel Apple Crisp for Two anytime the craving hits. Let’s break down each ingredient and why it matters.
For the Apple Filling
- 2 medium apples (about 300g total): I recommend using a mix of tart and sweet apples for the best flavor. Honeycrisp, Granny Smith, or Braeburn work beautifully. You want apples that hold their shape during baking, not ones that turn into applesauce. Peel and slice them about 1/4-inch thick so they cook evenly.
- 2 tablespoons unsalted butter (28g): This adds richness to the caramel sauce as it bakes. Use good quality butter here since it’s a star ingredient.
- 3 tablespoons brown sugar (40g), packed: Light or dark brown sugar works, but dark brown sugar gives you a deeper caramel flavor. The molasses in brown sugar is what creates that gorgeous caramel sauce.
- 1 tablespoon granulated sugar (12g): A little white sugar helps balance the molasses flavor and adds sweetness without overpowering the apples.
- 1/2 teaspoon ground cinnamon: This is non-negotiable for me. Cinnamon and apples are a match made in heaven. I prefer Saigon cinnamon for its bold, warm flavor.
- 1/8 teaspoon ground nutmeg: Just a pinch adds warmth and depth. Freshly grated nutmeg is amazing if you have it.
- 1 teaspoon vanilla extract: Pure vanilla extract makes a difference here. It rounds out the caramel flavor beautifully.
- 1 tablespoon all-purpose flour (8g): This helps thicken the juices as the apples bake, giving you that perfect syrupy consistency instead of watery liquid.
- 1 tablespoon heavy cream (15ml): This is my secret ingredient. Adding cream to the apple filling creates a richer, silkier caramel sauce that coats every apple slice.
For the Crumble Topping
- 1/4 cup old-fashioned rolled oats (25g): Don’t use quick oats here. Old-fashioned oats give you that perfect chewy texture in the crumble. I prefer Bob’s Red Mill brand for consistent quality.
- 1/4 cup all-purpose flour (32g): This provides structure to the crumble. You can substitute with a gluten-free flour blend if needed.
- 1/4 cup brown sugar (50g), packed: More brown sugar for that deep caramel flavor in the topping.
- 1/4 teaspoon ground cinnamon: A little extra cinnamon in the topping ties everything together.
- Pinch of salt: Don’t skip this. Salt balances the sweetness and makes the caramel flavor pop.
- 3 tablespoons cold unsalted butter (42g), cut into small cubes: Cold butter is essential for a crumbly topping. If the butter is too warm, you’ll end up with a paste instead of crumbs.
For Serving (Optional but Recommended)
- Vanilla ice cream or whipped cream: A scoop of good vanilla ice cream melting over warm apple crisp is basically a religious experience.
- Extra caramel sauce for drizzling: If you want to go all out, a drizzle of store-bought or homemade caramel sauce makes it extra special.
Equipment Needed
One of the best things about this Easy Cast Iron Caramel Apple Crisp for Two is that you don’t need a ton of fancy equipment. Here’s what you’ll need:
- 6-inch cast iron skillet: This is the star of the show. A 6-inch skillet is the perfect size for two servings. If you don’t have one, you can use a 5-inch or 7-inch skillet, or even a small baking dish. I bought my Lodge 6-inch skillet for under $20, and it’s one of the best kitchen investments I’ve made.
- Mixing bowls: You’ll need one medium bowl for the apple filling and one small bowl for the crumble topping. Nothing fancy needed.
- Chef’s knife and cutting board: For peeling and slicing your apples. A sharp knife makes the job much easier.
- Measuring cups and spoons: Accurate measurements matter in baking, even for a simple crisp.
- Pastry cutter or fork: For cutting the cold butter into the crumble topping. You can also use your fingertips, just work quickly so the butter doesn’t warm up.
- Rubber spatula: For mixing the apple filling and scraping every last bit of caramel goodness into the skillet.
If you don’t have a cast iron skillet, don’t worry. A small oven-safe baking dish or even a ceramic ramekin will work. The baking time might vary slightly, so just keep an eye on it. I’ve also made this in a small enameled cast iron dish with great results.
Preparation Method
Let’s get cooking! This Guest-Favorite Caramel Apple Crisp for Two comes together in about 40 minutes, and most of that is hands-off baking time. Here’s exactly how to make it.
- Preheat your oven to 375°F (190°C). Position the rack in the center of the oven. While the oven heats up, you can prep everything else.
- Peel and slice your apples. Using a sharp chef’s knife, peel both apples completely. Cut them in half through the core, then remove the core and seeds. Slice each half into 1/4-inch thick pieces. You want them thin enough to cook through but thick enough to hold their shape. A good rule of thumb is to aim for slices about the thickness of a pencil.
- Make the caramel apple filling. In a medium mixing bowl, combine the sliced apples, 2 tablespoons brown sugar, 1 tablespoon granulated sugar, 1/2 teaspoon cinnamon, 1/8 teaspoon nutmeg, 1 teaspoon vanilla extract, 1 tablespoon flour, and 1 tablespoon heavy cream. Toss everything together with a rubber spatula until the apples are evenly coated. The mixture will look a little loose, but that’s exactly what you want. Let it sit for 5 minutes while you prepare the topping.
- Make the crumble topping. In a small bowl, combine the rolled oats, 1/4 cup flour, 1/4 cup brown sugar, 1/4 teaspoon cinnamon, and a pinch of salt. Stir with a fork to combine. Add the cold cubed butter. Using a pastry cutter or your fingertips, work the butter into the dry ingredients until the mixture resembles coarse sand with some pea-sized butter pieces remaining. Don’t overmix here—those little butter chunks create the best texture as they melt in the oven.
- Prepare the cast iron skillet. Place your 6-inch cast iron skillet over medium heat on the stovetop. Add 2 tablespoons of butter and let it melt completely, swirling the pan to coat the bottom. Once the butter is melted and starting to bubble, remove the pan from the heat.
- Assemble the crisp. Pour the apple filling into the hot skillet with the melted butter. Spread it into an even layer. Sprinkle the crumble topping evenly over the apples, making sure to cover them completely. Don’t press the topping down—you want it to stay light and crumbly.
- Bake the crisp. Place the skillet in the preheated oven and bake for 25-30 minutes, or until the topping is golden brown and the filling is bubbling around the edges. You’ll know it’s done when you see thick, syrupy bubbles breaking through the crumble. If the topping is browning too quickly, tent the skillet loosely with aluminum foil for the last 5-10 minutes.
- Cool slightly before serving. Remove the skillet from the oven and place it on a heat-safe surface. Let the crisp cool for 10-15 minutes. This allows the caramel to thicken up so it’s not too runny. The skillet will stay hot for a while, so be careful when handling it.
- Serve and enjoy. Scoop the warm crisp into bowls or serve directly from the skillet. Top with a generous scoop of vanilla ice cream or a dollop of whipped cream. Drizzle with extra caramel sauce if you’re feeling fancy. The contrast between the warm, caramel-y apples and the cold, creamy ice cream is absolutely divine.
A quick note on timing: I like to prep the apple filling and crumble topping before my guests arrive. Then, when we’re ready for dessert, I just melt the butter in the skillet, assemble, and bake. It takes about 5 minutes of active time, and the baking time gives you a chance to clear the table and pour some coffee. Perfect hosting strategy!
Cooking Tips & Techniques
After making this Easy Cast Iron Caramel Apple Crisp for Two more times than I can count, I’ve picked up a few tricks that make a real difference. Let me share them with you so your first attempt turns out perfectly.
Choose the right apples. This is probably the most important tip I can give you. You want apples that hold their shape during baking. Granny Smith apples are my go-to because they’re tart enough to balance the sweet caramel and firm enough to stay intact. Honeycrisp and Braeburn are also excellent choices. Stay away from McIntosh or Red Delicious, which turn into mush. I learned this the hard way when I grabbed the wrong apples at the store and ended up with apple soup.
Don’t skip the cream in the filling. I know it seems like a small addition, but that tablespoon of heavy cream makes a huge difference. It creates a richer, silkier caramel sauce that coats every apple slice. If you don’t have heavy cream, you can use half-and-half or even whole milk, but the texture won’t be quite as luxurious.
Keep your butter cold for the topping. This is the secret to a truly crumbly, crispy topping. If the butter warms up too much, you’ll end up with a dense, pasty layer instead of those beautiful golden crumbs. I like to cut my butter into small cubes and pop them in the freezer for 5 minutes before I start making the topping. It makes a noticeable difference.
Watch your baking time. Every oven runs a little differently, so start checking your crisp at the 25-minute mark. You’re looking for a golden brown topping and thick, syrupy bubbles around the edges. If the topping is getting too dark but the filling isn’t bubbling yet, tent it with foil and continue baking. The first time I made this, I walked away and came back to a slightly burnt topping. Now I set a timer and peek through the oven window regularly.
Let it rest before serving. I know it’s tempting to dig in right away, but letting the crisp sit for 10-15 minutes is crucial. The filling needs time to set up, and the caramel will thicken as it cools slightly. If you serve it too soon, you’ll end up with a runny mess. Trust me on this one—the wait is worth it.
Variations & Adaptations
One of the best things about this Guest-Favorite Caramel Apple Crisp for Two is how easy it is to adapt. Here are some of my favorite variations.
Gluten-Free Version: Substitute the all-purpose flour in both the filling and the topping with a good gluten-free flour blend. I’ve had great results with Bob’s Red Mill 1-to-1 Baking Flour. The oats are naturally gluten-free, but make sure you buy certified gluten-free oats if you’re serving someone with celiac disease.
Dairy-Free Adaptation: Use vegan butter in place of regular butter, and substitute the heavy cream with full-fat coconut cream or a dairy-free creamer. The texture will be slightly different, but the flavor is still fantastic. I’ve made this for a friend who’s lactose intolerant, and she couldn’t tell the difference.
Add Some Spice: If you love warm baking spices, try adding 1/4 teaspoon of cardamom or ginger to the apple filling. A pinch of cloves also works beautifully. My personal favorite variation is adding a tablespoon of bourbon or dark rum to the apple filling for a grown-up twist. The alcohol cooks off, leaving behind a wonderful depth of flavor.
Nutty Crumble: Add 2 tablespoons of chopped pecans or walnuts to the crumble topping. Toast them lightly before adding for extra flavor. The crunch of nuts against the soft apples and crispy topping is absolutely amazing.
Berry-Apple Combo: Swap half the apples for fresh or frozen berries. Blueberries, raspberries, or blackberries all work beautifully. If using frozen berries, don’t thaw them first—just add them straight to the apple mixture. You might need to add an extra minute or two of baking time.
Serving & Storage Suggestions
This Easy Cast Iron Caramel Apple Crisp for Two is best served warm, straight from the oven. Here’s how to make it shine.
Serving Temperature: Serve the crisp warm, not hot. Let it rest for 10-15 minutes after baking so the caramel has time to thicken. A scoop of cold vanilla ice cream melting into the warm apples is the classic pairing, and for good reason. The temperature contrast is incredible.
Presentation Tips: Serve the crisp directly in the cast iron skillet for a rustic, impressive look. Place the hot skillet on a wooden board or trivet at the table. Sprinkle a little cinnamon or powdered sugar on top just before serving. If you’re feeling extra fancy, drizzle some caramel sauce over the ice cream.
What to Serve Alongside: A cup of strong coffee or a glass of cold milk is perfect with this dessert. For a dinner party, I like to serve it after a lighter main course like roasted chicken or grilled fish. The richness of the crisp balances beautifully with something savory and simple.
Storage Instructions: If you have leftovers (which is rare in my house), let the crisp cool completely, then cover the skillet tightly with foil or plastic wrap. Store in the refrigerator for up to 3 days. The topping will soften a bit, but it’s still delicious.
Reheating Tips: To reheat, place the skillet in a 350°F (175°C) oven for 10-15 minutes, or until warmed through. You can also reheat individual portions in the microwave for about 30 seconds, but the topping won’t be as crispy. For best results, add a fresh scoop of ice cream to mask any softening of the crumble.
Flavor Development: Honestly, the flavors actually get better after a day in the fridge. The caramel continues to meld with the apples, and the spices deepen. If you’re planning ahead, you can assemble the crisp completely (without baking) and refrigerate it for up to 24 hours. Just add 5-10 minutes to the baking time when you’re ready to cook it.
Nutritional Information & Benefits
While this Guest-Favorite Caramel Apple Crisp for Two is definitely a treat, it does have some redeeming qualities. Here’s a rough breakdown of the nutritional information per serving (assuming two servings, without ice cream).
| Nutrient | Amount Per Serving |
|---|---|
| Calories | 385 |
| Total Fat | 18g |
| Saturated Fat | 11g |
| Carbohydrates | 55g |
| Fiber | 5g |
| Sugar | 38g |
| Protein | 3g |
Health Benefits: Apples are packed with fiber and vitamin C, and they contain antioxidants that support heart health. Oats are a great source of soluble fiber, which can help lower cholesterol. The cinnamon in this recipe has anti-inflammatory properties and may help regulate blood sugar. So while this isn’t health food, it’s not completely empty calories either.
Dietary Considerations: This recipe can be made gluten-free and dairy-free with simple substitutions (see variations above). It contains wheat and dairy in its standard form. If you’re serving someone with nut allergies, skip the optional nuts in the topping.
My Personal Perspective: I believe in balance. This dessert is meant to be enjoyed, not feared. It’s a special treat for a dinner party or a cozy night in, and there’s nothing wrong with that. Use good ingredients, savor every bite, and don’t stress about the numbers.
FAQs
Can I use a different size skillet?
Absolutely. If you use a 5-inch skillet, your crisp will be thicker and may need an extra 5 minutes of baking time. For a 7-inch skillet, the crisp will be thinner and may be done 5 minutes earlier. Just keep an eye on it and look for that golden brown topping and bubbling filling.
Can I make this ahead of time?
Yes! You can assemble the entire crisp (without baking) up to 24 hours in advance. Cover and refrigerate. When you’re ready to bake, add 5-10 minutes to the baking time since you’re starting from cold. This is a great option for dinner parties when you want to minimize last-minute work.
What if I don’t have a cast iron skillet?
No problem at all. Use a small oven-safe baking dish, a ceramic ramekin, or even a small glass pie plate. The baking time might vary slightly, so just watch for the visual cues—golden topping and bubbling filling. The cast iron gives you a nice crust on the bottom, but any oven-safe dish will work.
Can I double this recipe?
Definitely. To serve four people, simply double all the ingredients and use a 10-inch cast iron skillet or an 8×8-inch baking dish. The baking time will be similar, but start checking at 30 minutes. You might need an extra 5-10 minutes for a larger crisp.
Why is my topping not crispy?
This usually happens for one of two reasons. Either the butter was too warm when you made the topping, or the crisp wasn’t baked long enough. Make sure your butter is cold straight from the fridge, and don’t overmix the topping. If your topping is still soft after baking, pop the skillet back in the oven for another 5 minutes uncovered.
Conclusion
This Easy Cast Iron Caramel Apple Crisp for Two is more than just a dessert—it’s the kind of recipe that becomes a tradition. It’s the dish you make when you want to impress someone without looking like you’re trying too hard. It’s the dessert that makes people lean in and ask, “Wait, you made this from scratch?”
I love this recipe because it reminds me that the best things in life don’t have to be complicated. A few simple ingredients, a little bit of patience, and a hot cast iron skillet are all you need to create something truly memorable. Whether you’re hosting a romantic dinner for two or a small gathering of close friends, this caramel apple crisp will steal the show every single time.
So go ahead, give it a try. Customize it with your favorite nuts or spices, serve it with a generous scoop of ice cream, and watch the smiles around your table. And when your guests ask for the recipe, just tell them you got it from a dishwasher installer named Frank. They’ll never believe you, and honestly, that’s part of the fun.
Have you tried this recipe? I’d love to hear how it turned out! Leave a comment below and let me know what variations you tried. Don’t forget to share this post with your fellow dessert lovers. Happy baking!
Pin This Recipe!
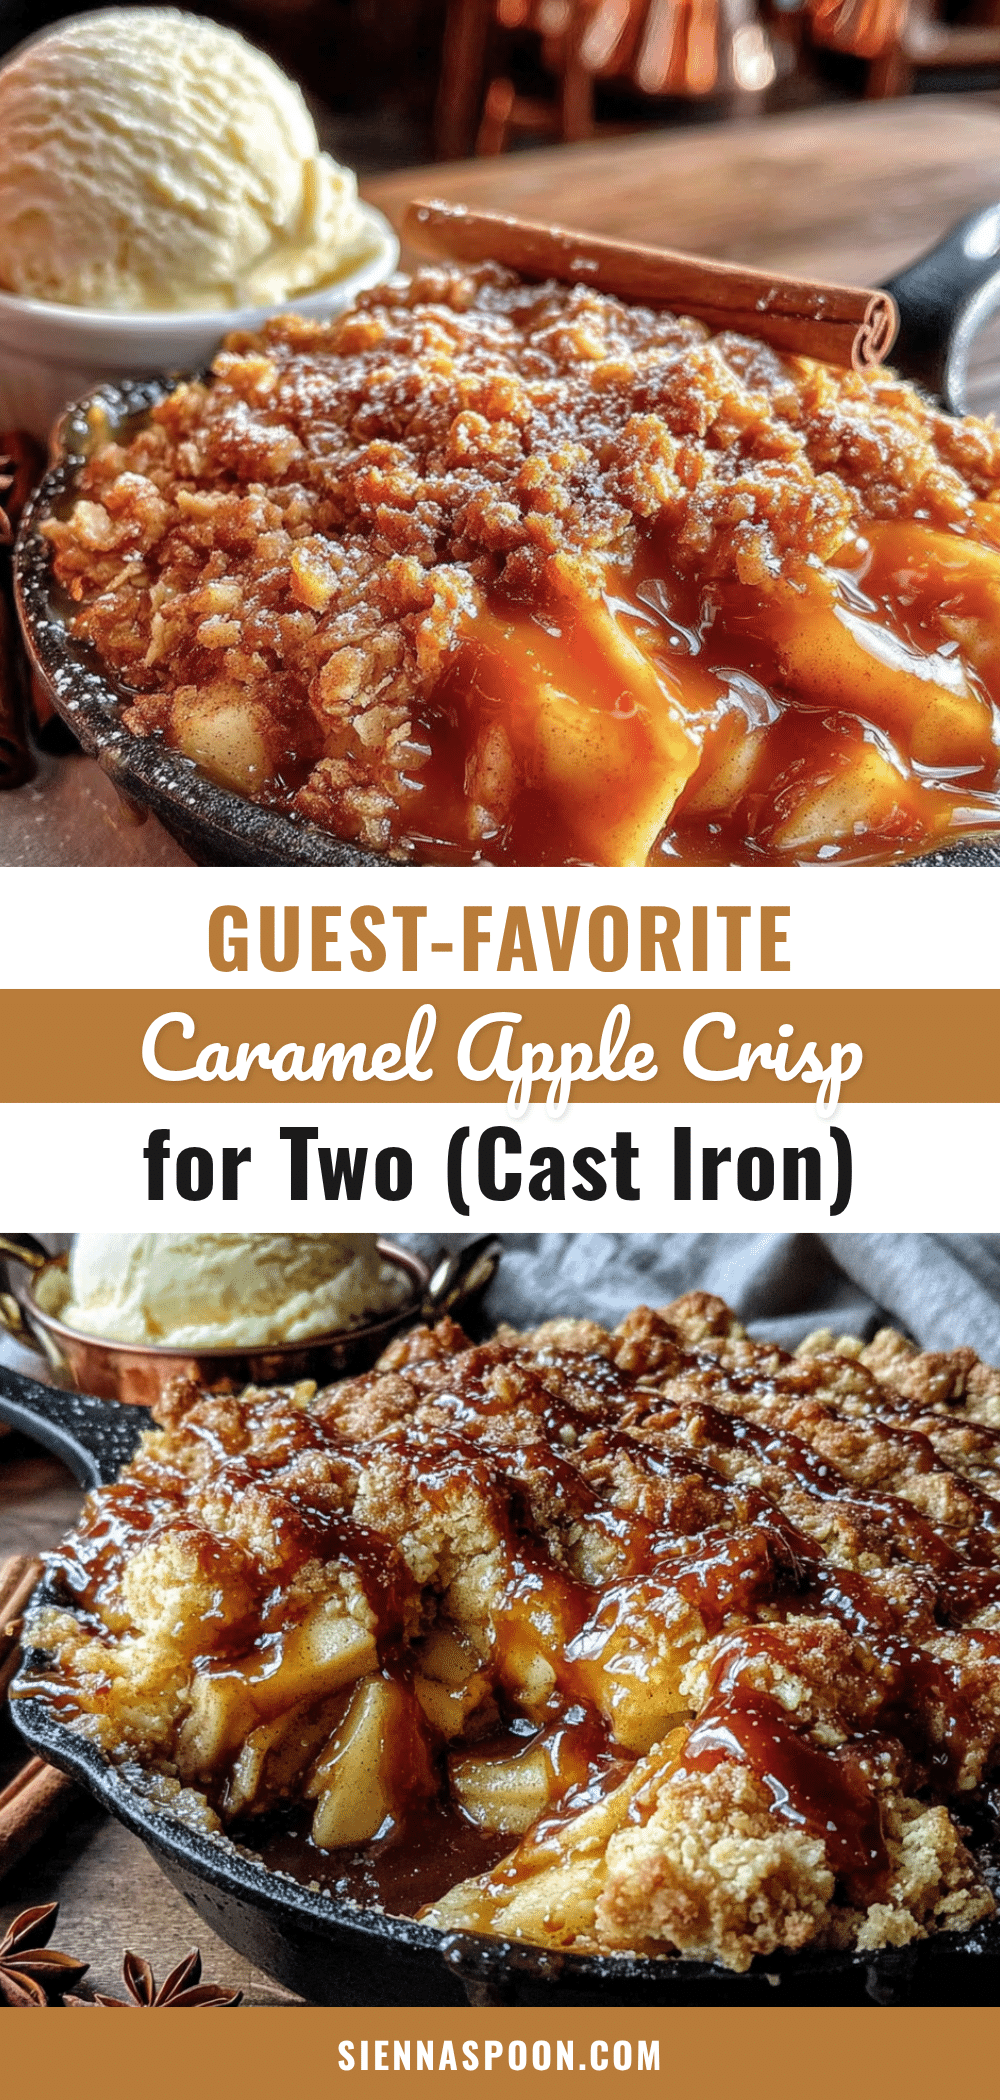
Easy Cast Iron Caramel Apple Crisp for Two

A perfectly portioned caramel apple crisp made in a cast iron skillet, featuring a buttery crumble topping and rich caramel sauce. Ideal for a romantic dinner or small gathering.
- Prep Time: 15 minutes
- Cook Time: 30 minutes
- Total Time: 45 minutes
- Yield: 2 servings 1x
- Category: Dessert
- Cuisine: American
Ingredients
- 2 medium apples (about 300g total), peeled and sliced 1/4-inch thick
- 2 tablespoons unsalted butter (28g)
- 3 tablespoons brown sugar (40g), packed
- 1 tablespoon granulated sugar (12g)
- 1/2 teaspoon ground cinnamon
- 1/8 teaspoon ground nutmeg
- 1 teaspoon vanilla extract
- 1 tablespoon all-purpose flour (8g)
- 1 tablespoon heavy cream (15ml)
- 1/4 cup old-fashioned rolled oats (25g)
- 1/4 cup all-purpose flour (32g)
- 1/4 cup brown sugar (50g), packed
- 1/4 teaspoon ground cinnamon
- Pinch of salt
- 3 tablespoons cold unsalted butter (42g), cut into small cubes
- Vanilla ice cream or whipped cream (for serving, optional)
- Extra caramel sauce for drizzling (optional)
Instructions
- Preheat your oven to 375°F (190°C). Position the rack in the center of the oven.
- Peel and slice your apples into 1/4-inch thick pieces.
- In a medium mixing bowl, combine the sliced apples, 2 tablespoons brown sugar, 1 tablespoon granulated sugar, 1/2 teaspoon cinnamon, 1/8 teaspoon nutmeg, 1 teaspoon vanilla extract, 1 tablespoon flour, and 1 tablespoon heavy cream. Toss until apples are evenly coated. Let sit for 5 minutes.
- In a small bowl, combine the rolled oats, 1/4 cup flour, 1/4 cup brown sugar, 1/4 teaspoon cinnamon, and a pinch of salt. Stir with a fork. Add cold cubed butter and work into the dry ingredients until mixture resembles coarse sand with some pea-sized butter pieces.
- Place a 6-inch cast iron skillet over medium heat on the stovetop. Add 2 tablespoons of butter and let it melt completely, swirling to coat the bottom. Remove from heat.
- Pour the apple filling into the hot skillet with the melted butter. Spread into an even layer. Sprinkle the crumble topping evenly over the apples.
- Bake for 25-30 minutes, or until the topping is golden brown and the filling is bubbling around the edges. If topping browns too quickly, tent loosely with aluminum foil for the last 5-10 minutes.
- Remove from oven and let cool for 10-15 minutes to allow the caramel to thicken.
- Serve warm, topped with vanilla ice cream or whipped cream and extra caramel sauce if desired.
Notes
For best results, use a mix of tart and sweet apples like Granny Smith and Honeycrisp. Keep butter cold for the crumble topping. Let the crisp rest before serving to allow the caramel to thicken. Can be assembled up to 24 hours in advance and refrigerated; add 5-10 minutes to baking time.
Nutrition
- Serving Size: 1 serving (half of r
- Calories: 385
- Sugar: 38
- Fat: 18
- Saturated Fat: 11
- Carbohydrates: 55
- Fiber: 5
- Protein: 3
Keywords: apple crisp, cast iron, caramel, dessert for two, easy dessert, fall dessert


