Love this? Save it for later!
Share the inspiration with your friends
Last October, I found myself staring at a half-empty bag of black tortilla chips and wondering why Halloween snacks always had to be so… predictable. You know the drill—store-bought candy bowls and sad little bags of pretzels that somehow pass for party food. My neighbor had mentioned she was dreading her annual Halloween get-together, and honestly, I was tired of seeing the same old spread year after year. That’s when the idea hit me—why not turn the whole grazing board concept into something that actually looked like it belonged at a Halloween party?
The first attempt was a mess, let me tell you. The dip was too runny, the “graveyard” looked more like a sad puddle, and I accidentally used regular Oreos instead of the Halloween edition. But somewhere between the second batch and a late-night trip to the grocery store, something clicked. The Spooky Halloween Charcuterie Board with Graveyard Dirt Dip became the thing everyone talked about at the party. I mean, people were literally taking pictures before they’d even grab a chip.
Maybe you’ve been there—wanting to bring something impressive to a Halloween gathering but not wanting to spend three days in the kitchen. This board is your answer. It’s the kind of spread that makes people stop and say “wait, you made this?” while you casually shrug and grab another handful of gummy worms. The best part? It comes together in under 30 minutes, and the Graveyard Dirt Dip is so good you’ll find yourself making it for non-Halloween occasions too (don’t judge me, I’ve done it).
Why You’ll Love This Spooky Halloween Charcuterie Board
Let’s be real for a second—most Halloween food is either overly complicated or completely boring. This board hits that sweet spot where it looks like you spent hours on it, but you actually threw it together while your coffee was still hot. Here’s why this recipe works:
- Quick & Easy: You can assemble the entire board in about 20 minutes. The dip takes maybe 10 minutes of actual work, and the rest is just arranging things in a way that looks intentional.
- Simple Ingredients: Everything on this board comes from a regular grocery store. No specialty shops, no weird ingredients you’ll never use again. I grabbed most of it during my normal weekly run.
- Perfect for Halloween Parties: Whether you’re hosting a spooky movie night or a full-blown costume party, this board fits right in. It’s interactive, it’s shareable, and it’s guaranteed to be the center of attention.
- Crowd-Pleaser: Kids go crazy for the gummy worms and “dirt” dip. Adults appreciate the savory elements and the clever presentation. It’s one of those rare dishes that bridges the age gap.
- Unbelievably Delicious: The Graveyard Dirt Dip is the real star here—creamy, slightly sweet, with that perfect crunch from the crushed cookies. It’s the kind of dip you’ll want to eat with a spoon when nobody’s watching.
What makes this board different from other Halloween snacks is the attention to detail. The dip has a velvety texture that comes from using room temperature cream cheese and the right ratio of pudding mix. The “dirt” layer stays crunchy because of a little trick I learned after my first soggy attempt. And the arrangement? Well, let’s just say I’ve made enough charcuterie boards to know that visual balance matters just as much as flavor.
This isn’t just another Halloween recipe—it’s the one that’ll have people asking for the recipe before the party’s even over. It’s comfort food with a spooky twist, and honestly, it’s become my most requested dish for October gatherings.
What Ingredients You Will Need
This recipe uses simple, accessible ingredients to create something that looks far more elaborate than it actually is. Most of these are pantry staples or easy to find at any grocery store during October.
For the Graveyard Dirt Dip
- 8 oz cream cheese, softened (I use Philadelphia—it gives the smoothest texture; let it sit out for at least 30 minutes)
- 1/2 cup unsalted butter, softened (Kerrygold is my go-to, but any good brand works)
- 1 cup powdered sugar (sift it if you want extra smooth dip, but honestly, I skip this step half the time)
- 1 (3.9 oz) package instant chocolate pudding mix (Jell-O brand works perfectly; don’t use cook-and-serve)
- 1/2 cup milk (whole milk gives the best consistency, but 2% works in a pinch)
- 1 tsp vanilla extract (pure vanilla makes a difference, but imitation is fine)
- 1 1/2 cups chocolate sandwich cookies, crushed (Oreos are the obvious choice; I use the Halloween edition with orange filling when I can find them)
- Gummy worms (for decoration—get the long, colorful ones that look like they’re crawling out of the dirt)
- Small bone-shaped candy or white chocolate bones (optional, but they add to the graveyard vibe)
For the Charcuterie Board
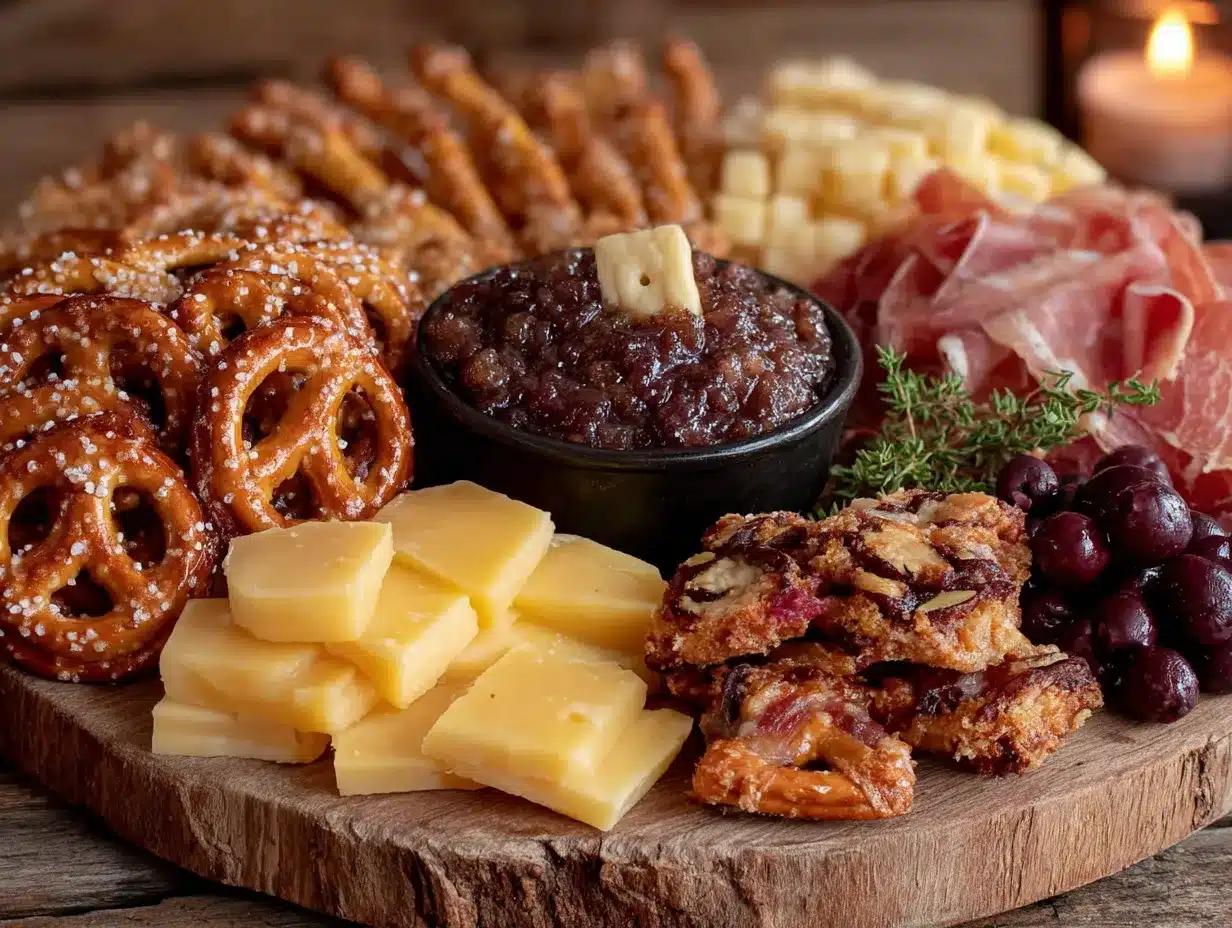
- Black tortilla chips (the color contrast is perfect for the spooky theme)
- Pretzel sticks (they look like little bones or fence posts)
- Cheese cubes (I use cheddar and Colby Jack—orange and white fit the color scheme)
- Pepperoni slices (arrange them in a way that looks like they could be little tombstones)
- Red grapes (they look like little eyeballs when you arrange them right)
- Halloween-themed candy (candy corn, pumpkin-shaped Reese’s, or any orange-and-black wrapped treats)
- Fresh rosemary sprigs (they look like little trees or bushes on the board)
- Edible eyeballs (the candy kind—they’re surprisingly easy to find in October)
Substitution Notes
If you’re dairy-free, use vegan cream cheese and butter—the texture will be slightly different but still delicious. For a gluten-free version, use gluten-free sandwich cookies and check that your pudding mix is certified gluten-free. I’ve made this with both regular and gluten-free ingredients, and honestly, the gluten-free crowd never complains because the dip is that good.
Equipment Needed
- Large wooden cutting board or serving platter (at least 12×16 inches—I use a round wooden board I found at a thrift store for $8)
- Medium mixing bowl (for the dip)
- Hand mixer or stand mixer (you can do this by hand, but your arm will thank you for using a mixer)
- Spatula (for scraping every last bit of dip)
- Small bowl or ramekin (to hold the dip on the board)
- Ziploc bag or rolling pin (for crushing the cookies—I prefer the bag method because it’s less messy)
- Small offset spatula or butter knife (for spreading and smoothing)
- Toothpicks or small skewers (for arranging smaller items)
If you don’t have a large wooden board, a baking sheet lined with parchment paper works perfectly. I’ve done this more times than I care to admit, and nobody notices the difference once the food is on it. For the dip bowl, any small bowl works—I’ve used everything from a ceramic ramekin to a hollowed-out bell pepper when I was feeling extra creative.
Preparation Method
Alright, let’s get into the actual making of this thing. I’ll walk you through it step by step, including the little mistakes I’ve made so you don’t have to repeat them.
- Make the Graveyard Dirt Dip base: In your medium mixing bowl, beat the softened cream cheese and butter together until smooth and fluffy. This takes about 2-3 minutes with a hand mixer on medium speed. Don’t rush this step—if the cream cheese isn’t fully softened, you’ll end up with lumps, and nobody wants lumpy dip. I learned this the hard way when I tried to rush it for a party and ended up with little cream cheese chunks floating in the dip.
- Add the sweet stuff: Gradually add the powdered sugar, beating on low speed at first so it doesn’t fly everywhere (trust me on this one). Once it’s incorporated, add the vanilla extract and beat until combined. The mixture should be thick and creamy at this point.
- Prepare the pudding: In a separate small bowl, whisk together the instant chocolate pudding mix and milk. It’ll start thickening almost immediately—that’s normal. Let it sit for about 2 minutes until it’s fully set. Then fold this into the cream cheese mixture until everything is smooth and chocolatey. The color should be a rich, dark brown.
- Chill the dip: Transfer the dip to your serving bowl and smooth the top with your spatula. Cover and refrigerate for at least 30 minutes. This step is crucial—the dip needs to firm up so the cookie “dirt” doesn’t sink into it. I once skipped this step because I was in a hurry, and the cookies turned into a muddy mess within 10 minutes.
- Crush the cookies: While the dip chills, place the chocolate sandwich cookies in a Ziploc bag and crush them with a rolling pin or the bottom of a heavy pan. You want a mix of fine crumbs and some small chunks—it looks more like real dirt that way. If you crush them too fine, it looks like dust. Too chunky, and it doesn’t look like dirt at all. Aim for varying sizes.
- Assemble the graveyard: Remove the dip from the fridge. Sprinkle the crushed cookies evenly over the top, pressing them gently into the surface so they stick. This is your “dirt” layer. Arrange the gummy worms so they look like they’re crawling out of the dirt—push some in halfway, let others lie on top. Stick the bone-shaped candies in like little grave markers.
- Build the board: Place the dip bowl in the center of your board or slightly off-center for visual interest. Start arranging the black tortilla chips around the bowl, fanning them out in a circular pattern. Add the pretzel sticks in small clusters—they look like little fence posts or bones.
- Fill in the gaps: Arrange the cheese cubes in small piles around the board. Place the pepperoni slices in a way that looks intentional—I like to overlap them slightly so they look like little tombstones. Scatter the red grapes around (they really do look like eyeballs when you position them right). Add the Halloween candy in small clusters.
- Add the spooky touches: Place the edible eyeballs in strategic spots—maybe one peeking out from behind a cheese cube or nestled among the grapes. Tuck the fresh rosemary sprigs in here and there to look like spooky trees or bushes. Step back and look at the overall arrangement. If something looks empty, add a few more pretzels or grapes.
- Final check: Make sure everything is accessible. The dip should be easy to reach from all sides. Adjust any items that look crowded or lonely. Take a picture—you’ll want to remember this before it disappears.
Cooking Tips & Techniques
After making this board about a dozen times (seriously, it’s become my October signature), I’ve picked up some tricks that make the process smoother and the result more impressive.
The cream cheese temperature thing is real. I cannot stress this enough—cold cream cheese will ruin your dip. It’ll be lumpy and never fully smooth, no matter how long you beat it. Take it out of the fridge at least 30 minutes before you start. If you forget (which I do, constantly), cut it into small cubes and microwave it for 10 seconds. Not 20 seconds. Ten. Trust me on this.
Don’t overmix the pudding. Once you add the milk to the pudding mix, stop stirring as soon as it comes together. Overmixing can make it thin and runny. You want it thick and fudgy. If it does get too thin, just refrigerate it for a few extra minutes before mixing it into the cream cheese base.
Crush the cookies strategically. I’ve found that crushing them in a Ziploc bag gives the best texture. Using a food processor makes them too fine—it looks more like sand than dirt. You want some visible cookie chunks mixed in with the crumbs. Also, don’t crush them too far in advance, or they’ll start to soften from the humidity in the air.
Build the board in layers. Start with the biggest items first (the dip bowl, the chip clusters), then fill in with medium items (cheese cubes, pepperoni), and finish with the small decorative touches (eyeballs, gummy worms). This prevents you from running out of space and having to rearrange everything halfway through.
Make extra dip. I’m serious. The Graveyard Dirt Dip is always the first thing to disappear. I usually double the dip recipe and keep the extra in the fridge, ready to refill the bowl when it runs low. Nobody has ever complained about having too much dip.
Variations & Adaptations
One of the best things about this board is how customizable it is. Here are some variations I’ve tried and loved:
- Savory Graveyard Dip: Skip the sweet dip and use a warm spinach and artichoke dip instead. Top it with crushed black olives for “dirt” and use pretzel sticks as grave markers. It’s a completely different vibe but just as popular at parties.
- Vegan Version: Use vegan cream cheese, vegan butter, and a plant-based pudding mix (check the label—many are accidentally vegan). Top with vegan chocolate wafer cookies. I made this for a friend’s Halloween party, and honestly, nobody could tell the difference.
- Spicy Twist: Add a pinch of cayenne pepper or chipotle powder to the dip for a smoky heat that contrasts with the sweetness. This pairs surprisingly well with the salty pretzels and cheese.
- Peanut Butter Dirt Dip: Replace the chocolate pudding with instant peanut butter pudding mix and add 1/4 cup creamy peanut butter to the cream cheese mixture. Top with crushed peanut butter cookies instead of chocolate ones. This version disappears even faster than the original.
- Mini Graveyard Cups: Instead of one large dip bowl, make individual servings in small mason jars or clear plastic cups. Layer the dip, cookie crumbs, and gummy worms for a portable version that’s perfect for parties where people are standing and mingling.
I’ve personally tried the peanut butter variation, and it’s become my second-favorite version. The combination of creamy peanut butter and chocolate is always a winner, and the crushed peanut butter cookies add a different kind of crunch that works beautifully.
Serving & Storage Suggestions
This board is best served at room temperature, so take it out of the fridge about 15-20 minutes before you’re ready to serve. The dip should be cool but not cold—it spreads better and the flavors are more pronounced when it’s not straight from the refrigerator.
For presentation, I like to set the board on a slightly elevated surface so it becomes the centerpiece of the table. Surround it with small plates and napkins, and maybe add a few battery-operated candles for that spooky glow. The contrast between the dark board, the colorful ingredients, and the flickering candlelight is honestly gorgeous.
Storage: The dip will keep in an airtight container in the refrigerator for up to 5 days. The cookie “dirt” will soften over time, so if you’re making it ahead, store the dip and crushed cookies separately, then assemble the graveyard top just before serving. The other board ingredients (cheese, meat, grapes) should be stored separately and assembled fresh.
Reheating: This dip is meant to be served cold or at room temperature, so no reheating needed. If you’ve refrigerated the assembled board, just let it sit out for 20 minutes before serving to take the chill off.
One thing I’ve noticed is that the flavors actually get better after a day in the fridge. The chocolate and cream cheese meld together, and the vanilla becomes more pronounced. So if you’re making this for a party, making the dip a day ahead is actually a smart move.
Nutritional Information & Benefits
Let’s be honest—this is a treat, not a health food. But here’s the breakdown if you’re curious:
Per serving (approximately 2 tablespoons of dip with chips and accompaniments):
- Calories: 280-320
- Fat: 18-22g
- Carbohydrates: 28-32g
- Protein: 4-6g
- Fiber: 1-2g
- Sugar: 18-22g
The cream cheese provides a small amount of calcium and protein, and the dark chocolate in the pudding mix contains some antioxidants. The grapes offer vitamin C and fiber, and the cheese cubes add calcium. But let’s not pretend this is anything other than a delicious indulgence for a special occasion.
If you’re watching your sugar intake, you can use sugar-free pudding mix and reduce the powdered sugar to 3/4 cup. The texture will be slightly less creamy, but it still works. For a lower-fat option, use reduced-fat cream cheese and butter substitute—just know that the texture won’t be quite as luxurious.
This recipe contains dairy, gluten (from the cookies and some crackers), and may contain traces of nuts depending on the brands you choose. Always check labels if you’re serving someone with allergies.
Conclusion
Look, I know there are a million Halloween recipes out there. But this Spooky Halloween Charcuterie Board with Graveyard Dirt Dip is different. It’s the kind of recipe that makes people stop, take a picture, and then immediately ask you how you made it. It’s impressive without being complicated, and it’s delicious without requiring a culinary degree.
The best part? You can make it your own. Swap in your favorite cheeses, use different candies, arrange it however you want. The Graveyard Dirt Dip is the anchor, but the board itself is a canvas for your creativity. I’ve seen versions with ghost-shaped cheese slices, spider web drizzles of white chocolate, and even little plastic skeletons peeking out from behind the grapes.
So go ahead—give it a try. Make it for your Halloween party, your spooky movie night, or just because you want to eat dip that looks like dirt. I promise you won’t regret it. And when your friends start asking for the recipe (which they will), send them my way. I’d love to hear how your version turned out.
Drop a comment below and let me know what spooky touches you added to your board. Did you use the peanut butter version? Did you add something I haven’t thought of? I’m always looking for new ideas, and honestly, this community has the best suggestions. Happy Halloween, and happy snacking!
Frequently Asked Questions
Can I make the Graveyard Dirt Dip ahead of time?
Absolutely! The dip actually tastes better after a day in the fridge. Make it up to 2 days in advance, but wait to add the cookie “dirt” and gummy worms until just before serving. Store the dip in an airtight container and crush the cookies separately.
What can I use instead of black tortilla chips?
Regular tortilla chips work fine, but they don’t have the same visual impact. Other options include dark rye crackers, chocolate wafer cookies, or even pretzel thins. The key is to choose something sturdy enough to scoop the dip without breaking.
How do I keep the dip from getting soggy?
The key is chilling the dip thoroughly before adding the cookie crumbs. If the dip is cold and firm, the crumbs will sit on top rather than sinking in. Also, don’t add the crumbs more than an hour before serving. If you’re making this for a party, assemble the graveyard top right before guests arrive.
Can I make this gluten-free?
Yes! Use gluten-free chocolate sandwich cookies (many brands make them now) and check that your pudding mix is certified gluten-free. Most tortilla chips are naturally gluten-free, but always check the label. The rest of the ingredients are typically gluten-free, but double-check any candies or processed items.
How long does the assembled board last at room temperature?
The USDA recommends that perishable foods (cheese, dip, meat) not sit out for more than 2 hours. For a party, I recommend setting out the board and replenishing items as needed. Keep extra dip and cheese in the fridge, and swap out the board after 2 hours if there’s anything left. The dip itself will keep at room temperature for about 2 hours safely.
Pin This Recipe!
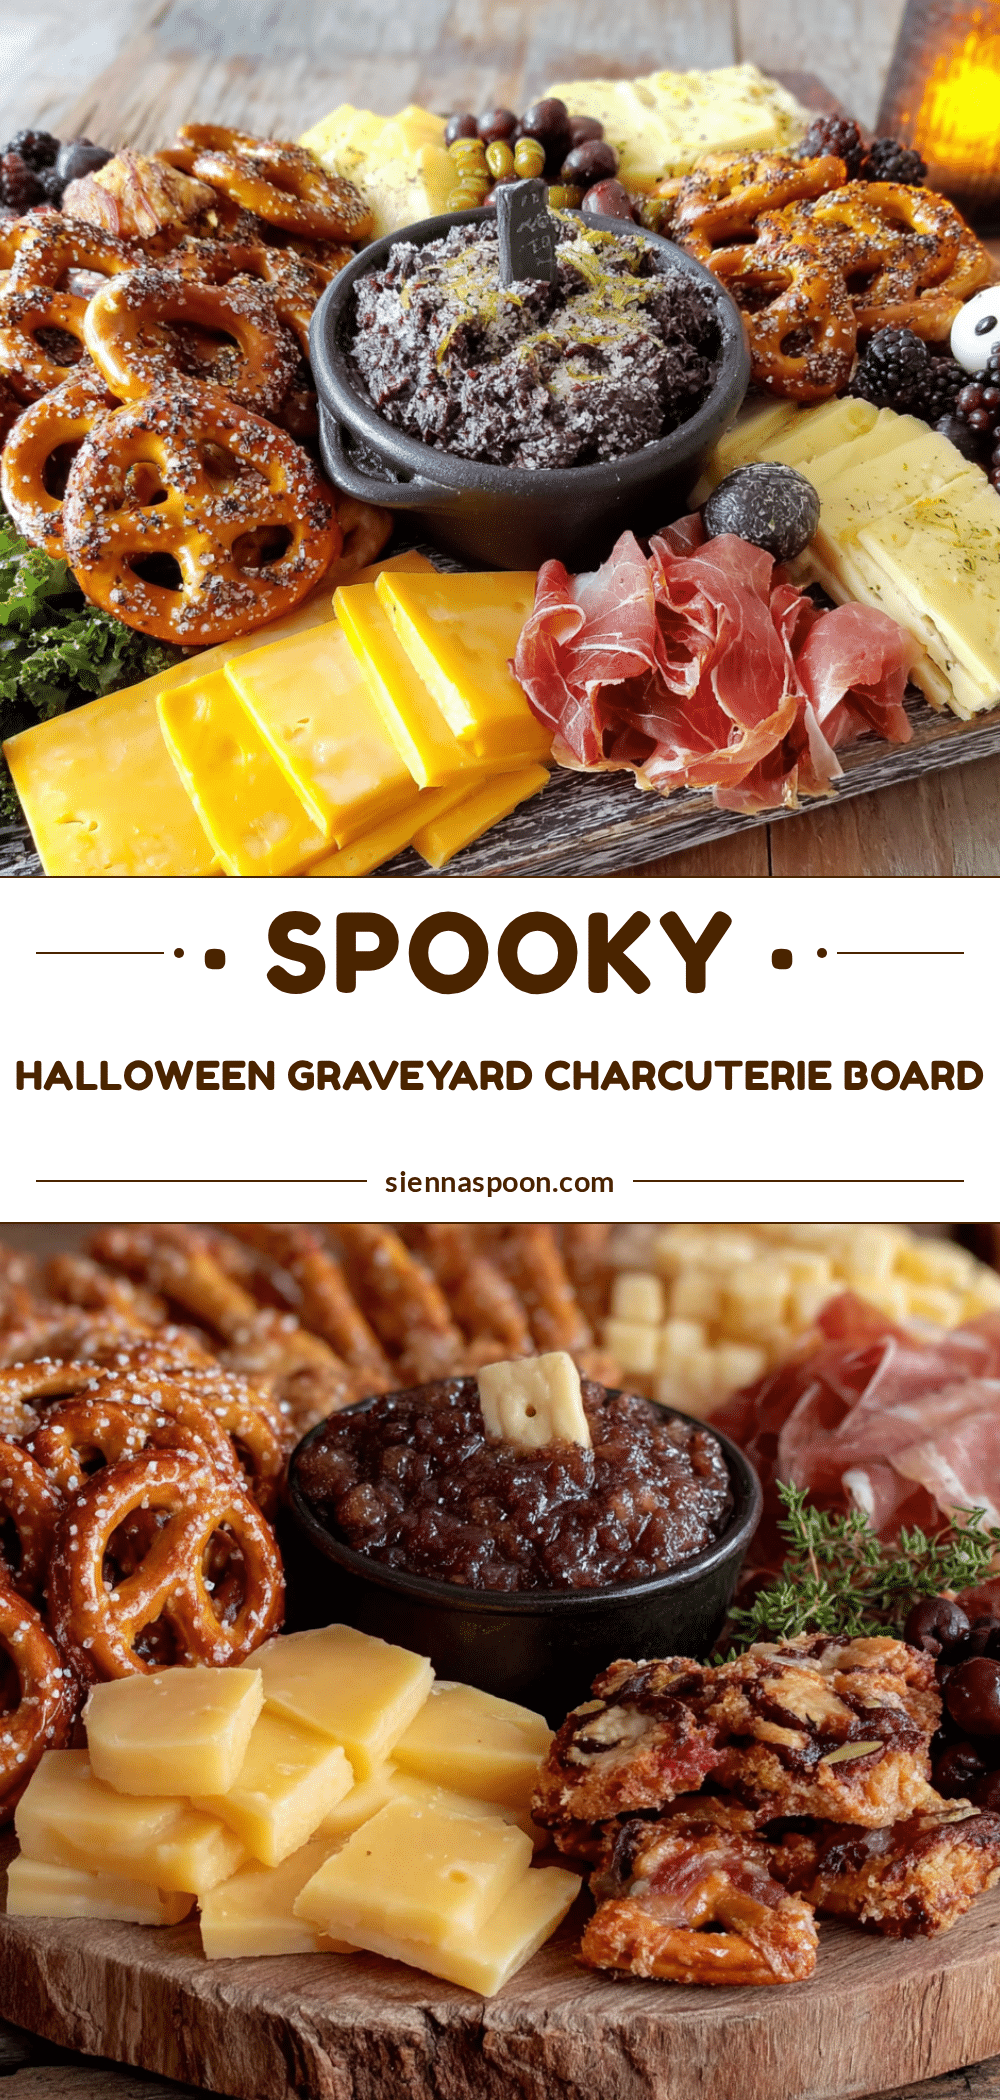
Spooky Halloween Charcuterie Board: Easy Graveyard Dirt Dip Recipe

This Spooky Halloween Charcuterie Board with Graveyard Dirt Dip is a quick and easy party centerpiece that looks impressive but comes together in under 30 minutes. The creamy, chocolatey dip topped with crushed cookie ‘dirt’ and gummy worms is surrounded by black tortilla chips, cheese, and other spooky snacks.
- Prep Time: 20 minutes
- Cook Time: 0 minutes
- Total Time: 30 minutes (including chilling)
- Yield: 8 servings 1x
- Category: Appetizer
- Cuisine: American
Ingredients
- 8 oz cream cheese, softened
- 1/2 cup unsalted butter, softened
- 1 cup powdered sugar
- 1 (3.9 oz) package instant chocolate pudding mix
- 1/2 cup milk
- 1 tsp vanilla extract
- 1 1/2 cups chocolate sandwich cookies, crushed
- Gummy worms (for decoration)
- Small bone-shaped candy or white chocolate bones (optional)
- Black tortilla chips
- Pretzel sticks
- Cheese cubes (cheddar and Colby Jack)
- Pepperoni slices
- Red grapes
- Halloween-themed candy (candy corn, pumpkin-shaped Reese’s)
- Fresh rosemary sprigs
- Edible eyeballs
Instructions
- Make the Graveyard Dirt Dip base: In a medium mixing bowl, beat the softened cream cheese and butter together until smooth and fluffy, about 2-3 minutes with a hand mixer on medium speed.
- Add the sweet stuff: Gradually add the powdered sugar, beating on low speed at first to avoid mess. Once incorporated, add the vanilla extract and beat until combined. The mixture should be thick and creamy.
- Prepare the pudding: In a separate small bowl, whisk together the instant chocolate pudding mix and milk. Let it sit for about 2 minutes until fully set. Fold this into the cream cheese mixture until smooth and chocolatey.
- Chill the dip: Transfer the dip to a serving bowl, smooth the top, cover, and refrigerate for at least 30 minutes to firm up.
- Crush the cookies: While the dip chills, place the chocolate sandwich cookies in a Ziploc bag and crush them with a rolling pin or heavy pan to a mix of fine crumbs and small chunks.
- Assemble the graveyard: Remove the dip from the fridge. Sprinkle the crushed cookies evenly over the top, pressing gently. Arrange gummy worms to look like they’re crawling out of the dirt. Stick bone-shaped candies in like grave markers.
- Build the board: Place the dip bowl in the center of a large board. Arrange black tortilla chips around the bowl in a circular pattern. Add pretzel sticks in small clusters.
- Fill in the gaps: Arrange cheese cubes in small piles, place pepperoni slices overlapping like tombstones, scatter red grapes, and add Halloween candy in small clusters.
- Add spooky touches: Place edible eyeballs in strategic spots and tuck fresh rosemary sprigs around to look like spooky trees or bushes.
- Final check: Ensure everything is accessible. Adjust any items that look crowded or lonely. Take a picture before serving.
Notes
For best results, ensure cream cheese is at room temperature. Chill the dip thoroughly before adding cookie crumbs to prevent sogginess. The dip can be made up to 2 days ahead; store cookies separately and assemble just before serving. For a gluten-free version, use gluten-free sandwich cookies and certified gluten-free pudding mix.
Nutrition
- Serving Size: 2 tablespoons dip wi
- Calories: 300
- Sugar: 20
- Sodium: 250
- Fat: 20
- Saturated Fat: 12
- Carbohydrates: 30
- Fiber: 1.5
- Protein: 5
Keywords: Halloween charcuterie board, graveyard dirt dip, spooky snack, Halloween appetizer, easy Halloween recipe


