Love this? Save it for later!
Share the inspiration with your friends
It was 9:47 PM on a random Wednesday in October, and a very specific Halloween craving hit. Not for candy corn or those peanut butter ghosts wrapped in foil, but for something that looked spooky and tasted light as air. I didn’t have any fancy piping bags or gel food coloring, but I had a carton of egg whites left over from making custard, a bag of chocolate chips, and the wild idea that maybe, just maybe, I could make meringue look like little ghosts.
Honestly, I was tired. It had been one of those days where nothing went quite right—I’d burned my hand on a baking sheet earlier, and my kitchen looked like a flour bomb had gone off. But there’s something about late-night baking that loosens the usual rules. You stop second-guessing and just go with it. I whisked those egg whites until they were glossy and stiff, folded in a pinch of cream of tartar, and started piping little blobs onto a parchment-lined tray.
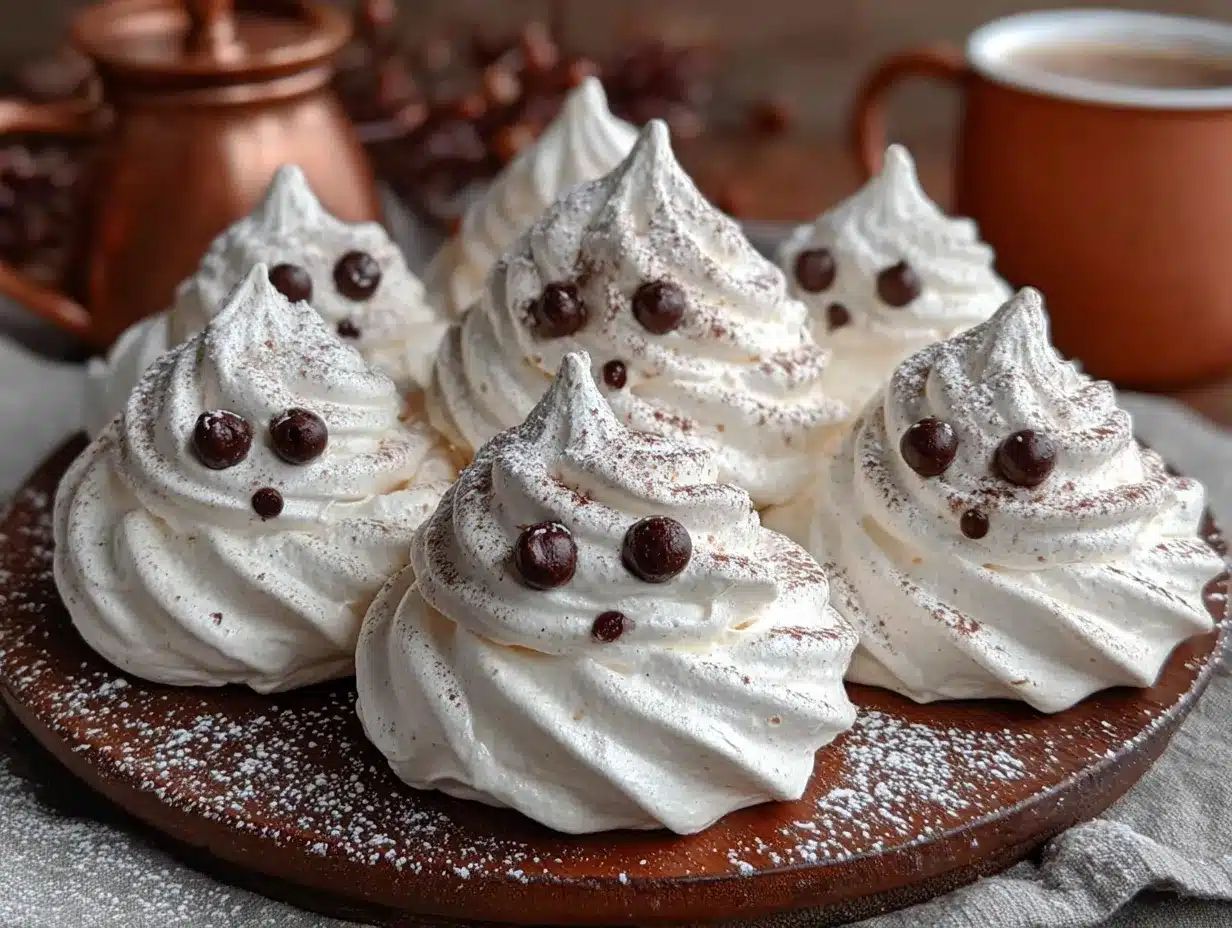
The first few looked more like sad clouds than ghosts, but by the sixth one, I’d found my rhythm. I pressed two tiny chocolate chips into each for eyes, and when they came out of the oven—pale, delicate, and slightly crooked—I actually laughed out loud. They were perfect. Not in a professional bakery way, but in a “this is exactly what my soul needed” kind of way. Maybe you’ve been there, standing in a messy kitchen at night, making something silly that makes you smile for no good reason. That’s what these cookies are. They’re that moment.
I keep making them because they remind me that baking doesn’t have to be serious. It can be playful, a little weird, and absolutely delicious. And honestly, watching someone’s face light up when they see a tiny ghost cookie with chocolate chip eyes is the best feeling in the world.
Why You’ll Love This Recipe
Let me tell you why these spooky ghost meringue cookies have become my go-to Halloween treat. I’ve tested this recipe about seven times now—yes, seven—to get that perfect crisp exterior with a slightly chewy center. The first batch was too sticky, the second batch browned in the oven (ghosts don’t tan, people), but by batch three, I had it figured out. Here’s what makes these little guys so special:
- Quick & Easy: From start to finish, you’re looking at about 45 minutes of active time. The oven does most of the work, so you can prep for your Halloween party or just binge-watch scary movies while they bake.
- Simple Ingredients: You probably have everything in your kitchen right now. Egg whites, sugar, vanilla, cream of tartar, and chocolate chips. No fancy extracts or specialty flours needed.
- Perfect for Halloween Parties: These are the life of the party, I swear. Kids love them, adults love them, and they look adorable on a dessert table next to cupcakes and caramel apples.
- Crowd-Pleaser: They’re gluten-free, dairy-free (if you use dairy-free chocolate chips), and naturally low in fat. Everyone can enjoy them without worrying about dietary restrictions.
- Unbelievably Delicious: The texture is this magical combination of crunchy on the outside and melt-in-your-mouth soft on the inside. The chocolate chip eyes add just enough richness to balance the sweetness.
What makes this recipe different from the rest? It’s the technique. Most meringue recipes tell you to bake them low and slow, but I found that starting at a slightly higher temperature for the first 10 minutes creates a better shape—the ghosts puff up just enough without losing their form. And the cream of tartar? Non-negotiable. It stabilizes the egg whites so your ghosts don’t deflate halfway through baking.
This recipe isn’t just good—it’s the kind that makes you close your eyes after the first bite. It’s Halloween comfort food reimagined: lighter, cuter, and with the same soul-soothing satisfaction as a warm cookie. Perfect for impressing guests without stress, or turning a simple October evening into something memorable.
What Ingredients You Will Need
This recipe uses simple, wholesome ingredients to create something that looks complicated but isn’t. Most of these are pantry staples, which means you can whip up a batch whenever the spooky mood strikes.
For the Ghost Meringues
- 4 large egg whites, room temperature (cold eggs don’t whip as well, so let them sit out for 30 minutes first)
- 1 cup (200g) granulated sugar (I recommend C&H or Domino for consistent sweetness; avoid superfine sugar unless you’re grinding it yourself)
- 1/2 teaspoon cream of tartar (this is your secret weapon for stable meringue—don’t skip it)
- 1 teaspoon vanilla extract (pure vanilla, not imitation—it makes a difference in flavor)
- 1/4 cup mini chocolate chips (for the eyes; use dairy-free chips if needed)
Optional Add-Ins
- Pinch of salt (balances sweetness and helps stabilize the egg whites)
- 1/4 teaspoon almond extract (adds a subtle nutty flavor that pairs beautifully with vanilla)
- Orange or black gel food coloring (if you want to tint your ghosts for extra Halloween flair)
Ingredient Selection Tips: Look for eggs that are fresh but not too fresh—eggs that are about a week old whip up better because the whites are slightly thinner. For the chocolate chips, I prefer Ghirardelli mini chips because they’re small enough to look like cute little eyes without overwhelming the cookie. If you can only find regular-sized chips, just cut them in half with a sharp knife.
Substitution Guidance: Need a vegan option? Use aquafaba (the liquid from a can of chickpeas) instead of egg whites. Three tablespoons of aquafaba equals one egg white. The texture will be slightly different—a bit softer—but they’ll still look adorable. For a sugar-free version, try powdered erythritol, though the texture won’t be as crisp.
Equipment Needed
You don’t need a professional bakery setup for these cookies, but a few key tools make the process much smoother.
- Electric mixer (stand mixer or hand mixer—I’ve used both, and my KitchenAid stand mixer is my favorite because I can walk away while it whips, but a hand mixer works perfectly fine)
- Large mixing bowl (glass or metal is best; plastic can retain grease that prevents egg whites from whipping properly)
- Piping bag with a round tip (or a zip-top bag with the corner snipped off—I’ve done both, and honestly, the zip-top bag is easier to clean)
- Baking sheet (rimmed or rimless, just make sure it’s flat)
- Parchment paper (non-negotiable—these cookies will stick to everything else)
- Rubber spatula (for folding in the chocolate chips gently)
- Cooling rack (optional but helpful for even cooling)
Budget-Friendly Alternatives: If you don’t have a piping bag, a sturdy zip-top bag works great. Just fill it with the meringue, snip a small corner, and pipe away. For the mixing bowl, any clean, dry bowl will do—just wipe it with a little vinegar first to remove any lingering grease.
Preparation Method
Let’s get baking! Follow these steps carefully, and you’ll have a tray of adorable ghost cookies in no time.
- Preheat your oven to 225°F (110°C). Line a baking sheet with parchment paper and set aside. The low temperature is crucial—anything higher will brown your ghosts, and nobody wants a tan ghost.
- Separate your eggs while they’re cold. Cold eggs separate more easily, and you’re less likely to get yolk in the whites. Crack each egg into a small bowl first, then transfer the white to your mixing bowl. If even a speck of yolk gets in, start over—fat is the enemy of meringue.
- Let the egg whites come to room temperature. This takes about 30 minutes. Room temperature egg whites whip up to a greater volume and create a more stable meringue. Trust me on this one—I once tried to rush it, and my meringue was flat and sad.
- Add the cream of tartar. Beat the egg whites on medium speed until they become frothy, then add the cream of tartar. This acid helps stabilize the egg whites and gives you that glossy, stiff texture. Continue beating until soft peaks form—when you lift the beater, the peaks should droop slightly.
- Gradually add the sugar. With the mixer running on medium-high, add the sugar one tablespoon at a time. This is the most important step. If you dump all the sugar in at once, your meringue will be grainy and won’t hold its shape. Beat until stiff peaks form—when you lift the beater, the peaks should stand straight up without drooping.
- Add the vanilla and salt. Gently fold in the vanilla extract and a pinch of salt using a rubber spatula. Don’t overmix, or you’ll deflate all that air you just beat in.
- Prepare your piping bag. Fit your piping bag with a round tip (or snip the corner of a zip-top bag). Fill the bag with the meringue mixture. If you’re using a zip-top bag, don’t overfill it—half full is plenty, or you’ll have meringue exploding out the top.
- Pipe the ghosts. Hold the bag perpendicular to the baking sheet, about 1 inch above the surface. Squeeze gently to create a small round base, then lift the bag slightly as you continue squeezing to create a taller, tapered shape. Release pressure and pull away quickly to create a little point on top. Space them about 2 inches apart—they don’t spread much, but they need room for air circulation.
- Add the eyes. While the meringue is still wet, gently press two mini chocolate chips into each ghost for eyes. Don’t push too hard, or you’ll deflate the meringue. Place them close together near the top of each ghost.
- Bake for 60-75 minutes. The ghosts should be dry to the touch and easily peel off the parchment paper. They shouldn’t be brown at all—just pale, creamy white. If they start to brown, your oven is too hot. Open the door slightly to let out some heat.
- Turn off the oven and let them cool inside. Leave the ghosts in the oven with the door slightly ajar for another 30 minutes. This helps them dry out completely and develop that perfect crisp texture.
- Transfer to a cooling rack. Once completely cool, gently peel the ghosts off the parchment paper and transfer them to a cooling rack. They should be light as air and perfectly crisp.
Sensory Cues: At step 5, the meringue should look glossy and feel silky smooth when you rub a tiny bit between your fingers—no graininess. At step 10, the ghosts should feel dry and sound hollow when you tap them gently. If they feel soft or sticky, bake for another 10 minutes.
Personal Tip: I always make a few extra ghosts because the first batch never looks perfect. The first one is always a little lopsided, and that’s okay. It adds character. Plus, you get to eat the “mistakes.”
Cooking Tips & Techniques
After seven batches of trial and error, I’ve learned a few things the hard way. Let me save you some trouble.
The Humidity Factor: Meringue hates humidity. If it’s a rainy day, your cookies might turn out sticky no matter what you do. I learned this the hard way during a surprise thunderstorm. Now I check the weather forecast before I bake. If it’s humid, I add an extra 10 minutes to the baking time and leave the oven door open a crack during cooling.
Don’t Overmix: Once you’ve added the sugar, stop beating as soon as you reach stiff peaks. Overmixed meringue becomes dry and grainy, and it’ll collapse in the oven. You want it to look like shaving cream—smooth, glossy, and holding its shape.
The Touch Test: The best way to tell if your meringue is ready is the touch test. Dip a clean finger into the meringue and rub it between your thumb and forefinger. If it feels smooth and not grainy, you’re good. If it feels gritty, keep beating.
Timing and Multitasking: While your egg whites are coming to room temperature, measure out all your other ingredients. That way, you’re not scrambling (pun intended) to find the vanilla extract while your meringue is deflating. I also prepare my piping bag and line my baking sheet during this time.
Consistency Is Key: Every oven is different, so your baking time might vary. I use an oven thermometer to make sure my oven is at the right temperature. It’s a cheap tool that saves a lot of heartache. For the best results, bake on the middle rack and rotate the baking sheet halfway through.
Variations & Adaptations
One of the best things about this recipe is how easy it is to customize. Here are some variations I’ve tried and loved.
Pumpkin Spice Ghosts
Add 1/2 teaspoon pumpkin pie spice and a pinch of cinnamon to the meringue before piping. The warm spices pair beautifully with the vanilla and give your ghosts a cozy fall flavor. I made these for a Friendsgiving party, and they disappeared in minutes.
Chocolate Ghosts
Swap 2 tablespoons of the granulated sugar for unsweetened cocoa powder. Sift the cocoa powder with the sugar to avoid lumps. The ghosts will be a pale brown color, but they’ll taste like chocolate meringue cookies. Use white chocolate chips for the eyes to make them stand out.
Vegan Ghosts
Replace the egg whites with aquafaba (the liquid from a can of chickpeas). Use 3 tablespoons of aquafaba per egg white. The meringue will be slightly softer and won’t hold its shape as well, but it still works. Bake for an extra 10-15 minutes to ensure they’re fully dried out.
Peppermint Ghosts
Add 1/4 teaspoon peppermint extract along with the vanilla. Crush a few candy canes and sprinkle them on top of the ghosts before baking. They look festive and taste like winter in cookie form. Perfect for Christmas parties or holiday cookie exchanges.
Spooky Color Variations
Divide the meringue into three bowls and tint each with gel food coloring—purple, orange, and green. Pipe them into ghost shapes as usual. The colors add a fun, festive touch without changing the flavor. My niece’s birthday party had a rainbow of ghost cookies, and the kids went wild.
Serving & Storage Suggestions
These ghost meringue cookies are best served at room temperature, right after they’ve cooled. They’re light, airy, and practically melt in your mouth. Here’s how to make the most of them.
Serving Temperature: Room temperature is ideal. If you’ve stored them in the fridge, let them sit out for 10-15 minutes before serving. Cold meringue can feel a bit hard, and you lose that delicate texture.
Presentation Ideas: Arrange the ghosts on a platter lined with black or orange tissue paper for a spooky effect. You can also stick them into a bowl of chocolate pudding to look like ghosts rising from a swamp. For a Halloween party, I like to scatter them on a cake stand alongside spiderweb cupcakes and caramel apples.
Complementary Dishes: These cookies pair beautifully with hot cocoa, pumpkin spice lattes, or even a glass of cold milk. For a dessert board, arrange them with brownie bites, caramel popcorn, and chocolate-dipped pretzels. The contrast of textures is amazing.
Storage Instructions: Store the ghosts in an airtight container at room temperature for up to 2 weeks. Do not refrigerate them—the moisture will make them sticky. If you live in a humid climate, add a silica gel packet to the container to absorb excess moisture.
Freezer Instructions: You can freeze these cookies for up to 3 months. Place them in a single layer in a freezer-safe container, with parchment paper between layers. Thaw at room temperature for 30 minutes before serving. The texture might be slightly softer, but they’ll still taste great.
Flavor Development: These cookies are best within the first week of baking. After that, they start to lose their crispness and become chewier. If they lose their crunch, you can re-crisp them in a 200°F (95°C) oven for 10 minutes.
Nutritional Information & Benefits
Let’s talk numbers. Per ghost cookie (assuming you make about 24 from this recipe), here’s what you’re looking at:
| Nutrient | Amount |
|---|---|
| Calories | 35 |
| Total Fat | 0.5g |
| Saturated Fat | 0.3g |
| Cholesterol | 0mg |
| Sodium | 10mg |
| Total Carbohydrates | 8g |
| Sugars | 8g |
| Protein | 1g |
These cookies are naturally low in fat and cholesterol-free, thanks to the egg whites. The protein content is minimal, but hey, it’s a treat, not a meal. The sugar content is on the higher side, but considering most Halloween candies have twice that amount per serving, these are a lighter option.
Health Benefits of Key Ingredients: Egg whites are a good source of protein and contain no fat. They’re also rich in riboflavin and selenium. The cream of tartar adds potassium, which is good for heart health. And the chocolate chips? Well, dark chocolate is packed with antioxidants. So there’s that.
Dietary Considerations: This recipe is naturally gluten-free, dairy-free (if you use dairy-free chocolate chips), and nut-free. It’s also low in fat and cholesterol-free. However, it’s not suitable for vegans unless you use the aquafaba substitution. Always check your chocolate chip labels for potential cross-contamination if you have severe allergies.
Frequently Asked Questions
Why did my meringue turn out sticky?
Sticky meringue is usually a sign of underbaking or high humidity. Make sure you bake the cookies for the full 60-75 minutes, and let them cool completely in the oven with the door slightly ajar. If it’s a humid day, add an extra 10 minutes to the baking time.
Can I use liquid egg whites from a carton?
I don’t recommend it. Carton egg whites are pasteurized, which changes the protein structure and makes them harder to whip into stiff peaks. Fresh egg whites from whole eggs always work better for meringue.
How do I prevent my ghosts from browning?
Browning happens when your oven is too hot. Use an oven thermometer to make sure your oven is at exactly 225°F (110°C). If your oven runs hot, reduce the temperature to 200°F (95°C) and bake for an extra 10-15 minutes.
Can I make these ahead of time for a party?
Absolutely! These cookies store beautifully at room temperature for up to 2 weeks. Just make sure they’re completely cool before storing them in an airtight container. I often make them a week before Halloween parties.
Why did my meringue collapse?
Collapsed meringue is usually caused by fat or moisture. Make sure your bowl and beaters are completely clean and dry. Even a tiny bit of egg yolk or grease can prevent the egg whites from whipping properly. Also, avoid overmixing once you’ve added the sugar.
Conclusion
These spooky ghost meringue cookies with chocolate chip eyes are more than just a Halloween treat—they’re a little piece of joy that you can create in your own kitchen. They’re light, they’re cute, and they’re surprisingly easy to make. Whether you’re hosting a Halloween party, surprising your kids, or just want to make yourself smile, these ghosts deliver.
I love this recipe because it reminds me that baking doesn’t have to be perfect. My first batch was lopsided and weird, but it made me laugh. My second batch was better. By the third batch, I was making ghosts that actually looked like ghosts. And every time I make them, I get a little rush of happiness when I see those tiny chocolate chip eyes staring back at me.
So go ahead—give these a try. Customize them with different flavors, colors, or toppings. Make them your own. And when you do, I’d love to hear about it. Drop a comment below and tell me how your ghosts turned out, or share a photo on Pinterest. Tag me so I can see your spooky creations. Happy Halloween, and happy baking!
Pin This Recipe!
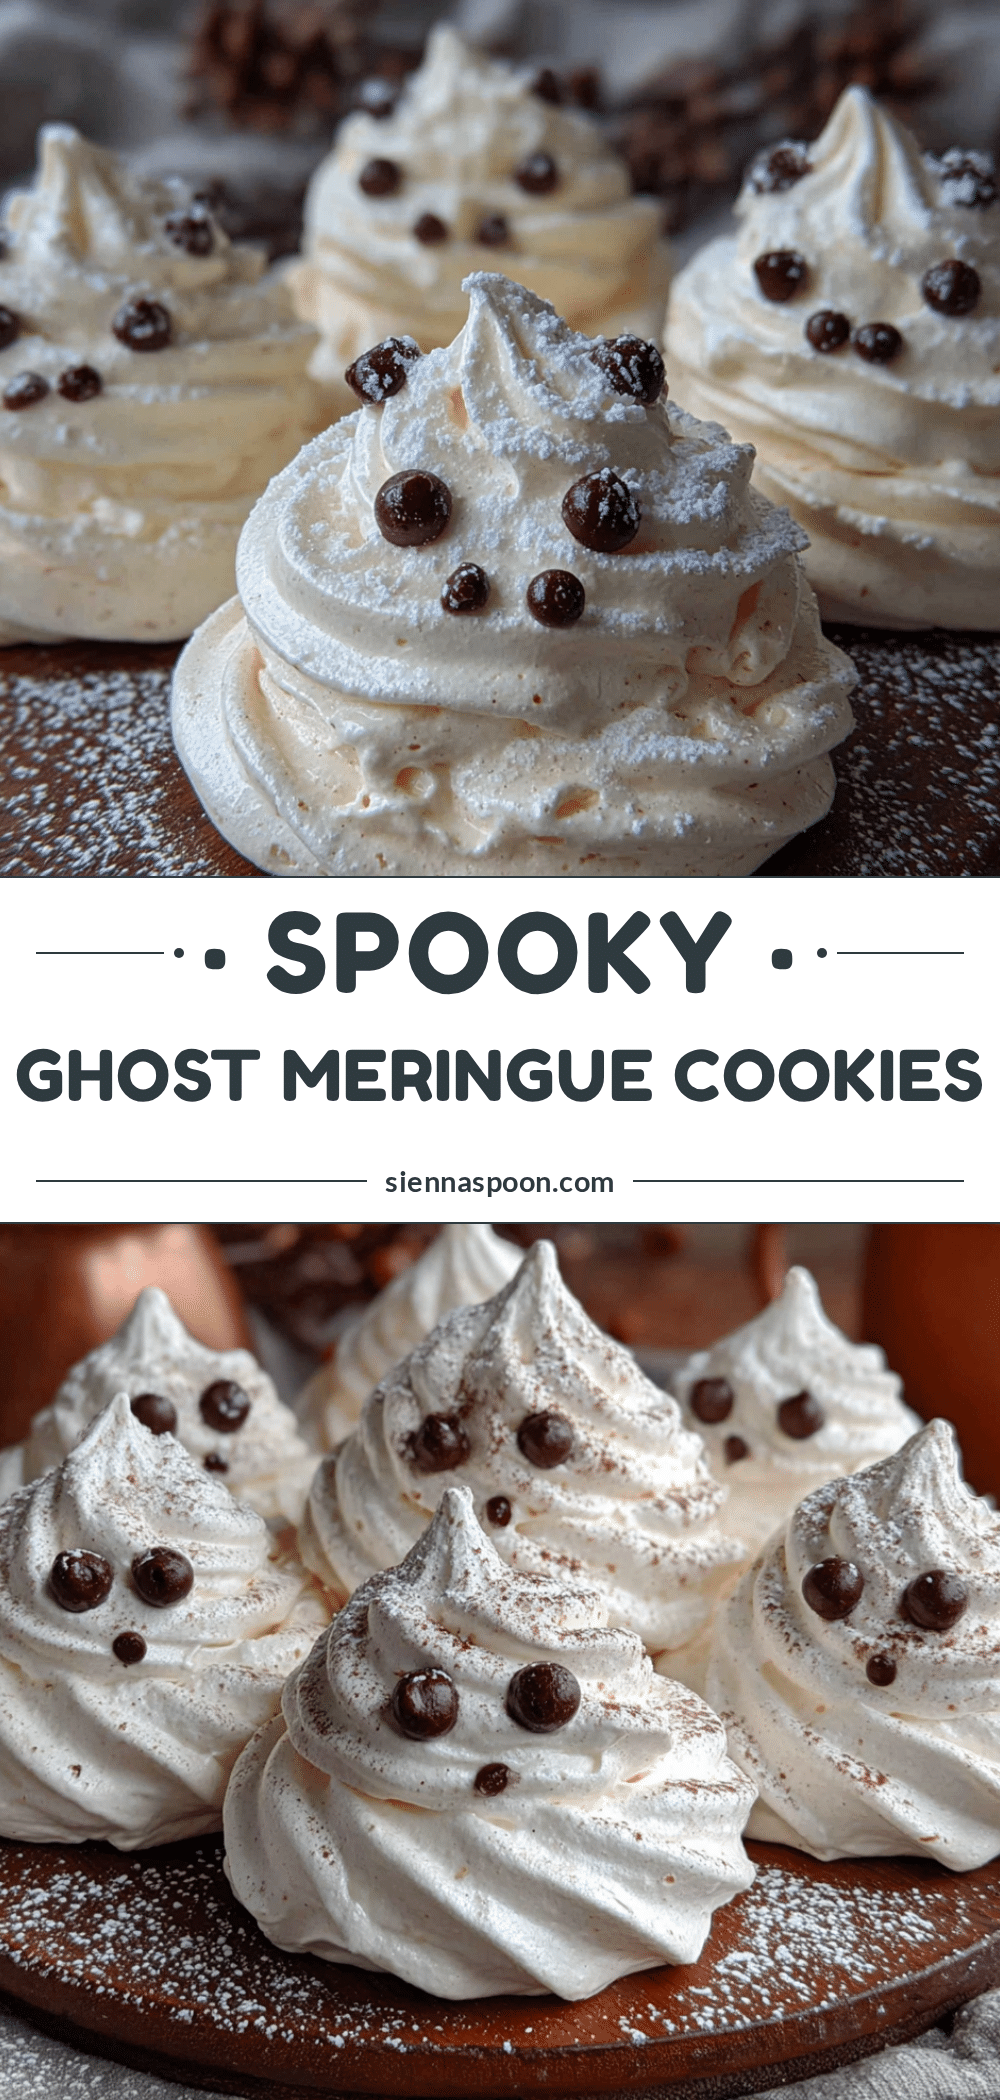
Spooky Ghost Meringue Cookies with Chocolate Chip Eyes
These light-as-air ghost meringue cookies with chocolate chip eyes are the perfect Halloween treat. Quick to make with simple ingredients, they’re gluten-free, dairy-free, and guaranteed to bring a smile to your face.
- Prep Time: 45 minutes
- Cook Time: 60-75 minutes
- Total Time: 1 hour 45 minutes to 2 hours
- Yield: 24 cookies 1x
- Category: Dessert
- Cuisine: American
Ingredients
- 4 large egg whites, room temperature
- 1 cup (200g) granulated sugar
- 1/2 teaspoon cream of tartar
- 1 teaspoon vanilla extract
- 1/4 cup mini chocolate chips
- Pinch of salt (optional)
- 1/4 teaspoon almond extract (optional)
- Orange or black gel food coloring (optional)
Instructions
- Preheat your oven to 225°F (110°C). Line a baking sheet with parchment paper and set aside.
- Separate your eggs while they’re cold. Crack each egg into a small bowl first, then transfer the white to your mixing bowl. Ensure no yolk gets in.
- Let the egg whites come to room temperature for about 30 minutes.
- Add the cream of tartar. Beat the egg whites on medium speed until frothy, then add the cream of tartar. Continue beating until soft peaks form.
- Gradually add the sugar one tablespoon at a time with the mixer running on medium-high. Beat until stiff peaks form.
- Gently fold in the vanilla extract and a pinch of salt using a rubber spatula. Do not overmix.
- Prepare your piping bag with a round tip or snip the corner of a zip-top bag. Fill the bag with the meringue mixture.
- Pipe the ghosts onto the prepared baking sheet: squeeze gently to create a small round base, then lift the bag slightly as you continue squeezing to create a taller, tapered shape. Release pressure and pull away quickly to create a little point on top. Space them about 2 inches apart.
- While the meringue is still wet, gently press two mini chocolate chips into each ghost for eyes. Place them close together near the top.
- Bake for 60-75 minutes until the ghosts are dry to the touch and easily peel off the parchment paper. They should not be brown.
- Turn off the oven and let the ghosts cool inside with the door slightly ajar for another 30 minutes.
- Transfer to a cooling rack once completely cool.
Notes
Meringue hates humidity. If it’s a rainy day, add an extra 10 minutes to the baking time and leave the oven door open a crack during cooling. For best results, use eggs that are about a week old. Ensure all equipment is completely clean and dry to prevent meringue from collapsing. Store in an airtight container at room temperature for up to 2 weeks. Do not refrigerate.
Nutrition
- Serving Size: 1 cookie
- Calories: 35
- Sugar: 8
- Sodium: 10
- Fat: 0.5
- Saturated Fat: 0.3
- Carbohydrates: 8
- Protein: 1
Keywords: ghost cookies, meringue cookies, Halloween cookies, spooky treats, gluten-free cookies, dairy-free cookies, ghost meringue, chocolate chip eyes


