Love this? Save it for later!
Share the inspiration with your friends
I was standing in the grocery store parking lot last November, balancing a bag of potatoes on one hip while fumbling for my keys, when the smell hit me. It wasn’t the potatoes or the damp autumn air. It was someone, somewhere, roasting turkey. That sharp, savory scent cut through the cold like a knife, and suddenly I was eight years old in my Aunt Carol’s tiny kitchen, watching her pull a perfect golden bird from the oven. She’d let me poke the crispy skin with my finger, just once, and the warmth of it is something I’ve been chasing ever since. She passed away a few years ago, and I’ve never quite been able to recreate the feeling of those Thanksgivings. Honestly, I think I stopped trying for a while.
But last year, I decided I was done just missing it. I wanted to make something that captured that same warmth, that same comfort, but without the stress of a full sit-down dinner. You know that feeling when you want the flavor of a holiday meal but not the three-hour cleanup? That’s where these Perfect Thanksgiving Turkey and Stuffing Sliders came in. I was standing in my own kitchen, a little overwhelmed by the leftover turkey in the fridge, and I just started layering things on a soft roll. Stuffing, cranberry sauce, a smear of mayo. It was messy. The first one fell apart in my hands. But that first bite? It was like being eight years old again, standing on a step stool in Aunt Carol’s kitchen. This is that memory, made edible. This is the recipe that finally brought it back.
Why You’ll Love This Recipe
Let me tell you, these sliders are not just another way to use up leftovers. They are the main event. I’ve tested this recipe more times than I care to admit, tweaking the bread-to-filling ratio, the amount of gravy, the perfect toasting time. It’s been through the wringer, and it came out golden. Here’s why you’re going to fall head over heels for them:
- Quick & Easy: From fridge to table in under 25 minutes. Perfect for those post-holiday afternoons when you’re too full to cook but too hungry to wait.
- Simple Ingredients: You already have everything. Leftover turkey, stuffing, cranberry sauce, and some good rolls. No fancy grocery trip required.
- Perfect for Gatherings: These sliders are a potluck hero. They travel well, they’re easy to grab, and everyone from your picky nephew to your foodie cousin will devour them.
- Crowd-Pleaser: I’ve brought these to Friendsgiving, game day parties, and even a Christmas cookie exchange. They disappear. Every single time.
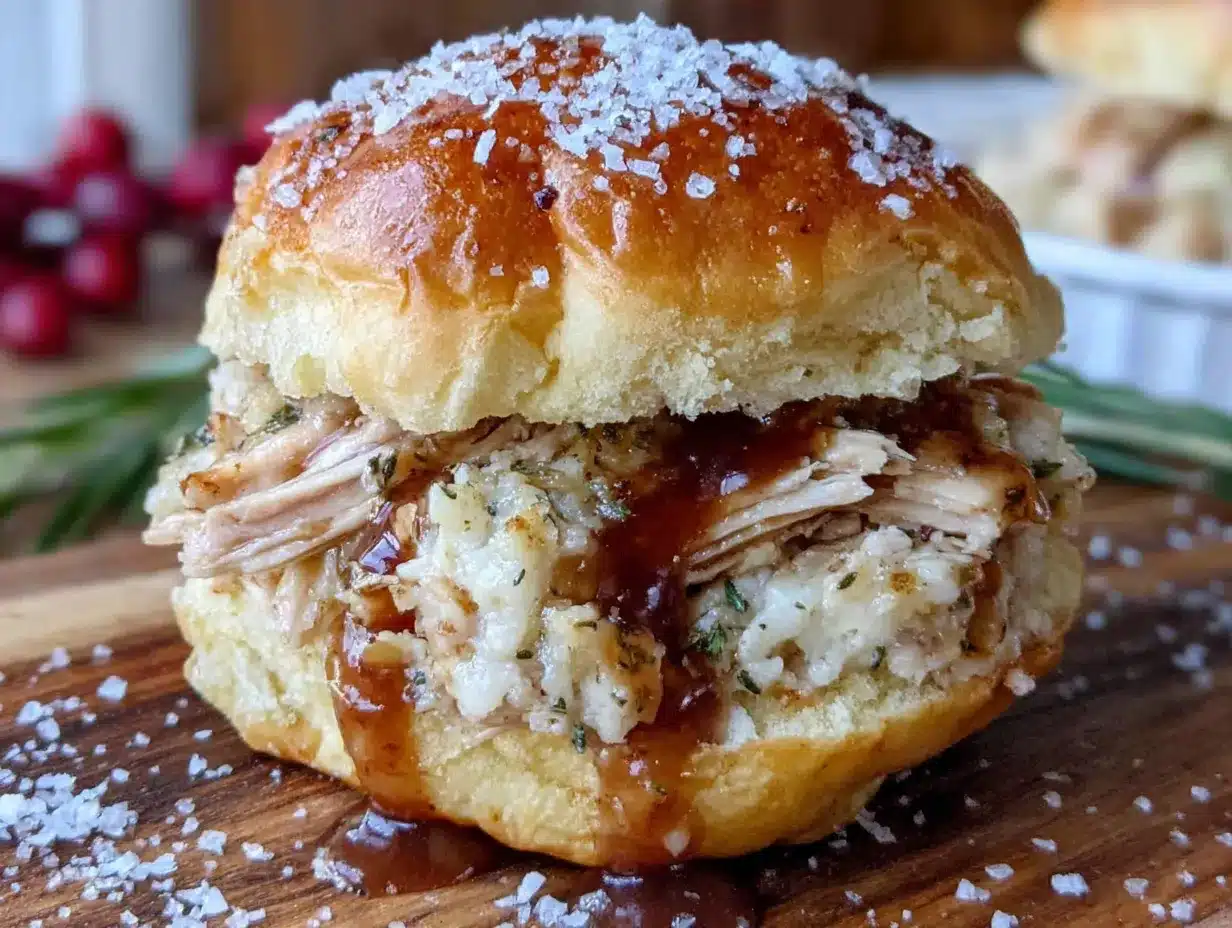
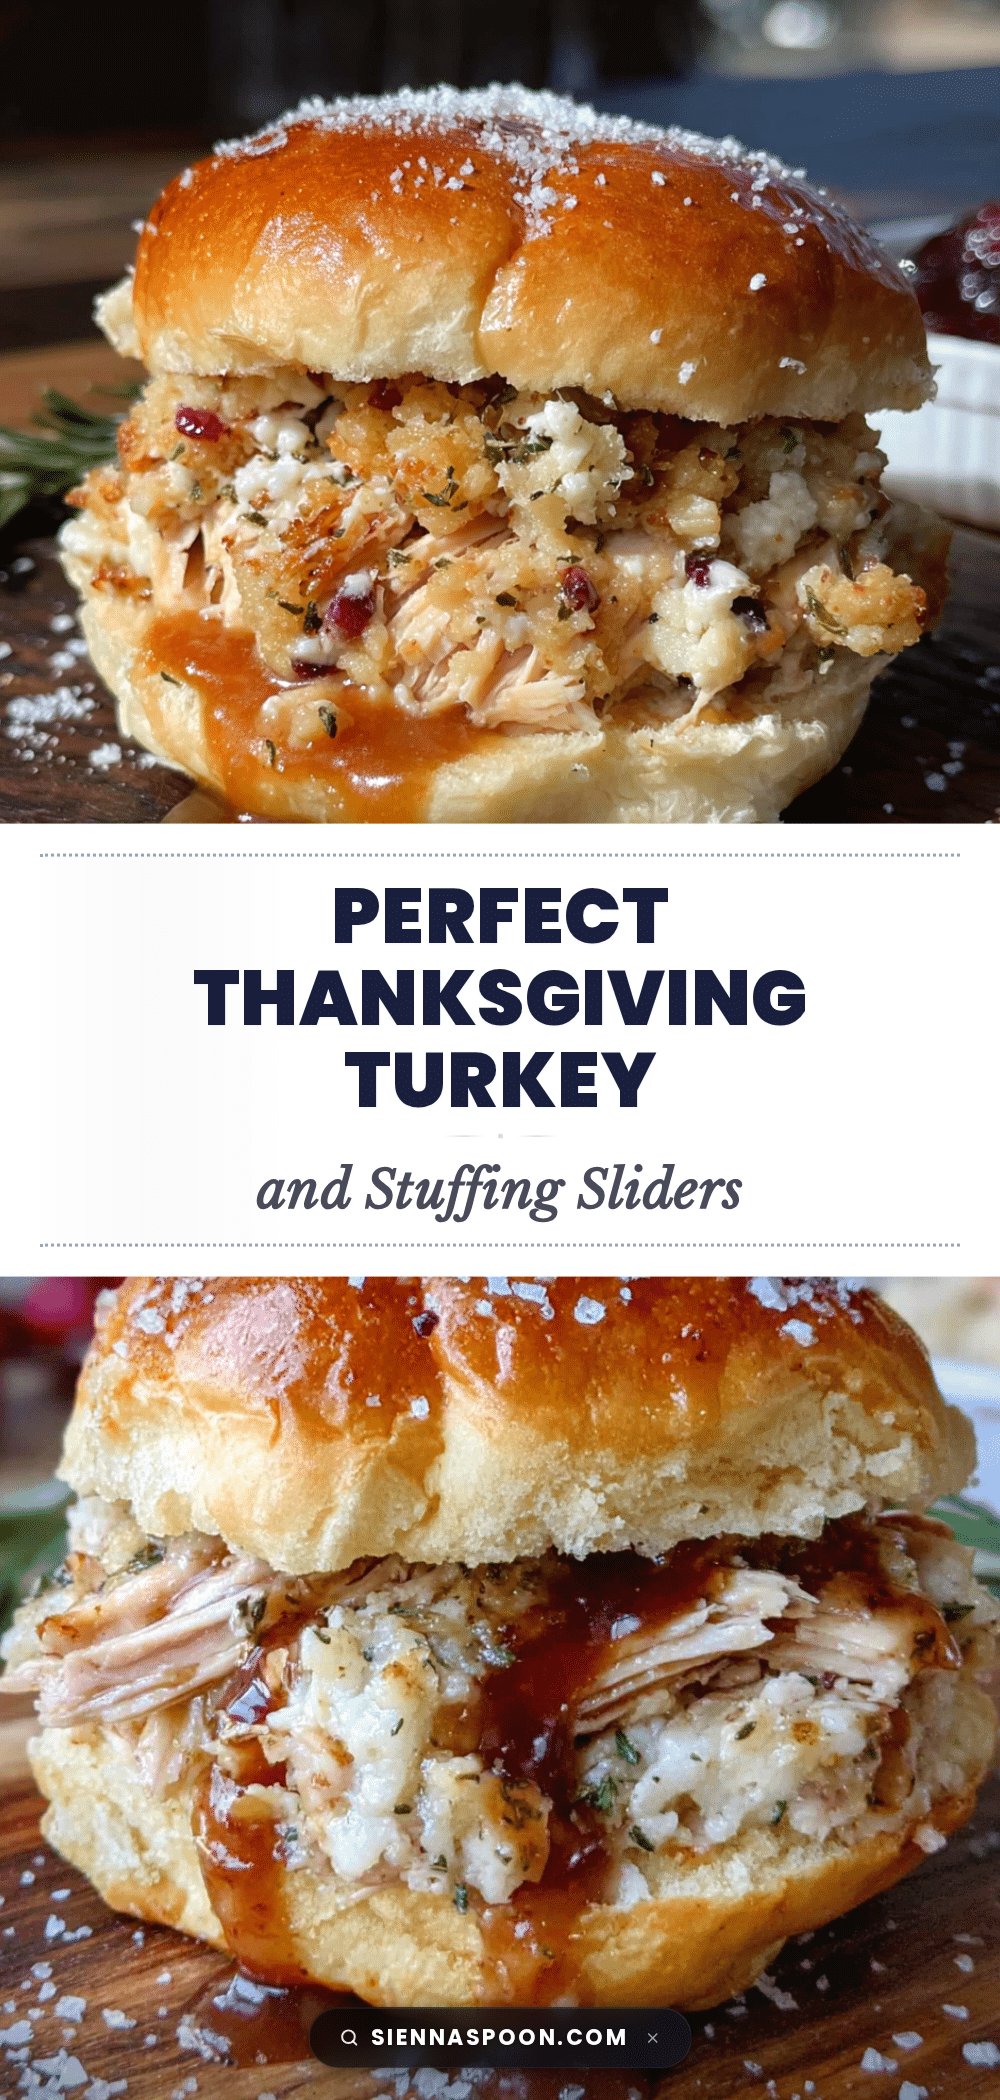
- Unbelievably Delicious: The magic is in the layering. The soft bun soaks up the gravy, the stuffing gets a little crispy on the edges, and the cranberry sauce cuts through the richness. It’s a perfect bite.
What makes these sliders different from every other leftover recipe out there? It’s the technique. I don’t just pile things on a bun. I toast the rolls with a little butter first, then layer the stuffing directly on the bottom half so it gets warm and steams the bread. I add a splash of turkey drippings or gravy to the meat before assembling it, so it stays moist. And then, the secret weapon: a quick brush of melted butter and a sprinkle of flaky salt on the top buns before they go into the oven. It creates this slightly crisp, golden top that is just incredible. This isn’t just assembly. This is a recipe.
This recipe is the kind that makes you close your eyes after the first bite. It’s comfort food reimagined—faster, easier, but with the same soul-soothing satisfaction. Perfect for impressing guests without stress, or turning a simple Tuesday night into something memorable. Honestly, it might just become your new favorite Thanksgiving tradition.
What Ingredients You Will Need
This recipe uses simple, mostly leftover ingredients to deliver that nostalgic Thanksgiving flavor in a handheld form. The key is using good-quality components, especially the rolls. Here’s everything you need:
For the Sliders
- 12 slider rolls (like King’s Hawaiian or a soft brioche roll) – You want something soft but sturdy enough to hold the filling. I prefer the sweet Hawaiian rolls for that classic contrast with the savory turkey.
- 2 cups cooked turkey, shredded or chopped – Leftover white and dark meat both work great. If you’re using fresh turkey, make sure it’s cooled and shredded.
- 1 ½ cups leftover stuffing – Any kind works. My favorite is a classic sage and onion stuffing, but cornbread stuffing is amazing too.
- ½ cup leftover cranberry sauce – Whole berry or jellied, both are perfect. The tartness is essential.
- ½ cup leftover gravy – Warm it up slightly so it’s easy to drizzle. This is the glue that holds everything together.
- 4 slices of provolone or mozzarella cheese – (optional, but highly recommended). It adds a creamy, melty layer that ties everything together. I use provolone for its mild flavor.
- 3 tablespoons unsalted butter, melted – For brushing the tops of the rolls. It gives them that beautiful golden color and a little crunch.
- 1 teaspoon garlic powder – Mixed into the melted butter for extra flavor.
- ½ teaspoon flaky sea salt – (like Maldon) for sprinkling on top. It’s a game-changer.
- Fresh parsley, chopped – (optional) for garnish and a pop of color.
For the Secret Sauce (Optional but Game-Changing)
- ¼ cup mayonnaise – I recommend Duke’s or Hellmann’s for the best tang.
- 1 tablespoon Dijon mustard – Adds a little kick and depth.
- 1 teaspoon maple syrup – Just a touch of sweetness to mirror the cranberry sauce.
Ingredient Tips: For the best texture, make sure your turkey isn’t dry. If it’s a little on the dry side, toss it with a tablespoon of warm gravy before assembling. For the stuffing, if it’s very dry, you can add a splash of chicken broth to rehydrate it. I’ve found that using a high-quality, soft roll is non-negotiable. The cheap, dry ones just won’t hold up. King’s Hawaiian are my go-to, but any soft, slightly sweet dinner roll will work.
Equipment Needed
You don’t need a lot of fancy gear for this one, which is part of the beauty. Here’s what you’ll need:
- A 9×13-inch baking dish – This is the perfect size for 12 sliders. If you don’t have one, a large cast-iron skillet works wonderfully and gives the bottoms a nice crisp.
- A sharp knife – To cut the rolls in half horizontally. A serrated bread knife works best to avoid squishing the soft rolls.
- A small bowl – For mixing the melted butter and garlic powder.
- A pastry brush – For brushing the butter on the rolls. If you don’t have one, just use a spoon.
- Aluminum foil – To cover the dish while baking so the tops don’t burn before the insides are hot.
- A wire rack – (optional) If you want the bottoms to stay extra crispy, place the sliders on a wire rack set inside the baking dish. This lets air circulate underneath.
Budget-Friendly Tip: If you don’t have a pastry brush, just tear off a paper towel, dip it in the melted butter, and gently dab it over the rolls. It works like a charm and saves you a few bucks.
Preparation Method
Alright, let’s get to it. This is where the magic happens. Follow these steps, and you’ll have perfect sliders in no time.
- Preheat your oven to 350°F (175°C). While it’s heating, take your baking dish and give it a light spray with non-stick cooking spray.
- Prepare the rolls. Using a serrated knife, carefully slice the entire block of 12 rolls in half horizontally. You want one large top half and one large bottom half. Place the bottom half in your prepared baking dish.
- Toast the bottoms. Pop the baking dish with the bottom rolls into the oven for about 3-4 minutes, just until they are lightly golden. This step is crucial—it prevents the bottoms from getting soggy from the gravy. Don’t skip it!
- Warm the turkey and gravy. In a small bowl, combine your shredded turkey with about ¼ cup of the warm gravy. Toss to coat. This adds moisture and flavor right from the start.
- Layer the stuffing. Evenly spread your leftover stuffing over the toasted bottom rolls. Press it down gently with the back of a spoon to create an even layer.
- Add the turkey. Distribute the gravy-coated turkey evenly over the stuffing layer.
- Drizzle with more gravy. Take the remaining ¼ cup of gravy and drizzle it over the turkey. Don’t drown it, but make sure every piece gets a little love.
- Add the cheese (if using). Lay your slices of provolone or mozzarella over the turkey. If you’re using slices, just tear them to fit. You want them to cover the meat completely.
- Spoon on the cranberry sauce. Drop small spoonfuls of cranberry sauce over the cheese. Don’t spread it—you want little pockets of tart sweetness, not one solid layer.
- Top with the other half of the rolls. Place the top half of the rolls over the filling, cut-side down.
- Make the butter wash. In your small bowl, mix the melted butter with the garlic powder and a pinch of salt. Brush this mixture generously over the tops of the rolls. Make sure you get the edges.
- Sprinkle with flaky salt. This is not optional! Sprinkle the flaky sea salt over the buttered tops. It adds a wonderful crunch and burst of flavor.
- Bake covered. Cover the baking dish tightly with aluminum foil and bake for 15 minutes. This steams the inside and melts the cheese.
- Bake uncovered. Remove the foil and bake for another 5-7 minutes, until the tops are golden brown and the edges are bubbling.
- Rest and serve. Let the sliders rest in the pan for 5 minutes before cutting. This allows the fillings to set so they don’t fall apart when you cut them. Use a sharp knife to cut between the rolls, and serve warm.
Sensory Cue: When you pull the foil off, you should see the gravy bubbling around the edges of the pan. The tops should be a deep, glossy golden brown. The smell is incredible—like Thanksgiving in a pan.
Cooking Tips & Techniques
I’ve made these sliders about a dozen times, and I’ve learned a few things the hard way. Here are my best tips for slider success.
Don’t skip toasting the bottom rolls. I learned this lesson after my first batch turned into a soggy, delicious mess. The gravy soaks into the bread, and if the bread isn’t toasted, it just disintegrates. Three minutes in the oven makes all the difference.
Use room temperature ingredients. Cold turkey straight from the fridge will cool down the other ingredients. Let your turkey and stuffing sit out for 15 minutes before assembling. It helps everything heat through evenly.
Don’t overfill. It’s tempting to pile on the stuffing and turkey, but too much filling will make the sliders impossible to eat. You want a balanced ratio of bread to filling. Think of it like a really good deli sandwich, not a mountain.
Cut them cleanly. Use a serrated knife to cut the sliders apart, and use a gentle sawing motion. Don’t just press down—you’ll squish them. I usually cut the entire block in half first, then cut each half into individual sliders.
Make the sauce ahead. If you’re making the secret sauce, mix it up a day in advance. The flavors meld together beautifully overnight. Just give it a stir before serving.
Variations & Adaptations
One of the best things about this recipe is how flexible it is. You can change it up based on what you have or who you’re feeding.
- Vegetarian Version: Swap the turkey for a hearty plant-based roast or even thick slices of roasted portobello mushrooms. Use vegetable gravy and a vegan cheese alternative. It’s still incredibly satisfying.
- Gluten-Free Option: Use your favorite gluten-free slider rolls. Make sure your stuffing and gravy are gluten-free as well. Everything else is naturally gluten-free.
- Spicy Twist: Add a layer of pickled jalapeños or a drizzle of sriracha mayo before the top bun goes on. The heat pairs beautifully with the sweet cranberry sauce.
- Breakfast Sliders: Swap the turkey for leftover ham or bacon, and use a maple-Dijon glaze instead of the garlic butter. Serve with a side of scrambled eggs for the ultimate post-Thanksgiving breakfast.
- Stuffing Swap: Use cornbread stuffing for a sweeter, Southern-style slider. Or try a wild rice stuffing for a nuttier, earthier flavor.
I once made a version with leftover smoked turkey and a sharp cheddar cheese. It was absolutely incredible. Don’t be afraid to experiment—that’s half the fun.
Serving & Storage Suggestions
These sliders are best served warm, straight from the oven. The cheese is melty, the bread is soft, and the filling is piping hot. I love to serve them on a large wooden board with extra cranberry sauce and gravy on the side for dipping.
What to serve alongside: A simple green salad with a tangy vinaigrette is perfect to cut the richness. Roasted Brussels sprouts or a crisp apple slaw are also excellent choices. For a game day spread, pair them with sweet potato fries or a bowl of butternut squash soup.
Storage: Leftover sliders (if you have any!) can be stored in an airtight container in the refrigerator for up to 3 days. The bread will soften, but the flavor is still fantastic.
Reheating: The best way to reheat them is in a 350°F oven for about 10 minutes, covered with foil. This restores some of the crispness to the top. You can also use an air fryer at 325°F for 5-6 minutes. Avoid the microwave—it makes the bread rubbery.
Freezing: You can assemble the sliders (without the butter wash) and freeze them for up to a month. When you’re ready to bake, add the butter wash and bake from frozen, adding about 10 minutes to the cooking time.
Nutritional Information & Benefits
While these sliders are definitely a comfort food treat, they do have some redeeming qualities. Here’s a rough estimate per slider (based on 12 servings):
| Nutrient | Amount per Slider |
|---|---|
| Calories | ~320 |
| Protein | ~18g |
| Fat | ~14g |
| Carbohydrates | ~30g |
| Fiber | ~2g |
| Sugar | ~8g |
Pin This Recipe!
Perfect Thanksgiving Turkey Stuffing Sliders
These sliders capture the warmth and comfort of Thanksgiving dinner in a handheld form, using leftover turkey, stuffing, cranberry sauce, and gravy on soft rolls. Quick to assemble and bake, they’re perfect for post-holiday meals, potlucks, or game day gatherings.
- Prep Time: 10 minutes
- Cook Time: 25 minutes
- Total Time: 35 minutes
- Yield: 12 sliders 1x
- Category: Main Course
- Cuisine: American
Ingredients
- 12 slider rolls (like King’s Hawaiian or soft brioche rolls)
- 2 cups cooked turkey, shredded or chopped
- 1 ½ cups leftover stuffing
- ½ cup leftover cranberry sauce
- ½ cup leftover gravy, warmed
- 4 slices provolone or mozzarella cheese (optional)
- 3 tablespoons unsalted butter, melted
- 1 teaspoon garlic powder
- ½ teaspoon flaky sea salt (like Maldon)
- Fresh parsley, chopped (optional, for garnish)
- ¼ cup mayonnaise (for secret sauce, optional)
- 1 tablespoon Dijon mustard (for secret sauce, optional)
- 1 teaspoon maple syrup (for secret sauce, optional)
Instructions
- Preheat oven to 350°F (175°C). Lightly spray a 9×13-inch baking dish with non-stick cooking spray.
- Using a serrated knife, carefully slice the entire block of 12 rolls in half horizontally. Place the bottom half in the prepared baking dish.
- Toast the bottom rolls in the oven for 3-4 minutes, until lightly golden. This prevents sogginess.
- In a small bowl, combine shredded turkey with ¼ cup of the warm gravy. Toss to coat.
- Evenly spread leftover stuffing over the toasted bottom rolls. Press down gently with the back of a spoon.
- Distribute the gravy-coated turkey evenly over the stuffing.
- Drizzle the remaining ¼ cup gravy over the turkey.
- Lay cheese slices over the turkey (if using).
- Drop small spoonfuls of cranberry sauce over the cheese. Do not spread.
- Place the top half of the rolls over the filling, cut-side down.
- In a small bowl, mix melted butter with garlic powder and a pinch of salt. Brush this mixture generously over the tops of the rolls.
- Sprinkle flaky sea salt over the buttered tops.
- Cover the baking dish tightly with aluminum foil and bake for 15 minutes.
- Remove foil and bake for another 5-7 minutes, until tops are golden brown and edges are bubbling.
- Let sliders rest in the pan for 5 minutes before cutting. Use a sharp knife to cut between the rolls. Serve warm.
Notes
For best results, use room temperature ingredients. Toasting the bottom rolls is crucial to prevent sogginess. If turkey is dry, toss with a tablespoon of warm gravy before assembling. For a gluten-free version, use gluten-free rolls, stuffing, and gravy. Leftover sliders can be stored in an airtight container in the refrigerator for up to 3 days. Reheat in a 350°F oven covered with foil for 10 minutes, or in an air fryer at 325°F for 5-6 minutes. Avoid microwaving.
Nutrition
- Serving Size: 1 slider
- Calories: 320
- Sugar: 8
- Sodium: 650
- Fat: 14
- Saturated Fat: 6
- Carbohydrates: 30
- Fiber: 2
- Protein: 18
Keywords: Thanksgiving sliders, turkey sliders, leftover turkey recipe, stuffing sliders, holiday appetizer, game day food, comfort food


