Love this? Save it for later!
Share the inspiration with your friends
The church bake sale was in twelve hours and I’d completely forgotten. My grandmother, bless her heart, had signed me up to bring “something special” for the dessert table. Everyone else would be bringing their tried-and-true family recipes—the ones that had won blue ribbons for generations. I had a can of pumpkin puree, a block of cream cheese, and about forty-five minutes of actual cooking time before I needed to be somewhere else.
Let me tell you, I stood in my kitchen that Tuesday night, staring at those ingredients like they were going to magically transform themselves. I mean, I’d made pumpkin rolls before, but never under pressure like this. The last time I attempted one, it cracked right down the middle and I ended up serving it in a bowl with extra whipped cream, calling it “deconstructed pumpkin roll.” (It worked, honestly, but my ego took a hit.)
So here I was, racing against the clock, flour on my apron, and my neighbor’s cat watching me from the windowsill like I was the most entertaining thing she’d seen all week. I grabbed my parchment paper, preheated the oven, and decided to just go for it. No time to overthink. No time to second-guess. Just pumpkin, spice, and a whole lot of hope.
That perfect pumpkin roll ended up being the first thing to sell out at the bake sale. People were actually asking me for the recipe—which felt ridiculous, because I’d basically thrown it together in a panic. But here’s the thing about this recipe: it works. It’s forgiving. It’s the kind of pumpkin roll that rolls up without cracking, fills up without leaking, and tastes like you spent all day in the kitchen when really, you just got lucky with a good recipe and a little bit of desperation.
Maybe you’ve been there—needing a showstopper dessert with no time to spare. Or maybe you just love that perfect swirl of spiced pumpkin cake and creamy filling. Either way, this one’s for you.
Why You’ll Love This Recipe
After making this pumpkin roll more times than I can count, I can tell you exactly why it keeps showing up at my holiday table and everywhere in between.
- Quick & Easy: From start to finish, you’re looking at about an hour of active time. The oven does most of the work, and the chilling happens while you’re doing literally anything else.
- Simple Ingredients: No weird specialty items here. Pumpkin puree, cream cheese, flour, sugar, eggs—the kind of stuff you probably already have in your pantry. I’ve made this with store-brand everything and it still turns out gorgeous.
- Perfect for Holidays: Thanksgiving, Christmas, fall gatherings, even Easter brunch—this roll fits right in. It’s fancy enough for company but simple enough for a Tuesday.
- Crowd-Pleaser: I’ve served this to kids who “don’t like pumpkin” and adults who “don’t do dessert” and somehow the plate always ends up empty. It’s magic, I swear.
- Unbelievably Delicious: The texture is what gets you. That tender, springy pumpkin cake wrapped around silky cream cheese filling—it’s comfort food that feels a little bit special.
What makes this different from the other pumpkin rolls out there? It’s the technique. I’ve tested this recipe about a dozen times to figure out exactly how to get that perfect roll without cracks. The secret is in how you handle the cake while it’s still warm, and I’ll walk you through every step so you don’t have to learn the hard way like I did.
This isn’t just another pumpkin roll recipe. It’s the one that makes you close your eyes after that first bite. The one that gets requested year after year. The one that makes you look like a baking genius with very little actual effort.
What Ingredients You Will Need
This recipe uses simple, wholesome ingredients that come together to create something truly special. Most of these are pantry staples, which makes this pumpkin roll perfect for those “I need to bake something RIGHT NOW” moments.
For the Pumpkin Cake
- ¾ cup all-purpose flour – Regular all-purpose works perfectly here. I’ve tried it with whole wheat pastry flour in a pinch, and it works, but the texture is slightly denser.
- 1 teaspoon baking powder – Make sure it’s fresh! Old baking powder is the number one reason cakes don’t rise properly.
- ½ teaspoon baking soda – Helps the cake rise and gives it that nice, tender crumb.
- ½ teaspoon salt – Balances the sweetness and brings out the pumpkin flavor.
- 2 teaspoons pumpkin pie spice – I use store-bought for convenience, but you can make your own with cinnamon, nutmeg, ginger, and cloves. I personally prefer the McCormick brand for consistent flavor.
- 1 teaspoon ground cinnamon – Extra cinnamon because why not? It makes the kitchen smell incredible.
- 3 large eggs – Room temperature eggs work best. If you forgot to take them out early, just place them in a bowl of warm water for 5 minutes.
- 1 cup granulated sugar – Regular white sugar. I’ve tried coconut sugar once and it made the cake too dense, so stick with the real stuff here.
- ⅔ cup pumpkin puree – Not pumpkin pie filling! Make sure you grab pure pumpkin puree. Libby’s is my go-to brand because it’s consistently thick and not watery.
- 1 teaspoon vanilla extract – Pure vanilla extract makes a difference, but imitation works fine in a pinch.
- Powdered sugar for dusting – You’ll need this for rolling and for the final presentation. Trust me, don’t skip it.
For the Cream Cheese Filling
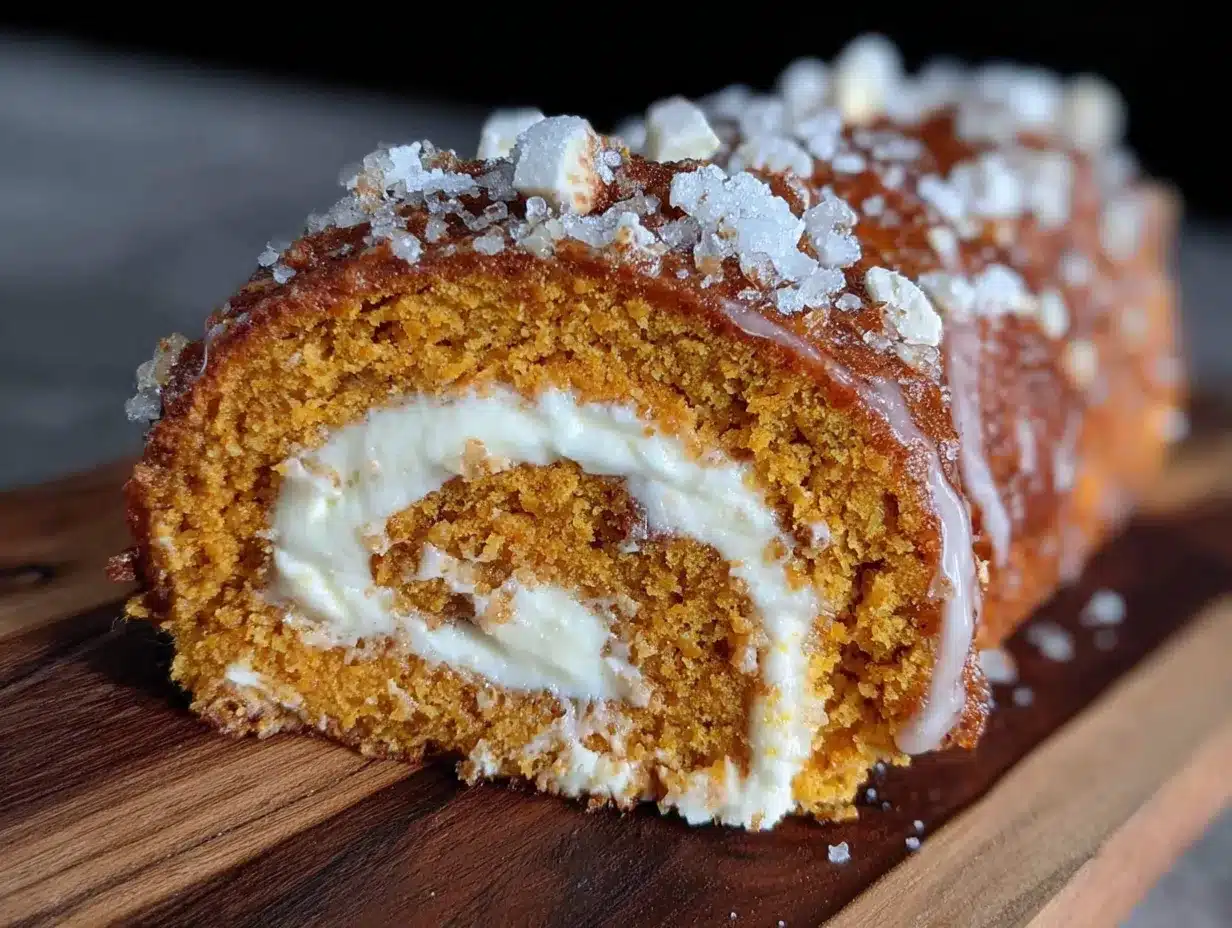
- 8 ounces cream cheese – Full fat, softened to room temperature. Low-fat cream cheese makes the filling too runny. I’ve learned this the hard way, friends.
- 1 cup powdered sugar – Sifted if you want to avoid lumps, but honestly, I rarely sift and it’s fine.
- 6 tablespoons unsalted butter – Softened. Salted butter works too, just reduce the added salt in the cake slightly.
- 1 teaspoon vanilla extract – More vanilla goodness. You can never have too much.
- Pinch of salt – Just a tiny bit to balance the sweetness.
For seasonal variations, you can swap the pumpkin pie spice for chai spice blend in the fall, or add a tablespoon of orange zest to the filling for a bright, citrusy twist. If you’re gluten-free, I’ve had success with a 1:1 gluten-free baking flour blend. Just make sure it contains xanthan gum for structure.
Equipment Needed
You don’t need a fancy kitchen to make this pumpkin roll work. Here’s what you’ll actually use:
- 15×10-inch jelly roll pan – This is the standard size. If you don’t have one, a rimmed baking sheet with similar dimensions works. I’ve used my half-sheet pan in a pinch.
- Parchment paper – Non-negotiable. The cake will stick to anything else. I buy the pre-cut sheets because I’m lazy and they fit perfectly.
- Electric mixer – Hand mixer or stand mixer both work. I’ve made the filling by hand with a wooden spoon before, and it’s doable but your arm will hate you.
- Clean kitchen towel – A thin, lint-free towel. Not a terry cloth one! The fuzz will stick to the cake.
- Rubber spatula – For spreading the batter evenly. An offset spatula works even better.
- Cooling rack – Helps the cake cool evenly. If you don’t have one, just use a cutting board.
- Plastic wrap – For wrapping the roll while it chills. Reusable beeswax wrap works too.
I bought my jelly roll pan at a thrift store for three dollars, and it’s been going strong for years. Don’t feel like you need to invest in expensive equipment. A simple setup works beautifully.
Preparation Method
Alright, let’s get rolling—pun absolutely intended. Follow these steps carefully, and you’ll have a perfect pumpkin roll every time.
- Preheat your oven to 375°F (190°C). Position the rack in the center of the oven. While it’s heating, line your jelly roll pan with parchment paper, leaving a little overhang on the long sides. Lightly grease the parchment with butter or non-stick spray. This is insurance against sticking.
- Mix the dry ingredients. In a medium bowl, whisk together the flour, baking powder, baking soda, salt, pumpkin pie spice, and cinnamon. Set this aside. I like to use a fork for whisking because it breaks up any clumps in the flour.
- Beat the eggs and sugar. In a large bowl, beat the eggs and granulated sugar together with your electric mixer on medium-high speed for about 2-3 minutes. The mixture should be thick, pale, and fall in ribbons when you lift the beaters. This is important—don’t rush it. The air you’re incorporating here is what gives the cake its light texture.
- Add the pumpkin and vanilla. Reduce the mixer speed to low and beat in the pumpkin puree and vanilla extract until just combined. The batter will look a little thin at this point—that’s normal. Don’t panic.
- Fold in the dry ingredients. Add the flour mixture to the wet ingredients and fold gently with a rubber spatula. Fold just until you can’t see any more white streaks. Overmixing will make the cake tough. A few small lumps are totally fine.
- Spread the batter. Pour the batter into your prepared pan and spread it evenly with your spatula. Get it into the corners and make sure the thickness is uniform. Give the pan a gentle tap on the counter to release any air bubbles.
- Bake for 13-15 minutes. The cake is done when the top springs back when lightly touched and the edges start to pull away from the pan. Don’t overbake! A dry cake will crack when you roll it. I usually check at 12 minutes just to be safe.
- Prepare your rolling station. While the cake bakes, lay out your clean kitchen towel on a flat surface and dust it generously with powdered sugar. I mean generously—this prevents sticking. Have your cooling rack ready nearby.
- The crucial roll. As soon as the cake comes out of the oven, run a knife around the edges to loosen it. Invert the cake onto the powdered sugar-dusted towel. Carefully peel off the parchment paper. Starting from a short end, roll the cake up in the towel. Roll it tightly but gently—you don’t want to squish it. Let it cool completely on a cooling rack, seam side down. This usually takes about 30-40 minutes. Don’t skip this step! Rolling while warm “trains” the cake to hold its shape.
- Make the filling. While the cake cools, beat the softened cream cheese and butter together until smooth and fluffy, about 2 minutes. Add the powdered sugar, vanilla, and salt, and beat until combined. Scrape down the sides of the bowl as needed. The filling should be thick and spreadable, not runny. If it seems too soft, pop it in the fridge for 10 minutes.
- Unroll and fill. Once the cake is completely cool, gently unroll it. It might try to curl back up—that’s fine. Spread the cream cheese filling evenly over the cake, leaving about a ½-inch border on all sides. I use an offset spatula for this, but a butter knife works too.
- Roll it up again. Starting from the same short end, roll the cake back up, this time without the towel. Use the towel to help lift and guide the cake if needed. Don’t worry if a little filling squeezes out the ends—just wipe it off.
- Wrap and chill. Wrap the rolled cake tightly in plastic wrap and refrigerate for at least 2 hours, or overnight. This allows the filling to set and makes slicing much cleaner. I know it’s hard to wait, but trust me on this.
- Slice and serve. When you’re ready to serve, unwrap the roll and trim off the ends for a clean look. Slice into ½-inch to ¾-inch rounds using a sharp knife. Wipe the knife clean between cuts for neat slices. Dust with powdered sugar right before serving.
Cooking Tips & Techniques
I’ve made this pumpkin roll more times than I care to count, and I’ve messed up just about every step at least once. Here’s what I’ve learned:
The biggest mistake people make is overbaking the cake. That extra minute in the oven might not seem like much, but it’s the difference between a cake that rolls beautifully and one that cracks like a desert floor. Pull it out when it’s just set—the center should still look slightly moist.
Another common issue is not rolling the cake while it’s warm. I did this once—got distracted by a phone call—and by the time I came back, the cake was cool and brittle. It cracked in three places when I tried to roll it. Learn from my failure. Roll it immediately.
For the filling, make sure your cream cheese and butter are truly at room temperature. Cold cream cheese creates lumpy filling that’s impossible to spread evenly. If you’re in a hurry, cut the cream cheese into cubes and let it sit for 15 minutes—that usually does the trick.
Here’s a pro tip I picked up from a pastry chef friend: after you unroll the cooled cake, spread the filling while the cake is still on the towel. Use the towel to help you roll it back up. This gives you way more control than trying to roll it with your hands.
For consistent slices, use dental floss instead of a knife. Seriously. Slide a piece of unflavored floss under the roll, cross the ends over the top, and pull. It cuts through cleanly without squishing the filling.
If your cake does crack (it happens to the best of us), don’t panic. The filling acts like glue. Just press the crack together and wrap it tightly. Once it’s chilled and dusted with powdered sugar, nobody will ever know.
Variations & Adaptations
This pumpkin roll is pretty perfect as-is, but I love playing around with different flavors. Here are some variations I’ve tried and loved:
Chocolate Pumpkin Roll: Replace ¼ cup of the flour with unsweetened cocoa powder. The chocolate-pumpkin combo is incredible, and it looks stunning with the cream cheese filling. I made this for a Halloween party and it disappeared in minutes.
Maple Cream Cheese Filling: Add 2 tablespoons of pure maple syrup to the filling and reduce the powdered sugar by 2 tablespoons. The maple flavor pairs beautifully with the pumpkin spice. This is my go-to for Thanksgiving.
Pumpkin Roll with Pecans: Sprinkle ½ cup of finely chopped pecans over the filling before rolling. The crunch adds a wonderful texture contrast. Toast the pecans first for extra flavor.
Gluten-Free Version: Use a good quality 1:1 gluten-free flour blend. I’ve tested this with King Arthur Measure for Measure and it worked perfectly. Just make sure the blend contains xanthan gum.
Dairy-Free Version: Use dairy-free cream cheese and vegan butter. I’ve had good results with Miyoko’s brand. The texture is slightly softer, so chill the roll for at least 4 hours before slicing.
Mini Pumpkin Rolls: Cut the baked cake in half lengthwise before filling, then roll each half separately. You get two smaller rolls that are perfect for gifting or smaller gatherings.
My personal favorite variation is adding a tablespoon of bourbon to the filling. It sounds fancy, but honestly, I just had some leftover from a cocktail night and decided to experiment. The warmth of the bourbon with the pumpkin spice is something special.
Serving & Storage Suggestions
This pumpkin roll is best served chilled or at room temperature. I prefer it straight from the fridge because the filling is firmer and the slices hold their shape better. If you’re serving it at a party, take it out about 15 minutes before serving to take the chill off.
For presentation, dust the top generously with powdered sugar right before serving. You can also drizzle with caramel sauce, sprinkle with chopped pecans, or add a dollop of whipped cream on the side. Around the holidays, I sometimes add a few sugared cranberries for color.
What to serve with it: A hot cup of coffee or spiced chai latte is perfect. For a dessert spread, it pairs beautifully with apple crisp, pecan pie, or even a simple vanilla ice cream. I’ve also served it as part of a brunch buffet alongside quiche and fresh fruit—it works surprisingly well.
Storage instructions: Wrap the pumpkin roll tightly in plastic wrap and store it in the refrigerator for up to 5 days. The flavors actually get better after a day or two as the filling softens the cake slightly.
Freezer instructions: This pumpkin roll freezes beautifully. Wrap it tightly in plastic wrap, then in aluminum foil, and freeze for up to 3 months. Thaw overnight in the refrigerator before serving. I always make an extra one to stash in the freezer for unexpected guests or holiday emergencies.
Reheating note: Honestly, I don’t recommend reheating this. It’s meant to be served cold or at room temperature. If you really want it warm, try microwaving a single slice for about 10 seconds—just enough to take the chill off without melting the filling.
One thing I’ve noticed: the cake continues to soften as it sits in the fridge. On day one, the texture is perfect. By day three, it’s almost like a pumpkin cake roll pudding. Both versions are delicious, just different.
Nutritional Information & Benefits
Here’s the honest truth: this is a dessert, and it’s meant to be enjoyed. But there are some redeeming qualities to this pumpkin roll that make me feel slightly better about eating half of it in one sitting.
Pumpkin is packed with vitamin A, which is great for eye health and immune function. It’s also a good source of fiber, which helps with digestion. So technically, you’re getting some vegetables in your dessert. That counts for something, right?
The cream cheese filling provides calcium and protein, though let’s be real—it’s also where most of the calories live. I’ve tried making this with reduced-fat cream cheese, and honestly, the texture just isn’t the same. I’d rather have a smaller slice of the real thing than a bigger slice of something mediocre.
Estimated nutritional information per slice (based on 10 slices):
- Calories: 295
- Total Fat: 15g
- Saturated Fat: 9g
- Cholesterol: 95mg
- Sodium: 310mg
- Total Carbohydrates: 37g
- Dietary Fiber: 1g
- Sugars: 27g
- Protein: 5g
Dietary considerations: This recipe contains gluten, dairy, and eggs. For gluten-free or dairy-free options, check the variations section above. It’s naturally vegetarian and can be made nut-free by omitting any nut-based variations.
My personal philosophy? Dessert should taste like dessert. I’d rather enjoy one perfect slice of this pumpkin roll than stress about the numbers. Life’s too short for bad pumpkin rolls.
Frequently Asked Questions
Why did my pumpkin roll crack when I tried to roll it?
The most common reason is overbaking. The cake should be just set when you take it out of the oven—if it’s too dry, it will crack. Another culprit is letting the cake cool completely before rolling. You need to roll it while it’s still warm, using a powdered sugar-dusted towel. If it does crack, don’t worry—press the crack together and wrap it tightly. The filling will hold it together.
Can I make this pumpkin roll ahead of time?
Absolutely! In fact, I recommend it. This pumpkin roll actually tastes better after a day in the fridge because the filling softens the cake slightly and the flavors meld together. You can make it up to 3 days in advance and keep it wrapped in the refrigerator. It also freezes beautifully for up to 3 months.
Can I use pumpkin pie filling instead of pumpkin puree?
No, please don’t. Pumpkin pie filling is pre-sweetened and spiced, which will throw off the entire recipe. You need pure pumpkin puree for the right texture and flavor. Look for cans labeled “100% pure pumpkin” rather than “pumpkin pie mix.”
How do I get clean slices without squishing the roll?
Use a sharp, thin-bladed knife and wipe it clean between each cut. For the cleanest slices, use unflavored dental floss—slide it under the roll, cross the ends over the top, and pull through. Also, make sure the roll is well-chilled before slicing. A warm roll will squish and smear.
Can I double this recipe for a larger crowd?
I wouldn’t recommend doubling the batter and baking it in one pan—it won’t cook evenly. Instead, make two separate batches. You can bake them at the same time if your oven is large enough, just rotate the pans halfway through baking. Or make one batch, then another right after. The extra effort is worth it when you see how fast these disappear.
Conclusion
This perfect pumpkin roll with cream cheese filling is one of those recipes that feels special without being complicated. It looks impressive on a dessert table, tastes like autumn in every bite, and comes together with ingredients you probably already have in your kitchen.
I’ve made this recipe for holiday dinners, bake sales, potlucks, and random Tuesday cravings. It never fails to get compliments, and people are always surprised when I tell them how simple it is. The secret is in the technique—rolling while warm, letting it chill properly, and using good quality ingredients.
What I love most about this pumpkin roll is how forgiving it is. Even when I’ve messed up—overbaked it, under-rolled it, forgotten to dust the towel—it still turns out delicious. It’s the kind of recipe that builds confidence in the kitchen, because it teaches you that perfection isn’t the goal. Deliciousness is.
I’d love to hear how yours turns out! Did you try any of the variations? Did your family fight over the last slice? Drop a comment below and let me know. And if you’re looking for more fall baking inspiration, you might enjoy my cinnamon sugar pumpkin muffins or this easy apple crisp recipe—both are perfect for using up that extra pumpkin puree.
Happy baking, friends. Go make something delicious.
Pin This Recipe!
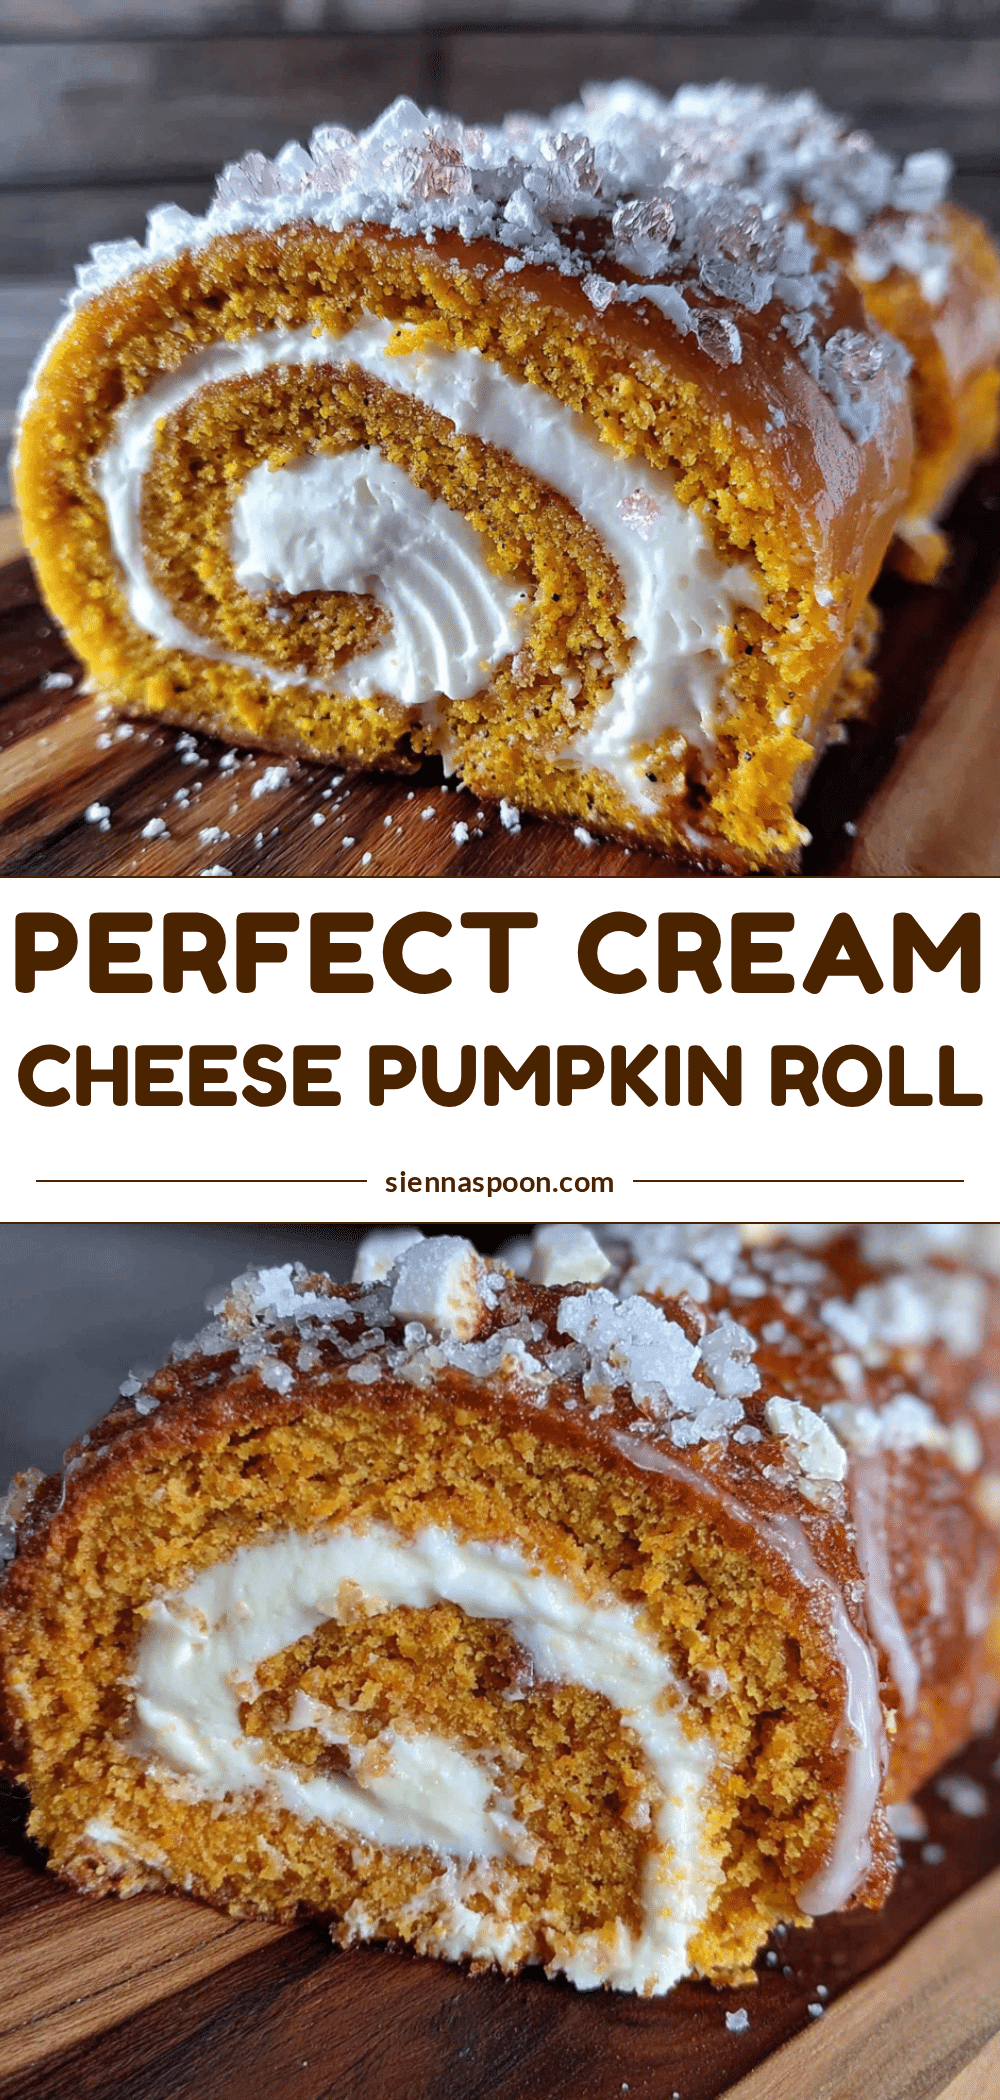
Perfect Pumpkin Roll with Cream Cheese Filling: Best Easy Recipe
This perfect pumpkin roll with cream cheese filling is one of those recipes that feels special without being complicated. It looks impressive on a dessert table, tastes like autumn in every bite, and comes together with ingredients you probably already have in your kitchen.
- Prep Time: 15 minutes
- Cook Time: 15 minutes
- Total Time: 2 hours 30 minutes (includes chilling)
- Yield: 10 servings 1x
- Category: Dessert
- Cuisine: American
Ingredients
- ¾ cup all-purpose flour
- 1 teaspoon baking powder
- ½ teaspoon baking soda
- ½ teaspoon salt
- 2 teaspoons pumpkin pie spice
- 1 teaspoon ground cinnamon
- 3 large eggs
- 1 cup granulated sugar
- ⅔ cup pumpkin puree
- 1 teaspoon vanilla extract
- Powdered sugar for dusting
- 8 ounces cream cheese, softened
- 1 cup powdered sugar
- 6 tablespoons unsalted butter, softened
- 1 teaspoon vanilla extract
- Pinch of salt
Instructions
- Preheat your oven to 375°F (190°C). Position the rack in the center of the oven. Line your jelly roll pan with parchment paper, leaving a little overhang on the long sides. Lightly grease the parchment with butter or non-stick spray.
- In a medium bowl, whisk together the flour, baking powder, baking soda, salt, pumpkin pie spice, and cinnamon. Set aside.
- In a large bowl, beat the eggs and granulated sugar together with an electric mixer on medium-high speed for about 2-3 minutes until thick, pale, and falls in ribbons when the beaters are lifted.
- Reduce the mixer speed to low and beat in the pumpkin puree and vanilla extract until just combined.
- Add the flour mixture to the wet ingredients and fold gently with a rubber spatula until just combined. Do not overmix.
- Pour the batter into the prepared pan and spread it evenly. Tap the pan gently on the counter to release air bubbles.
- Bake for 13-15 minutes, until the top springs back when lightly touched and the edges start to pull away from the pan.
- While the cake bakes, lay out a clean kitchen towel on a flat surface and dust it generously with powdered sugar.
- As soon as the cake comes out of the oven, run a knife around the edges to loosen it. Invert the cake onto the powdered sugar-dusted towel. Carefully peel off the parchment paper. Starting from a short end, roll the cake up in the towel. Roll tightly but gently. Let it cool completely on a cooling rack, seam side down, about 30-40 minutes.
- While the cake cools, beat the softened cream cheese and butter together until smooth and fluffy, about 2 minutes. Add the powdered sugar, vanilla, and salt, and beat until combined. If too soft, refrigerate for 10 minutes.
- Once the cake is completely cool, gently unroll it. Spread the cream cheese filling evenly over the cake, leaving about a ½-inch border on all sides.
- Starting from the same short end, roll the cake back up without the towel. Use the towel to help lift and guide if needed.
- Wrap the rolled cake tightly in plastic wrap and refrigerate for at least 2 hours, or overnight.
- When ready to serve, unwrap the roll, trim off the ends, and slice into ½-inch to ¾-inch rounds. Dust with powdered sugar before serving.
Notes
Roll the cake while it’s still warm to prevent cracking. Use full-fat cream cheese for the best filling texture. For clean slices, use unflavored dental floss or a sharp knife wiped clean between cuts. The pumpkin roll can be made up to 3 days ahead and stored in the refrigerator. It also freezes well for up to 3 months.
Nutrition
- Serving Size: 1 slice
- Calories: 295
- Sugar: 27
- Sodium: 310
- Fat: 15
- Saturated Fat: 9
- Carbohydrates: 37
- Fiber: 1
- Protein: 5
Keywords: pumpkin roll, cream cheese filling, pumpkin dessert, fall dessert, Thanksgiving dessert, easy pumpkin roll


