Love this? Save it for later!
Share the inspiration with your friends
It was 11:47 PM on a drizzly Tuesday in October, and a very specific craving hit. I wanted something warm, spiced, and sweet—but not a full-on dessert. Something I could justify eating for breakfast without the side-eye from my own reflection. I didn’t have enough bananas for a standard banana bread (two sad, spotty ones), and I definitely didn’t have the energy for a multi-bowl cleanup situation. But I had a can of pumpkin puree lurking in the pantry from a forgotten pie project, and the idea that arrived was simple: what if I just threw it all in one bowl and hoped for the best?
Honestly, I was half-asleep and not expecting much. I mashed the bananas with a fork—probably got some on the counter—and dumped in the pumpkin without measuring perfectly. I forgot to set a timer and guessed the baking time based on the smell alone. But when I pulled that loaf out of the oven at nearly 1 AM, the kitchen smelled like fall had exploded in the best way. The top was crackled, the edges were perfectly browned, and the center was so moist it practically wobbled. I cut a slice while it was still warm, and let me tell you, that first bite was a revelation.
Maybe you’ve been there—standing in a dim kitchen, spatula in hand, wondering if a thrown-together experiment will actually work. This pumpkin banana bread became my go-to for those exact moments. It is the recipe that proved you don’t need pristine ingredients or a clean kitchen to make something unforgettable. It stays with me because it’s forgiving, fast, and somehow tastes like you planned it all along.
Why You’ll Love This Recipe
This isn’t just another quick bread recipe. It is the one that solves your overripe banana problem and your pumpkin spice craving in a single, glorious loaf. I have tested this recipe at least seven times—adjusting the pumpkin-to-banana ratio, tweaking the spice blend, and even accidentally leaving out the sugar once (do not recommend). Through all those trials, this version emerged as the clear winner: perfectly moist, deeply flavored, and almost impossible to mess up.
- Quick & Easy: From bowl to oven in under 10 minutes. No mixer required, no separate bowls for wet and dry ingredients. Just one bowl, a whisk, and a spatula.
- Simple Ingredients: You likely have everything in your pantry right now. Canned pumpkin, ripe bananas, flour, sugar, eggs, oil, and basic spices. No fancy extracts or hard-to-find flours.
- Perfect for Fall Mornings: This bread is ideal for cozy breakfasts, afternoon snacks, or even a Thanksgiving brunch contribution. It pairs beautifully with coffee and feels festive without being fussy.
- Crowd-Pleaser: I have brought this to potlucks and book club meetings, and it disappears every single time. Kids love it, adults ask for the recipe, and no one ever guesses it came from a one-bowl, low-effort method.
- Unbelievably Moist: The combination of pumpkin and banana creates a texture that is almost pudding-like in the center—but in the best way. It stays fresh for days, if it lasts that long.
What makes this recipe different from the rest is the balance. Most pumpkin breads are dense and dry. Most banana breads are one-note. This one hits that sweet spot where the pumpkin adds moisture and earthiness, while the banana brings natural sweetness and structure. It is comfort food reimagined—faster, simpler, but with the same soul-soothing satisfaction that makes you close your eyes after the first bite.
What Ingredients You Will Need
This recipe relies on humble, everyday ingredients to create something genuinely special. The magic is in the combination, not the complexity. Here is everything you will need, along with a few notes from my own kitchen experiments.
- Ripe Bananas (2 medium, mashed): The riper, the better. Look for bananas with plenty of brown spots—they are sweeter and easier to mash. If your bananas are still slightly green, you can microwave them for 30 seconds to soften them up.
- Pumpkin Puree (1 cup, not pumpkin pie filling): Use 100% pure pumpkin puree, not the pre-sweetened pie filling. I prefer Libby’s for consistent texture, but store brands work fine too. Make sure to shake the can before opening to avoid watery separation.
- Granulated Sugar (¾ cup): Standard white sugar works beautifully. You can reduce it to ½ cup if your bananas are very ripe and sweet, but I find ¾ cup gives the perfect level of sweetness without being cloying.
- Brown Sugar (¼ cup, packed): This adds depth and a slight molasses note that complements the pumpkin. Light or dark brown sugar both work—dark will give a richer flavor.
- Vegetable Oil (⅓ cup): Oil keeps this bread incredibly moist. You can substitute melted coconut oil or melted butter, but oil gives the best texture. I use canola or avocado oil for a neutral flavor.
- Eggs (2 large, room temperature): Room temperature eggs incorporate more evenly into the batter. If you forget to take them out ahead of time, place them in a bowl of warm water for 5 minutes.
- Vanilla Extract (1 teaspoon): Pure vanilla extract adds warmth. Imitation vanilla works in a pinch, but pure is worth the splurge for baked goods.
- All-Purpose Flour (1 ¾ cups): Spoon and level your flour—do not scoop directly from the bag or you will end up with too much. For a gluten-free option, use a 1:1 gluten-free baking flour blend.
- Baking Soda (1 teaspoon): This is the main leavening agent. Make sure it is fresh—test it by dropping a pinch into vinegar; it should bubble vigorously.
- Baking Powder (½ teaspoon): Adds a little extra lift. Check the expiration date; old baking powder won’t do much.
- Salt (½ teaspoon): Balances the sweetness and enhances the spices. I use fine sea salt.
- Ground Cinnamon (1 ½ teaspoons): The backbone of the spice blend. Fresh cinnamon makes a noticeable difference.
- Ground Nutmeg (½ teaspoon): Adds warmth without overpowering. Freshly grated nutmeg is incredible if you have it.
- Ground Ginger (¼ teaspoon): A tiny amount adds a subtle zing that elevates the whole loaf.
- Ground Cloves (⅛ teaspoon, optional): A pinch goes a long way. Omit if you are not a fan of clove.
Equipment Needed
You do not need a fancy kitchen to make this bread. Here is the gear that gets the job done, along with a few workarounds I have discovered through trial and error.
- Large Mixing Bowl: A standard 3-quart bowl is perfect. I use a glass or ceramic bowl because they are sturdy and easy to clean.
- Whisk: For combining the wet ingredients and smoothing out any lumps in the dry ingredients. A fork works in a pinch, but a whisk is faster.
- Spatula: A silicone spatula is ideal for scraping down the sides of the bowl and folding in the flour without overmixing.
- 9×5-inch Loaf Pan: This is the standard size. If you use an 8×4-inch pan, you will need to increase the baking time by 5-10 minutes. I recommend a light-colored metal pan for even browning.
- Parchment Paper: Lining the pan makes removal effortless. If you do not have parchment, grease the pan thoroughly with butter or non-stick spray.
- Cooling Rack: Essential for allowing air to circulate around the loaf so it does not get soggy on the bottom. A wire rack is best, but you can use a cutting board propped up on its sides.
- Measuring Cups and Spoons: For accurate measurements. I prefer metal measuring cups for dry ingredients and a glass liquid measuring cup for the oil and pumpkin.
Preparation Method
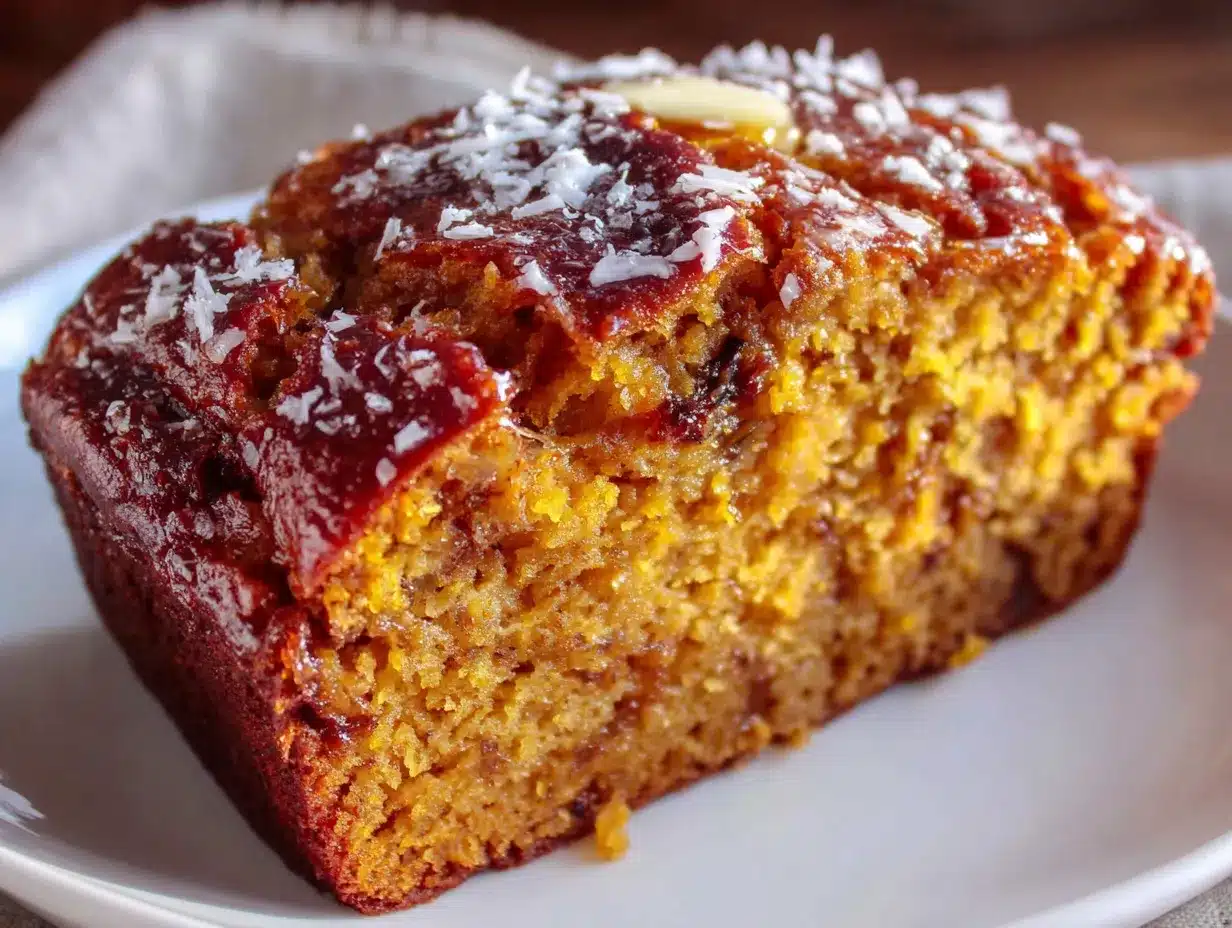
This is where the magic happens. Follow these steps, and you will have a perfect loaf every time. I have included all the little details I wish someone had told me when I first started baking.
- Preheat your oven to 350°F (175°C). Position a rack in the center of the oven. Line your 9×5-inch loaf pan with parchment paper, leaving a few inches of overhang on the long sides—this creates handles for lifting the bread out later. Lightly grease the exposed ends of the pan.
- Mash the bananas in your large mixing bowl. Use a fork or potato masher until they are mostly smooth with a few small lumps remaining. You want about 1 cup of mashed banana. Do not over-mash into a liquid; some texture is good.
- Add the pumpkin puree, granulated sugar, brown sugar, vegetable oil, eggs, and vanilla extract. Whisk everything together until the mixture is smooth and well-combined. The batter will look slightly thick and glossy at this point. Scrape down the sides of the bowl with your spatula to make sure everything is incorporated.
- In a separate small bowl, whisk together the flour, baking soda, baking powder, salt, cinnamon, nutmeg, ginger, and cloves. This ensures the spices and leavening agents are evenly distributed. If you are feeling lazy, you can sift them directly into the wet ingredients, but whisking them first guarantees no bitter pockets of baking soda.
- Add the dry ingredients to the wet ingredients. Use your spatula to fold them together gently. Stir only until you no longer see streaks of flour—about 10 to 12 strokes. Overmixing at this stage will develop gluten and make your bread tough. A few small lumps are perfectly fine.
- Pour the batter into the prepared loaf pan. Use your spatula to spread it evenly into the corners. Give the pan a gentle tap on the counter to release any air bubbles trapped in the batter.
- Bake for 50 to 60 minutes. The bread is done when a toothpick inserted into the center comes out clean or with a few moist crumbs attached. If the top is browning too quickly (around the 40-minute mark), tent the loaf loosely with aluminum foil to prevent burning. My oven runs hot, so I usually check at 50 minutes.
- Let the bread cool in the pan for 10 minutes. This allows it to set and makes it easier to remove. After 10 minutes, use the parchment paper handles to lift the loaf out of the pan and transfer it to a wire rack. Let it cool completely before slicing—at least 1 hour. I know it is tempting to cut into it warm, but it will be gummy if you do. Trust me, I learned this the hard way.
Cooking Tips & Techniques
Over the years, I have made every mistake you can imagine with quick breads. Here are the hard-earned lessons that will save you from repeating my failures.
- Do not overmix the batter. This is the number one mistake home bakers make. Once you add the flour, mix just until combined. A few streaks of flour are okay. Overmixing develops gluten, which leads to a dense, rubbery loaf instead of a tender, moist one.
- Measure your flour correctly. Scooping directly from the bag compacts the flour, resulting in up to 25% more flour than intended. Instead, fluff the flour in its container with a spoon, then spoon it into your measuring cup and level it off with a knife. This simple step transforms your baking.
- Use room temperature ingredients. Cold eggs and cold pumpkin will not emulsify properly with the oil and sugar, leading to a dense texture. Let your eggs sit on the counter for 30 minutes, or warm them in a bowl of lukewarm water for 5 minutes.
- Check for doneness with a thermometer. If you have an instant-read thermometer, the internal temperature of a fully baked quick bread should be around 200°F to 205°F (93°C to 96°C). This is more reliable than the toothpick test, especially for moist breads like this one.
- Let it cool completely. I know the smell is intoxicating, but slicing into a warm loaf will result in a gummy, crumbly mess. The starches need time to set. Patience is the secret ingredient here.
Variations & Adaptations
This recipe is incredibly forgiving and adaptable. Here are some variations I have tried and loved, along with a few that surprised me.
- Chocolate Chip Pumpkin Banana Bread: Fold in ½ cup of semi-sweet chocolate chips after the flour is incorporated. The chocolate adds richness that pairs beautifully with the pumpkin and banana. I prefer mini chocolate chips because they distribute more evenly.
- Gluten-Free Version: Substitute the all-purpose flour with a 1:1 gluten-free baking blend that contains xanthan gum. I have had great results with Bob’s Red Mill 1-to-1 Baking Flour. Reduce the baking soda to ¾ teaspoon, as some gluten-free blends are more alkaline.
- Vegan Adaptation: Replace the eggs with two flax eggs (2 tablespoons ground flaxseed mixed with 5 tablespoons water, let sit for 5 minutes). Use coconut oil or a neutral vegetable oil instead of butter. The texture will be slightly denser but still deliciously moist.
- Spice It Up: Add ¼ teaspoon of cardamom or allspice for a more complex flavor profile. I once added a pinch of cayenne pepper on a whim, and it was surprisingly good—just a tiny hint of heat in the background.
- Nutty Crunch: Fold in ½ cup of toasted walnuts or pecans after the flour is incorporated. Toast the nuts in a dry skillet over medium heat for 3-4 minutes until fragrant—this deepens their flavor and keeps them crunchy in the bread.
Serving & Storage Suggestions
This bread is versatile enough for any occasion. Here is how to serve it and keep it fresh.
- Serving Temperature: Serve at room temperature or slightly warm. If you want to reheat slices, pop them in a toaster or microwave for 10-15 seconds. A pat of salted butter melting into a warm slice is pure heaven.
- Presentation Ideas: Dust the top with powdered sugar for a simple, elegant look. For a more decadent treat, spread a layer of cream cheese frosting or honey butter on each slice. Serve alongside a hot cup of coffee or chai tea for the ultimate fall experience.
- Storage: Store the bread in an airtight container at room temperature for up to 4 days. The moisture from the pumpkin and banana actually helps it stay fresh longer than traditional banana bread. If your kitchen is very warm, refrigerate it to prevent mold.
- Freezing Instructions: This bread freezes beautifully. Wrap the cooled loaf tightly in plastic wrap, then in a layer of aluminum foil, and freeze for up to 3 months. To thaw, leave it on the counter for 2-3 hours, or unwrap and microwave individual slices for 20-30 seconds.
- Flavor Development: Interestingly, this bread tastes even better the day after baking. The spices meld together, and the moisture distributes more evenly. I often make it a day ahead when I am serving it to guests.
Nutritional Information & Benefits
While this is certainly a treat, it also has some redeeming qualities thanks to its wholesome ingredients.
- Estimated Nutrition (per slice, 1/12 of loaf): Calories: 245, Fat: 9g, Carbohydrates: 38g, Fiber: 2g, Sugar: 20g, Protein: 4g. These values are approximate and will vary based on specific ingredients and substitutions.
- Health Benefits of Pumpkin: Pumpkin is packed with vitamin A (beta-carotene), which supports eye health and immune function. It is also low in calories and high in fiber, which helps you feel full longer.
- Health Benefits of Bananas: Bananas are rich in potassium, which is essential for heart health and muscle function. They also contain vitamin B6 and vitamin C.
- Dietary Considerations: This recipe can easily be made gluten-free or vegan with the substitutions listed above. It is naturally nut-free (unless you add nuts), and you can reduce the sugar by up to ¼ cup without significantly affecting the texture.
- My Personal Take: I love that this bread feels indulgent but uses real, recognizable ingredients. It is the kind of treat I feel good about eating for breakfast or sharing with my family. It is comfort food that nourishes, not just empty calories.
Conclusion
This Moist One-Bowl Pumpkin Banana Bread has become a staple in my kitchen for good reason. It is the recipe I turn to when I need something reliable, delicious, and easy. It proves that you do not need a dozen bowls or a culinary degree to bake something truly wonderful. Whether you are a seasoned baker or someone who rarely turns on the oven, this recipe will make you look like a pro.
I encourage you to make it your own. Add chocolate chips if that is your thing, swap in gluten-free flour if you need it, or just follow the recipe exactly as written. The beauty of this bread is its flexibility. I would love to hear how it turns out for you—leave a comment below and tell me about your version. Did you add something unexpected? Did it become a family favorite? Share your story, and do not forget to pin this recipe for later. Happy baking, friends!
Frequently Asked Questions
Can I use fresh pumpkin instead of canned?
Yes, you can use fresh pumpkin puree. Roast a small sugar pumpkin at 400°F (200°C) until tender, then blend the flesh until smooth. Be aware that fresh pumpkin has more water content than canned, so you may need to drain it in a cheesecloth-lined strainer for 30 minutes to remove excess moisture.
Why did my bread sink in the middle?
A sunken center usually means the bread was underbaked or the oven temperature was too low. Make sure your oven is fully preheated and use an oven thermometer to verify the temperature. Also, avoid opening the oven door during the first 30 minutes of baking, as the rush of cold air can cause the bread to collapse.
Can I make this into muffins instead of a loaf?
Absolutely! Grease a 12-cup muffin tin or line it with paper liners. Divide the batter evenly among the cups (fill them about ¾ full) and bake at 350°F (175°C) for 18-22 minutes, or until a toothpick inserted into the center of a muffin comes out clean. This yields about 12 muffins.
How do I know if my baking soda is still active?
To test baking soda, place a small amount (about ¼ teaspoon) in a bowl and add a few drops of vinegar or lemon juice. If it bubbles vigorously, it is still active. If it barely fizzes, it is time to buy a new box. Old baking soda is a common cause of dense, flat baked goods.
Can I reduce the sugar without ruining the recipe?
Yes, you can reduce the granulated sugar to ½ cup without major issues, especially if your bananas are very ripe and sweet. The bread will be slightly less tender and may brown a bit faster, but it will still be delicious. I would not recommend reducing it further, as sugar contributes to both flavor and texture.
Pin This Recipe!
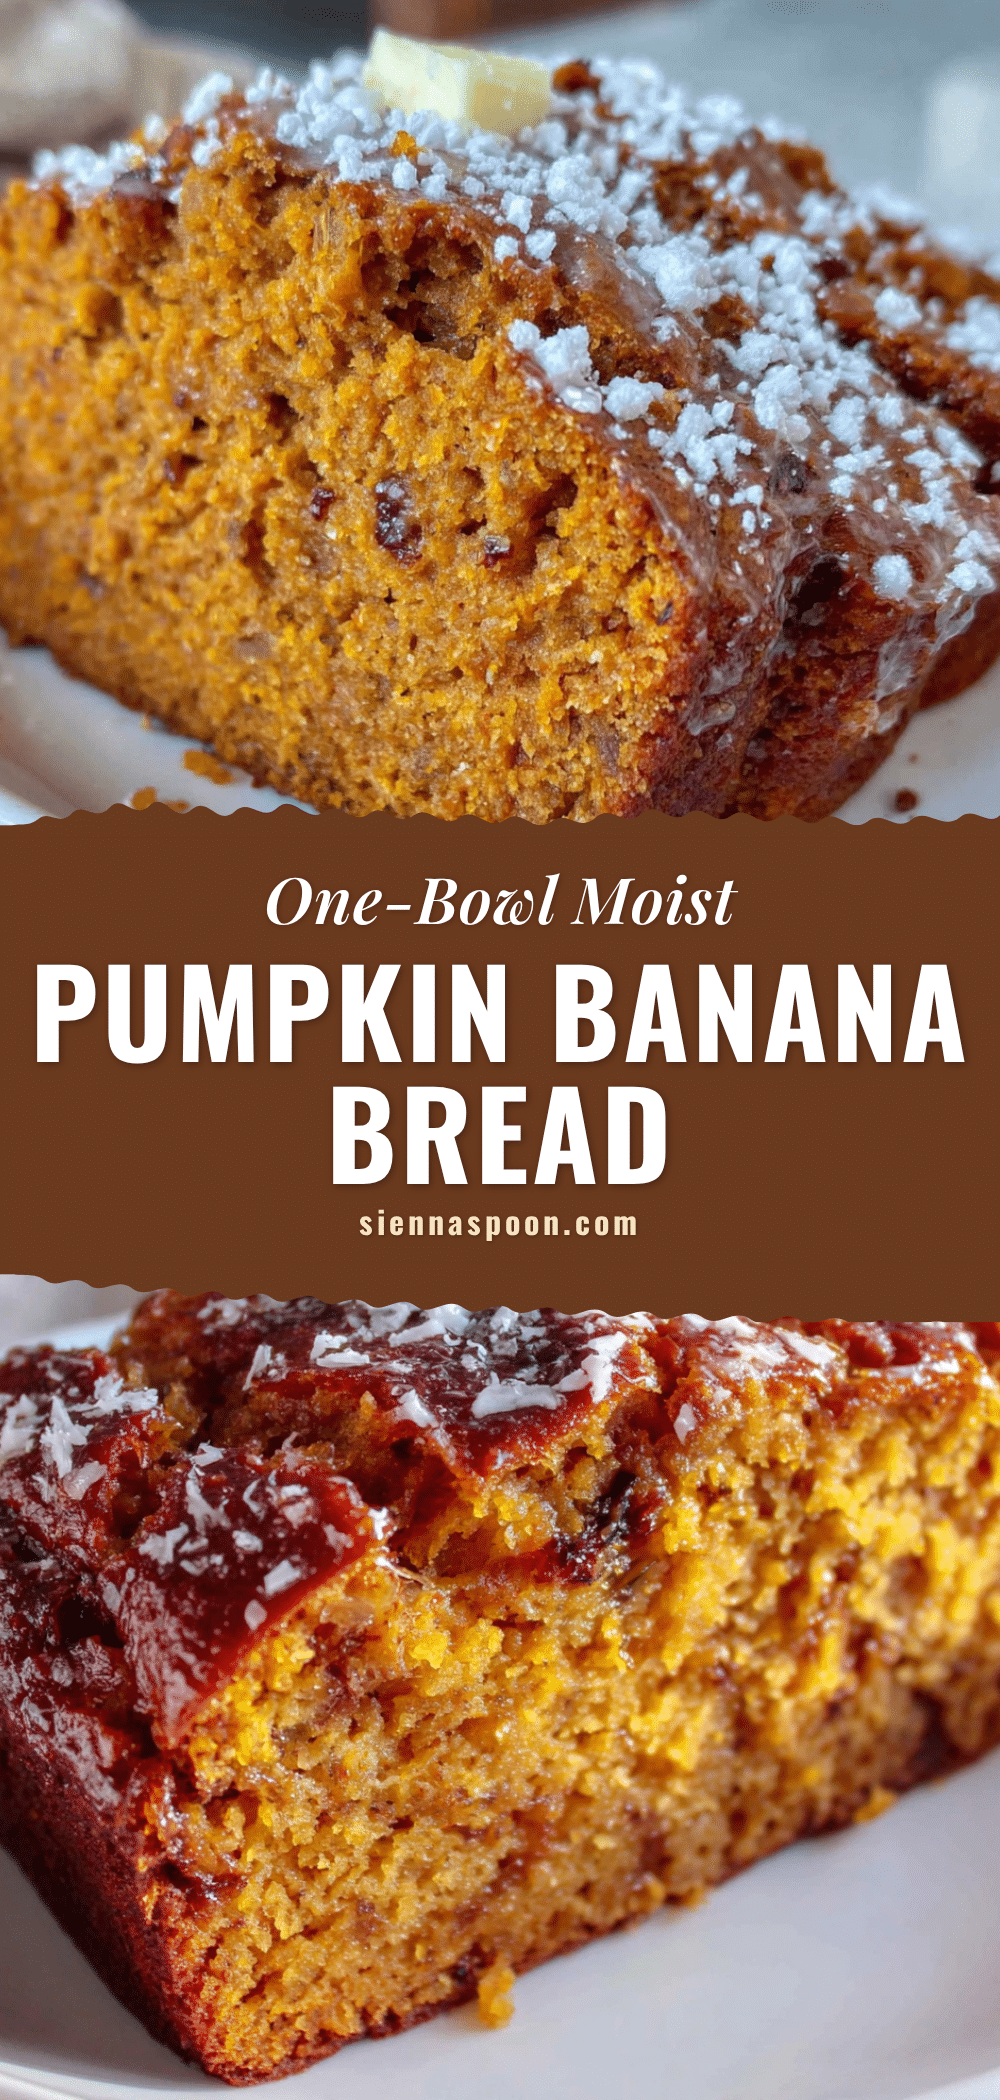
Moist One-Bowl Pumpkin Banana Bread

This easy one-bowl pumpkin banana bread combines ripe bananas and pumpkin puree for an incredibly moist, spiced loaf that’s perfect for fall mornings. Ready in under an hour with simple pantry ingredients, it’s a forgiving recipe that delivers comfort food at its finest.
- Prep Time: 10 minutes
- Cook Time: 55 minutes
- Total Time: 1 hour 5 minutes
- Yield: 12 servings 1x
- Category: Quick Bread
- Cuisine: American
Ingredients
- 2 medium ripe bananas, mashed (about 1 cup)
- 1 cup pumpkin puree (not pumpkin pie filling)
- ¾ cup granulated sugar
- ¼ cup brown sugar, packed
- ⅓ cup vegetable oil (canola or avocado oil)
- 2 large eggs, room temperature
- 1 teaspoon vanilla extract
- 1 ¾ cups all-purpose flour (spooned and leveled)
- 1 teaspoon baking soda
- ½ teaspoon baking powder
- ½ teaspoon salt
- 1 ½ teaspoons ground cinnamon
- ½ teaspoon ground nutmeg
- ¼ teaspoon ground ginger
- ⅛ teaspoon ground cloves (optional)
Instructions
- Preheat oven to 350°F (175°C). Position a rack in the center of the oven. Line a 9×5-inch loaf pan with parchment paper, leaving overhang on the long sides. Lightly grease exposed ends of the pan.
- In a large mixing bowl, mash the bananas with a fork until mostly smooth with a few small lumps.
- Add pumpkin puree, granulated sugar, brown sugar, vegetable oil, eggs, and vanilla extract. Whisk until smooth and well-combined. Scrape down sides of bowl with a spatula.
- In a separate small bowl, whisk together flour, baking soda, baking powder, salt, cinnamon, nutmeg, ginger, and cloves.
- Add dry ingredients to wet ingredients. Fold gently with a spatula until just combined (about 10-12 strokes). Do not overmix; a few small lumps are fine.
- Pour batter into prepared loaf pan and spread evenly. Tap pan gently on counter to release air bubbles.
- Bake for 50-60 minutes, until a toothpick inserted in center comes out clean or with a few moist crumbs. If top browns too quickly, tent with foil at 40 minutes.
- Cool in pan for 10 minutes, then lift out using parchment handles and transfer to a wire rack. Cool completely before slicing (at least 1 hour).
Notes
Do not overmix the batter to avoid a dense loaf. Measure flour correctly by spooning and leveling. Use room temperature ingredients for best results. For a gluten-free version, substitute 1:1 gluten-free baking flour blend. For vegan, use two flax eggs and coconut oil. Bread tastes even better the day after baking. Store in an airtight container at room temperature for up to 4 days, or freeze for up to 3 months.
Nutrition
- Serving Size: 1 slice (1/12 of loa
- Calories: 245
- Sugar: 20
- Sodium: 280
- Fat: 9
- Saturated Fat: 1.5
- Carbohydrates: 38
- Fiber: 2
- Protein: 4
Keywords: pumpkin banana bread, one bowl banana bread, moist pumpkin bread, fall baking, easy quick bread, pumpkin banana loaf


