Love this? Save it for later!
Share the inspiration with your friends
My sister asked why I couldn’t just bake the oatmeal instead of stirring it on the stove. I started to explain why that wouldn’t work — then stopped. Honestly, I had no good reason. I just assumed oatmeal was meant to be a hot, stovetop thing. She was visiting for the weekend, and I was making my usual pumpkin oatmeal, something I’d been perfecting for years. She looked at me with that teenage mix of boredom and certainty and said, “It would be easier to grab from the fridge.” I was so sure she was wrong.
But I let her pour the mixture into a muffin tin anyway. I mean, what was the worst that could happen? A mushy mess? A breakfast fail? The oven preheated, and I braced myself for disappointment. Twenty minutes later, I pulled out these perfectly domed, golden-brown pumpkin oatmeal cups that held their shape and smelled like autumn in a bakery. I was genuinely shocked. She just smiled and grabbed one, completely unimpressed by my cooking epiphany.
That morning, I learned something I should have known all along: sometimes the simplest change makes the biggest difference. These healthy baked pumpkin oatmeal cups are now my go-to fall breakfast, and they exist because a teenager questioned my assumptions. Maybe you’ve been there too — so sure about how something should be made, only to discover a better way by accident. These little cups are cozy, portable, and taste like pumpkin pie filling in oatmeal form. They keep me full until lunch, and honestly, I haven’t made stovetop oatmeal since.
Why You’ll Love This Recipe
These healthy baked pumpkin oatmeal cups check every box for a busy fall morning. They are quick to prep, made with simple ingredients, and somehow manage to be both nutritious and completely satisfying. I have tested this recipe at least a dozen times, tweaking the spice ratios and testing different mix-ins, and this version is the one that sticks.
- Quick & Easy: These come together in about 10 minutes of active prep. The oven does the rest. Perfect for meal prep Sunday or a lazy weekday morning.
- Simple Ingredients: You probably have rolled oats, pumpkin puree, eggs, and maple syrup in your kitchen right now. No trips to a specialty store required.
- Perfect for Busy Mornings: Grab one from the fridge, pop it in the microwave for 15 seconds, and you have a warm, filling breakfast in under a minute.
- Crowd-Pleaser: I brought these to a fall brunch, and even the people who “don’t like oatmeal” asked for the recipe. The texture is more like a soft, tender muffin than mushy oats.
- Unbelievably Delicious: The combination of pumpkin, cinnamon, nutmeg, and a hint of maple syrup creates this cozy flavor that makes you want to curl up by a fire. Plus, they are naturally sweetened and packed with fiber.
What makes these different from every other baked oatmeal recipe? It is the texture. I use a specific ratio of oats to liquid that gives you a firm, muffin-like structure without being dry. No mushy bottoms, no crumbly tops. Just perfectly baked oatmeal cups that hold together and taste incredible. This is comfort food reimagined — healthier, faster, but with the same soul-soothing satisfaction. Perfect for impressing guests without stress, or turning a simple breakfast into something memorable.
What Ingredients You Will Need
This recipe relies on wholesome, pantry-friendly ingredients that come together to create something truly cozy. Each ingredient plays a specific role in the texture and flavor, so here is what you need and why it matters.
- Rolled Oats (2 cups / 180g): Use old-fashioned rolled oats, not instant or steel-cut. Rolled oats absorb the liquid perfectly and hold their shape during baking, giving you that tender but structured bite. I prefer Bob’s Red Mill or Quaker old-fashioned oats for consistent results.
- Canned Pumpkin Puree (1 cup / 245g): Make sure you grab pure pumpkin puree, not pumpkin pie filling. The filling has added sugar and spices that will throw off the recipe. Libby’s is my go-to brand because it is consistently thick and not watery.
- Ripe Bananas (2 medium, mashed / about 1 cup): Bananas add natural sweetness and help bind the oatmeal cups together. The riper the bananas, the sweeter and more flavorful your cups will be. Look for bananas with plenty of brown spots.
- Eggs (2 large): Eggs provide structure and help the cups hold their shape. For a vegan option, you can use flax eggs (2 tablespoons ground flaxseed mixed with 6 tablespoons water, let sit for 5 minutes).
- Milk (1/2 cup / 120ml): Any milk works here. I use unsweetened almond milk, but dairy milk, oat milk, or coconut milk all work well. The milk adds moisture and helps the oats soften during baking.
- Maple Syrup (1/4 cup / 60ml): Pure maple syrup adds a warm, caramel-like sweetness that pairs beautifully with pumpkin. Do not use pancake syrup — the flavor is completely different. You can also use honey or agave if needed.
- Coconut Oil (2 tablespoons, melted): A little fat helps keep the cups moist and adds a subtle richness. You can substitute melted butter or any neutral oil like avocado oil.
- Pumpkin Pie Spice (2 teaspoons): This blend of cinnamon, nutmeg, ginger, and cloves is the backbone of the fall flavor. If you don’t have it, use 1 teaspoon cinnamon, 1/2 teaspoon nutmeg, 1/4 teaspoon ginger, and 1/4 teaspoon cloves.
- Cinnamon (1 teaspoon): Extra cinnamon deepens the warm spice flavor. I use Ceylon cinnamon for a milder, sweeter taste, but Cassia cinnamon works fine too.
- Baking Powder (1 teaspoon): This gives the cups a little lift so they are not dense and heavy.
- Salt (1/4 teaspoon): A pinch of salt balances the sweetness and enhances all the flavors. Do not skip it.
- Vanilla Extract (1 teaspoon): Vanilla rounds out the flavors and adds a cozy sweetness. Pure vanilla extract is worth the splurge here.
- Optional Mix-Ins: 1/2 cup chopped pecans, walnuts, or chocolate chips. I love adding pecans for crunch and dark chocolate chips for a little indulgence.
Equipment Needed
You do not need any fancy gadgets for this recipe, which is part of its charm. Here is what you will need:
- Muffin Tin: A standard 12-cup muffin tin works perfectly. I use a non-stick one, but any metal or silicone pan works. If you use silicone, you might need to bake them a few minutes longer.
- Mixing Bowls: One large bowl for the wet ingredients and one medium bowl for the dry ingredients. Nothing fancy — any bowls you have will do.
- Whisk and Spatula: A whisk for combining the wet ingredients and a rubber spatula for folding everything together. A wooden spoon works too.
- Measuring Cups and Spoons: Accurate measurements matter in baking, so use proper measuring cups for dry and liquid ingredients.
- Muffin Liners: Paper or silicone liners make cleanup a breeze. If you use paper liners, spray them lightly with cooking spray to prevent sticking. Silicone liners are reusable and work great.
- Ice Cream Scoop or Large Spoon: For evenly portioning the batter into the muffin cups. An ice cream scoop makes it quick and mess-free.
- Cooling Rack: Letting the cups cool in the pan for 5 minutes, then transferring them to a rack, prevents soggy bottoms.
Preparation Method
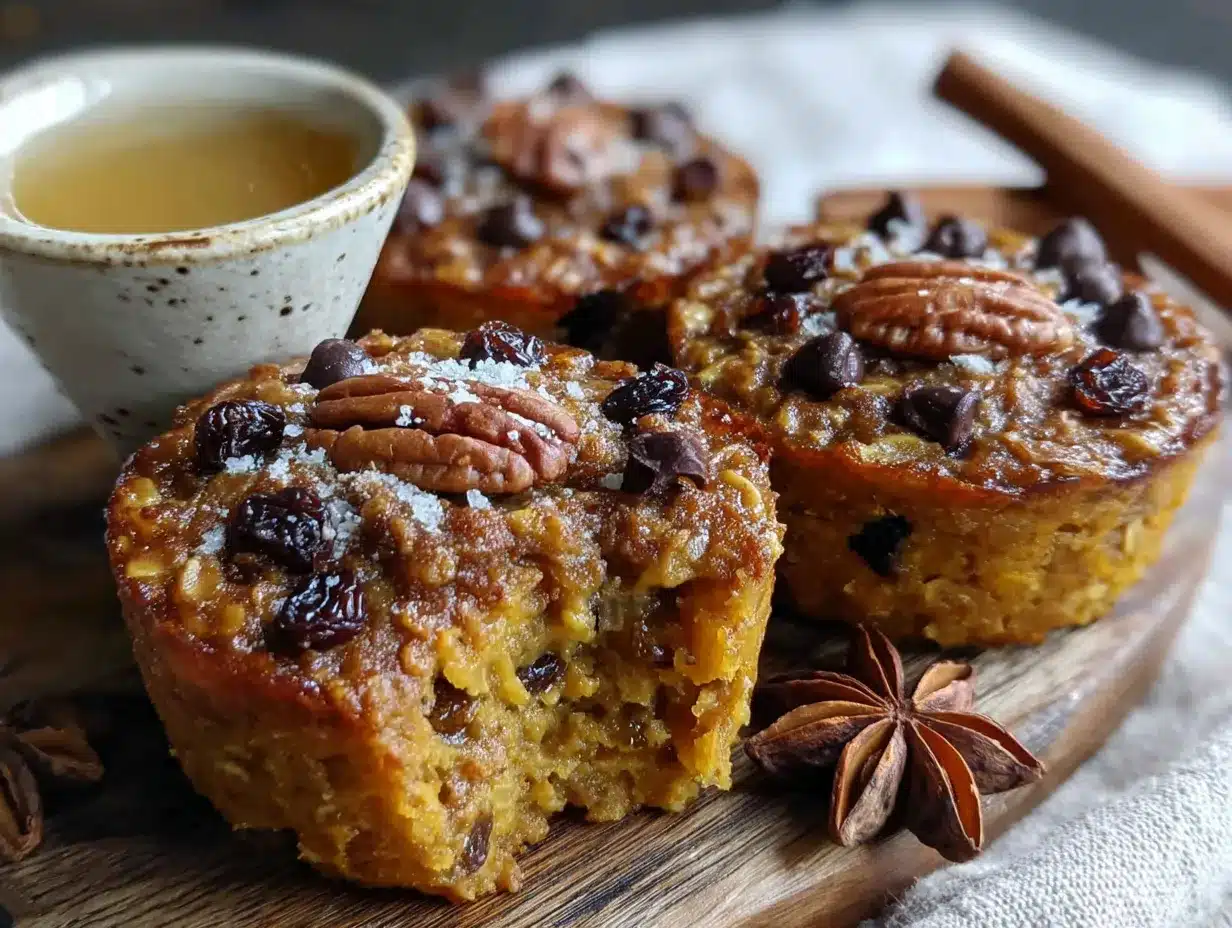
These healthy baked pumpkin oatmeal cups come together quickly, but a few small details make a big difference. Follow these steps, and you will have perfect cups every time.
- Preheat and Prep: Preheat your oven to 375°F (190°C). Line a 12-cup muffin tin with paper liners or lightly grease each cup with coconut oil. This step is crucial — ungreased cups will stick, and nobody wants to scrape oatmeal off a pan.
- Mash the Bananas: In a large mixing bowl, mash the two ripe bananas with a fork until smooth. You want a mostly smooth consistency with just a few tiny lumps. Chunky bananas will create uneven texture in the cups.
- Mix the Wet Ingredients: To the mashed bananas, add the pumpkin puree, eggs, milk, maple syrup, melted coconut oil, and vanilla extract. Whisk everything together until smooth and well combined. The mixture should look like a thick, creamy orange batter. Take a moment to smell it — that pumpkin and maple aroma is pure fall magic.
- Combine the Dry Ingredients: In a separate medium bowl, whisk together the rolled oats, pumpkin pie spice, cinnamon, baking powder, and salt. Make sure the spices are evenly distributed throughout the oats. Nobody wants a bite with all the cinnamon in one spot.
- Fold Together: Pour the dry ingredients into the wet ingredients. Use a rubber spatula to fold everything together until just combined. Do not overmix — a few streaks of flour are fine. Overmixing can make the cups tough. If you are adding mix-ins like pecans or chocolate chips, fold them in now.
- Let the Batter Rest: Here is a tip I learned through trial and error: let the batter sit for 5 minutes before scooping. This allows the oats to absorb some of the liquid, which gives the cups a better texture. Use this time to clean up your workspace or brew a cup of coffee.
- Fill the Muffin Cups: Use an ice cream scoop or a large spoon to divide the batter evenly among the 12 muffin cups. Fill each cup almost to the top — these cups do not rise much, so you want them full. An even distribution ensures they all bake at the same rate.
- Bake: Place the muffin tin in the preheated oven and bake for 18-22 minutes. The cups are done when the tops are set and golden brown, and a toothpick inserted into the center comes out clean or with just a few moist crumbs. My oven runs hot, so I check at 18 minutes and go from there.
- Cool: Let the cups cool in the pan for 5 minutes. This allows them to firm up and makes them easier to remove. Then transfer them to a cooling rack to cool completely. If you try to remove them too early, they might fall apart.
- Serve or Store: Enjoy them warm or at room temperature. If you are meal prepping, let them cool completely before storing.
Cooking Tips & Techniques
I have made this recipe more times than I can count, and I have definitely made my share of mistakes. Here is what I learned so you do not have to repeat my failures.
Do Not Skip the Resting Time: I know it is tempting to get them in the oven as fast as possible, but letting the batter rest for 5 minutes is non-negotiable. The first time I made these, I skipped this step, and the cups came out uneven — some parts were mushy while others were dry. The resting time allows the oats to hydrate, which leads to a consistent, tender texture throughout.
Check Your Pumpkin Puree: Not all canned pumpkin is created equal. Some brands are thinner and more watery, which will make your cups soggy. If your pumpkin puree looks loose or has liquid pooling on top, drain off the excess liquid before measuring. I learned this the hard way with a store-brand pumpkin that turned my first batch into oatmeal soup.
Use Room Temperature Ingredients: Cold eggs and cold milk can cause the coconut oil to solidify into little clumps when you mix everything together. Take the eggs and milk out of the fridge about 15 minutes before you start. If you forget, place the eggs in a bowl of warm water for 5 minutes to bring them to room temperature quickly.
Don’t Overbake: These cups go from perfect to dry very quickly. Start checking at 18 minutes. The tops should be golden and spring back when lightly touched. If you see cracks forming on the surface, they have been in too long. Dry oatmeal cups are sad oatmeal cups.
Line Your Pan Properly: Even if you are using a non-stick pan, use paper liners or grease the cups well. Oatmeal has a tendency to stick to everything. I once made the mistake of skipping liners and spent 20 minutes scrubbing dried oatmeal off my muffin tin. Not my finest moment.
Multitasking Strategy: While the cups are baking, wash your dishes and wipe down the counters. By the time they are cool enough to store, your kitchen will already be clean. Future you will be grateful.
Variations & Adaptations
One of the best things about this recipe is how flexible it is. I have tried several variations, and they all turned out delicious in their own way.
Vegan Version: Replace the eggs with flax eggs (2 tablespoons ground flaxseed mixed with 6 tablespoons water, let sit for 5 minutes until gel-like). Use plant-based milk and maple syrup instead of honey. The texture will be slightly softer, but still very satisfying. I tested this for a vegan friend, and she could not tell the difference.
Gluten-Free Option: Use certified gluten-free rolled oats. Most oats are naturally gluten-free, but they are often processed in facilities that handle wheat, so look for the certified label if you have celiac disease or a serious sensitivity. The recipe works exactly the same way.
Protein-Packed Version: Add one scoop of vanilla or unflavored protein powder to the dry ingredients. You may need to add an extra tablespoon of milk to compensate for the dryness. I use collagen peptides, which dissolve easily and do not change the texture. This version keeps me full for hours after a morning workout.
Chocolate Pumpkin Cups: Fold in 1/3 cup dark chocolate chips and reduce the maple syrup to 2 tablespoons. The combination of pumpkin and chocolate is surprisingly good — like a healthier version of a chocolate pumpkin muffin. My kids devour these.
Nut-Free Option: Skip any nut-based mix-ins and use oat milk or dairy milk instead of almond milk. The recipe is naturally nut-free if you avoid the optional pecans or walnuts. Perfect for school lunches or nut-free households.
Spice It Up: If you love a stronger spice profile, add 1/4 teaspoon of ground ginger and a pinch of cardamom. Cardamom adds this warm, almost floral note that pairs beautifully with pumpkin. I tried this on a whim during a rainy October afternoon, and it is now my favorite variation.
Serving & Storage Suggestions
These healthy baked pumpkin oatmeal cups are incredibly versatile when it comes to serving and storing. Here is how to get the most out of them.
Serving Temperature: They are delicious warm, at room temperature, or even cold straight from the fridge. For a cozy breakfast, microwave one for 15-20 seconds until warm. The aroma alone is worth the 15 seconds. I like to top mine with a dollop of Greek yogurt and a drizzle of extra maple syrup for a little extra indulgence.
What to Serve With Them: These cups are hearty enough to stand alone, but they pair beautifully with a side of fresh fruit, a hard-boiled egg for extra protein, or a warm mug of chai tea or coffee. For a fall brunch spread, serve them alongside a pumpkin spice latte and some crispy bacon for that sweet-and-savory balance.
Refrigerator Storage: Store the cooled cups in an airtight container in the refrigerator for up to 5 days. Place a paper towel at the bottom of the container to absorb any excess moisture, and replace it if it gets damp. This keeps the cups from getting soggy.
Freezer Storage: These freeze beautifully. Place the cooled cups in a single layer on a baking sheet and freeze for 1 hour until solid. Then transfer them to a freezer-safe bag or container. They will keep for up to 3 months. To reheat, microwave one directly from frozen for 30-45 seconds, or let it thaw in the fridge overnight and warm it in the microwave for 15 seconds.
Flavor Development: Here is a little secret — these cups actually taste better the next day. The flavors meld together overnight, and the texture becomes even more tender. I often make a batch on Sunday specifically for Monday morning breakfast. It is like the oatmeal version of lasagna getting better after a day in the fridge.
Nutritional Information & Benefits
These healthy baked pumpkin oatmeal cups are packed with nutrition, which makes them a breakfast you can feel good about eating every day.
Estimated Nutrition Per Cup (without mix-ins):
- Calories: 175
- Protein: 5g
- Carbohydrates: 28g
- Fiber: 4g
- Sugar: 10g (naturally occurring from bananas and maple syrup)
- Fat: 5g
- Iron: 1.5mg
- Vitamin A: 190% of the Daily Value (thanks to the pumpkin!)
Health Benefits: Oats are a fantastic source of soluble fiber, which helps lower cholesterol and keeps you feeling full. Pumpkin is loaded with vitamin A, which supports eye health and immune function. Bananas provide potassium and natural sweetness without refined sugar. The eggs add high-quality protein to keep your energy stable through the morning.
Dietary Considerations: This recipe is naturally vegetarian and can easily be made vegan, gluten-free, and dairy-free with the substitutions listed above. It is also free of refined sugar if you use pure maple syrup. The only potential allergen is eggs, which can be replaced with flax eggs. Always check your oat label if you need certified gluten-free.
From a wellness perspective, I love that these cups give me sustained energy without a sugar crash. They are satisfying enough to keep me from snacking before lunch, but light enough that I do not feel sluggish. It is rare to find a breakfast that checks all those boxes, especially one that tastes this good.
Conclusion
These healthy baked pumpkin oatmeal cups are proof that sometimes the best recipes come from questioning the way we have always done things. They are cozy, convenient, and genuinely good for you — a combination that is harder to find than it should be. Whether you are meal prepping for a busy week, looking for a portable breakfast, or just craving something that tastes like fall in every bite, these cups deliver.
I encourage you to make them your own. Swap in different mix-ins, adjust the spices to your taste, or double the batch because they disappear fast. That is the beauty of a simple, forgiving recipe like this one — it leaves room for your creativity. I would love to hear how they turn out for you. Did you add chocolate chips? Try them with walnuts? Serve them to someone who swore they did not like oatmeal? Drop a comment below and let me know. Your version might just be better than mine.
Until next time, happy baking and happy fall. These little cups are waiting for you.
Frequently Asked Questions
Can I use quick oats instead of rolled oats?
I do not recommend it. Quick oats are more finely processed and will absorb the liquid too quickly, resulting in a mushy, dense texture. Rolled oats give you the perfect tender-but-structured bite. If you only have quick oats, reduce the milk to 1/3 cup and check for doneness a few minutes earlier.
Can I make these without eggs?
Absolutely. Use a flax egg (1 tablespoon ground flaxseed mixed with 3 tablespoons water per egg, let sit for 5 minutes). The texture will be slightly softer, but they will still hold together beautifully. I have tested this substitution multiple times, and it works like a charm.
Why did my oatmeal cups turn out soggy?
Soggy cups usually mean too much liquid or underbaking. Make sure you are measuring your pumpkin puree accurately and not using a watery brand. Also, let the cups cool in the pan for the full 5 minutes before transferring them to a cooling rack. Storing them before they are completely cool can also trap steam and create sogginess.
Can I freeze these for meal prep?
Yes, and I highly recommend it. Freeze them in a single layer on a baking sheet, then transfer to a freezer bag. They will keep for up to 3 months. To reheat, microwave one from frozen for 30-45 seconds, or let it thaw in the fridge overnight and warm it for 15 seconds. They taste just as good as fresh.
How do I make these sweeter without adding sugar?
Use extra-ripe bananas with plenty of brown spots — they are naturally much sweeter than firm bananas. You can also add 1/4 cup of unsweetened applesauce or an extra tablespoon of maple syrup. If you want a sugar-free option, a few drops of liquid stevia or monk fruit sweetener work well without changing the texture.
Pin This Recipe!
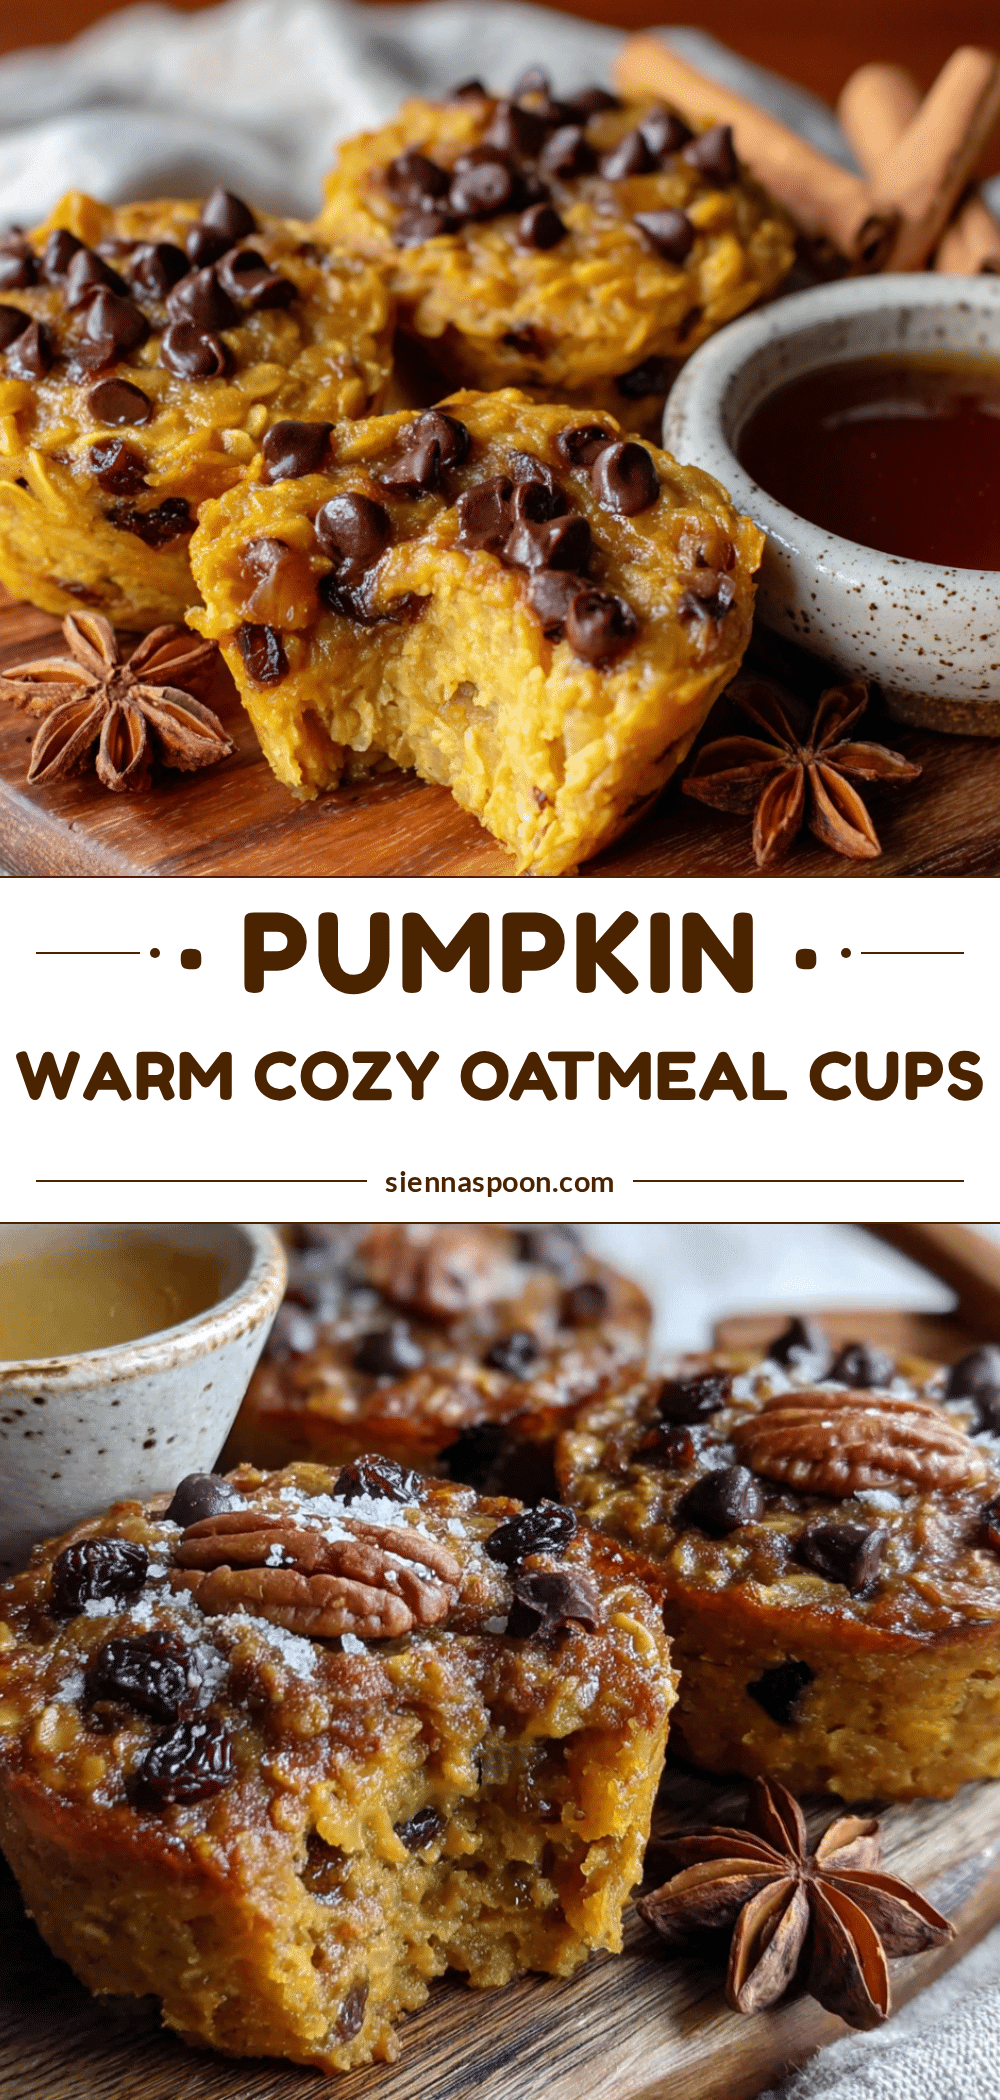
Healthy Baked Pumpkin Oatmeal Cups: Easy Fall Breakfast

These healthy baked pumpkin oatmeal cups are a cozy, portable fall breakfast that tastes like pumpkin pie filling in oatmeal form. They are quick to prep, made with simple ingredients, and perfect for busy mornings.
- Prep Time: 10 minutes
- Cook Time: 20 minutes
- Total Time: 30 minutes
- Yield: 12 servings 1x
- Category: Breakfast
- Cuisine: American
Ingredients
- 2 cups (180g) rolled oats
- 1 cup (245g) canned pumpkin puree
- 2 medium ripe bananas, mashed (about 1 cup)
- 2 large eggs
- 1/2 cup (120ml) milk (any kind)
- 1/4 cup (60ml) pure maple syrup
- 2 tablespoons melted coconut oil
- 2 teaspoons pumpkin pie spice
- 1 teaspoon cinnamon
- 1 teaspoon baking powder
- 1/4 teaspoon salt
- 1 teaspoon vanilla extract
- Optional: 1/2 cup chopped pecans, walnuts, or chocolate chips
Instructions
- Preheat your oven to 375°F (190°C). Line a 12-cup muffin tin with paper liners or lightly grease each cup with coconut oil.
- In a large mixing bowl, mash the two ripe bananas with a fork until smooth.
- To the mashed bananas, add the pumpkin puree, eggs, milk, maple syrup, melted coconut oil, and vanilla extract. Whisk until smooth and well combined.
- In a separate medium bowl, whisk together the rolled oats, pumpkin pie spice, cinnamon, baking powder, and salt.
- Pour the dry ingredients into the wet ingredients. Use a rubber spatula to fold together until just combined. If adding mix-ins, fold them in now.
- Let the batter rest for 5 minutes to allow the oats to absorb some liquid.
- Use an ice cream scoop or large spoon to divide the batter evenly among the 12 muffin cups, filling each almost to the top.
- Bake for 18-22 minutes, until the tops are set and golden brown and a toothpick inserted into the center comes out clean or with a few moist crumbs.
- Let the cups cool in the pan for 5 minutes, then transfer to a cooling rack to cool completely.
- Enjoy warm or at room temperature. Store leftovers in an airtight container in the refrigerator for up to 5 days, or freeze for up to 3 months.
Notes
Let the batter rest for 5 minutes before baking for better texture. Check your pumpkin puree – if it’s watery, drain excess liquid. Use room temperature ingredients to prevent coconut oil from solidifying. Do not overbake; start checking at 18 minutes. These cups taste even better the next day as flavors meld.
Nutrition
- Serving Size: 1 cup
- Calories: 175
- Sugar: 10
- Sodium: 120
- Fat: 5
- Saturated Fat: 2.5
- Carbohydrates: 28
- Fiber: 4
- Protein: 5
Keywords: pumpkin oatmeal cups, baked oatmeal, healthy breakfast, fall breakfast, meal prep breakfast, pumpkin recipes


