Love this? Save it for later!
Share the inspiration with your friends
My sister-in-law, Jen, wasn’t trying to be the star of the Halloween party. I’d stopped by to drop off a bag of my nephew’s outgrown costumes, and the sight of her kitchen island stopped me cold. It wasn’t just a snack board; it was a tiny, edible landscape. There were little “pumpkins” made of cheese balls, a “dirt” of crushed chocolate cookies, and these adorable little pretzel stick “fence posts.” Honestly, I stood there staring for a good minute before I even said hello. She just shrugged and said, “Oh, it’s just a quick thing for the kids’ class party.” Just a quick thing! Let me tell you, that “quick thing” has lived in my head rent-free ever since. Maybe you’ve been there, seeing a recipe that looks so complicated you’d never try it, only to find out it’s deceptively simple. That’s this Easy Pumpkin Patch Halloween Charcuterie Board. It’s the kind of board that makes people think you spent hours, but it comes together in about 20 minutes. The magic is all in the arrangement. I’ve made it for our own Halloween bash, a school potluck, and even a lazy movie night, and it never fails to get a gasp of delight. It’s the perfect centerpiece that you don’t have to stress over, and honestly, that’s the whole point of Halloween fun.
Why You’ll Love This Easy Pumpkin Patch Halloween Charcuterie Board
This isn’t just another cheese board. This is an experience. It’s a conversation starter, a crowd-pleaser, and a surprisingly low-stress way to feed a hungry group of goblins and ghouls. Here’s why this one is different from the rest:
- Incredibly Quick & Easy: Forget complicated recipes. This board comes together in about 20 minutes. It’s perfect for last-minute Halloween parties or when you just want to create something fun without spending all day in the kitchen.
- Simple, Kid-Friendly Ingredients: No fancy, hard-to-find ingredients. You can find everything at your regular grocery store. It’s made with snacks that kids and adults already love, like cheese balls, pretzels, and clementines.
- Perfect for Any Halloween Gathering: Whether it’s a classroom party, a spooky movie night, or the main event on Halloween night, this board is a showstopper. It’s also great for a Thanksgiving appetizer if you want to keep the fall theme going.
- Naturally Nut-Free Friendly: With a little planning, this board can be made completely nut-free, making it safe for school parties and gatherings with allergy concerns. Just double-check your labels!
- Unbelievably Cute & Photogenic: Let’s be real, half the fun is how adorable it is. The little “pumpkin patch” design is guaranteed to get you all the likes on social media. It’s the kind of board that makes you close your eyes and smile after you set it out.
- It’s My Best Version: After making this a few times, I found the secret is using a mix of textures and colors. The creamy cheese balls against the salty pretzels and the sweet, juicy clementines create a perfect bite every time. It’s not just a pretty face—it tastes amazing.
What Ingredients You Will Need
This recipe uses simple, store-bought ingredients to create a visually stunning and delicious board. The key is to think about color and texture to mimic a real pumpkin patch. Here’s what you’ll need to gather:
- For the “Pumpkin Patch” Base:
- 1 bag (about 14 oz) of Cheese Balls – These are your “pumpkins.” I prefer the original flavor, but you can use cheddar or white cheddar. (Adds that classic cheesy, puffy texture). Tip: Look for a brand that uses real cheese for the best flavor.
- 1 bag of Pretzel Sticks – These become the “fence posts” for your pumpkin patch. The salty crunch is a perfect contrast to the soft cheese balls.
- 3-4 Clementines or Mandarins, peeled and separated into segments – These add a bright, citrusy sweetness and a pop of orange color that’s essential for the “pumpkin” theme.
- For the “Dirt” & “Vines”:
- 1/2 cup Chocolate Cookies (like Oreos), crushed into a fine “dirt” – This creates the soil for your pumpkin patch. You can crush them in a bag with a rolling pin or pulse in a food processor.
- Green Grapes, cut in half – These look like little pumpkin vines or leaves. They also add a refreshing, juicy pop.
- Green Apple Slices (optional) – For more “vine” shapes. Toss them in a little lemon juice to prevent browning.
- For the “Scarecrow” & “Fence” (Optional but Fun):
- 1 small Rice Cake or Crackers – This will be the base for your scarecrow’s face.
- Peanut Butter or Cream Cheese – To act as “glue” for the scarecrow face.
- Banana Slices or White Chocolate Chips – For the scarecrow’s eyes.
- Raisins or Chocolate Chips – For the scarecrow’s smile.
- A few Pretzel Sticks – To make the scarecrow’s arms.
- For Dipping & Spreading:
- 1/2 cup Pumpkin Butter or Caramel Dip – This is a fantastic seasonal dip that ties the whole board together. (Use dairy-free if needed).
- 1/2 cup Cream Cheese, softened – A classic, creamy spread that balances the sweet and salty flavors. You can also use a flavored cream cheese like honey pecan.
- For the “Fence” (The Board’s Border):
- Pretzel Sticks or Breadsticks – These will be arranged around the edge of your board to look like a rustic fence.
Equipment Needed
You don’t need any fancy equipment to build this board, which is part of its charm. Here’s what you’ll need:
- A Large Wooden Board or Serving Platter – The bigger, the better! A wooden cutting board, a baking sheet, or even a large slate cheese board works perfectly. I love using a large, rectangular wooden board for this.
- Small Bowls or Ramekins – You’ll need a couple of these for the dip (pumpkin butter or caramel) and the crushed cookie “dirt.”
- A Rolling Pin or Food Processor – For crushing the chocolate cookies into “dirt.” A zip-top bag and a heavy pan also work in a pinch.
- A Sharp Knife – For cutting the grapes and apples.
- Parchment Paper (Optional) – If you want a super easy cleanup, you can line your board with parchment paper before building. It also gives a nice, rustic look.
- Small Spatula or Butter Knife – For spreading the cream cheese or peanut butter if you’re making the scarecrow.
Preparation Method
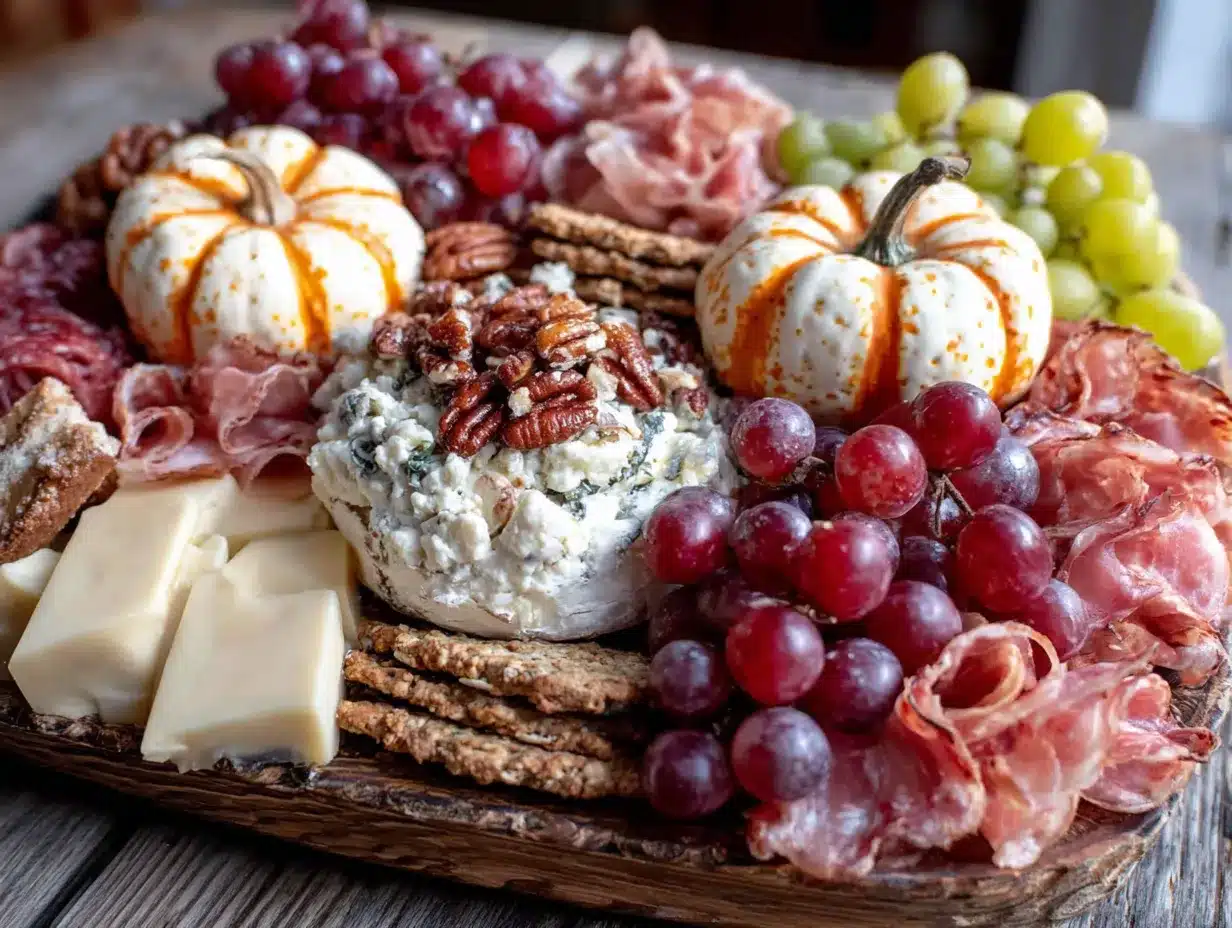
Let’s build this pumpkin patch! The process is super straightforward and fun. Take your time and have fun with the arrangement.
- Prep Your “Dirt”: Place the chocolate cookies in a zip-top bag and seal it. Use a rolling pin to crush them into a fine, crumbly “dirt.” You can also pulse them in a food processor until you get a fine crumb. Pour this “dirt” into a small bowl and set it aside. This will be your patch’s soil.
- Build the Fence: Arrange your pretzel sticks or breadsticks around the entire perimeter of your serving board. Place them end-to-end, slightly overlapping, to create a rustic fence. You can angle them slightly outward for a more dynamic look. This creates the “patch” boundary.
- Create the “Dirt” Bed: In the center of your board, within the fence, sprinkle a generous amount of the crushed cookie “dirt.” You don’t need a thick layer, just enough to cover the board and look like soil. Leave a little space around the edges for your other elements.
- Plant Your “Pumpkins”: This is the main event! Scatter your cheese balls over the “dirt” in clusters. Don’t line them up perfectly; a real pumpkin patch is a little chaotic. Group some together, leave a few singles, and create a natural-looking spread. This is where the board gets its charm.
- Add the “Vines”: Place your halved green grapes and apple slices around the cheese balls. Tuck them in and around the “pumpkins” so they look like vines growing out of the dirt. The green color is a beautiful contrast to the orange cheese balls.
- Place the Clementines: Add the clementine or mandarin segments. These are like little extra “mini-pumpkins” or just bright, sweet additions to the patch. Scatter them around the cheese balls.
- Set Up Your Dips: Place your small bowls of pumpkin butter or caramel dip and softened cream cheese in a few spots on the board. Nestle them into the “dirt” so they look like they’re part of the landscape. You can even sprinkle a little extra “dirt” around the base of the bowls.
- Build the Scarecrow (Optional but Highly Recommended): This is the fun part! On a small rice cake or cracker, spread a thin layer of peanut butter or cream cheese. Place two banana slices or white chocolate chips for eyes and a raisin or chocolate chip for a smile. Stick two small pretzel sticks into the sides of the rice cake for arms. Place your scarecrow right in the middle of your pumpkin patch. It’s the perfect focal point!
- Fill in the Gaps: Take a step back and look at your board. Are there any big empty spaces? Fill them in with extra grapes, a few more cheese balls, or a handful of pretzel sticks. The goal is a board that looks abundant and full.
- Final Touch: Give the board a final once-over. Make sure the fence is secure and everything looks cohesive. You can sprinkle a tiny bit more “dirt” over the cheese balls for a “freshly harvested” look. Then, stand back and admire your work!
Cooking Tips & Techniques
Here are a few lessons I learned from my first few boards (and a few failures!). These tips will help you get it right every time.
- The Crumb is Key: Don’t crush your cookies into a fine powder. You want a crumbly texture that looks like real soil. A few slightly larger pieces are fine—they add to the rustic feel. I once pulsed them too long and ended up with cookie dust, which just looked like a mess.
- Don’t Overcrowd the Board: It’s tempting to pile everything on, but a good board has breathing room. Leave a little space between the elements so each “pumpkin” and vine can be seen. A crowded board looks chaotic, not charming.
- Build in Layers: Start with your base (the fence and dirt), then add your main features (the pumpkins), and finish with the toppings (vines, dips, scarecrow). This layered approach creates depth and visual interest.
- Keep It Cool: If you’re serving this at a party, keep the dips and any perishable items (like cream cheese) chilled until you’re ready to serve. The cheese balls and pretzels are fine at room temperature. I learned this the hard way when my cream cheese got a little too soft and melty.
- Timing is Everything: You can prep all the components a few hours in advance. Crush the cookies, cut the fruit, and have your dips ready. Assemble the board just before your guests arrive so everything looks fresh. The cheese balls can get a little stale if they sit out too long.
- Make it a Game: For a kids’ party, turn the assembly into an activity! Let the kids help build the fence or place the “pumpkins.” It’s a great way to get them involved and excited about the food.
Variations & Adaptations
This board is incredibly versatile. Here are a few ways you can change it up to fit your needs or what you have on hand.
- The Gluten-Free Pumpkin Patch: This is easy! Just swap the pretzel sticks for gluten-free pretzel sticks or breadsticks. Make sure your cheese balls and cookies are also certified gluten-free. Many brands are, but it’s always good to check the label.
- The Vegan Pumpkin Patch: To make this vegan, use a vegan cream cheese for the dip and a dairy-free cheese ball alternative (you can find these at most grocery stores now). Use a vegan-friendly cookie for the “dirt.” Your pumpkin butter or a simple fruit jam will be your vegan-friendly dip.
- The Sweet & Salty Patch: Swap the cheese balls for caramel popcorn or cheddar popcorn for a different flavor profile. You can also use chocolate-covered pretzels for a sweeter fence. This version is a total crowd-pleaser for those with a sweet tooth.
- The Fall Harvest Board: Add some seasonal fruits like sliced pears, dried cranberries, or pomegranate seeds. You can also add some spiced nuts or roasted chickpeas for extra crunch. This turns it from a Halloween board into a general fall celebration board.
- The “Monster” Patch: Instead of a scarecrow, use small, round crackers to make little “monster” faces. Use cream cheese to attach candy eyes and pretzel sticks for arms. This is a fun twist that’s perfect for a non-scary Halloween party.
Serving & Storage Suggestions
This board is best served fresh, but here’s how to make it work for your schedule.
Serving: Serve this board at room temperature. The cheese balls are best when they’re a little soft, and the dips are easier to scoop. Place it in the center of your table and let people graze. It’s perfect for a buffet-style party or as a pre-dinner appetizer. The bright colors and cute design make it a natural centerpiece.
Storage: This board does not store well once assembled. The cheese balls can get stale, and the fruit will start to weep. However, you can store the individual components. Keep the cheese balls in an airtight container, the crushed cookies in a zip-top bag, and the fruit in the fridge. The dips can be stored in their containers in the fridge.
Reheating: You don’t need to reheat anything! Just pull the dips out of the fridge about 30 minutes before serving to let them soften. If you’re using a dip like a warm caramel, you can heat it up and pour it into a bowl just before assembling.
Flavor Development: The flavors don’t really “develop” on this board like a stew or a sauce. The magic is in the fresh, contrasting textures and flavors. The salty pretzel, the creamy cheese ball, and the sweet clementine create a perfect bite that’s best enjoyed immediately.
Nutritional Information & Benefits
This is a treat board, so it’s not a health food, but it does have some redeeming qualities! Here’s a quick look at what you’re getting.
- Estimated Nutritional Values (Per Serving, approx. 1/8 of board): Calories: 280, Fat: 14g, Carbs: 35g, Protein: 6g, Fiber: 2g, Sugar: 18g. (Note: This is an estimate and will vary based on your specific ingredients and portion sizes.)
- Health Benefits of Key Ingredients:
- Clementines are packed with Vitamin C, which is great for your immune system—perfect for the cold and flu season that’s right around the corner!
- Grapes and Apples provide fiber and antioxidants. They add a little bit of fruit goodness to the board.
- Cheese Balls, while a processed snack, do provide a small amount of calcium and protein.
- Dietary Considerations: This board can be easily adapted to be gluten-free and nut-free (with careful ingredient selection). It is not suitable for a low-carb or keto diet due to the cheese balls, pretzels, and fruit.
- Potential Allergens: This recipe contains dairy (cheese balls, cream cheese) and gluten (pretzels, cookies). It may also contain peanuts or tree nuts if you use a nut-based dip or add nuts. Always check labels for cross-contamination warnings if serving to someone with severe allergies.
My Personal Wellness Perspective: I love this board because it’s all about balance. It’s a fun, indulgent treat that brings people together. I don’t make it every week, but for a special occasion, it’s the perfect way to celebrate without feeling deprived. It’s a reminder that food should be fun, and a little bit of creativity can turn simple snacks into something memorable.
Conclusion
So, there you have it—your new go-to for Halloween entertaining. This Easy Pumpkin Patch Halloween Charcuterie Board is more than just a snack; it’s a little piece of edible art that brings a smile to everyone’s face. It’s proof that you don’t need to be a professional chef or a master crafter to create something truly special. You just need a few simple ingredients, a little bit of imagination, and about 20 minutes. I love this recipe because it takes the stress out of hosting and replaces it with pure, unadulterated fun. It’s the kind of board that gets people talking, laughing, and dipping before the main event even begins. I encourage you to make it your own—swap in your favorite snacks, add a different dip, or build the silliest scarecrow you can imagine. The possibilities are endless. Now, go forth and build your pumpkin patch! And when you do, I’d love to hear about it. Drop a comment below and tell me how your board turned out. Did you add any fun twists? Share a photo on social media and tag me—I can’t wait to see your creations! Happy Halloween, and happy snacking!
Frequently Asked Questions
Can I make this board ahead of time?
You can prep all the components a few hours ahead of time. Crush the cookies, cut the fruit, and have your dips ready. I recommend assembling the board no more than an hour before serving to keep the cheese balls from getting stale and the fruit from drying out.
My cheese balls are stale. Can I fix them?
If your cheese balls have been sitting out for a while, they can get a little soft and stale. Unfortunately, there’s no great way to re-crisp them. The best strategy is to only put out as many as you think you’ll eat in an hour or two and store the rest in an airtight container.
What can I use instead of cheese balls?
If you can’t find cheese balls or want a different flavor, you can use caramel popcorn, cheddar popcorn, or even small, round crackers like Ritz. The key is to have something that looks like a little “pumpkin” or a fun, round shape to scatter on the “dirt.”
How do I keep the apple slices from turning brown?
To prevent browning, toss your apple slices in a little bit of lemon juice or a mixture of water and lemon juice. You can also use a product like Fruit-Fresh. The citrus from the lemon will keep them looking bright and fresh for hours.
Is this board safe for a school party?
Yes, with a few modifications! To make it school-safe, use a nut-free cookie for the “dirt” and a nut-free dip like a simple fruit jam or a sunflower seed butter. Also, double-check that your cheese balls and pretzels are processed on shared equipment that is free from peanuts and tree nuts. When in doubt, check the labels or contact the manufacturer.
Pin This Recipe!
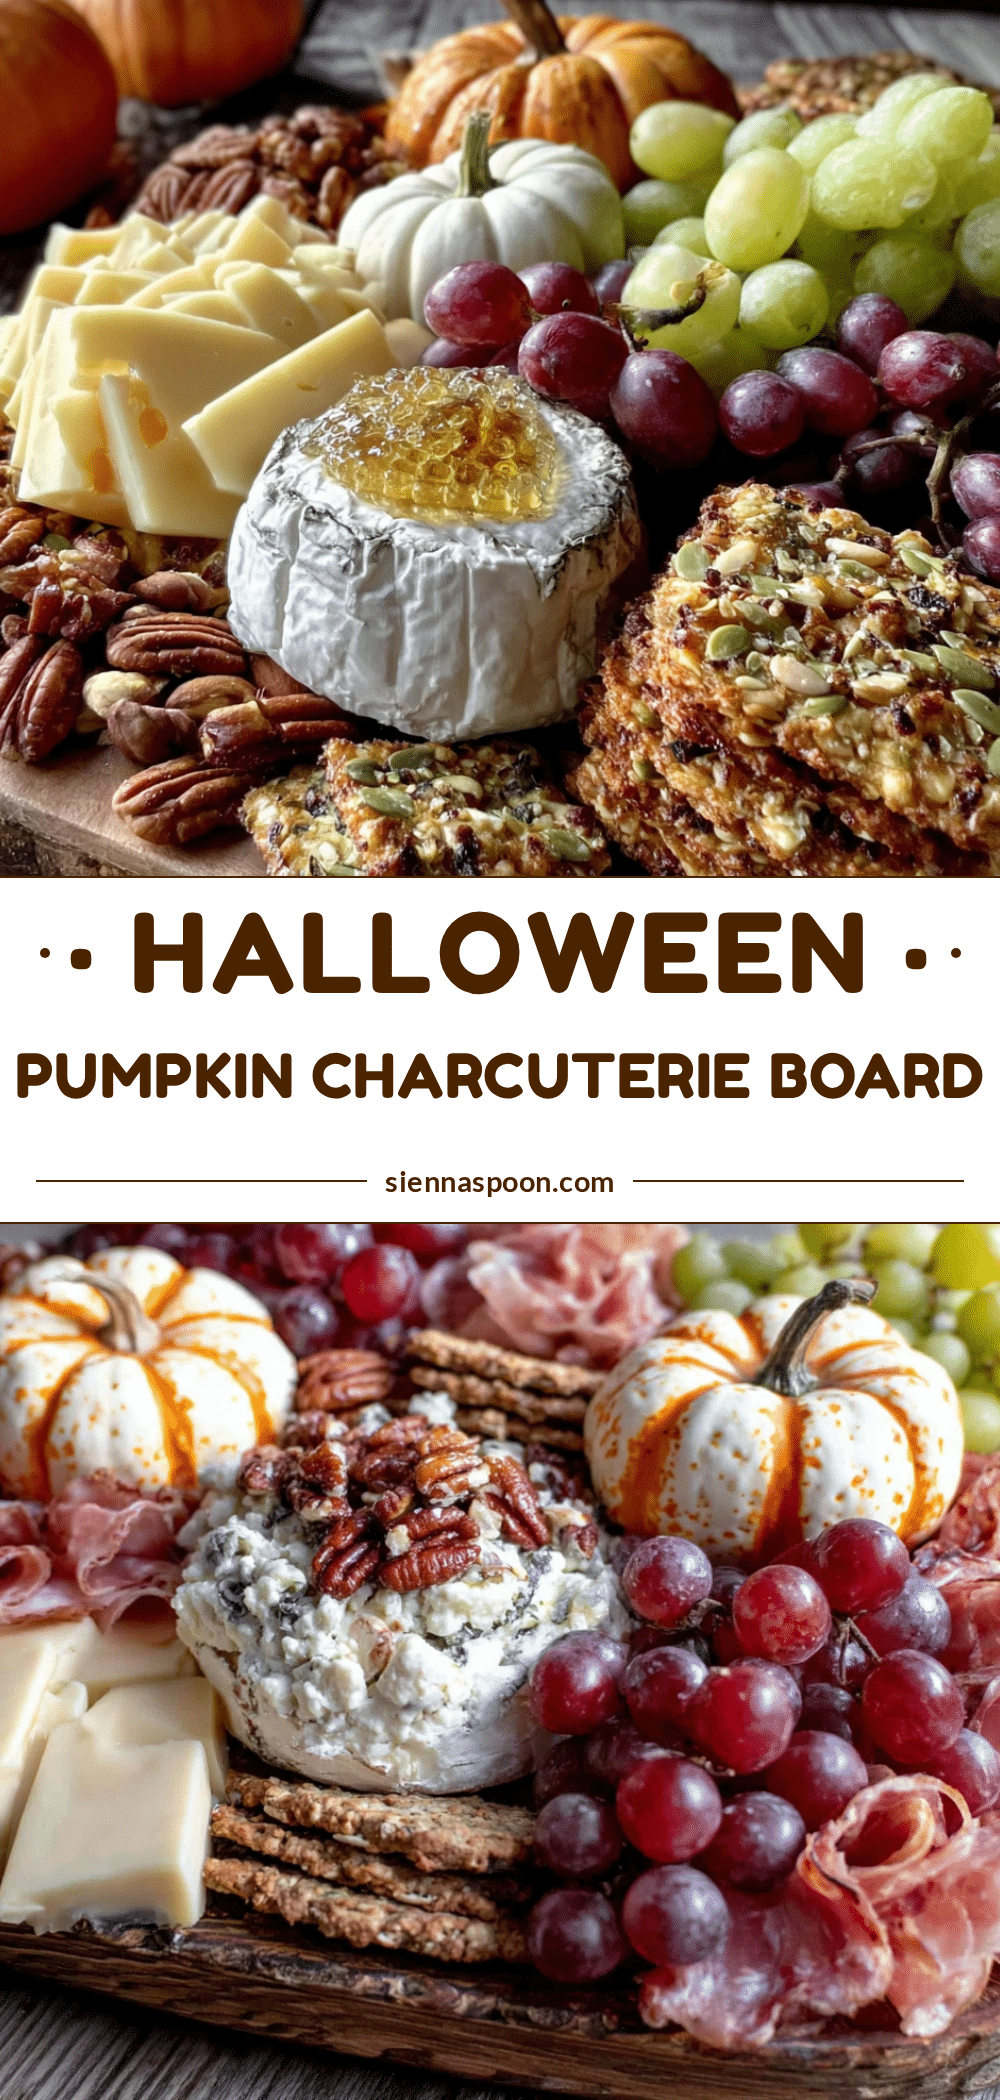
Easy Pumpkin Patch Halloween Charcuterie Board
Create a showstopping Halloween snack board in just 20 minutes! This adorable pumpkin patch charcuterie board features cheese ball ‘pumpkins,’ pretzel fences, and a cookie crumb ‘dirt’ base, perfect for parties and movie nights.
- Prep Time: 20 minutes
- Cook Time: 0 minutes
- Total Time: 20 minutes
- Yield: 8 servings 1x
- Category: Appetizer
- Cuisine: American
Ingredients
- 1 bag (about 14 oz) Cheese Balls
- 1 bag Pretzel Sticks
- 3–4 Clementines or Mandarins, peeled and separated into segments
- 1/2 cup Chocolate Cookies (like Oreos), crushed into fine ‘dirt’
- Green Grapes, cut in half
- Green Apple Slices (optional)
- 1 small Rice Cake or Crackers (for scarecrow)
- Peanut Butter or Cream Cheese (for scarecrow)
- Banana Slices or White Chocolate Chips (for scarecrow eyes)
- Raisins or Chocolate Chips (for scarecrow smile)
- A few Pretzel Sticks (for scarecrow arms)
- 1/2 cup Pumpkin Butter or Caramel Dip
- 1/2 cup Cream Cheese, softened
- Pretzel Sticks or Breadsticks (for fence border)
Instructions
- Prep your ‘dirt’: Place chocolate cookies in a zip-top bag and crush with a rolling pin into fine crumbs. Pour into a small bowl and set aside.
- Build the fence: Arrange pretzel sticks or breadsticks around the entire perimeter of your serving board, slightly overlapping to create a rustic fence.
- Create the ‘dirt’ bed: Sprinkle a generous amount of crushed cookie ‘dirt’ in the center of the board within the fence.
- Plant your ‘pumpkins’: Scatter cheese balls over the ‘dirt’ in clusters, creating a natural-looking spread.
- Add the ‘vines’: Place halved green grapes and apple slices around the cheese balls, tucking them in to look like vines.
- Place the clementines: Add clementine or mandarin segments around the cheese balls.
- Set up your dips: Place small bowls of pumpkin butter or caramel dip and softened cream cheese in a few spots on the board, nestling them into the ‘dirt’.
- Build the scarecrow (optional): Spread peanut butter or cream cheese on a rice cake. Add banana slices or white chocolate chips for eyes and a raisin or chocolate chip for a smile. Stick two pretzel sticks into the sides for arms. Place in the center of the patch.
- Fill in the gaps: Add extra grapes, cheese balls, or pretzel sticks to any empty spaces.
- Final touch: Sprinkle a tiny bit more ‘dirt’ over the cheese balls for a ‘freshly harvested’ look.
Notes
Prep all components a few hours ahead, but assemble no more than an hour before serving to keep cheese balls from getting stale. For a school-safe version, use nut-free cookies and dip. Toss apple slices in lemon juice to prevent browning.
Nutrition
- Serving Size: 1/8 of board
- Calories: 280
- Sugar: 18
- Fat: 14
- Carbohydrates: 35
- Fiber: 2
- Protein: 6
Keywords: Halloween charcuterie board, pumpkin patch snack board, easy Halloween appetizer, kid-friendly Halloween snack, fall charcuterie board, cheese ball pumpkins, spooky snack board


