Love this? Save it for later!
Share the inspiration with your friends
Introduction
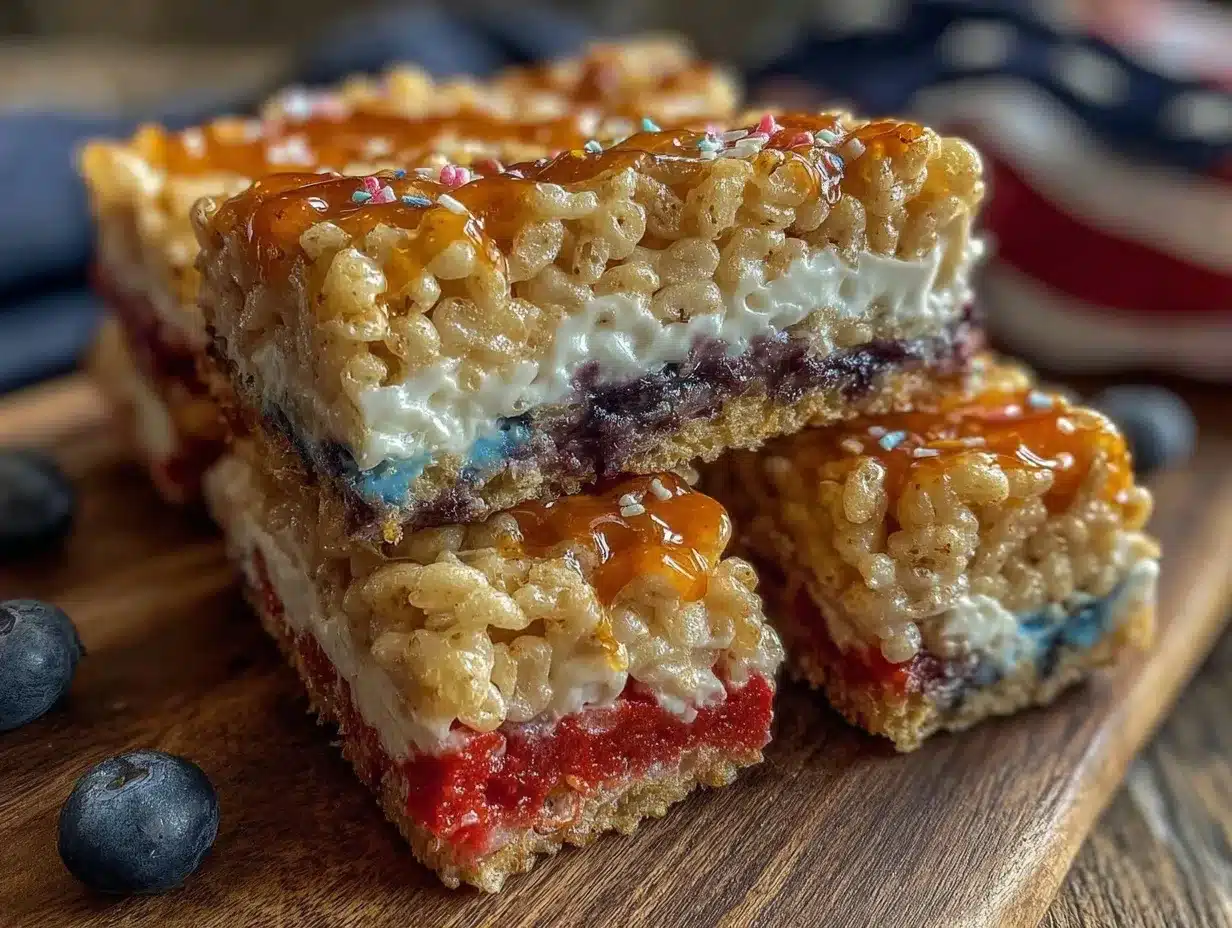
“I wasn’t exactly planning on making dessert that day,” I admit. It was one of those scorching July afternoons, and honestly, the last thing I wanted was to fire up the oven. But then my neighbor, Mrs. Delgado, popped over with a mischievous grin and a bowl of these dazzling red, white, and blue Rice Krispie treat bars. She said, ‘You’ve got to try these for the Fourth of July potluck—no baking, no fuss.’
The sizzle of the summer heat outside made the no-bake part sound like a dream. I grabbed a cracked mixing bowl from my cluttered kitchen shelf, and we got to work. The sticky marshmallows, the snap of the cereal, and the pop of patriotic colors coming together? Let me tell you, it was one of those rare kitchen moments where everything just clicked. Maybe you’ve been there—scrambling for a quick, festive treat without the usual chaos. These bars stayed with me because they’re as effortless as they are fun, and honestly, they bring a little spark to any party table.
Why You’ll Love This Recipe
This easy no-bake red white and blue Rice Krispie treat bars recipe has become one of my go-to desserts for summer gatherings and beyond. After testing it multiple times (including a few messy attempts with marshmallows sticking to the ceiling—don’t ask), I can say it ticks all the boxes for a fuss-free, crowd-pleasing treat.
- Quick & Easy: Ready in under 20 minutes, perfect for last-minute celebrations or when you want to whip something up without breaking a sweat.
- Simple Ingredients: Pantry staples like Rice Krispies cereal, marshmallows, and a splash of food coloring create all the magic.
- Perfect for Patriotic Parties: Whether it’s Independence Day, Memorial Day, or just a summer BBQ, they add that festive pop of color everyone loves.
- Crowd-Pleaser: Kids love the colors, adults appreciate the nostalgic crunch, and everyone keeps coming back for seconds.
- Unbelievably Delicious: The classic crispy texture with a soft, sweet chew—balanced just right, thanks to a little secret tip I’ll share below.
What makes this version stand out is how I split the cereal into three bowls to dye each portion red, white, or blue before layering them in the pan. It’s a simple twist, but it really brings the bars to life, making them look festive without extra decorations or complicated steps. Honestly, it’s the kind of recipe that makes you close your eyes at the first bite and think, “Yep, this is summer.”
What Ingredients You Will Need
This recipe uses simple, wholesome ingredients to deliver bold, fun flavor and satisfying texture without the fuss. Most of these are pantry staples, and the colors can be swapped or omitted if you want a more subtle look.
- Rice Krispies cereal: 6 cups (about 180 g) – I prefer Kellogg’s for that classic crisp snap.
- Marshmallows: 4 cups mini marshmallows (about 120 g) – regular or mini both work, but minis melt faster.
- Unsalted butter: 3 tablespoons (45 g), softened – adds richness and helps everything bind.
- Red food coloring: 10-15 drops – gel food coloring works best for vibrant hues without thinning the mixture.
- Blue food coloring: 10-15 drops – same as above; you can also use natural alternatives like blueberry powder if you prefer.
- Vanilla extract: 1 teaspoon – adds a subtle depth of flavor.
- Optional: pinch of salt – balances the sweetness.
Ingredient tips: If you want a gluten-free option, confirm your Rice Krispies cereal is certified gluten-free. For a dairy-free version, swap butter for coconut oil and use vegan marshmallows. For holidays other than the Fourth, feel free to swap the colors for pink and green or any combo you love.
Equipment Needed
- Large mixing bowl – for melting butter and marshmallows.
- Three medium bowls – to divide and color the cereal.
- 9×13 inch (23×33 cm) baking pan – lined with parchment paper or lightly greased.
- Rubber spatula – for folding and mixing without scratching your bowls.
- Measuring cups and spoons – to keep ingredients precise.
- Microwave-safe bowl or stovetop pot – for melting butter and marshmallows.
If you don’t have three bowls, you can color the cereal in batches. I’ve done this when my kitchen felt cramped, and it worked fine. For spreading the mixture evenly in the pan, a lightly buttered spatula or even an unwrapped piece of wax paper helps avoid sticking. Nothing fancy needed, which makes this recipe perfect for busy days or beginners.
Preparation Method
- Prepare your pan: Line a 9×13 inch (23×33 cm) baking pan with parchment paper or grease it lightly. This will make removing the bars easier later. Set aside. (5 minutes)
- Melt the butter and marshmallows: In a large microwave-safe bowl, combine 3 tablespoons (45 g) of softened butter and 4 cups (120 g) of mini marshmallows. Microwave in 30-second bursts, stirring between each, until melted and smooth. (Approx. 2-3 minutes total)
- Add vanilla and salt: Stir 1 teaspoon of vanilla extract and a pinch of salt into the melted marshmallow mixture. This little detail adds balance and depth.
- Divide and color the cereal: Pour 6 cups (180 g) of Rice Krispies cereal evenly into three medium bowls. Add 10-15 drops of red food coloring to one bowl and gently fold to coat evenly. Repeat with blue food coloring for a second bowl. Leave the third bowl plain for the white layer. (5 minutes)
- Combine colored cereals with marshmallow mixture: Pour about one-third of the melted marshmallow mixture into each colored cereal bowl, stirring quickly to coat all pieces without crushing the cereal. Work fast before the marshmallows set! (5 minutes)
- Layer the bars: Press the red mixture evenly into the bottom of the prepared pan using a buttered spatula or wax paper. Next, gently add the white layer on top, pressing carefully to avoid mixing colors. Finally, add the blue layer, pressing firmly but gently to compact. (10 minutes)
- Let cool and set: Allow the bars to cool at room temperature for at least 30 minutes until firm. For quicker setting, place them in the refrigerator for 15-20 minutes. (30 minutes)
- Cut and serve: Once set, lift the bars from the pan using the parchment paper edges. Cut into squares with a sharp knife (wiping the blade clean between cuts helps keep edges neat). Enjoy!
Pro tip: If the marshmallow mixture starts to harden before you finish mixing, warm it very briefly to soften again. Also, pressing the layers evenly ensures pretty stripes that wow your guests.
Cooking Tips & Techniques
This recipe might look simple, but getting those clean, vibrant layers takes a bit of patience and know-how. First, don’t rush the coloring step—fold gently to avoid crushing the cereal and losing that signature crunch. I’ve learned the hard way that stirring too aggressively turns everything into mush.
When melting marshmallows, low and slow is the way to go. I usually microwave in short bursts and stir often. If you overheat, the mixture can get sticky and tough once cooled, which nobody wants. Honestly, it’s a balancing act between smooth and sticky.
Another tip: butter your spatula or hands lightly before pressing the layers down. It keeps the mixture from sticking and helps get that nice, even finish. I sometimes set a piece of wax paper on top and press lightly with my hands for a smooth surface.
Timing is everything here. Work quickly once the marshmallow mixture is ready because it sets fast. If you get interrupted (and let’s face it, that happens!), just warm it up again gently. Multitasking during this recipe means prepping your bowls and pan first, so you’re ready to go.
Variations & Adaptations
- Dietary swaps: Use gluten-free Rice Krispies and vegan marshmallows for a gluten-free and dairy-free version.
- Seasonal twists: Swap the red and blue colors for pink and green to celebrate spring holidays like St. Patrick’s Day or Valentine’s.
- Flavor boosts: Add a teaspoon of almond extract in place of vanilla for a subtle nutty note, or sprinkle mini chocolate chips into each layer for a fun surprise.
- Cooking methods: If you prefer stovetop melting, melt butter and marshmallows over low heat in a saucepan, stirring constantly until smooth.
- Personal twist: I once mixed crushed freeze-dried strawberries into the red layer for a natural flavor and extra crunch. It was a hit and added a fun texture.
Serving & Storage Suggestions
These bars are best served at room temperature when they’re perfectly chewy with that iconic snap. They make an eye-catching centerpiece at any patriotic party or summer picnic. Pair them with cold lemonade or iced tea for a refreshing combo.
To store, wrap the bars tightly in plastic wrap or keep them in an airtight container. They stay fresh for up to 3 days at room temperature or about a week in the fridge. If you want to keep them longer, freeze in a sealed container for up to 2 months—just thaw at room temperature before serving.
Reheating isn’t necessary, but if you want to soften them slightly, a few seconds in the microwave does the trick. Just don’t go overboard or they’ll get mushy. Over time, the flavors meld nicely, so making them a day ahead can actually improve the taste.
Nutritional Information & Benefits
Each bar is a sweet treat rich in carbohydrates from the cereal and marshmallows, providing a quick energy boost perfect for active summer days. Butter adds a bit of fat for richness, and vanilla brings subtle antioxidants.
This recipe is gluten-free when using certified gluten-free cereal, and can be adapted for dairy-free diets as mentioned earlier. Keep in mind, it’s a dessert meant for occasional indulgence, but its simple ingredients make it a cleaner choice compared to heavily processed snacks.
Personally, I love that these bars bring joy without complicated prep or artificial ingredients. They remind me that sometimes, simple treats are the most satisfying.
Conclusion
If you’re looking for an easy, festive, no-fuss dessert for your next patriotic party, these easy no-bake red white and blue Rice Krispie treat bars are just the ticket. They’re fun to make, fun to eat, and bring that nostalgic crunch with a colorful twist that everyone appreciates.
Feel free to tweak the colors, flavors, or add-ins to make them your own. Honestly, once you try this recipe, it’ll probably become a summer staple like it did for me and Mrs. Delgado. So go ahead—mix those colors, melt those marshmallows, and bring a little sparkle to your celebration table!
I’d love to hear how your batch turns out or what fun variations you try—drop a comment below and share your story!
Frequently Asked Questions
Can I use regular-sized marshmallows instead of mini marshmallows?
Yes, you can! Just chop regular marshmallows into smaller pieces or increase melting time slightly. Minis melt more evenly, but regular ones work fine.
How do I keep the layers from mixing together?
Press each colored layer firmly and evenly before adding the next. Using a buttered spatula or wax paper helps keep layers separate without blending.
Can I make these bars ahead of time?
Absolutely! They store well in an airtight container for several days and even freeze nicely for up to 2 months.
What if I don’t have red or blue food coloring?
You can skip the colors or substitute with natural options like beet juice for red or blueberry powder for blue. The bars will still taste great!
Is this recipe suitable for kids to help make?
Definitely! Kids love mixing the cereal with colors and marshmallows. Just supervise the melting step, as it involves heat.
For more easy and festive treats, you might enjoy my crispy garlic chicken recipe or the bright and fresh summer berry salad—both perfect companions for your party table.
Pin This Recipe!
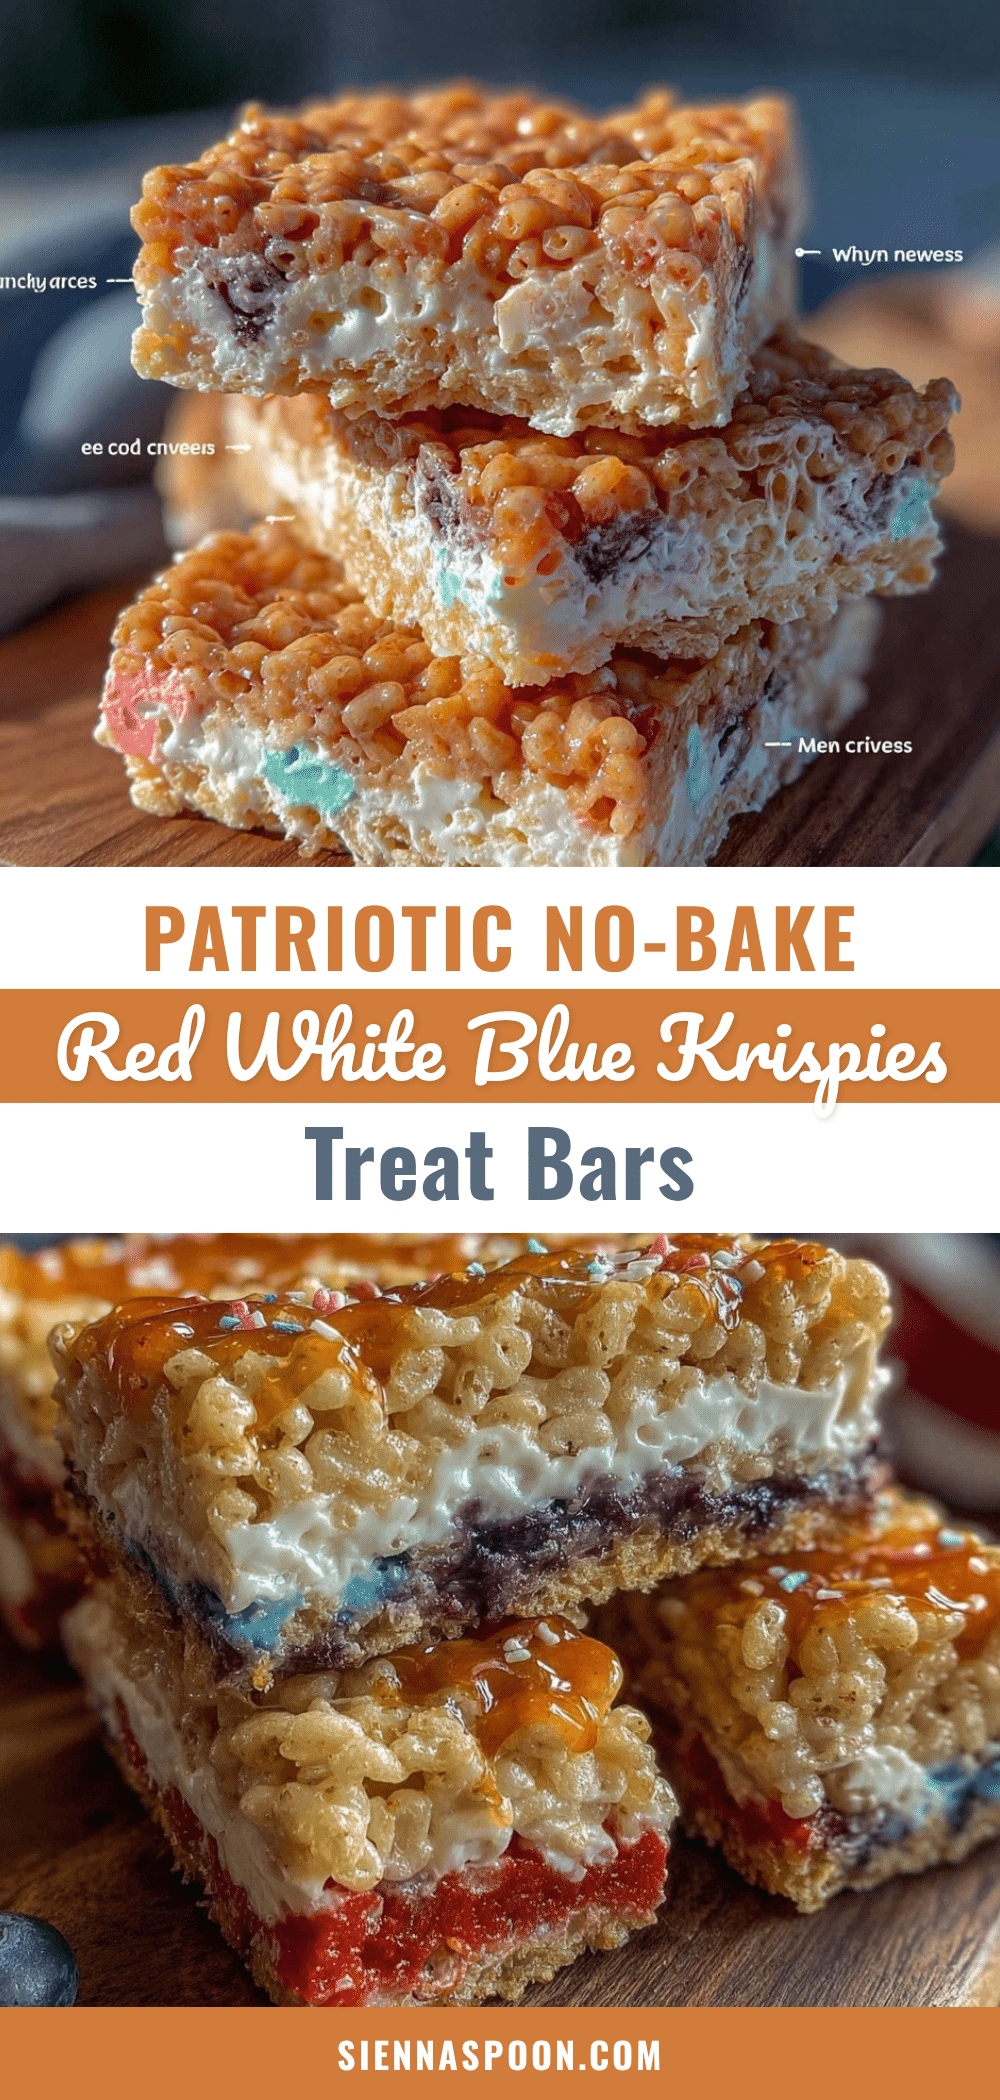
Easy No-Bake Red White and Blue Rice Krispie Treat Bars Recipe for Patriotic Parties
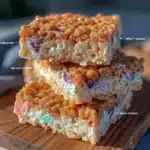
A quick and festive no-bake dessert featuring layered red, white, and blue Rice Krispie treats, perfect for patriotic celebrations and summer gatherings.
- Prep Time: 15 minutes
- Cook Time: 5 minutes
- Total Time: 50 minutes
- Yield: 12 servings 1x
- Category: Dessert
- Cuisine: American
Ingredients
- 6 cups Rice Krispies cereal (about 180 g)
- 4 cups mini marshmallows (about 120 g)
- 3 tablespoons unsalted butter (45 g), softened
- 10–15 drops red food coloring (gel recommended)
- 10–15 drops blue food coloring (gel recommended)
- 1 teaspoon vanilla extract
- Pinch of salt (optional)
Instructions
- Line a 9×13 inch (23×33 cm) baking pan with parchment paper or grease it lightly. Set aside.
- In a large microwave-safe bowl, combine 3 tablespoons softened butter and 4 cups mini marshmallows. Microwave in 30-second bursts, stirring between each, until melted and smooth (about 2-3 minutes).
- Stir in 1 teaspoon vanilla extract and a pinch of salt into the melted marshmallow mixture.
- Divide 6 cups Rice Krispies cereal evenly into three medium bowls. Add 10-15 drops red food coloring to one bowl and fold gently to coat. Add 10-15 drops blue food coloring to a second bowl and fold gently. Leave the third bowl plain for the white layer.
- Pour about one-third of the melted marshmallow mixture into each colored cereal bowl, stirring quickly to coat all pieces without crushing the cereal.
- Press the red mixture evenly into the bottom of the prepared pan using a buttered spatula or wax paper. Next, gently add the white layer on top, pressing carefully to avoid mixing colors. Finally, add the blue layer, pressing firmly but gently to compact.
- Allow the bars to cool at room temperature for at least 30 minutes until firm. For quicker setting, refrigerate for 15-20 minutes.
- Lift the bars from the pan using the parchment paper edges. Cut into squares with a sharp knife, wiping the blade clean between cuts. Serve and enjoy.
Notes
Use gel food coloring for vibrant colors without thinning the mixture. Work quickly when mixing marshmallow mixture with cereal as it sets fast. Butter your spatula or hands lightly before pressing layers to avoid sticking. For gluten-free or dairy-free versions, use certified gluten-free Rice Krispies, vegan marshmallows, and substitute butter with coconut oil.
Nutrition
- Serving Size: 1 bar (approximate)
- Calories: 150
- Sugar: 15
- Sodium: 90
- Fat: 4
- Saturated Fat: 2.5
- Carbohydrates: 28
- Protein: 1
Keywords: no-bake, Rice Krispie treats, patriotic dessert, Fourth of July, red white and blue, easy dessert, summer party, kid-friendly