Love this? Save it for later!
Share the inspiration with your friends
I was digging through my pantry last Tuesday, looking for a snack that didn’t require turning on the oven, when I spotted a half-empty jar of honey staring back at me. The afternoon sun hit it just right, and for a split second, I was ten years old again, watching my aunt Helen drizzle honey over rolled oats in her tiny kitchen. She wasn’t one for complicated recipes—honestly, she thought measuring spoons were optional—but she made these no-bake granola bars that everyone begged her to bring to family picnics. I can still see the way she’d press the mixture into the pan with her bare hands, humming some old folk song I never learned the name of.
That memory hit me harder than I expected. Aunt Helen passed away a few years ago, and I realized I’d never actually made her granola bars myself. I mean, I’d thought about it plenty of times, but life gets busy, and you convince yourself you’ll get around to it later. Well, later finally arrived on that random Tuesday afternoon. I grabbed the oats, found some peanut butter, and started experimenting with what I had on hand. The first batch was a little too crumbly—okay, it fell apart completely—but the second attempt? That was the one. The texture was chewy but firm, and the honey-oat flavor was exactly what I’d been chasing all these years.
Maybe you’ve been there, standing in your kitchen with a craving for something simple and satisfying, but you don’t want to deal with a complicated recipe or a sink full of dishes. These no-bake granola bars are the answer to that very specific problem. They come together in about five minutes, require zero oven time, and taste like something you’d pay way too much for at a fancy café. Every time I make them now—which is embarrassingly often—I think of Aunt Helen’s humming and her sticky hands, and I smile.
Why You’ll Love This Recipe
Let me tell you why these no-bake granola bars have become my go-to snack for pretty much everything. I’ve tested this recipe at least a dozen times, tweaking the ratios until the texture was just right, and I can honestly say this version is the best one I’ve ever made. Here’s what makes it special:
- Quick & Easy: These come together in under five minutes of active prep time. No kidding. If you can stir and press, you can make these.
- Simple Ingredients: You probably already have everything in your pantry. Oats, honey, peanut butter, and a few extras—that’s it.
- Perfect for Busy Days: Great for grab-and-go breakfasts, post-workout snacks, or lunchbox treats. I’ve packed them for road trips and hiking, and they hold up beautifully.
- Crowd-Pleaser: Every time I bring these to a gathering, someone asks for the recipe. Kids love them, adults love them, and nobody guesses they’re this easy to make.
- Unbelievably Delicious: The combination of chewy oats, sweet honey, and creamy peanut butter is pure comfort food. You’ll close your eyes after the first bite—I promise.
What sets this recipe apart from other granola bar recipes online is the texture. I spent weeks figuring out how to get bars that are firm enough to hold their shape but still soft and chewy, not hard like a hockey puck. The secret is letting the mixture rest for a few minutes before pressing it into the pan, which allows the oats to absorb some of the moisture. It’s a small trick, but it makes all the difference.
These granola bars aren’t just good—they’re the kind of snack that makes you feel like you’ve got your life together. You know that feeling when you’ve prepared something wholesome for yourself or your family, and it took almost no effort? That’s exactly what this recipe delivers. It’s comfort food reimagined as a practical, everyday solution.
What Ingredients You Will Need
This recipe uses simple, wholesome ingredients to deliver bold flavor and satisfying texture without any fuss. Most of these are pantry staples, which means you can whip up a batch whenever the craving strikes.
- Rolled oats: 2 cups (180g). Use old-fashioned rolled oats, not instant oats. Rolled oats give the bars a chewy texture that holds up well. I’ve tried quick oats in a pinch, and the bars turned out mushier. Stick with rolled oats for the best results.
- Honey: ½ cup (170g). This is the main sweetener and binder. Use a good-quality honey—I prefer local raw honey for its flavor, but any honey works. If your honey is crystallized, warm it gently before using.
- Creamy peanut butter: ½ cup (130g). Natural peanut butter works, but make sure it’s well-stirred. I’ve had the best luck with processed peanut butter like Skippy or Jif for consistent texture. Avoid peanut butters that are too runny or separated.
- Unsalted butter: ¼ cup (57g). Adds richness and helps the bars hold together. You can substitute coconut oil for a dairy-free version, but the flavor will be slightly different.
- Brown sugar: ¼ cup (50g), packed. Adds depth of flavor and a bit of caramel-like sweetness. Light or dark brown sugar both work.
- Vanilla extract: 1 teaspoon (5ml). Enhances all the other flavors. Use pure vanilla extract if you have it.
- Salt: ¼ teaspoon. Balances the sweetness and brings out the oat flavor. Don’t skip it—even a tiny pinch makes a difference.
- Optional mix-ins: ½ cup total of any combination. I love using mini chocolate chips, dried cranberries, or chopped almonds. You can also add shredded coconut, sunflower seeds, or raisins.
For the peanut butter, I recommend using a brand that doesn’t have added sugar or oil if you want to control the sweetness. But honestly, I’ve used whatever I had on hand, and the bars always turn out great. If you’re allergic to peanuts, swap in almond butter or sunflower seed butter—just note that sunflower butter can turn green when combined with baking soda (which we aren’t using here, so you’re safe).
Equipment Needed
You don’t need fancy equipment for these no-bake granola bars, which is part of their charm. Here’s what you’ll need:
- Medium saucepan: For warming the honey, peanut butter, and butter together. Any saucepan works, but a non-stick one makes cleanup easier.
- Large mixing bowl: To combine the dry ingredients with the wet mixture. I use a standard stainless steel bowl, but any large bowl will do.
- 8×8-inch baking pan: This is the perfect size for bars that are about ¾-inch thick. If you only have a 9×9 pan, your bars will be thinner and might be slightly less sturdy.
- Parchment paper: Absolutely essential for easy removal. Line the pan with parchment paper, leaving some overhang on two sides to lift the bars out later. I’ve made the mistake of skipping parchment—never again.
- Spatula or wooden spoon: For stirring and pressing the mixture into the pan. A silicone spatula works great for scraping every last bit.
- Measuring cups and spoons: For accurate measurements. Baking is more forgiving than actual baking, but getting the ratios right matters.
- Sharp knife: For cutting the bars after they’ve chilled. A chef’s knife or a large serrated knife works well.
If you don’t have an 8×8 pan, you can use a 9×9 pan and just watch the thickness. You might also use a loaf pan for thicker bars, but you’ll need to adjust the chilling time slightly. I’ve used a glass baking dish before, and it worked fine—just make sure it’s well-lined with parchment.
Preparation Method
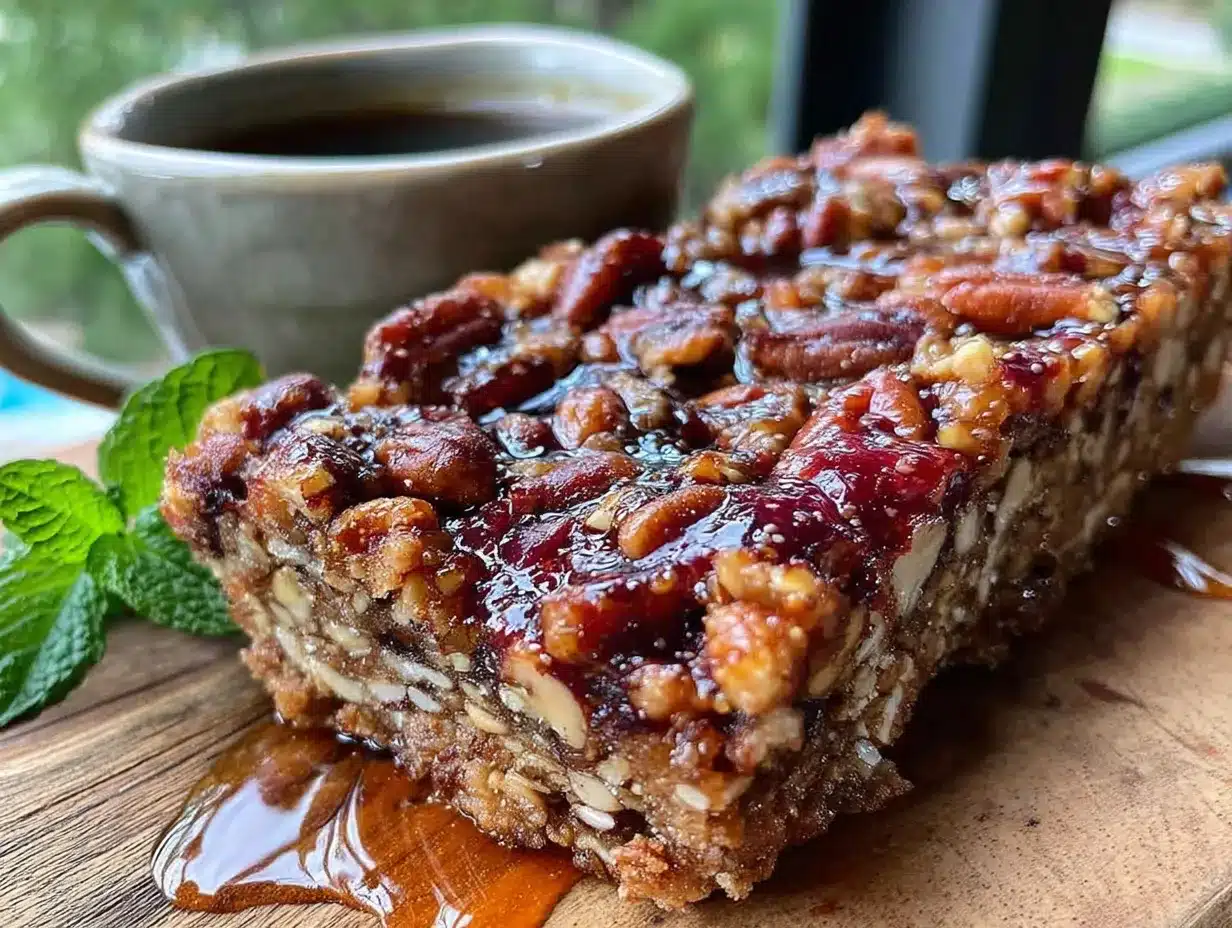
Follow these steps carefully, and you’ll have perfect no-bake granola bars every time. I’ve included all my little tricks and observations so you don’t have to learn them the hard way.
- Line your pan: Cut a piece of parchment paper to fit your 8×8-inch pan, leaving about 2 inches of overhang on two opposite sides. This creates handles that let you lift the entire block of bars out later. Press the parchment into the corners—I use a small glass to help it conform to the shape.
- Prepare your dry ingredients: In a large mixing bowl, combine 2 cups of rolled oats and your chosen mix-ins. If you’re using chocolate chips, wait to add them until after the wet mixture has cooled slightly, or they’ll melt into a mess. Trust me on this one—I learned the hard way.
- Warm the wet ingredients: In a medium saucepan over low heat, combine ½ cup honey, ½ cup peanut butter, ¼ cup unsalted butter, and ¼ cup packed brown sugar. Stir constantly with a spatula until everything is melted and smooth. This takes about 2-3 minutes. Don’t let it boil—you just want everything warm and combined.
- Add vanilla and salt: Remove the saucepan from heat and stir in 1 teaspoon vanilla extract and ¼ teaspoon salt. The mixture will be glossy and smell amazing at this point. Give it a quick taste—it should be sweet but balanced.
- Combine wet and dry: Pour the warm wet mixture over the oats and mix-ins. Stir thoroughly with your spatula until every oat is coated. The mixture will look a bit wet at first, but it will come together as you stir. Keep going until you don’t see any dry spots.
- Let it rest: Here’s the trick I mentioned earlier. Let the mixture sit in the bowl for 3-5 minutes. This allows the oats to absorb some of the liquid, which makes the bars chewier and less likely to crumble. I usually use this time to wash the saucepan—multitasking!
- Press into the pan: Transfer the mixture to your lined pan. Use your spatula to spread it evenly, then press down firmly. I use the bottom of a flat measuring cup or a glass to really compact it. The more you press, the better the bars will hold together. Don’t be shy—press hard.
- Chill: Place the pan in the refrigerator for at least 2 hours, or until the mixture is firm to the touch. If you’re in a hurry, you can pop it in the freezer for about 30 minutes, but the texture won’t be quite as even. Overnight chilling works great too.
- Cut and serve: Once firm, lift the entire block out using the parchment overhang. Place it on a cutting board and use a sharp knife to cut into 12 bars (3 rows by 4 rows). Wipe the knife clean between cuts for neater edges. I like to cut them slightly smaller for kids’ lunchboxes.
One thing I’ve noticed: if your kitchen is warm, the mixture might seem too soft even after chilling. That’s normal. Just give it another 30 minutes in the fridge, and it will set up perfectly.
Cooking Tips & Techniques
After making these no-bake granola bars more times than I can count, I’ve picked up a few tricks that make the process smoother and the results better. Here are my top tips:
Don’t overheat the wet mixture. I once got distracted and let the honey and peanut butter bubble on the stove for too long. The bars turned out hard and almost brittle. You just want everything melted and smooth—heat it gently and stir constantly.
Press firmly and evenly. This is the most common mistake I see. If you don’t press the mixture down hard enough, the bars will fall apart when you try to cut them. Use the bottom of a glass or a flat measuring cup to really compact everything. I press for about 30 seconds, focusing on the corners and edges.
Use room temperature ingredients. If your peanut butter or butter is cold from the fridge, it will take longer to melt and might not combine evenly. Let them sit out for 15-20 minutes before starting. It’s a small step that makes a big difference.
Cut with confidence. When you’re cutting the chilled bars, use a sharp knife and a single, smooth motion. Don’t saw back and forth—that creates crumbly edges. If the bars crack slightly, don’t worry. They’ll still taste amazing.
Adjust for humidity. On humid days, the bars might feel stickier and take longer to set. I add an extra ¼ cup of oats on humid days to compensate. On dry days, the bars set faster and are a bit firmer. Pay attention to your environment and adjust accordingly.
I once made a batch where I forgot the salt entirely, and the bars tasted flat and one-dimensional. That tiny pinch of salt really does make a difference—it brightens all the other flavors. Don’t skip it.
Variations & Adaptations
One of the best things about this recipe is how adaptable it is. I’ve experimented with countless variations, and here are some of my favorites:
- Chocolate Peanut Butter: Add ¼ cup mini chocolate chips after the wet mixture has cooled slightly. The chocolate stays in little pockets that melt in your mouth. My kids beg for this version every time.
- Cranberry Almond: Replace half the oats with chopped almonds and add ¼ cup dried cranberries. The tartness of the cranberries balances the sweetness beautifully. This is my go-to for holiday baking.
- Coconut Lime: Add ¼ cup shredded coconut and the zest of one lime. The citrus brightens everything up, and the coconut adds a tropical twist. Perfect for summer.
- Vegan Version: Substitute the butter with coconut oil and use maple syrup instead of honey. The texture will be slightly different—a bit more delicate—but still delicious. Make sure your chocolate chips are vegan-friendly if you add them.
- Nut-Free Version: Use sunflower seed butter instead of peanut butter. The flavor changes, but the bars still hold together well. Just don’t add baking soda—sunflower butter reacts with it and turns green.
I tried a version with pumpkin seeds and dried apricots once, and it was surprisingly good. The seeds added a nice crunch, and the apricots gave it a chewy, tangy pop. Don’t be afraid to experiment with whatever you have in your pantry.
Serving & Storage Suggestions
These no-bake granola bars are incredibly versatile when it comes to serving. I love them straight from the fridge on a warm morning—they’re refreshing and satisfying. At room temperature, they soften slightly and become more chewy, which is perfect for packing in lunchboxes or taking on hikes.
For a more indulgent treat, I sometimes drizzle a little melted dark chocolate over the top before chilling. It sets into a thin, crackly shell that makes these feel like a dessert. You can also crumble them over yogurt or ice cream for a quick topping.
Storage instructions: Store the bars in an airtight container in the refrigerator for up to 2 weeks. I layer them between sheets of parchment paper to prevent sticking. If you’re taking them on the go, they’ll hold up at room temperature for a day or two, but they’re best kept chilled.
Freezer instructions: These freeze beautifully. Wrap each bar individually in plastic wrap, then place them in a freezer-safe bag. They’ll keep for up to 3 months. To thaw, just let them sit at room temperature for 10-15 minutes, or eat them frozen—they’re like a chewy, cold treat.
One thing I’ve noticed: the flavors actually develop and deepen after a day or two in the fridge. The honey and peanut butter meld together, and the oats soften just slightly. I actually prefer them on day two or three. Just make sure they’re stored properly so they don’t dry out.
Nutritional Information & Benefits
Here’s the approximate nutritional breakdown for one bar (based on 12 servings, without optional mix-ins):
| Nutrient | Amount per Bar |
|---|---|
| Calories | 215 |
| Total Fat | 10g |
| Saturated Fat | 3.5g |
| Carbohydrates | 28g |
| Fiber | 2.5g |
| Sugar | 16g |
| Protein | 5g |
These bars offer a good balance of energy from complex carbohydrates (oats) and healthy fats (peanut butter). The oats provide beta-glucan, a type of soluble fiber that supports heart health and helps you feel full longer. Honey contains antioxidants and has natural antibacterial properties, though it’s still sugar, so moderation is key.
If you’re watching your sugar intake, you can reduce the honey to ⅓ cup and add an extra tablespoon of peanut butter to compensate. The bars will be less sweet but still satisfying. For a lower-fat option, use reduced-fat peanut butter, though the texture will be slightly less rich.
These bars are naturally vegetarian and can be made vegan with simple swaps. They contain peanuts and gluten (from oats), so they’re not suitable for those with allergies unless you use certified gluten-free oats and nut-free butter.
Frequently Asked Questions
Why did my granola bars fall apart?
This usually happens for one of two reasons: you didn’t press the mixture firmly enough into the pan, or you didn’t let the mixture rest before pressing. Make sure you’re really compacting the mixture—use the bottom of a glass and apply pressure for at least 30 seconds. Also, letting the mixture sit for 3-5 minutes after stirring allows the oats to absorb moisture, which helps bind everything together.
Can I use quick oats instead of rolled oats?
You can, but the texture will be different. Quick oats are more finely chopped, so they absorb liquid faster and create a softer, almost mushy bar. Rolled oats give you that classic chewy texture that holds its shape. If you only have quick oats, reduce the resting time to 1-2 minutes and expect a softer bar.
How long do these granola bars last?
Stored in an airtight container in the refrigerator, these bars will stay fresh for up to 2 weeks. In the freezer, they’ll keep for up to 3 months. I’ve never had a batch last that long, though—they disappear too quickly in my house!
Can I use almond butter instead of peanut butter?
Absolutely. Almond butter works well, though it has a slightly different flavor and texture. Natural almond butter can be more oily, so you might need to stir it thoroughly before measuring. The bars will be slightly less firm but still delicious.
My bars turned out too hard. What went wrong?
This usually happens when the wet mixture is overheated. If the honey and peanut butter mixture bubbles or boils, the sugars can crystallize and make the bars hard. Keep the heat low and stir constantly—you just want everything melted and smooth, not hot. Also, if you over-chill the bars (more than 4 hours), they can become very firm, but they’ll soften at room temperature.
Conclusion
These no-bake granola bars have become a staple in my kitchen for good reason. They’re quick, simple, and so satisfying—the kind of recipe that makes you feel like you’ve discovered a secret shortcut to homemade goodness. Every time I make them, I think about Aunt Helen and her sticky hands, and I’m grateful for that random Tuesday afternoon that brought this recipe back into my life.
I hope you give these bars a try and make them your own. Add your favorite mix-ins, adjust the sweetness to your taste, and don’t be afraid to experiment. That’s the beauty of a simple recipe—it leaves room for your personal touch. Let me know in the comments how yours turn out! What mix-ins did you use? Did you discover a new favorite combination? I’d love to hear about your creations.
Happy snacking, friends. You’ve got this.
Pin This Recipe!
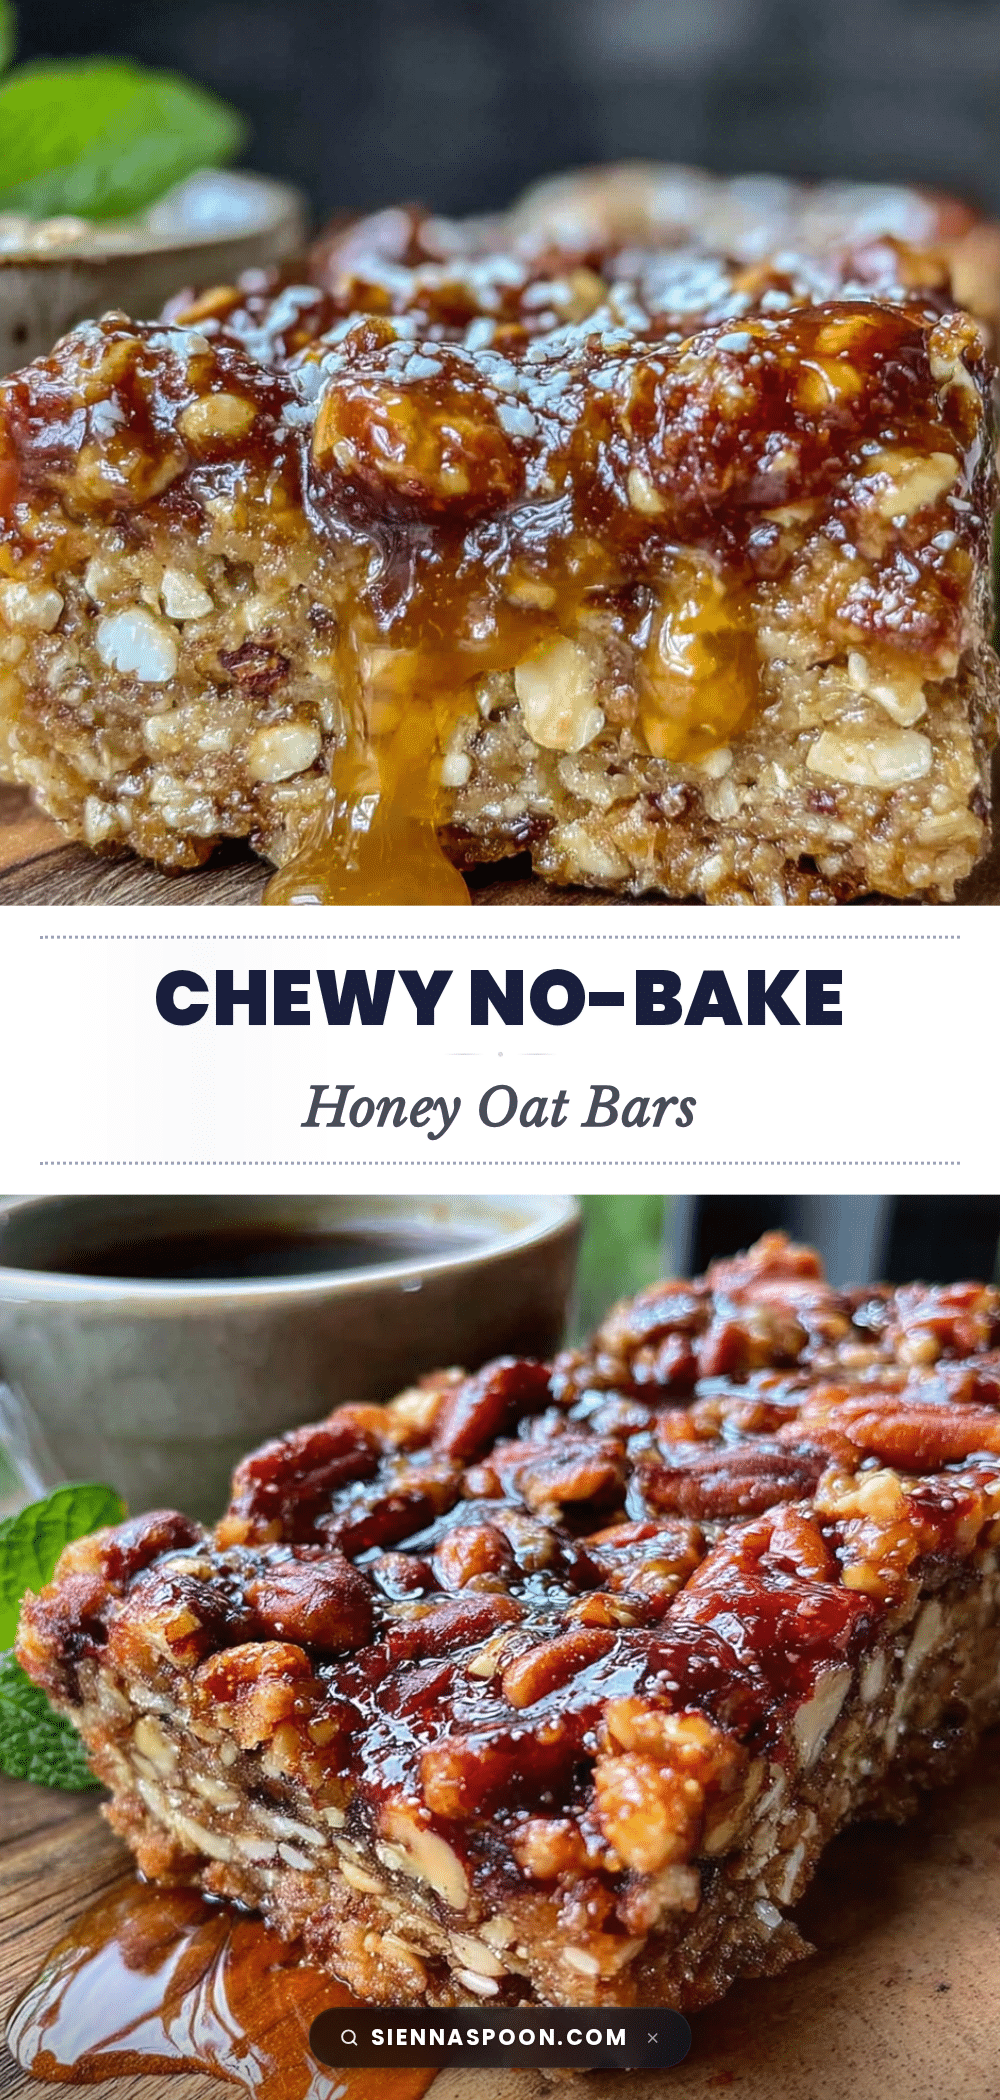
Easy No-Bake Granola Bars: Best 5-Minute Honey Oat Treat
These no-bake granola bars come together in about five minutes with simple pantry ingredients. They’re chewy, satisfying, and perfect for grab-and-go breakfasts, post-workout snacks, or lunchbox treats.
- Prep Time: 5 minutes
- Cook Time: 0 minutes
- Total Time: 2 hours 5 minutes (includes chilling)
- Yield: 12 servings 1x
- Category: Snack
- Cuisine: American
Ingredients
- 2 cups (180g) rolled oats
- ½ cup (170g) honey
- ½ cup (130g) creamy peanut butter
- ¼ cup (57g) unsalted butter
- ¼ cup (50g) packed brown sugar
- 1 teaspoon (5ml) vanilla extract
- ¼ teaspoon salt
- ½ cup total optional mix-ins (e.g., mini chocolate chips, dried cranberries, chopped almonds)
Instructions
- Line an 8×8-inch baking pan with parchment paper, leaving about 2 inches of overhang on two opposite sides.
- In a large mixing bowl, combine 2 cups rolled oats and your chosen mix-ins. If using chocolate chips, wait to add them until after the wet mixture has cooled slightly.
- In a medium saucepan over low heat, combine honey, peanut butter, unsalted butter, and brown sugar. Stir constantly until melted and smooth, about 2-3 minutes. Do not let it boil.
- Remove saucepan from heat and stir in vanilla extract and salt.
- Pour the warm wet mixture over the oats and mix-ins. Stir thoroughly until every oat is coated.
- Let the mixture rest in the bowl for 3-5 minutes to allow oats to absorb moisture.
- Transfer mixture to the lined pan. Spread evenly and press down firmly using a flat measuring cup or glass. Press hard to compact.
- Refrigerate for at least 2 hours, or until firm. For quicker results, freeze for about 30 minutes.
- Once firm, lift the block out using parchment overhang. Place on a cutting board and cut into 12 bars (3 rows by 4 rows) with a sharp knife.
Notes
Let the mixture rest for 3-5 minutes before pressing into the pan to allow oats to absorb moisture, resulting in chewier bars. Press firmly to prevent crumbling. For vegan version, substitute butter with coconut oil and honey with maple syrup. For nut-free version, use sunflower seed butter.
Nutrition
- Serving Size: 1 bar
- Calories: 215
- Sugar: 16
- Sodium: 85
- Fat: 10
- Saturated Fat: 3.5
- Carbohydrates: 28
- Fiber: 2.5
- Protein: 5
Keywords: no-bake granola bars, honey oat treats, easy snack, healthy snack, peanut butter granola bars


