Love this? Save it for later!
Share the inspiration with your friends
My brother-in-law Mark had claimed to hate cooked carrots for as long as I’d known him. Fifteen years. The man would eat raw carrots by the handful—crunchy, cold, straight from the bag—but the moment they hit heat, he’d push his plate away with this look of genuine betrayal. “They get all floppy and sweet,” he’d say, like that was a bad thing. Then last Thanksgiving, I made these maple glazed carrots with thyme just for myself, figuring everyone else could have the green bean casserole. I set the dish down at the far end of the table, near the cranberry sauce where nobody would notice.
Halfway through dinner, I looked up and saw Mark’s fork hovering over the carrot dish. He speared one, dipped it in the glaze pooling at the bottom, and took a bite. Then another. Then he actually reached across his wife to grab the dish and pulled it closer. “Okay,” he said, with his mouth half-full, “these are different.” I just nodded and took a sip of my wine, trying not to look too pleased with myself.
Honestly, that moment summed up everything I love about this recipe. It’s not trying to trick anyone—it’s just carrots roasted until tender, then finished on the stovetop with real maple syrup and fresh thyme until the glaze turns glossy and the edges get this perfect caramelized stickiness. The thyme cuts through the sweetness just enough to keep things interesting, and the whole thing comes together in under thirty minutes. Maybe you’ve had mushy, sad glazed carrots before—the kind that taste like sugar syrup on limp vegetables. This is not that. This is the dish that changes minds.
I’ve made these maple glazed carrots for holiday dinners, Sunday roasts, and random Tuesday nights when I needed something that felt special without much effort. They’ve become my go-to fall side dish, the one I bring to Friendsgiving when I want to impress without showing off. And every single time, someone who thought they didn’t like cooked carrots ends up asking for the recipe. Mark still won’t admit he was wrong, by the way. But I catch him stealing leftovers from the fridge, and that’s proof enough for me.
Why You’ll Love This Recipe
These maple glazed carrots with thyme aren’t just another side dish—they’re the kind of recipe that makes people ask, “What did you do to these carrots?” I’ve tested this version more times than I can count, tweaking the glaze ratio and roasting time until everything hit that perfect balance of tender, caramelized, and just barely sweet.
- Quick & Easy: From start to finish, you’re looking at about 25 minutes. No complicated techniques, no special equipment—just a sheet pan and a skillet.
- Simple Ingredients: Carrots, maple syrup, butter, fresh thyme, salt, and pepper. That’s it. You probably have most of these in your kitchen right now.
- Perfect for Fall Gatherings: This dish belongs on your Thanksgiving table, your Friendsgiving spread, or alongside a cozy Sunday pot roast. It’s the side dish that steals the show without trying.
- Crowd-Pleaser: I’ve served these to kids who “don’t eat vegetables” and adults with sophisticated palates—everyone cleans their plate. Even the carrot skeptics.
- Unbelievably Delicious: The magic happens when the maple syrup reduces into a sticky glaze that coats every carrot, while the fresh thyme adds this earthy, almost floral note that keeps each bite interesting.
What makes this recipe different from the dozens of other glazed carrot recipes out there? It’s the two-step cooking method. Roasting first concentrates the natural sweetness and gives you those gorgeous caramelized edges, then finishing on the stovetop lets the glaze thicken and cling to every piece. Most recipes skip the roasting step or try to do everything in one pan, and you end up with watery, unevenly cooked carrots. This version guarantees perfect results every single time.
There’s something about the combination of sweet maple and savory thyme that feels like comfort food reimagined—healthier than you’d expect, faster than you’d believe, but with the same soul-soothing satisfaction as your grandmother’s best side dish. It’s perfect for impressing guests without stress, or turning a simple weeknight dinner into something that feels like an occasion.
What Ingredients You Will Need
This recipe uses simple, wholesome ingredients to deliver bold flavor and satisfying texture without the fuss. Most of these are pantry staples, especially during the fall months when maple syrup and fresh herbs are everywhere.
- Carrots (1½ pounds / about 680 grams) – Look for medium-sized carrots, about the same thickness so they cook evenly. I prefer regular orange carrots for their sweetness, but rainbow carrots work beautifully too if you want a more colorful presentation. Peel them, then cut them on a slight diagonal into pieces about 2-3 inches long and ½ inch thick. If your carrots are very thick, halve or quarter them lengthwise so they’re all roughly the same size.
- Pure Maple Syrup (¼ cup / 60 ml) – This is non-negotiable. Please use real maple syrup, not pancake syrup or flavored corn syrup. The real stuff has a complex, woodsy sweetness that reduces into a proper glaze. Grade A dark amber is my personal favorite for this recipe—it has a more robust flavor that stands up to the thyme. I’ve tested this with cheaper syrups, and the result is thin, cloying, and frankly disappointing.
- Unsalted Butter (3 tablespoons / 42 grams) – Butter adds richness and helps the glaze cling to the carrots. I use unsalted so I can control the salt level, but if you only have salted butter, just reduce the added salt by about ¼ teaspoon. For a dairy-free version, good-quality vegan butter works surprisingly well here.
- Fresh Thyme (1 tablespoon leaves, plus sprigs for garnish) – Fresh thyme is essential. Dried thyme just doesn’t have the same bright, aromatic quality, and it can turn slightly bitter when cooked. Run your fingers down the stems to strip off the leaves—they’ll fall right off. I buy those little plastic containers of fresh thyme from the produce section, and one package gives you exactly what you need.
- Kosher Salt (½ teaspoon, or to taste) – I use Diamond Crystal kosher salt. If you’re using table salt or a finer grind, start with ¼ teaspoon and adjust from there. Salt is crucial here—it balances the sweetness of the maple syrup and brings out the carrots’ natural flavor.
- Black Pepper (¼ teaspoon, freshly ground) – Freshly ground pepper adds a subtle warmth that complements both the maple and the thyme. Skip the pre-ground stuff if you can—it makes a real difference.
- Optional: Pinch of Red Pepper Flakes – This is my little secret. A tiny pinch of red pepper flakes added with the thyme gives the glaze a gentle warmth that nobody will quite identify, but everyone will notice. It’s not spicy—just enough to make the flavors pop.
For the best texture, I recommend using carrots that are firm and not at all rubbery or limp. Fresh carrots have a snappy texture when you bend them, and they should smell clean and earthy, not musty. If your carrots come with their tops still attached, those greens are a sign of freshness—plus you can use them as a garnish if you’re feeling fancy.
One substitution note: if you’re out of fresh thyme, you can use about 1 teaspoon of dried thyme, but add it during the roasting step rather than at the end. The dried herb needs more time to rehydrate and release its flavor. Just know that the final dish won’t have quite the same bright, fresh finish.
Equipment Needed
You don’t need a fancy kitchen to make these maple glazed carrots with thyme. Here’s what you’ll need:
- Baking Sheet – A rimmed baking sheet works best to catch any juices that might release during roasting. I use a half-sheet pan (about 18×13 inches) for even heat distribution. If you don’t have one, any oven-safe pan with sides will work.
- Parchment Paper – Not strictly necessary, but it makes cleanup so much easier. The caramelized maple syrup can stick to the pan, and parchment prevents that headache. Plus, it helps the carrots brown without burning on the bottom.
- Large Skillet – You’ll need a skillet large enough to hold all the carrots in a single layer for the final glazing step. A 12-inch skillet is perfect. Non-stick works great here, but stainless steel or cast iron also works—just be prepared to stir a bit more to prevent sticking.
- Chef’s Knife and Cutting Board – For peeling and cutting the carrots. A good sharp knife makes the job so much easier. I learned that lesson the hard way after struggling with a dull blade for years.
- Vegetable Peeler – A simple Y-shaped peeler is my favorite—it’s faster and more comfortable than the straight kind.
- Measuring Spoons and Cups – For measuring the maple syrup, butter, and seasonings. I keep a set of liquid measuring cups for the syrup specifically.
If you don’t have a baking sheet, you can roast the carrots in a cast-iron skillet or even a casserole dish—just keep an eye on them, as different materials conduct heat differently. And if you don’t have parchment paper, you can lightly grease your baking sheet with oil or butter instead.
Preparation Method
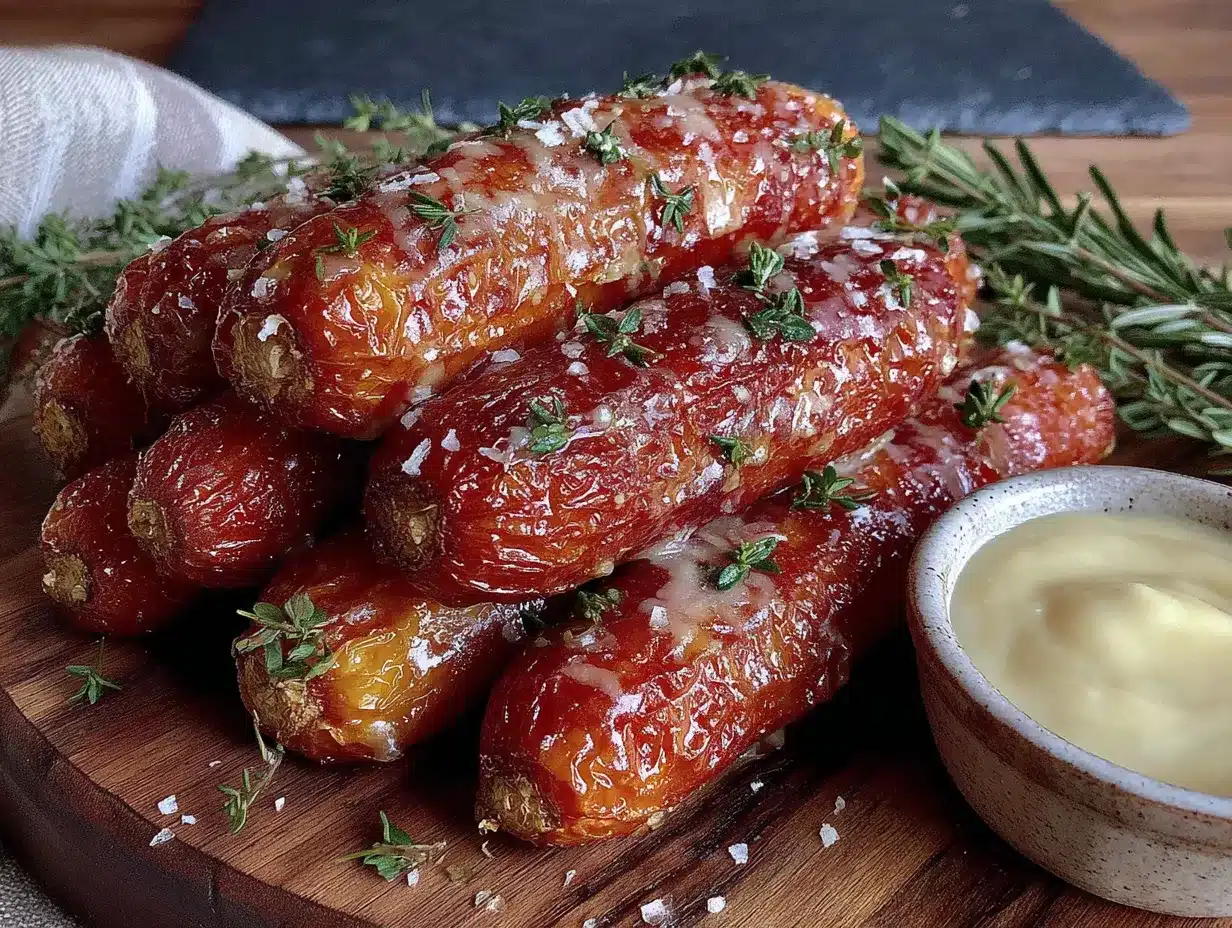
Let me walk you through this step by step. I’ve made these maple glazed carrots with thyme dozens of times, and these are the exact methods that produce perfect results every single time.
Step 1: Preheat and Prep
Preheat your oven to 425°F (220°C). Line a rimmed baking sheet with parchment paper. While the oven heats, peel your carrots and cut them on a diagonal into pieces about 2-3 inches long and ½ inch thick. Try to keep them uniform in size—this is the most important thing for even cooking. If some pieces are much thicker than others, they’ll either be undercooked or overcooked, and nobody wants a mix of crunchy and mushy carrots on their plate.
Step 2: First Roast
Spread the cut carrots in a single layer on your prepared baking sheet. Drizzle with 1 tablespoon of melted butter (save the rest for later) and sprinkle with ¼ teaspoon of salt. Toss everything with your hands to coat evenly. Roast for 15 minutes, giving the pan a good shake halfway through. The carrots should be starting to soften and getting some golden-brown spots on the edges. They’ll look a bit wrinkled in places—that’s exactly what you want.
Step 3: Make the Glaze
While the carrots are roasting, make the glaze. In a small bowl, whisk together ¼ cup of maple syrup, the remaining 2 tablespoons of melted butter, 1 tablespoon of fresh thyme leaves, ¼ teaspoon of black pepper, and a pinch of red pepper flakes if you’re using them. Set this aside. The butter might start to solidify if your kitchen is cold—just give it another whisk right before you use it.
Step 4: Glaze and Finish
When the carrots come out of the oven, transfer them to a large skillet over medium heat. Pour the maple-thyme glaze over the top and toss to coat every piece. Cook for 3-5 minutes, stirring frequently, until the glaze has thickened and reduced into a sticky coating that clings to each carrot. You’ll know it’s ready when the glaze looks glossy and almost syrupy, and it coats the back of a spoon. The carrots should be tender when pierced with a fork but still hold their shape—not falling apart.
Step 5: Season and Serve
Remove the skillet from heat. Taste a carrot and adjust seasoning—you might want another pinch of salt or a crack more pepper. Transfer to a serving dish, spoon any remaining glaze from the pan over the top, and garnish with fresh thyme sprigs. Serve immediately while they’re still warm and the glaze is at its glossiest.
A few things to watch for: If your glaze starts to get too thick before the carrots are fully tender, add a tablespoon of water to thin it out. If the carrots are done but the glaze is still thin, let it cook another minute or two—it will thicken quickly once it starts reducing. And don’t walk away during the stovetop step; this goes from perfectly glazed to burnt in about thirty seconds if you’re not paying attention. Trust me, I’ve had to scrape a ruined batch out of my skillet before, and it’s a sad sight.
Cooking Tips & Techniques
After making these maple glazed carrots with thyme more times than I can count, I’ve picked up a few tricks that make a real difference. Here are the ones I wish someone had told me from the start.
Don’t overcrowd the pan. Whether you’re roasting or glazing, the carrots need space. If they’re piled on top of each other, they’ll steam instead of caramelizing, and you’ll lose that gorgeous golden-brown color. If your baking sheet is too small, use two sheets and rotate them halfway through.
Cut on the bias. Cutting your carrots on a diagonal (at about a 45-degree angle) exposes more surface area, which means more caramelization. It also looks prettier—those elegant, elongated pieces feel more special than plain rounds.
The glaze will seize up if you’re not careful. Maple syrup and butter can go from perfect to a sticky, crystallized mess if you overheat them. Keep the heat at medium, not high, and stir constantly. If you see the glaze starting to bubble aggressively or smell like it’s burning, pull the pan off the heat immediately and stir in a splash of water to cool it down.
Make extra glaze if you’re feeding a crowd. The recipe as written gives you just enough to coat the carrots beautifully, but if you’re doubling the batch, increase the glaze by 1.5 times rather than doubling it. Otherwise, you’ll end up with too much liquid and the carrots will be swimming instead of glazed.
Timing is everything. I like to roast the carrots while I’m finishing up the main dish, then do the stovetop glazing right before serving. The glaze stays glossy for about 10-15 minutes, so this isn’t a dish you want to make an hour ahead. If you need to prep in advance, you can roast the carrots up to a day ahead and keep them in the fridge, then finish the glazing step just before serving.
One mistake I made early on: I used to add the thyme at the very beginning, during the roasting step. The leaves would burn and turn bitter, leaving a weird, almost medicinal taste. Adding fresh thyme during the stovetop glazing step keeps it bright and aromatic. If you want to infuse more thyme flavor, you can also add a few whole sprigs to the roasting pan and remove them before glazing.
Variations & Adaptations
One of the best things about this recipe is how easy it is to adapt. Here are some variations I’ve tried and loved.
Maple-Balsamic Glazed Carrots: Swap 1 tablespoon of the maple syrup for balsamic vinegar. The acidity cuts through the sweetness and adds a deeper, more complex flavor. This version is especially good alongside roasted meats like pork loin or roast chicken.
Honey-Thyme Carrots: Replace the maple syrup with honey for a slightly different sweetness profile. Honey is floral and a bit more delicate than maple, so the thyme really shines through. Just be careful—honey burns more easily than maple syrup, so keep the heat on the lower side.
Spicy Maple Carrots: Increase the red pepper flakes to ¼ teaspoon and add a small minced garlic clove to the glaze. The heat builds gradually and plays beautifully against the sweet maple. This is my personal favorite for fall dinners when I want something with a little kick.
Herb Variations: Not a thyme fan? Try fresh rosemary (finely minced—it’s strong) or sage leaves (whole, then removed before serving). Both pair wonderfully with maple. I’ve also done a version with fresh tarragon that was unexpectedly lovely, though tarragon is divisive, so know your audience.
Roasted Root Vegetable Medley: Add parsnips, sweet potatoes, or even chunks of butternut squash to the roasting pan. Just make sure everything is cut to roughly the same size so it cooks evenly. The maple glaze works beautifully with any fall vegetable.
Air Fryer Method: If you’re short on time, you can make these in the air fryer. Toss the carrots with the butter and salt, then air fry at 375°F (190°C) for 10-12 minutes, shaking halfway through. Transfer to a skillet for the glazing step as usual. The air fryer gives you even more caramelization in less time.
For a vegan version, use plant-based butter or coconut oil. I’ve tested this with both, and coconut oil actually adds a lovely subtle flavor that complements the maple. Just make sure your maple syrup is pure—most are naturally vegan, but it’s worth checking.
Serving & Storage Suggestions
These maple glazed carrots with thyme are best served warm, straight from the skillet, when the glaze is at its glossiest and the carrots are still tender but holding their shape. I like to transfer them to a shallow serving dish and spoon any extra glaze from the pan over the top. A few fresh thyme sprigs scattered across the dish adds a beautiful pop of green.
They pair beautifully with just about any fall or winter main dish. Roast chicken, turkey, pork tenderloin, beef pot roast—these carrots are the perfect companion. I’ve also served them alongside a simple pan-seared salmon for a lighter dinner, and the combination was surprisingly wonderful. For a vegetarian meal, they’re lovely with a hearty grain bowl or alongside a mushroom wellington.
If you’re planning a big holiday meal, here’s my strategy: roast the carrots up to a day ahead, let them cool completely, and store them in an airtight container in the refrigerator. On serving day, reheat them in a skillet over medium heat with the glaze ingredients, and finish as directed. The carrots will be even more flavorful because they’ve had time to absorb the seasonings.
For storage, leftover glazed carrots keep well in the refrigerator for up to 4 days. The glaze will thicken and become more jelly-like as it cools, but that’s normal. To reheat, warm them gently in a skillet with a splash of water or maple syrup to loosen the glaze. I don’t recommend microwaving—it makes the carrots rubbery and unevenly heated.
These carrots also freeze surprisingly well. Let them cool completely, then transfer to a freezer-safe container. They’ll keep for up to 3 months. Thaw overnight in the refrigerator, then reheat in a skillet. The texture won’t be quite as perfect as fresh—the carrots will be a bit softer—but the flavor is still excellent.
One thing I’ve noticed: the flavors continue to develop overnight. Leftover glazed carrots often taste even better the next day, when the maple and thyme have had time to meld together. I’ve been known to make an extra batch just for leftovers.
Nutritional Information & Benefits
These maple glazed carrots with thyme aren’t just delicious—they’re actually pretty good for you. Here’s a rough breakdown per serving (about ⅙ of the recipe):
- Calories: ~165
- Fat: 6g
- Saturated Fat: 3.5g
- Carbohydrates: 28g
- Fiber: 4g
- Sugar: 18g (mostly from natural carrot sugars and maple syrup)
- Protein: 2g
- Sodium: 210mg
- Vitamin A: 340% of the Daily Value
Carrots are packed with beta-carotene, which your body converts into vitamin A—essential for eye health, immune function, and healthy skin. The fiber content helps with digestion and keeps you feeling full. Maple syrup, while still a sugar, contains antioxidants and minerals like zinc and manganese that refined sugar lacks. And fresh thyme is rich in vitamin C and has antimicrobial properties.
For dietary considerations: This recipe is naturally gluten-free and nut-free. To make it vegan, substitute the butter with plant-based butter or coconut oil. For a lower-sugar version, reduce the maple syrup to 2 tablespoons and add an extra tablespoon of butter—the carrots will still be sweet, just less intensely glazed.
I’m not a nutritionist, but I do believe that food should nourish both body and soul. These carrots hit that sweet spot—they feel indulgent and special, but they’re made from whole, real ingredients that you can feel good about serving to your family.
Conclusion
These maple glazed carrots with thyme have become my most-requested side dish, and it’s easy to see why. They’re simple enough for a Tuesday night but elegant enough for Thanksgiving. The combination of sweet maple syrup and earthy fresh thyme creates something that feels both familiar and special, like comfort food dressed up for company.
What I love most about this recipe is how adaptable it is. Make it exactly as written, or tweak it to suit your taste—add more thyme, swap in honey, throw in some red pepper flakes. The basic technique is forgiving and reliable, and the results are consistently delicious. Plus, it’s the kind of dish that makes people look at carrots differently. I’ve seen it happen at my own table, and I bet you’ll see it at yours too.
I’d love to hear how these turn out for you. Did you try a variation? Serve them for a holiday dinner? Convert a carrot skeptic in your own life? Drop a comment below and let me know—I read every single one, and your stories and tweaks inspire me to keep experimenting in the kitchen.
Now go grab some carrots and a bottle of real maple syrup. Your fall table is waiting.
Frequently Asked Questions
Can I make these maple glazed carrots ahead of time?
Yes! You can roast the carrots up to a day ahead and store them in the fridge. When you’re ready to serve, finish them in the skillet with the glaze. The flavors actually deepen overnight, so they might taste even better.
Can I use baby carrots instead of whole carrots?
Absolutely. Baby carrots are convenient and cook faster. Just skip the peeling and cutting step, and reduce the roasting time by about 5 minutes. They won’t have the same elegant look, but they’ll taste just as good.
What if I don’t have fresh thyme?
Dried thyme works in a pinch—use about 1 teaspoon. Add it during the roasting step rather than at the end so it has time to rehydrate. The flavor won’t be quite as bright, but it’s still delicious. You could also try dried rosemary or sage as alternatives.
How do I prevent the glaze from burning?
Keep the heat at medium and stir constantly during the stovetop glazing step. The glaze can go from perfect to burnt in seconds. If you see it starting to smoke or smell caramelized in a concerning way, pull the pan off the heat and add a splash of water to cool it down.
Can I double this recipe for a crowd?
Yes, but use two baking sheets for the roasting step to avoid overcrowding. For the glaze, multiply the ingredients by 1.5 rather than doubling—otherwise, you’ll have too much liquid and the carrots will be swimming. You may also need to work in batches for the stovetop glazing if your skillet isn’t large enough.
Pin This Recipe!
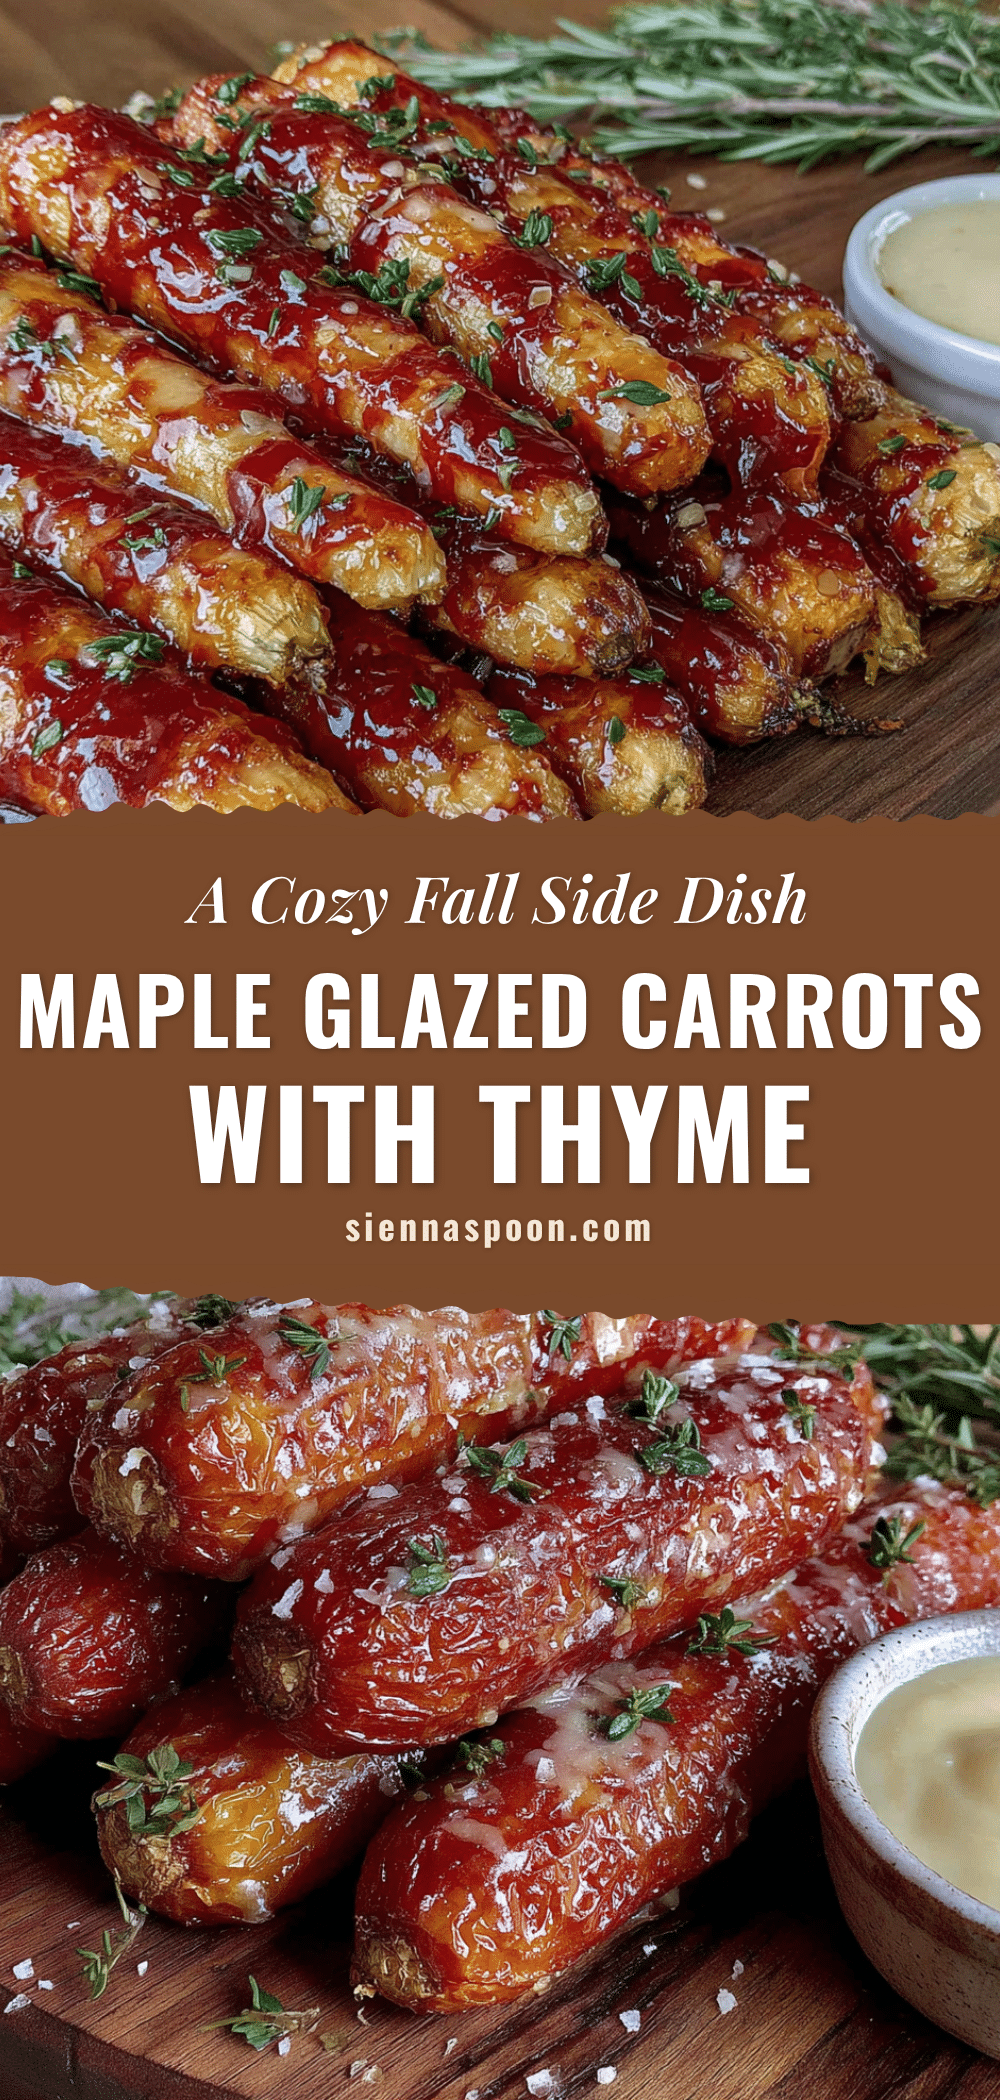
Easy Maple Glazed Carrots with Thyme: Best Fall Side Dish

These maple glazed carrots with thyme are roasted until tender, then finished on the stovetop with real maple syrup and fresh thyme until the glaze turns glossy and the edges get perfectly caramelized. A quick and easy side dish that changes minds about cooked carrots.
- Prep Time: 10 minutes
- Cook Time: 20 minutes
- Total Time: 30 minutes
- Yield: 6 servings 1x
- Category: Side Dish
- Cuisine: American
Ingredients
- 1½ pounds (about 680 grams) carrots, peeled and cut on diagonal into 2-3 inch pieces, ½ inch thick
- ¼ cup (60 ml) pure maple syrup
- 3 tablespoons (42 grams) unsalted butter, melted and divided
- 1 tablespoon fresh thyme leaves, plus sprigs for garnish
- ½ teaspoon kosher salt (or to taste)
- ¼ teaspoon freshly ground black pepper
- Optional: pinch of red pepper flakes
Instructions
- Preheat oven to 425°F (220°C). Line a rimmed baking sheet with parchment paper.
- Spread cut carrots in a single layer on prepared baking sheet. Drizzle with 1 tablespoon melted butter and sprinkle with ¼ teaspoon salt. Toss to coat evenly.
- Roast for 15 minutes, shaking the pan halfway through, until carrots are starting to soften and have golden-brown spots.
- While carrots roast, make the glaze: In a small bowl, whisk together maple syrup, remaining 2 tablespoons melted butter, fresh thyme leaves, black pepper, and optional red pepper flakes.
- Transfer roasted carrots to a large skillet over medium heat. Pour glaze over carrots and toss to coat. Cook for 3-5 minutes, stirring frequently, until glaze thickens and becomes glossy and sticky.
- Remove from heat. Taste and adjust seasoning with additional salt or pepper if needed. Transfer to serving dish, spoon remaining glaze over top, and garnish with fresh thyme sprigs. Serve immediately.
Notes
For best results, cut carrots uniformly for even cooking. Do not overcrowd the pan. Keep heat at medium during stovetop glazing to prevent burning. The glaze will thicken quickly; stir constantly. Can be made ahead: roast carrots up to a day in advance, then finish glazing just before serving. Leftovers keep in refrigerator for up to 4 days or freeze for up to 3 months.
Nutrition
- Serving Size: 1/6 of recipe
- Calories: 165
- Sugar: 18
- Sodium: 210
- Fat: 6
- Saturated Fat: 3.5
- Carbohydrates: 28
- Fiber: 4
- Protein: 2
Keywords: maple glazed carrots, roasted carrots, fall side dish, Thanksgiving side, easy carrot recipe, thyme carrots, gluten-free side dish


