Love this? Save it for later!
Share the inspiration with your friends
My friend Dana asked why I couldn’t just throw the filling into smaller tortillas and freeze them all at once. I started to explain why that wouldn’t work—then stopped. Honestly, I had no good reason. I just assumed freezer meals meant big batches of lasagna or gallon bags of soup. The idea of mini freezer-friendly quesadillas felt almost too simple, like cheating somehow. But Dana has this way of looking at cooking without all the rules I’ve built up over the years. She just sees what makes sense.
So I tried it. I pulled out a package of small flour tortillas, some leftover chicken from Tuesday night’s dinner, and a bag of frozen mixed veggies I’d been ignoring. I figured the worst that could happen was a soggy mess, and I’d get to say “I told you so.” Instead, what came out of the freezer two weeks later was genuinely good—crispy on the outside, warm and melty on the inside, and ready in about four minutes flat. I mean, I was annoyed at how well it worked. Let me tell you, eating crow has never tasted so much like melted cheese.
These mini chicken and veggie quesadillas have become my secret weapon for chaotic weeknights. You know that feeling when everyone’s hungry at different times and you just need something that works without a production? This is it. I keep a stack in the freezer at all times now, and honestly, they’ve saved dinner more times than I can count. Maybe you’ve been there—staring into the fridge at 5:45 with no plan and a hangry family. These little guys are the answer you didn’t know you needed.
Why You’ll Love This Recipe
I’ve tested this recipe about seven times to get it just right. The first batch was too dry. The second had too much veggie moisture that made the tortillas sad and limp. But by batch four, I hit the sweet spot—and I’m sharing every lesson I learned so you don’t have to repeat my mistakes.
- Quick & Easy: From start to finish, these come together in about 25 minutes. Assembly takes maybe 10 minutes once your filling is prepped. Perfect for meal prep Sunday or a lazy afternoon.
- Simple Ingredients: You likely have most of this in your kitchen right now. Chicken, cheese, tortillas, frozen veggies. No trips to a specialty store required.
- Perfect for Busy Families: These are great for after-school snacks, quick lunches, or those nights when everyone eats at different times. Just grab what you need from the freezer.
- Crowd-Pleaser: Kids love the mini size, and adults appreciate the veggie-packed filling. I’ve yet to meet someone who doesn’t go back for seconds.
- Unbelievably Convenient: The texture stays surprisingly perfect after freezing. The tortillas crisp up beautifully, and the filling stays flavorful and moist without getting soggy.
What makes this recipe different from other freezer quesadillas is the technique. I pre-cook the veggies just enough to remove excess moisture, and I use a specific cheese-to-filling ratio that prevents sogginess during freezing. This isn’t just another version of freezer quesadillas—it’s the version that actually works. The one that comes out of the freezer tasting like you just made it fresh.
What Ingredients You Will Need
This recipe relies on simple, pantry-friendly ingredients that come together to create something genuinely satisfying. Most of these items are probably already in your kitchen, which makes this perfect for those weeks when you’re trying to use up what you have.
- Cooked Chicken, Shredded: About 2 cups. Rotisserie chicken works beautifully here. Leftover grilled chicken is also great. You can even use canned chicken in a pinch—just drain it well first.
- Frozen Mixed Vegetables: 1 cup. Look for a blend with corn, peas, carrots, and green beans. No need to thaw them first—they’ll cook right in the pan. I prefer the Birds Eye brand for consistent size and texture.
- Shredded Cheese: 2 cups. A Mexican blend or Monterey Jack works wonderfully. Avoid pre-shredded cheese if you can—it has anti-caking agents that don’t melt as smoothly. Shred your own block for the best results.
- Small Flour Tortillas: 12 tortillas. Look for fajita-size or street taco size, about 6 inches across. Corn tortillas work too, but they’re more likely to crack when folding. Flour holds up better to freezing.
- Onion, Diced: 1/2 cup. Yellow or white onion adds savory depth. Red onion works too but gives a slightly sharper flavor.
- Garlic, Minced: 2 cloves. Fresh is best, but jarred minced garlic works in a pinch. Garlic powder (1/2 teaspoon) can substitute if that’s what you have.
- Cumin: 1 teaspoon. This adds that warm, earthy flavor that makes quesadillas taste authentic. Don’t skip it if you can help it.
- Chili Powder: 1/2 teaspoon. Use mild or medium depending on your heat preference. Smoked paprika makes a nice substitute if you’re out of chili powder.
- Salt and Pepper: To taste. Start with 1/2 teaspoon salt and 1/4 teaspoon pepper, then adjust.
- Olive Oil: 1 tablespoon. For cooking the veggies. Avocado oil works too and has a higher smoke point.
- Optional Add-ins: A can of drained and rinsed black beans, a handful of fresh spinach, or some diced bell peppers all make great additions. I sometimes add a squeeze of lime juice for brightness.
Equipment Needed
You don’t need anything fancy here, which is part of the beauty of this recipe. Here’s what you’ll need:
- Large Skillet or Frying Pan: A 10-inch nonstick skillet is ideal for cooking the veggie filling. Cast iron works too, just watch the heat.
- Spatula: A good flexible spatula helps with flipping the mini quesadillas without losing the filling. I prefer a thin metal one for crispiest results.
- Cutting Board and Knife: For dicing the onion and mincing garlic. A sharp chef’s knife makes this go faster.
- Measuring Cups and Spoons: For accurate ingredient portions. I’ve learned the hard way that eyeballing cumin leads to disaster.
- Baking Sheet: For flash-freezing the assembled quesadillas before bagging them. A sheet that fits in your freezer is key.
- Parchment Paper or Wax Paper: To line the baking sheet so the quesadillas don’t stick during flash freezing.
- Freezer-Safe Bags or Containers: Quart-size zip-top bags work perfectly. Squeeze out as much air as possible before sealing.
- Paper Towels: For pressing moisture out of the cooked veggies. This step matters more than you think.
If you don’t have a baking sheet large enough, a flat cutting board that fits in your freezer works in a pinch. I’ve used a plastic tray from a toaster oven before—whatever gets the job done.
Preparation Method
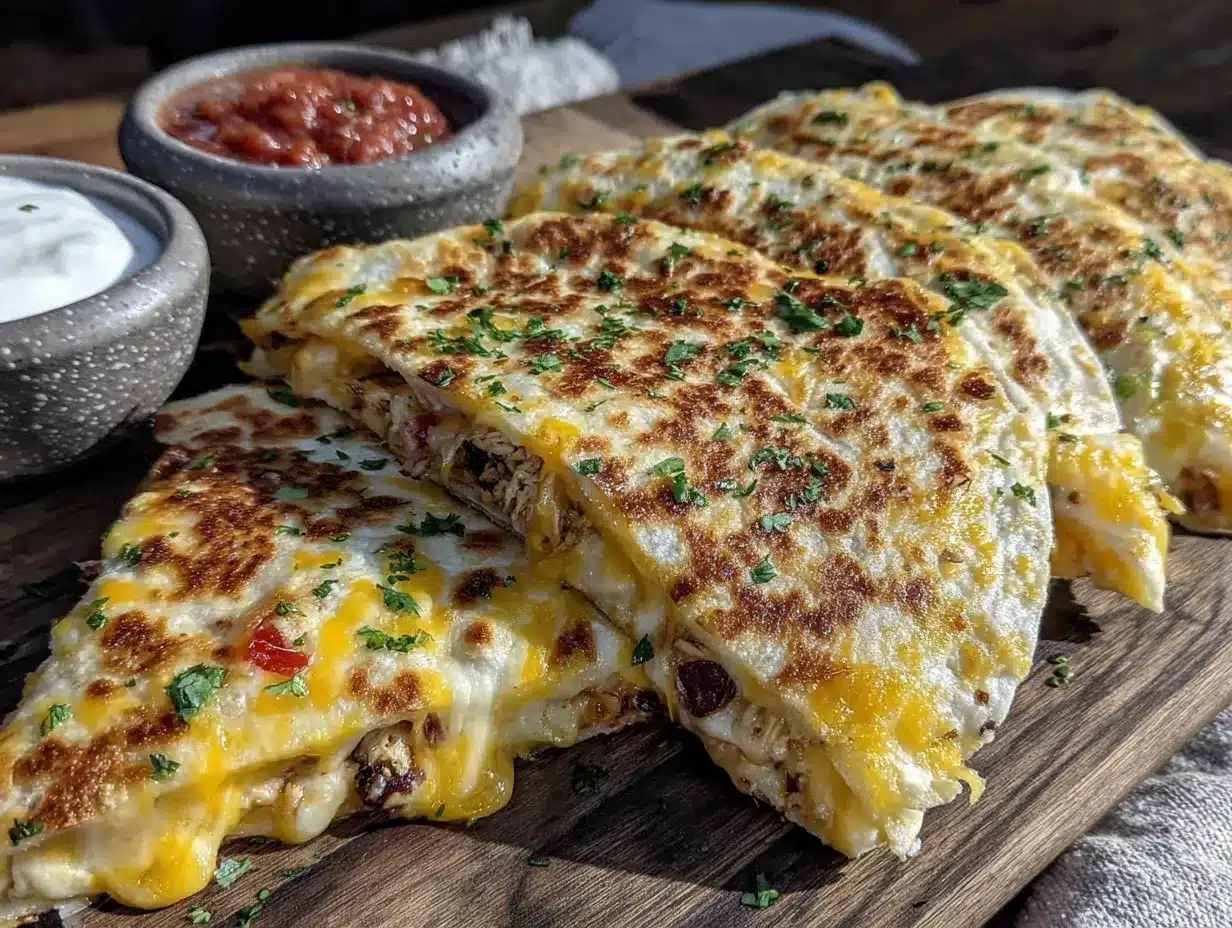
Let me walk you through this step by step. Trust me, the first time you pull one of these from the freezer on a busy night, you’ll thank yourself.
- Cook the veggies. Heat 1 tablespoon olive oil in your skillet over medium heat. Add the diced onion and cook for 2-3 minutes until it starts to soften. Add the minced garlic and cook for 30 seconds until fragrant—don’t let it burn. Add the frozen mixed vegetables directly to the pan. Cook for 5-6 minutes, stirring occasionally, until the veggies are tender and any excess moisture has evaporated. This is important: if the veggies are too wet, they’ll make your quesadillas soggy during freezing.
- Season the filling. Add the cumin, chili powder, salt, and pepper to the cooked veggies. Stir to coat everything evenly. Cook for another minute until the spices smell fragrant. Remove from heat and let cool for 5 minutes. I like to spread the mixture on a plate to cool faster—it also helps release more steam.
- Press out moisture. Here’s the trick I learned the hard way: place the cooked veggie mixture on a paper towel-lined plate. Fold the paper towel over and gently press to absorb any remaining liquid. You’ll be surprised how much comes out. This step is non-negotiable for freezer success.
- Combine the filling. In a medium bowl, mix the cooled veggies with the shredded chicken and shredded cheese. Stir until everything is evenly distributed. Taste a small pinch and adjust salt or spices if needed. The filling should look cohesive but not wet.
- Assemble the quesadillas. Lay out your tortillas on a clean work surface. Spoon about 2-3 tablespoons of filling onto one half of each tortilla. Spread it evenly, leaving a small border around the edge. Fold the empty half over the filling to create a half-moon shape. Press gently to seal. Don’t overstuff—the filling should be snug but not bulging.
- Flash freeze. Line a baking sheet with parchment paper. Arrange the assembled quesadillas in a single layer, not touching each other. Place the baking sheet in the freezer for 1-2 hours, or until the quesadillas are completely frozen solid. This prevents them from sticking together when you bag them.
- Bag and store. Once frozen, transfer the quesadillas to freezer-safe bags. Squeeze out as much air as possible before sealing. Label the bag with the date and contents. They’ll keep for up to 3 months—though in my house, they never last that long.
- Cook from frozen. When you’re ready to eat, heat a nonstick skillet over medium heat. Place the frozen quesadilla in the dry pan (no oil needed). Cook for 2-3 minutes per side until golden brown and crispy, and the cheese is melted through. You can also use an air fryer at 375°F for 4-5 minutes, flipping halfway through.
Cooking Tips & Techniques
After about seven batches, I’ve collected some hard-won wisdom. Let me save you the trouble.
Don’t skip the moisture removal. I ruined my first two batches by being lazy about this. Wet veggies release steam during freezing, which turns into ice crystals, which makes your tortillas sad and soggy. Pressing the cooked veggies with paper towels makes a noticeable difference. I know it feels wasteful, but trust me on this.
Shred your own cheese. Pre-shredded cheese has cellulose powder to prevent clumping, which also prevents smooth melting. When you shred a block of Monterey Jack yourself, it melts into this beautiful, cohesive layer that holds everything together. The texture difference is honestly night and day.
Don’t overstuff. I know it’s tempting to pile on the filling, but mini quesadillas need a modest amount. Too much filling makes them impossible to seal, and the filling falls out during cooking. About 2-3 tablespoons per quesadilla is the sweet spot. You want a thin, even layer.
Use a dry pan for cooking. The tortillas already have enough oil from cooking the filling. Adding oil to the pan makes them greasy instead of crispy. A hot, dry nonstick skillet gives you that perfect golden-brown exterior without the extra fat.
Let them rest after cooking. This is a mistake I still make sometimes. Pulling a quesadilla straight from the pan to the plate means the cheese runs out when you cut it. Let it rest for 1-2 minutes on a cutting board. The cheese sets slightly, and you get cleaner slices.
Variations & Adaptations
This recipe is incredibly flexible. Here are some variations I’ve tried and loved:
- Spicy Southwest Version: Add 1/4 cup diced pickled jalapeños, swap the mixed veggies for a corn and black bean blend, and use pepper jack cheese instead of Monterey Jack. The heat level is perfect for anyone who likes a little kick.
- Greek-Inspired Quesadillas: Use shredded rotisserie chicken, crumbled feta, chopped spinach, and sun-dried tomatoes. Skip the cumin and chili powder, and use dried oregano and a pinch of garlic powder instead. Serve with tzatziki for dipping.
- Vegetarian Option: Omit the chicken entirely and double the veggies. Add a can of drained and rinsed black beans or pinto beans for protein. The bean texture works beautifully with the cheese and gives you that satisfying heartiness.
- Breakfast Quesadillas: Use scrambled eggs instead of chicken, add cooked breakfast sausage or bacon crumbles, and use cheddar cheese. The same freezing method works perfectly for a grab-and-go breakfast.
- Gluten-Free Adaptation: Use certified gluten-free tortillas. Corn tortillas work, but they’re smaller and more fragile. Look for gluten-free flour tortillas from brands like Mission or Siete for the closest texture to the original.
I tried the Greek version last month when I had leftover rotisserie chicken and some feta that needed using up. Honestly, it was so good I’ve made it twice since. The tangy feta pairs surprisingly well with the crispy tortilla.
Serving & Storage Suggestions
These mini quesadillas are incredibly versatile when it comes to serving. Here’s how I like to enjoy them:
Serving Temperature: Serve them hot and crispy, right from the pan. The cheese should be melted and stretchy, and the tortilla should be golden brown on both sides. I like to cut them in half on a diagonal for a nicer presentation.
Dipping Sauces: These are perfect with salsa, sour cream, guacamole, or a simple chipotle ranch. My personal favorite is a quick lime crema—just mix sour cream with lime juice and a pinch of salt. The brightness cuts through the richness beautifully.
Storage Instructions: Store frozen quesadillas in their freezer bags for up to 3 months. For best quality, use within 6-8 weeks. Once thawed, do not refreeze. If you’re taking them to work or school, pack them frozen—they’ll thaw by lunchtime and can be reheated in a microwave or toaster oven.
Reheating Methods: The skillet method gives the crispiest results, but an air fryer at 375°F for 4-5 minutes works great too. A toaster oven at 400°F for 5-6 minutes is another option. Microwaving works in a pinch but the tortilla won’t be crispy. If you must microwave, wrap the quesadilla in a paper towel to absorb excess moisture.
Flavor Development: I’ve noticed these actually taste better after a few days in the freezer. The flavors meld together, and the spices become more cohesive. It’s one of those rare freezer recipes that improves with time.
Nutritional Information & Benefits
These mini quesadillas are surprisingly balanced for a freezer-friendly meal. Here’s what you’re getting per serving (2 mini quesadillas):
- Calories: Approximately 320-350 calories
- Protein: 22-25 grams from the chicken and cheese
- Carbohydrates: 28-30 grams, mostly from the tortillas
- Fat: 14-16 grams, with about 7 grams from the cheese
- Fiber: 3-4 grams from the vegetables
Health Benefits: The chicken provides lean protein that keeps you full and supports muscle maintenance. The mixed vegetables add vitamins A and C, plus fiber for digestive health. Using frozen vegetables actually preserves more nutrients than fresh ones that have been sitting in the fridge for a week. The cheese adds calcium for bone health, though you can use reduced-fat cheese if you’re watching your saturated fat intake.
Dietary Considerations: This recipe is naturally nut-free and egg-free. For a lower-carb option, use low-carb tortillas or lettuce wraps. For a lower-sodium version, use low-sodium chicken broth when cooking your chicken and reduce the added salt. Always check your tortilla labels if you need gluten-free—not all brands are certified gluten-free.
Conclusion
These easy freezer-friendly mini chicken and veggie quesadillas have genuinely changed how I handle busy weeknights. They’re proof that freezer meals don’t have to be complicated or boring. With a little prep work upfront, you get weeks of quick, satisfying meals that taste like you actually cooked them fresh. The crispy tortilla, the melty cheese, the veggie-packed filling—it all comes together in something that feels both practical and indulgent.
I’d love to hear how these turn out for you. Did you try any of the variations? Did you discover a new filling combination that worked even better? Drop a comment below and let me know. And if you found a way to make these work for your family’s schedule, share that too—we’re all in this together, figuring out dinner one batch at a time.
Go ahead and make a double batch. Trust me, future you will be so grateful.
Frequently Asked Questions
Can I use corn tortillas instead of flour?
Yes, you can use corn tortillas, but they’re more fragile and prone to cracking when folding. If using corn, warm them briefly in the microwave or on a dry skillet before assembling to make them more pliable. They also freeze well, just handle them gently.
How long do these last in the freezer?
These mini quesadillas stay fresh for up to 3 months in the freezer. For the best texture and flavor, I recommend using them within 6-8 weeks. After that, they’re still safe to eat but the quality may decline slightly.
Can I cook these in an air fryer?
Absolutely! Air fry at 375°F for 4-5 minutes, flipping halfway through. No oil needed. The air fryer gives a beautifully crispy exterior without any extra fat. Just make sure not to overcrowd the basket—cook in a single layer.
Do I need to thaw them before cooking?
No, cook them directly from frozen. That’s the beauty of this recipe. If you thaw them first, the tortillas can become soggy. A frozen quesadilla goes straight into a hot skillet for the best results.
Can I use leftover rotisserie chicken?
Yes, rotisserie chicken is perfect for this recipe. It’s already cooked and seasoned, which adds extra flavor to your quesadillas. Just shred it finely so it distributes evenly in the filling. Leftover grilled chicken works great too.
Pin This Recipe!
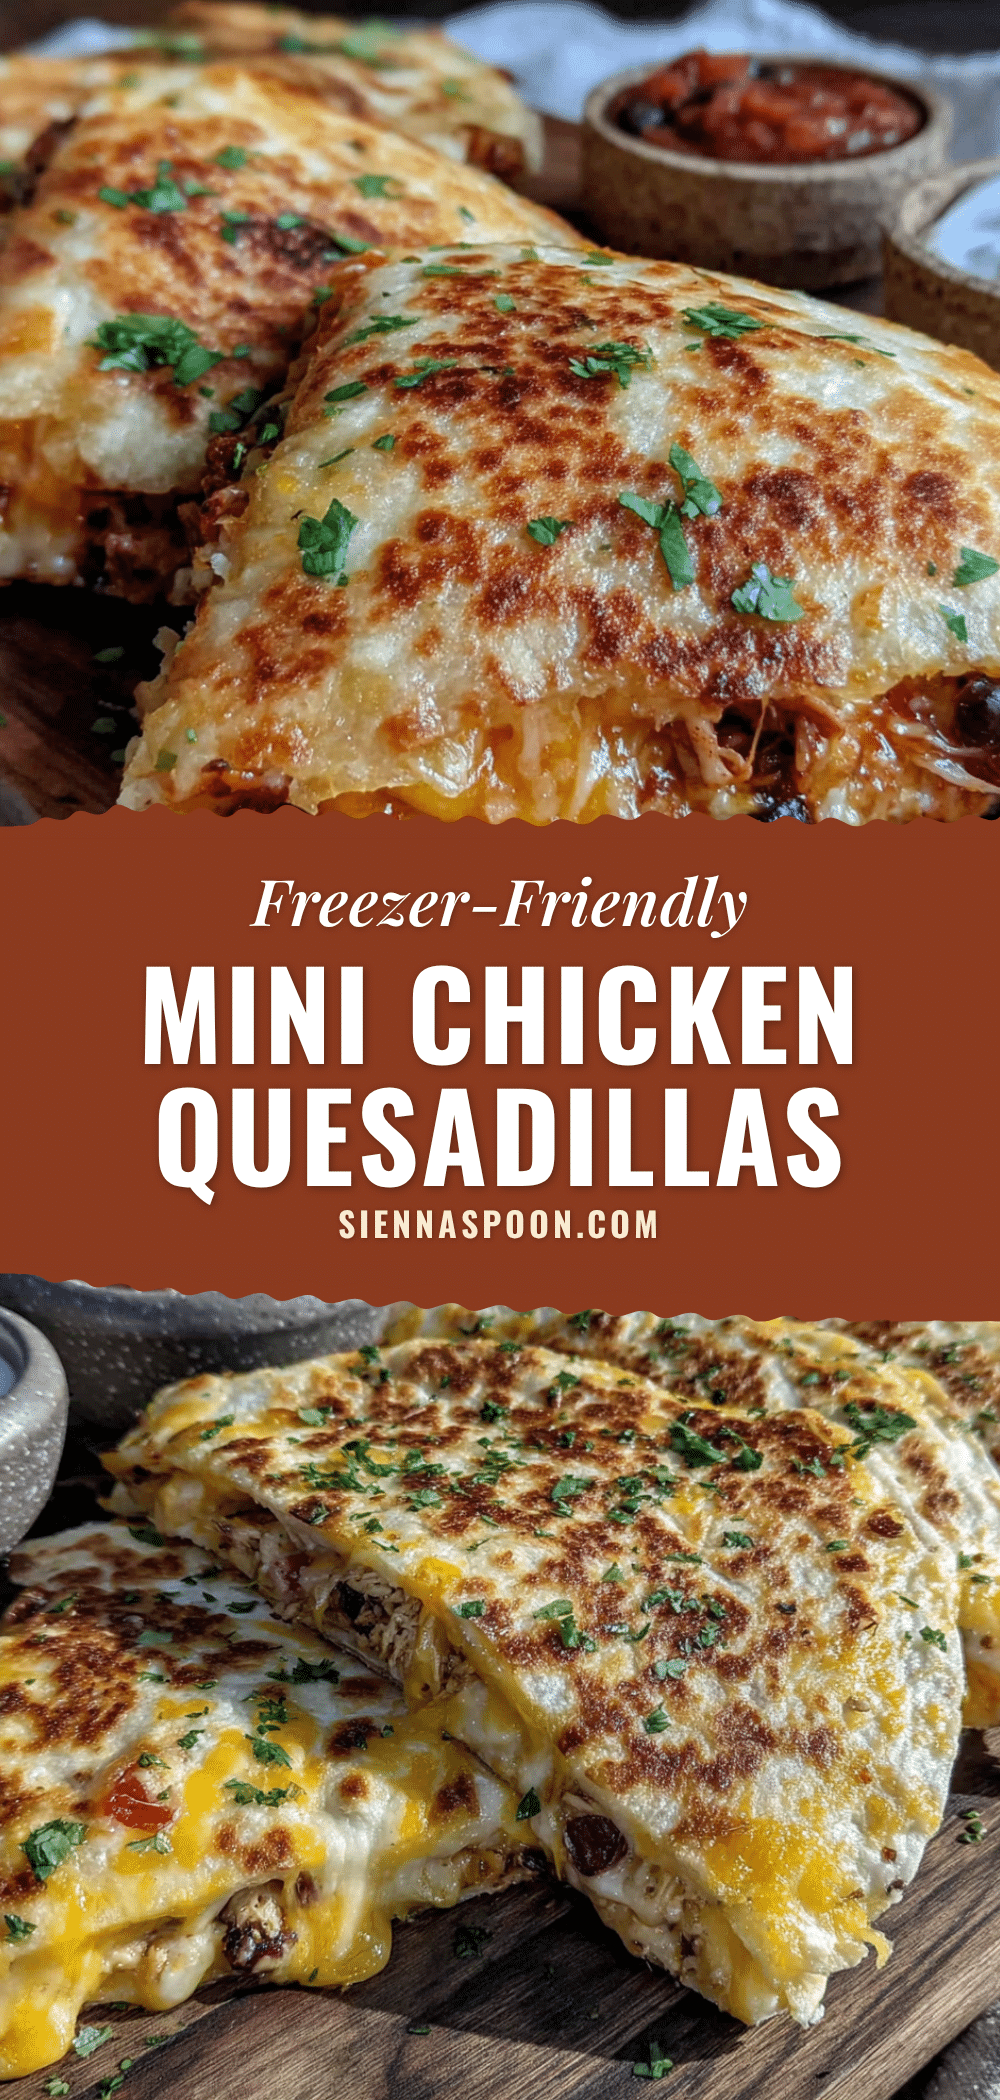
Easy Freezer-Friendly Mini Chicken and Veggie Quesadillas

These mini chicken and veggie quesadillas are perfect for busy weeknights. Made with simple ingredients and a special technique to prevent sogginess, they freeze beautifully and cook up crispy in just minutes.
- Prep Time: 15 minutes
- Cook Time: 10 minutes
- Total Time: 25 minutes
- Yield: 6 servings (12 mini quesadillas, 2 per serving) 1x
- Category: Main Course
- Cuisine: Mexican
Ingredients
- 2 cups cooked chicken, shredded
- 1 cup frozen mixed vegetables (corn, peas, carrots, green beans)
- 2 cups shredded cheese (Mexican blend or Monterey Jack)
- 12 small flour tortillas (about 6 inches)
- 1/2 cup onion, diced
- 2 cloves garlic, minced
- 1 teaspoon cumin
- 1/2 teaspoon chili powder
- 1/2 teaspoon salt
- 1/4 teaspoon black pepper
- 1 tablespoon olive oil
- Optional: 1 can black beans, drained and rinsed; handful fresh spinach; diced bell peppers; squeeze of lime juice
Instructions
- Cook the veggies: Heat 1 tablespoon olive oil in a skillet over medium heat. Add diced onion and cook for 2-3 minutes until softened. Add minced garlic and cook for 30 seconds. Add frozen mixed vegetables and cook for 5-6 minutes until tender and excess moisture has evaporated.
- Season the filling: Add cumin, chili powder, salt, and pepper to the cooked veggies. Stir and cook for 1 minute until fragrant. Remove from heat and let cool for 5 minutes.
- Press out moisture: Place the cooked veggie mixture on a paper towel-lined plate. Fold the paper towel over and gently press to absorb any remaining liquid.
- Combine the filling: In a medium bowl, mix the cooled veggies with shredded chicken and shredded cheese until evenly distributed. Taste and adjust seasoning if needed.
- Assemble the quesadillas: Lay out tortillas on a clean surface. Spoon 2-3 tablespoons of filling onto one half of each tortilla. Fold the empty half over to create a half-moon shape. Press gently to seal.
- Flash freeze: Line a baking sheet with parchment paper. Arrange quesadillas in a single layer without touching. Freeze for 1-2 hours until completely solid.
- Bag and store: Transfer frozen quesadillas to freezer-safe bags. Squeeze out air, seal, and label with date. Store for up to 3 months.
- Cook from frozen: Heat a nonstick skillet over medium heat. Place frozen quesadilla in the dry pan. Cook for 2-3 minutes per side until golden brown and crispy, and cheese is melted. Alternatively, air fry at 375°F for 4-5 minutes, flipping halfway.
Notes
Don’t skip pressing moisture from the veggies—it prevents sogginess during freezing. Shred your own cheese for best melting. Use a dry pan for cooking to get crispy tortillas. Let quesadillas rest 1-2 minutes after cooking for cleaner slices.
Nutrition
- Serving Size: 2 mini quesadillas
- Calories: 335
- Sugar: 3
- Sodium: 580
- Fat: 15
- Saturated Fat: 7
- Carbohydrates: 29
- Fiber: 3.5
- Protein: 23
Keywords: freezer quesadillas, mini quesadillas, chicken quesadillas, veggie quesadillas, freezer meals, quick dinner, meal prep, kid-friendly


