Love this? Save it for later!
Share the inspiration with your friends
My sister claimed she hated cheese boards. For years. “Too fussy,” she’d say, waving a hand whenever someone suggested one for a gathering. “All that arranging and slicing for something that disappears in ten minutes.” I’d nod along, secretly planning my next one. Then last October, I threw together a quick board for a last-minute visit from her family—just some sharp cheddar, a few apples from the farmers market, and a drizzle of honey I’d picked up that morning. I caught her standing at the kitchen counter, knife in hand, piling apple slices and cheese onto a cracker with this look of pure, unguarded satisfaction. She didn’t even notice me watching. I mean, honestly, that moment made my whole week.
This Easy Fall Apple & Cheese Board isn’t about perfection or fancy garnishes. It’s about the kind of snack spread that comes together when you’re not trying to impress anyone—but somehow ends up being the thing everyone gathers around anyway. Maybe you’ve been there, staring at your fridge, wondering what to throw together for unexpected guests or a cozy night in. This board is my answer to that question, and it’s become my go-to for everything from lazy Sunday afternoons to holiday appetizers. The combination of crisp apples, creamy cheeses, and warm autumnal flavors just works, and it keeps me coming back season after season.
Why You’ll Love This Recipe
Let me tell you why this board has earned a permanent spot in my fall rotation. After testing countless combinations—some that felt too complicated, others that fell flat—this version hits the sweet spot between effort and payoff.
- Quick & Easy: This board comes together in under 15 minutes. No cooking, no complicated steps—just slicing, arranging, and serving. Perfect for those moments when company shows up or you just need a satisfying snack without the fuss.
- Simple Ingredients: You probably already have most of what you need in your kitchen. A trip to the grocery store for a few cheeses and fresh apples is all it takes. No hunting down obscure ingredients or specialty items.
- Perfect for Fall Gatherings: Whether it’s a tailgate, a cozy movie night, or Thanksgiving appetizers, this board fits right in. The seasonal flavors make it feel special without being over-the-top.
- Crowd-Pleaser: I’ve served this at parties where people who claimed they “don’t do cheese boards” ended up hovering around it. Kids love the apple slices and mild cheeses, while adults appreciate the more adventurous options.
- Unbelievably Delicious: The combination of sweet apples, salty cheeses, crunchy nuts, and sticky honey creates this incredible balance that keeps you reaching for just one more bite. It’s comfort food in board form.
What makes this board different from the hundreds of cheese board photos you’ve scrolled past? It’s the intentional pairing of fall apples with cheeses that actually complement them—not just any cheese thrown on a platter. I’ve tested which apples work best with which cheeses, and I’ve included a few unexpected additions that take it from basic to memorable. This isn’t just another cheese board; it’s the one that will have your guests asking for the recipe.
This recipe is the kind that makes you close your eyes after the first bite—the apple’s crunch, the cheese’s creaminess, the honey’s sweetness all coming together in a single perfect mouthful. It’s comfort food reimagined for the season, with the same soul-soothing satisfaction as a warm bowl of soup, but so much faster to put together.
What Ingredients You Will Need
This recipe uses simple, seasonal ingredients to create a board that’s as beautiful as it is delicious. Most of these are pantry staples or easy to find at any grocery store, especially during apple season.
For the Cheeses
- Sharp Cheddar (8 oz): I prefer a good aged cheddar—Cabot or Tillamook work beautifully. The sharpness cuts through the sweetness of the apples. (Choose a block and slice it yourself for better texture.)
- Brie (8 oz): A double or triple cream brie adds that luscious, spreadable element. Look for one that feels slightly springy to the touch—that means it’s perfectly ripe.
- Goat Cheese (4 oz): The tanginess pairs wonderfully with honey and apples. I like the creamy log style from Vermont Creamery.
- Gouda (6 oz): Smoked gouda adds a lovely depth that feels especially autumnal. If you can find it, aged gouda with those little crystal bits is a treat.
For the Apples & Fruit
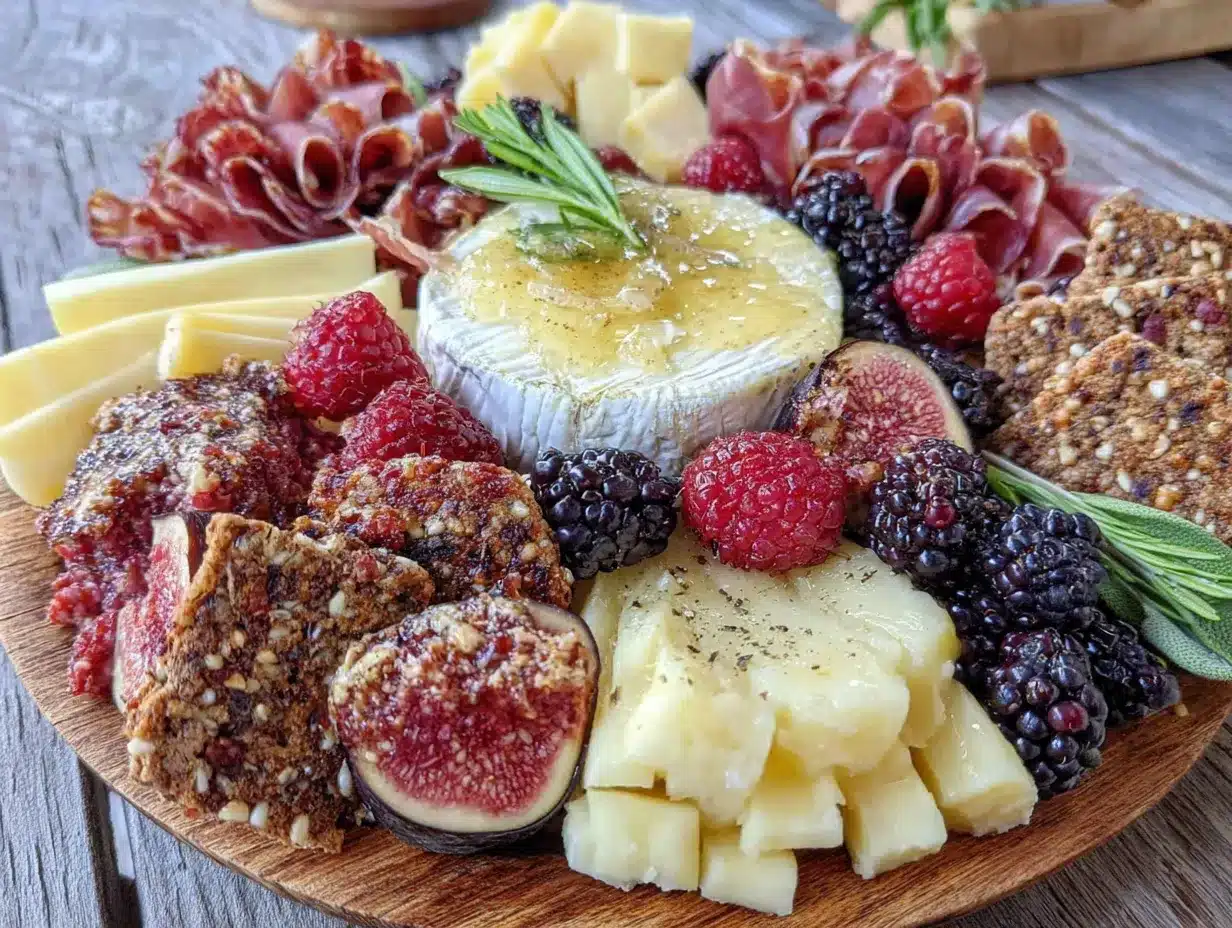
- Honeycrisp Apples (2 large): These are my go-to for their perfect balance of sweet and tart, plus that incredible crunch. They hold up well and don’t brown too quickly.
- Granny Smith Apples (1 large): For contrast. Their tartness brightens up the richer cheeses. (Use a mix of apple varieties for visual appeal and flavor range.)
- Red Grapes (1 cup): A sweet, juicy pop that fills in gaps on the board. Seedless, obviously.
- Dried Figs or Apricots (½ cup): Chewy, sweet, and perfect for fall. They add texture and a touch of elegance without trying too hard.
For the Crunch & Savory Elements
- Toasted Almonds (½ cup): I buy raw almonds and toast them myself—just a few minutes in a dry skillet brings out their nutty flavor. (Store-bought toasted work fine too.)
- Pecans (½ cup): Candied or plain, pecans feel quintessentially fall. If you have time, a quick maple glaze takes them over the top.
- Crackers (1 box): Go for a mix—water crackers for mild cheeses, rosemary crackers for the gouda, and something seedy for texture. I like the Raincoast Crisps brand for their cranberry and pecan variety.
- Sliced Baguette (½ loaf): Toasted or fresh, baguette slices are perfect for piling on cheese and apple slices.
For the Finishing Touches
- Honey (3 tablespoons): A good-quality local honey adds sweetness and ties everything together. Drizzle it over the brie or goat cheese.
- Fresh Thyme or Rosemary (a few sprigs): For garnish and a subtle herbal note. Plus, it makes the board look like you tried harder than you did.
- Flaky Sea Salt (½ teaspoon): A sprinkle over the apples and cheese enhances all the flavors. Maldon is my favorite.
Equipment Needed
You don’t need much for this board, which is part of its charm. Here’s what you’ll need:
- Large Wooden Board or Slate Platter: Any flat surface works—a cutting board, a baking sheet, even a large plate. I use a 14-inch round acacia wood board I found at a home goods store. It’s got those natural grooves that give it character.
- Small Bowls (2-3): For honey, nuts, or olives if you’re adding them. Ramekins work perfectly if you don’t have small bowls.
- Sharp Knife: A good chef’s knife for slicing apples and a smaller knife for cutting cheese. Dull knives make for messy slices and frustrated cooks.
- Cheese Knives or Spreaders: If you have them, great. If not, butter knives work just fine. I’ve used a regular dinner knife more times than I can count.
- Cutting Board: For prepping your ingredients. Keep it separate from your serving board to avoid cross-contamination.
- Kitchen Towel: For wiping apple slices and keeping things tidy. Trust me, you’ll want this nearby.
Honestly, I’ve put this board together with nothing but a butter knife and a dinner plate when I was camping. It’s flexible. Don’t let lack of fancy equipment stop you—the food is what matters.
Preparation Method
Here’s how to put this board together in a way that looks intentional but feels effortless. The key is layering and leaving room for people to grab what they want without everything getting jumbled.
- Prep your cheeses (5 minutes): Take your cheeses out of the fridge about 15 minutes before serving. Cold cheese doesn’t have the same creamy texture. Slice the cheddar and gouda into thin triangles or rectangles—about ¼-inch thick. Leave the brie whole or cut it into wedges. For the goat cheese, slice the log into rounds or leave it whole with a knife for spreading.
- Prepare the apples (5 minutes): Core the apples and slice them into thin wedges—about 8-10 slices per apple. I like to leave the skin on for color and texture. Toss them in a bowl with a squeeze of lemon juice if you’re worried about browning, though honestly, they’ll be eaten too fast for it to matter. Pat them dry with a kitchen towel to remove excess moisture.
- Arrange the cheese (2 minutes): Place your cheeses around the board first. Spread them out so there’s variety in every section. I usually put the brie in the center or slightly off-center, then cluster the cheddar, gouda, and goat cheese around it. Leave space between them for other items.
- Add the apples and fruit (3 minutes): Nestle the apple slices between the cheeses. Fan them out slightly for visual appeal. Scatter the grapes in small clusters—don’t line them up in rows, it looks too rigid. Place the dried figs or apricots in little piles near the edges.
- Fill in with crunch (3 minutes): Pour the almonds and pecans into small bowls or scatter them directly on the board in small piles. Arrange crackers and baguette slices around the edges, overlapping slightly. This creates a frame for the board and makes it easy for people to grab.
- Add finishing touches (2 minutes): Drizzle honey over the brie and goat cheese—don’t drown them, just a light zigzag. Sprinkle flaky sea salt over the apple slices and any cheese that could use a little lift. Tuck fresh thyme or rosemary sprigs around the board for color and a subtle herbal aroma.
- Serve immediately (0 minutes): Place the board in the center of your table or counter with small plates and napkins. Let people dig in. The beauty of this board is that it’s meant to be shared and enjoyed as is—no last-minute fussing required.
A quick note: If you’re making this ahead, prep all the components separately and assemble right before serving. The apples will brown if left out too long, and crackers can get stale if they sit on the board overnight. I’ve learned this the hard way—a board left out at a party turned into a sad, soggy mess by morning.
Cooking Tips & Techniques
Over the years, I’ve made enough cheese boards to fill a small cookbook, and I’ve picked up a few tricks along the way. Here are the ones that make a real difference:
Let cheese breathe. This is non-negotiable. Cold cheese is flavorless cheese. Take it out of the fridge at least 20 minutes before serving. I once served a board straight from the fridge at a party, and everyone politely nibbled without enthusiasm. The same cheese, left out for half an hour, disappeared in minutes. The texture changes completely—it becomes creamy, spreadable, and actually tastes like something.
Slice apples just before serving. Apple slices start browning the moment they’re cut. If you’re prepping ahead, slice them and toss them in a bowl with a little lemon juice or apple cider vinegar. Pat them dry before adding to the board, or the liquid will make everything soggy. I’ve also had success using a mandoline for paper-thin slices that look beautiful and don’t brown as quickly.
Balance textures and flavors. A good board has a mix of soft and hard cheeses, sweet and savory elements, crunchy and creamy textures. If everything is soft, it feels monotonous. If everything is crunchy, it’s hard to eat. Think about how each bite will feel—the creamy brie against the crisp apple, the sharp cheddar with the chewy fig, the nutty gouda with the crunchy cracker.
Don’t overcrowd the board. This was my biggest mistake early on. I’d try to fit everything on one board, and it would look like a chaotic pile of food. Leave some empty space—it makes the board look intentional and gives people room to grab things without knocking everything over. If you have too much food, use a second board or plate.
Use a variety of apple types. Not all apples are created equal for cheese boards. Honeycrisp, Fuji, and Pink Lady are sweet and crunchy. Granny Smith and Braeburn add tartness. I’ve made the mistake of using only one variety, and the board felt flat. Mixing them adds visual interest and flavor complexity.
Variations & Adaptations
This board is endlessly customizable. Here are some variations I’ve tried and loved:
Dietary Adaptations: For a dairy-free version, substitute the cheeses with high-quality vegan alternatives—there are some surprisingly good cashew-based bries and cheddars on the market now. For a gluten-free board, use gluten-free crackers and skip the baguette. Rice crackers or seed crackers work beautifully. I’ve served this at a gathering where half the guests were gluten-free, and swapping out the crackers made everyone happy without changing the spirit of the board.
Seasonal Twists: In the fall, add roasted pumpkin seeds, pomegranate seeds, or slices of fresh pear. In winter, include dried cranberries, candied ginger, or a small bowl of dark chocolate chunks. In summer, swap the apples for fresh peaches or nectarines and use fresh berries instead of grapes. The board adapts to what’s fresh and available, which is part of its charm.
Flavor Variations: Try adding a small bowl of fig jam or apple butter for extra sweetness. A drizzle of balsamic glaze over the brie and apples adds a tangy depth that’s surprisingly addictive. For a savory kick, include a few slices of prosciutto or salami—the saltiness balances the sweet apples beautifully. I once added a small dish of pickled red onions, and it was a hit with everyone who tried it.
Personal Variation: My favorite twist is adding a small bowl of maple-roasted pecans. Toast pecans in a skillet with a tablespoon of maple syrup and a pinch of salt until they’re fragrant and slightly sticky. They add this incredible sweet-savory crunch that pairs perfectly with the cheddar and apples. I make extra because I always end up snacking on them before the board is even assembled.
Serving & Storage Suggestions
This board is best served at room temperature, so let it sit out for about 15 minutes after assembling before serving. The cheeses will be at their peak creaminess, and the apples will still be crisp. I like to place the board in the center of the table with small plates, napkins, and a few cheese knives. It’s meant to be a communal experience—everyone reaches in and builds their own perfect bite.
For complementary dishes, this board pairs beautifully with a crisp white wine like Sauvignon Blanc or a dry Riesling. A light cider or sparkling water with apple essence works well for non-alcoholic options. If you’re serving it as part of a larger meal, it goes great with a simple arugula salad dressed with lemon vinaigrette or a bowl of roasted butternut squash soup.
Storage: If you have leftovers (which honestly doesn’t happen often in my house), store the components separately. Wrap cheeses in wax paper or cheese paper and place them in an airtight container in the fridge. Apples should be stored in a sealed bag with a damp paper towel to keep them from drying out. Crackers and nuts go in an airtight container at room temperature. The board itself should be wiped clean with a damp cloth and dried thoroughly—wooden boards can warp if left wet.
Reheating: This board is served cold or at room temperature, so no reheating needed. If you’ve made toasted baguette slices, store them separately and reheat in a 350°F oven for 3-4 minutes to restore their crunch. Leftover honey can be drizzled over yogurt or oatmeal the next morning—a happy accident I discovered one sleepy Tuesday.
One thing I’ve noticed: the flavors actually improve after a few hours. The honey soaks into the cheese slightly, the apples take on a hint of the herbs, and everything melds together. A board that sat out during a long afternoon gathering tasted even better at the end than at the beginning. Just don’t leave it out for more than two hours at room temperature for food safety.
Nutritional Information & Benefits
This board is more about enjoyment than strict nutrition, but it does offer some surprising benefits. Here’s a rough estimate per serving (assuming 8 servings):
- Calories: Approximately 350-400 per serving (varies based on how much cheese and crackers you pile on)
- Protein: 12-15g from the cheeses and nuts
- Healthy Fats: 20-25g from cheese, nuts, and olive oil (if used)
- Fiber: 4-6g from apples, nuts, and dried fruit
- Carbohydrates: 30-35g (mostly from fruit and crackers)
The apples provide vitamin C and antioxidants, particularly in the skin. The nuts offer healthy fats and vitamin E. Cheese is a good source of calcium and protein. The honey contains small amounts of antioxidants and can help with seasonal allergies if it’s local. It’s not a health food, but it’s a balanced snack that satisfies without the processed sugars and preservatives of packaged snacks.
Dietary considerations: This board contains dairy and gluten (from crackers and baguette). It can be made gluten-free with substitutions and dairy-free with vegan cheeses. The nuts are optional for those with allergies. Always check labels if serving to guests with dietary restrictions—I learned this after accidentally serving crackers with milk powder to a lactose-intolerant friend.
Conclusion
This Easy Fall Apple & Cheese Board has become my secret weapon for effortless entertaining. It’s the kind of recipe that looks impressive but takes almost no real work—just good ingredients arranged with a little intention. The combination of crisp apples, creamy cheeses, crunchy nuts, and sweet honey is simple, but somehow it feels special. That’s the magic of a well-made board.
I love this recipe because it reminds me that cooking doesn’t have to be complicated to be memorable. Some of the best meals I’ve shared with people came together in minutes, with whatever was in the fridge. This board is my invitation to you to do the same—to stop overthinking and start enjoying the process of putting good food on the table.
I’d love to hear how your board turns out! Try it with your favorite apple variety, swap in your preferred cheeses, and make it your own. Leave a comment below with your favorite combination—I’m always looking for new ideas to try. And if you share a photo on social media, tag me so I can see your beautiful creation. Happy snacking!
Frequently Asked Questions
Can I make this board ahead of time?
You can prep all the components a few hours ahead, but assemble the board just before serving. Slice apples and cheese, toast nuts, and arrange everything on the board within 30 minutes of serving for the best texture and appearance.
What are the best apples for a cheese board?
Honeycrisp, Fuji, and Pink Lady are excellent for their sweetness and crunch. Granny Smith adds tartness. A mix of varieties creates the best flavor and visual interest.
How do I prevent apple slices from browning?
Toss sliced apples in a bowl with a squeeze of lemon juice or apple cider vinegar. Pat them dry before adding to the board. This buys you an extra hour or two before they start discoloring.
Can I add meat to this board?
Absolutely! Prosciutto, salami, or soppressata are wonderful additions. Add them in small piles or folded slices around the board. They pair especially well with the cheddar and gouda.
How long can the board sit out?
For food safety, don’t leave the board out for more than two hours at room temperature. If you’re serving outdoors in warm weather, reduce that to one hour. Refrigerate leftovers promptly.
Pin This Recipe!
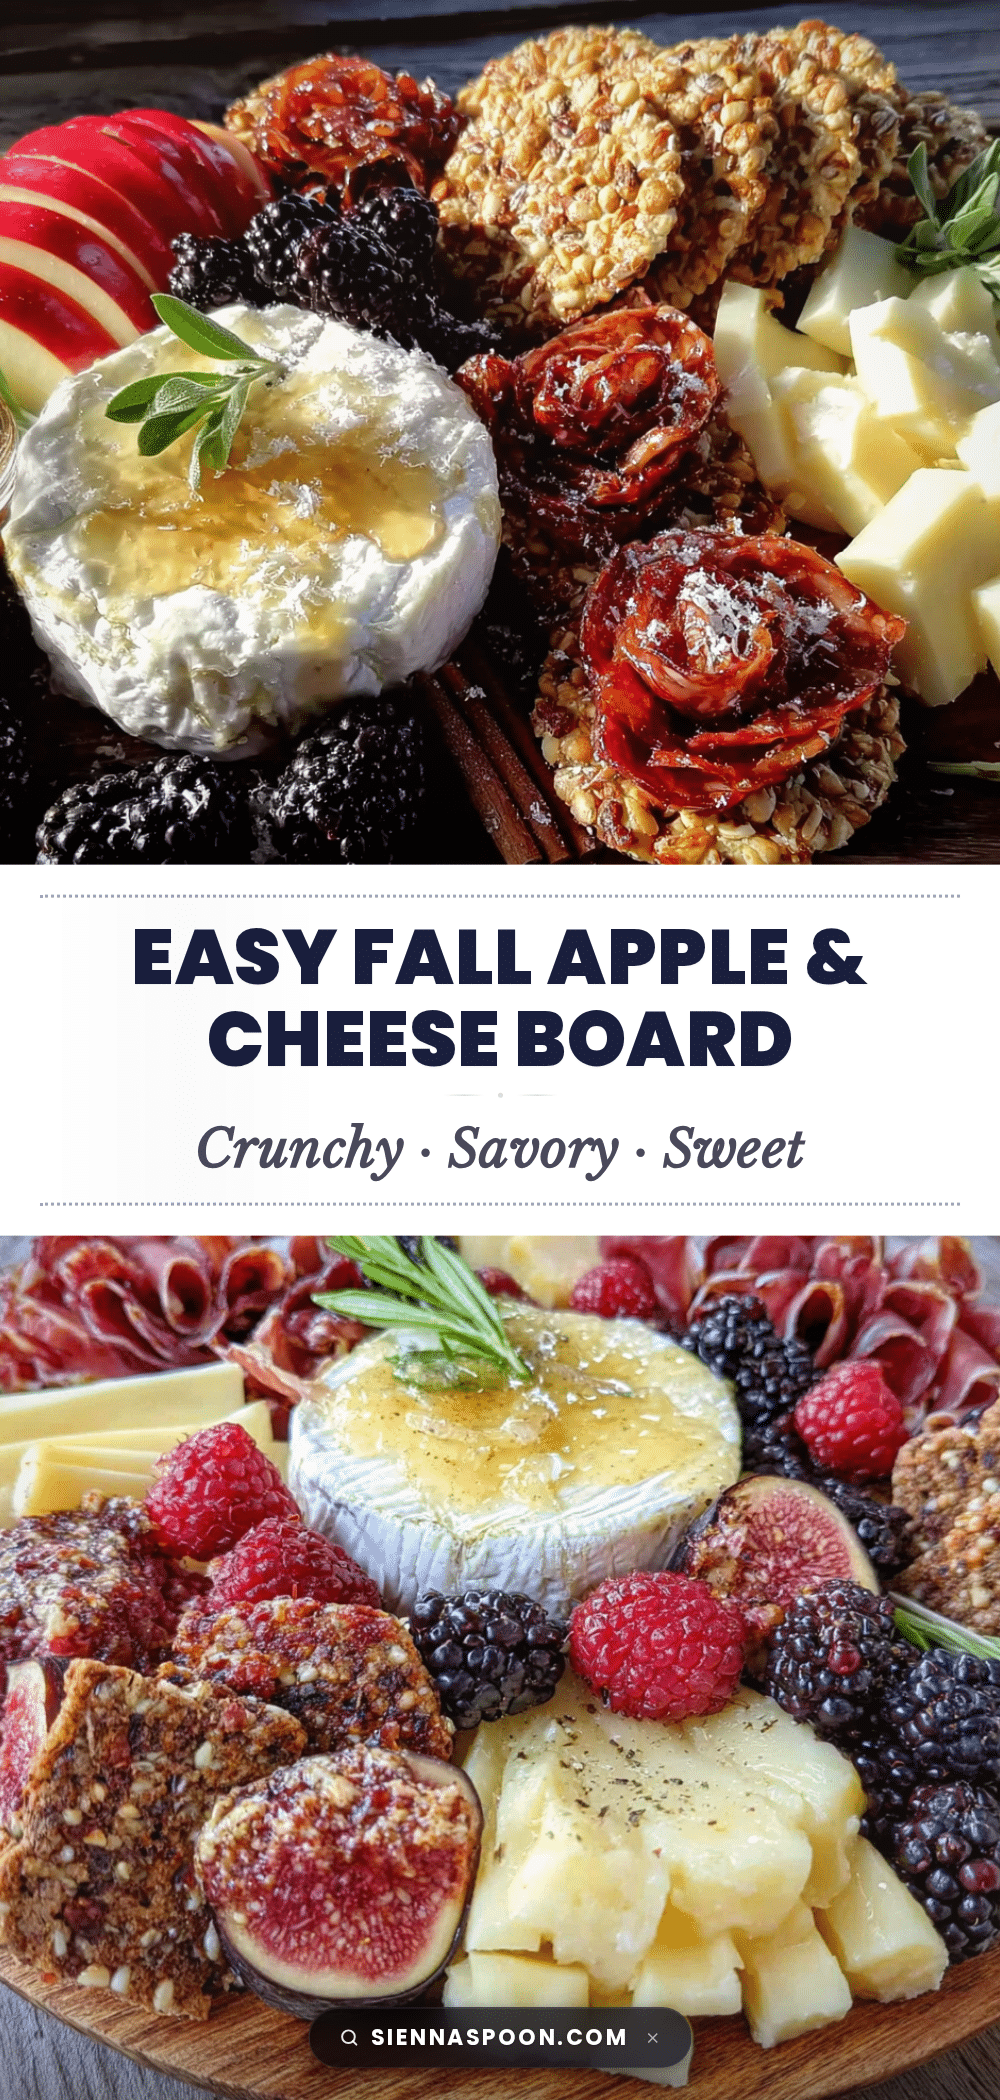
Easy Fall Apple & Cheese Board: Perfect Snack Idea
This Easy Fall Apple & Cheese Board is a quick, no-fuss snack spread featuring crisp apples, creamy cheeses, crunchy nuts, and sweet honey. Perfect for unexpected guests or cozy nights in, it comes together in under 15 minutes and is a guaranteed crowd-pleaser.
- Prep Time: 15 minutes
- Cook Time: 0 minutes
- Total Time: 15 minutes
- Yield: 8 servings
- Category: Appetizer
- Cuisine: American
Ingredients
- Sharp Cheddar (8 oz)
- Brie (8 oz)
- Goat Cheese (4 oz)
- Gouda (6 oz)
- Honeycrisp Apples (2 large)
- Granny Smith Apples (1 large)
- Red Grapes (1 cup)
- Dried Figs or Apricots (½ cup)
- Toasted Almonds (½ cup)
- Pecans (½ cup)
- Crackers (1 box)
- Sliced Baguette (½ loaf)
- Honey (3 tablespoons)
- Fresh Thyme or Rosemary (a few sprigs)
- Flaky Sea Salt (½ teaspoon)
Instructions
- Prep your cheeses (5 minutes): Take your cheeses out of the fridge about 15 minutes before serving. Slice the cheddar and gouda into thin triangles or rectangles—about ¼-inch thick. Leave the brie whole or cut it into wedges. For the goat cheese, slice the log into rounds or leave it whole with a knife for spreading.
- Prepare the apples (5 minutes): Core the apples and slice them into thin wedges—about 8-10 slices per apple. Leave the skin on for color and texture. Toss them in a bowl with a squeeze of lemon juice if you’re worried about browning. Pat them dry with a kitchen towel to remove excess moisture.
- Arrange the cheese (2 minutes): Place your cheeses around the board first. Spread them out so there’s variety in every section. Put the brie in the center or slightly off-center, then cluster the cheddar, gouda, and goat cheese around it. Leave space between them for other items.
- Add the apples and fruit (3 minutes): Nestle the apple slices between the cheeses. Fan them out slightly for visual appeal. Scatter the grapes in small clusters. Place the dried figs or apricots in little piles near the edges.
- Fill in with crunch (3 minutes): Pour the almonds and pecans into small bowls or scatter them directly on the board in small piles. Arrange crackers and baguette slices around the edges, overlapping slightly.
- Add finishing touches (2 minutes): Drizzle honey over the brie and goat cheese. Sprinkle flaky sea salt over the apple slices and any cheese that could use a little lift. Tuck fresh thyme or rosemary sprigs around the board for color and a subtle herbal aroma.
- Serve immediately (0 minutes): Place the board in the center of your table or counter with small plates and napkins. Let people dig in.
Notes
Let cheese come to room temperature for best flavor. Slice apples just before serving to prevent browning. Don’t overcrowd the board; leave some empty space. For make-ahead, prep components separately and assemble right before serving. Leftovers can be stored separately in the fridge.
Nutrition
- Serving Size: 1 serving (approxima
- Calories: 375
- Sugar: 18
- Sodium: 480
- Fat: 22
- Saturated Fat: 10
- Carbohydrates: 32
- Fiber: 5
- Protein: 14
Keywords: apple cheese board, fall snack, easy appetizer, cheese board, fall entertaining, quick snack, party food


