Love this? Save it for later!
Share the inspiration with your friends
I wasn’t expecting baking advice from my accountant, but there I was, stuck in his office chair while he sorted through my messy tax receipts, listening to him describe exactly how to make a pumpkin roll. He paused mid-calculation, looked up, and said, “You know, the trick is to roll it while it’s still warm. Everyone forgets that part.” I remember staring at him, wondering if this was some kind of distraction technique to soften the blow of what I owed. But he was dead serious. He even drew a little diagram on a sticky note of how to roll the cake in a kitchen towel dusted with powdered sugar. I tucked that sticky note into my bag, figuring I’d toss it later. Instead, it became the foundation of what is now my most-requested fall dessert. Honestly, if you had told me that my accountant—a man who speaks in spreadsheets and tax brackets—would be the one to teach me how to make a flawless pumpkin roll, I would have laughed. But here we are. That sticky note is now crumpled and stained, but I still have it tucked inside my favorite cookbook. It reminds me that good recipes can come from the most unexpected places.
This classic pumpkin roll with cream cheese filling is everything you want in a fall dessert. It’s light, spiced perfectly, and has that gorgeous swirl that makes everyone think you spent hours on it. The cake is tender and spongy, almost like a thin pumpkin sponge cake, and the cream cheese filling is rich, tangy, and just sweet enough. When you slice it, those beautiful spirals of orange and white are just stunning. It’s the kind of dessert that disappears at holiday gatherings, and people always ask for the recipe. And the best part? It’s way easier than it looks. I mean, the first time I made it, I was convinced I would crack the cake or mess up the roll. But that sticky note advice—rolling it warm—really is the secret. Maybe you’ve been there, staring at a cracked cake roll, wondering where it all went wrong. I promise, this recipe changes that.
Why You’ll Love This Recipe
This isn’t just another pumpkin roll recipe. I’ve tested this version at least a dozen times, tweaking the flour ratio, adjusting the spice blend, and perfecting the cream cheese filling until it was just right. It’s the kind of recipe that feels both special and totally doable, even on a busy weekday. Here’s why it stands out:
- Quick & Easy: From start to finish, this pumpkin roll comes together in about 45 minutes, plus chilling time. The active prep is minimal, and the rolling technique is simpler than you think.
- Simple Ingredients: You probably already have most of these in your pantry. Canned pumpkin, flour, sugar, eggs, cream cheese—nothing fancy, nothing hard to find.
- Perfect for Fall Gatherings: Whether it’s Thanksgiving, a Friendsgiving potluck, or just a cozy Sunday dessert, this pumpkin roll is always a hit. It looks impressive on a platter, but it’s secretly low-stress to make.
- Crowd-Pleaser: I’ve brought this to work parties, family dinners, and neighborhood get-togethers. It gets devoured every single time. Kids love the sweetness, and adults appreciate the spice and cream cheese tang.
- Unbelievably Delicious: The texture is what gets me every time. The cake is so light and moist, and the filling is silky smooth. Together, they create this perfect bite that’s comforting and indulgent without being too heavy.
What makes this recipe different from the rest is the technique. That tip from my accountant—rolling the cake while it’s still warm in a powdered sugar-dusted towel—prevents cracking and creates that flawless spiral. I also use a touch of cornstarch in the cake flour to keep it extra tender. And the cream cheese filling? I whip it longer than most recipes suggest, which makes it incredibly light and fluffy. This isn’t just another version of a pumpkin roll—it’s the best version, tested and perfected in my own kitchen.
This recipe is the kind that makes you close your eyes after the first bite. It’s comfort food reimagined—faster, easier, but with the same soul-soothing satisfaction. Perfect for impressing guests without stress, or turning a simple fall evening into something memorable.
What Ingredients You Will Need
This recipe uses simple, wholesome ingredients to deliver bold pumpkin flavor and a silky cream cheese filling. Most of these are pantry staples, especially if you bake during the fall season. Here’s what you need:
For the Pumpkin Cake
- All-purpose flour – ¾ cup (95g). I prefer unbleached all-purpose flour for the best structure. Spoon and level it into your measuring cup for accuracy.
- Baking powder – 1 teaspoon. Make sure it’s fresh—this helps the cake rise properly.
- Baking soda – 1 teaspoon. This reacts with the pumpkin’s acidity to create a tender crumb.
- Ground cinnamon – 2 teaspoons. This is the star spice. I use McCormick for its consistent quality.
- Ground ginger – ½ teaspoon. Adds a warm, slightly peppery note.
- Ground nutmeg – ½ teaspoon. Freshly grated is best if you have it.
- Ground cloves – ¼ teaspoon. Just a pinch for depth.
- Salt – ½ teaspoon. Balances the sweetness.
- Granulated sugar – 1 cup (200g). Standard white sugar works perfectly.
- Large eggs – 3, at room temperature. Room temperature eggs incorporate more air, making the cake lighter.
- Canned pumpkin puree – ⅔ cup (165g). Make sure it’s 100% pumpkin, not pumpkin pie filling. I recommend Libby’s for its consistent thickness and flavor.
- Vanilla extract – 1 teaspoon. Pure vanilla extract adds a lovely warmth.
- Powdered sugar – For dusting the towel and the finished roll. You’ll need about ¼ cup for dusting.
For the Cream Cheese Filling
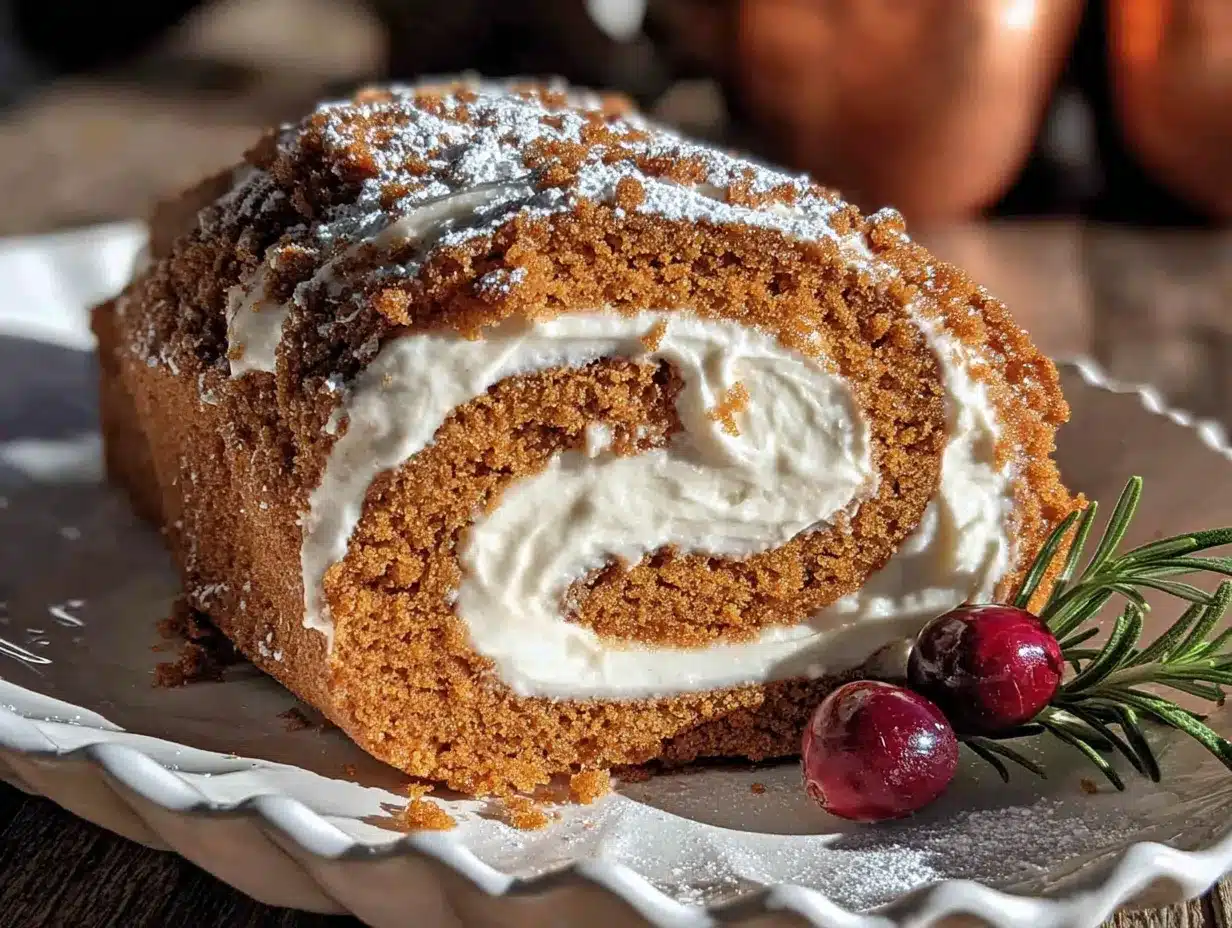
- Cream cheese – 8 ounces (226g), softened. Full-fat cream cheese is non-negotiable here for the best texture and flavor. I use Philadelphia brand.
- Unsalted butter – ¼ cup (57g), softened. Adds richness and helps the filling hold its shape.
- Powdered sugar – 1 cup (120g), sifted. Sifting prevents lumps and keeps the filling silky.
- Vanilla extract – 1 teaspoon. Pure vanilla adds the best flavor.
Substitution Guidance: If you need a gluten-free option, you can substitute the all-purpose flour with a 1:1 gluten-free baking blend. For a dairy-free filling, use vegan cream cheese and plant-based butter, though the texture will be slightly softer. If you don’t have pumpkin pie spice, you can substitute with 2 teaspoons of a store-bought pumpkin pie spice blend instead of the individual spices.
Equipment Needed
You don’t need a ton of fancy equipment for this recipe, which is part of its charm. Here’s what you’ll need:
- 10×15-inch jelly roll pan – This is the standard size for a pumpkin roll. If you don’t have one, a rimmed baking sheet of similar dimensions works, but the cake will be thinner.
- Parchment paper – Absolutely essential for lining the pan and lifting the cake out. Don’t skip this, or the cake will stick.
- Clean kitchen towel – A thin, lint-free cotton or linen towel works best. Avoid terry cloth or anything fuzzy—it will stick to the cake. I use an old flour sack towel.
- Electric mixer – A hand mixer or stand mixer works great. You’ll need it for whipping the eggs and making the filling.
- Large mixing bowls – Two or three for separating wet and dry ingredients.
- Rubber spatula – For folding the flour mixture into the batter gently.
- Fine-mesh sieve – For sifting the powdered sugar onto the towel and the finished roll.
- Cooling rack – Helps the cake cool evenly after rolling.
- Sharp knife or serrated knife – For clean slices. A serrated knife works best to avoid squishing the roll.
Budget-Friendly Tips: If you don’t have a jelly roll pan, you can use a half-sheet pan (13×18 inches) and double the recipe, or adjust the baking time. A clean, thin dish towel from your kitchen drawer works perfectly—no need to buy a special one. And if you don’t have a sifter, a fine-mesh strainer does the same job.
Preparation Method
Let’s get rolling! Follow these steps carefully, and you’ll have a beautiful pumpkin roll that looks like it came from a bakery.
- Preheat and Prep: Preheat your oven to 375°F (190°C). Line your 10×15-inch jelly roll pan with parchment paper, leaving a little overhang on the long sides. Lightly grease the parchment paper with non-stick spray or butter. This ensures the cake releases easily.
- Mix Dry Ingredients: In a medium bowl, whisk together the flour, baking powder, baking soda, cinnamon, ginger, nutmeg, cloves, and salt. Set aside. This distributes the spices evenly so you don’t get a clump of cinnamon in one bite.
- Whip Eggs and Sugar: In a large mixing bowl, beat the eggs and granulated sugar together with an electric mixer on high speed for about 3-4 minutes. The mixture should become thick, pale, and ribbon-like—when you lift the beaters, the batter should fall back into the bowl in a slow, thick ribbon. This step is crucial for creating the cake’s light texture, so don’t rush it.
- Add Pumpkin and Vanilla: Reduce the mixer speed to low and beat in the pumpkin puree and vanilla extract until just combined. The batter will deflate a little, and that’s okay. Scrape down the sides and bottom of the bowl with a spatula.
- Fold in Dry Ingredients: Sprinkle the flour mixture over the pumpkin batter. Using a rubber spatula, gently fold the dry ingredients into the wet ingredients. Fold just until no streaks of flour remain—overmixing will make the cake tough. The batter will be thick and fluffy.
- Spread in Pan: Pour the batter into the prepared pan and spread it evenly with the spatula. It will be a thin layer—that’s exactly what you want. Make sure it reaches all the corners evenly.
- Bake: Bake for 12-15 minutes, or until the top of the cake springs back when lightly touched and the edges are just starting to pull away from the pan. The center should not look wet or jiggly. My first time, I overbaked it by two minutes, and it cracked when I tried to roll it. So keep an eye on it!
- Prepare the Rolling Surface: While the cake is baking, lay your clean kitchen towel flat on the counter. Sift a generous layer of powdered sugar over the entire towel. This prevents the cake from sticking to the towel and adds a touch of sweetness.
- Roll While Warm: As soon as the cake comes out of the oven, run a knife around the edges to loosen it. Carefully lift the parchment paper to transfer the cake onto the powdered sugar-dusted towel. Peel off the parchment paper slowly. Starting at one short end, roll the cake and towel together into a tight log. Roll it away from you, keeping it snug but not so tight that the cake squishes out. This is the step my accountant emphasized—rolling it while warm trains the cake to hold that shape.
- Cool Completely: Place the rolled cake (still wrapped in the towel) on a cooling rack. Let it cool completely, about 1 hour. Do not unroll it while it’s warm, or it will crack. Patience here pays off.
- Make the Filling: While the cake cools, make the cream cheese filling. In a medium bowl, beat the softened cream cheese and butter together with an electric mixer on medium speed until smooth and creamy, about 2 minutes. Add the sifted powdered sugar and vanilla extract. Beat on low speed until combined, then increase to medium-high and beat for another 2-3 minutes until the filling is light, fluffy, and spreadable. Scrape down the bowl as needed.
- Unroll and Fill: Once the cake is completely cool, gently unroll it. It will try to curl back a little, and that’s fine. Spread the cream cheese filling evenly over the cake, leaving a ½-inch border around the edges. Don’t skimp on the filling—you want it in every bite.
- Roll Again: Carefully re-roll the cake, this time without the towel. Use the parchment paper or your hands to guide it. Roll it as tightly as you can without squeezing the filling out the sides. Wrap the finished roll tightly in plastic wrap and refrigerate for at least 2 hours, or overnight. Chilling sets the filling and makes slicing much cleaner.
- Slice and Serve: When ready to serve, unwrap the pumpkin roll and place it on a serving platter. Trim the ends for a clean look if desired. Dust the top with powdered sugar just before serving. Use a sharp serrated knife to slice into 1-inch rounds, wiping the knife clean between slices for neat edges.
Cooking Tips & Techniques
Over the years, I’ve learned a few tricks that make this pumpkin roll foolproof. Here are my best tips:
- Don’t Overbake: This is the number one mistake. The cake should be just set and springy to the touch. Overbaking dries it out, and dry cake cracks when you roll it. Set a timer for 12 minutes and check it.
- Use a Thin Towel: A thick, fluffy towel will leave imprints on the cake and make it harder to roll. A thin cotton or linen towel works best. I actually use an old cloth napkin, and it works perfectly.
- Dust Generously with Powdered Sugar: Don’t be shy with the powdered sugar on the towel. It prevents sticking and adds a subtle sweetness to the outside of the cake. Sift it on evenly.
- Roll Immediately: The cake must be rolled while it’s still warm from the oven. If you let it cool flat, it will crack when you try to roll it. That first roll sets the memory of the cake.
- Chill Before Slicing: I know it’s tempting to slice right away, but chilling for at least 2 hours makes the filling firm and the cake easier to cut cleanly. Overnight is even better.
- Wipe Your Knife: Between slices, wipe the knife with a damp paper towel. This prevents the cream cheese filling from smearing onto the next slice and keeps everything looking pristine.
- My Biggest Failure: The first time I made this, I forgot to dust the towel with powdered sugar. The cake stuck to the towel like glue, and I ended up with a torn, sad mess. I ate it out of the pan with a spoon, and it was still delicious, but it taught me never to skip that step.
Variations & Adaptations
This classic pumpkin roll is wonderful as-is, but it’s also super adaptable. Here are some variations I’ve tried and loved:
- Chocolate Pumpkin Roll: Replace ¼ cup of the all-purpose flour with ¼ cup of unsweetened cocoa powder. The chocolate and pumpkin combination is surprisingly amazing—like a pumpkin brownie in roll form.
- Maple Cream Cheese Filling: Add 2 tablespoons of pure maple syrup to the cream cheese filling and reduce the powdered sugar by 2 tablespoons. The maple flavor pairs beautifully with the pumpkin spices. I made this for a fall brunch, and it was gone in minutes.
- Gluten-Free Version: Substitute the all-purpose flour with a 1:1 gluten-free baking blend that contains xanthan gum. The texture will be slightly more delicate, so handle it gently when rolling. I’ve had good results with King Arthur Measure for Measure.
- Pumpkin Roll with Pecans: Sprinkle ½ cup of finely chopped pecans over the cream cheese filling before rolling. The nuts add a lovely crunch and a nutty flavor that complements the pumpkin. Toast the pecans first for extra depth.
- Spiced Cream Cheese Filling: Add ½ teaspoon of cinnamon and a pinch of nutmeg to the cream cheese filling for an extra layer of warmth. This is my go-to for Thanksgiving.
Serving & Storage Suggestions
This pumpkin roll is best served chilled or at room temperature. I prefer it straight from the fridge—the filling is firmer, and the slices hold their shape beautifully. Place the slices on a platter and dust with a little extra powdered sugar right before serving for that snowy, festive look.
What to Serve With It: A dollop of freshly whipped cream is always a good idea. For drinks, a hot cup of spiced chai or a pumpkin spice latte complements the flavors perfectly. If you’re serving it as part of a holiday spread, it pairs wonderfully with a simple roasted turkey dinner or a warm apple cider.
Storage: Wrap the pumpkin roll tightly in plastic wrap and store it in the refrigerator for up to 5 days. The flavors actually meld and improve after a day or two. I’ve never had one last longer than that in my house, but it should be fine.
Freezing: This pumpkin roll freezes beautifully. Wrap it tightly in plastic wrap, then in a layer of aluminum foil, and freeze for up to 3 months. To serve, thaw it in the refrigerator overnight. Do not thaw at room temperature, as the filling can become too soft. Once thawed, dust with powdered sugar and slice.
Reheating: I don’t recommend reheating this dessert—it’s meant to be served cold or at room temperature. But if you prefer it slightly warm, let a slice sit out for 10-15 minutes before serving.
Nutritional Information & Benefits
Here’s an approximate nutritional breakdown for one slice (based on 10 servings):
- Calories: 285
- Total Fat: 12g
- Saturated Fat: 7g
- Cholesterol: 85mg
- Sodium: 210mg
- Total Carbohydrates: 40g
- Dietary Fiber: 1g
- Sugars: 30g
- Protein: 4g
Health Benefits: Pumpkin is packed with vitamin A, which is great for eye health and immune function. It’s also a good source of fiber and antioxidants. The cream cheese filling provides calcium and protein, though it’s definitely a treat. This dessert is a wonderful way to enjoy the nutritional benefits of pumpkin in a delicious, celebratory form. It’s a dessert, yes, but it’s made with real, whole ingredients—no artificial flavors or preservatives.
Dietary Considerations: This recipe contains gluten, dairy, and eggs. For a gluten-free version, see the variations section. For a dairy-free option, use vegan cream cheese and plant-based butter, though the texture will be slightly softer. This recipe can be made nut-free by omitting any nut variations.
Conclusion
This classic pumpkin roll with cream cheese filling is more than just a dessert—it’s a little piece of fall that you can share with the people you love. It’s surprisingly simple to make, looks incredibly impressive on a platter, and tastes like pure comfort. Whether you’re making it for Thanksgiving, a cozy weekend gathering, or just because you’re craving something pumpkin-spiced, this recipe delivers every single time.
I love this recipe because it reminds me that good things can come from unexpected places. That sticky note from my accountant is now a treasured part of my baking routine, and every time I make this pumpkin roll, I smile at the memory. I hope this recipe becomes a tradition in your kitchen, too. Don’t be afraid to make it your own—add your favorite spices, try a new filling variation, or double the batch for a crowd.
I’d love to hear how it turns out for you! Leave a comment below and let me know if you tried any fun variations. And if you share a photo on Pinterest, tag me—I always love seeing your beautiful bakes. Happy rolling, friends!
Frequently Asked Questions
Why did my pumpkin cake crack when I rolled it?
This usually happens for two reasons: either the cake was overbaked, or you let it cool too long before rolling. Make sure you roll it while it’s still warm from the oven, and check it at the 12-minute mark to avoid overbaking. A thin layer of powdered sugar on the towel also helps prevent sticking and cracking.
Can I use fresh pumpkin instead of canned?
You can, but I don’t recommend it for this recipe. Canned pumpkin has a consistent moisture content and texture that’s ideal for baking. Fresh pumpkin puree tends to be more watery, which can make the cake soggy and affect the roll. If you must use fresh, strain it through a cheesecloth or fine-mesh sieve to remove excess liquid.
How do I get clean slices without the filling squishing out?
Chill the pumpkin roll for at least 2 hours before slicing. Use a sharp serrated knife and wipe it clean with a damp paper towel between each slice. This keeps the edges neat and prevents the cream cheese filling from smearing.
Can I make this pumpkin roll ahead of time?
Absolutely! In fact, it’s better made a day ahead. The flavors meld and the filling sets perfectly overnight. Just wrap it tightly in plastic wrap and store it in the refrigerator. Dust with powdered sugar right before serving.
Why is my cream cheese filling runny?
Runny filling usually means the cream cheese or butter was too soft, or you overbeat it. Make sure your cream cheese and butter are softened but still cool to the touch—not melted or greasy. If your kitchen is warm, chill the filling for 15-20 minutes before spreading it on the cake.
Pin This Recipe!
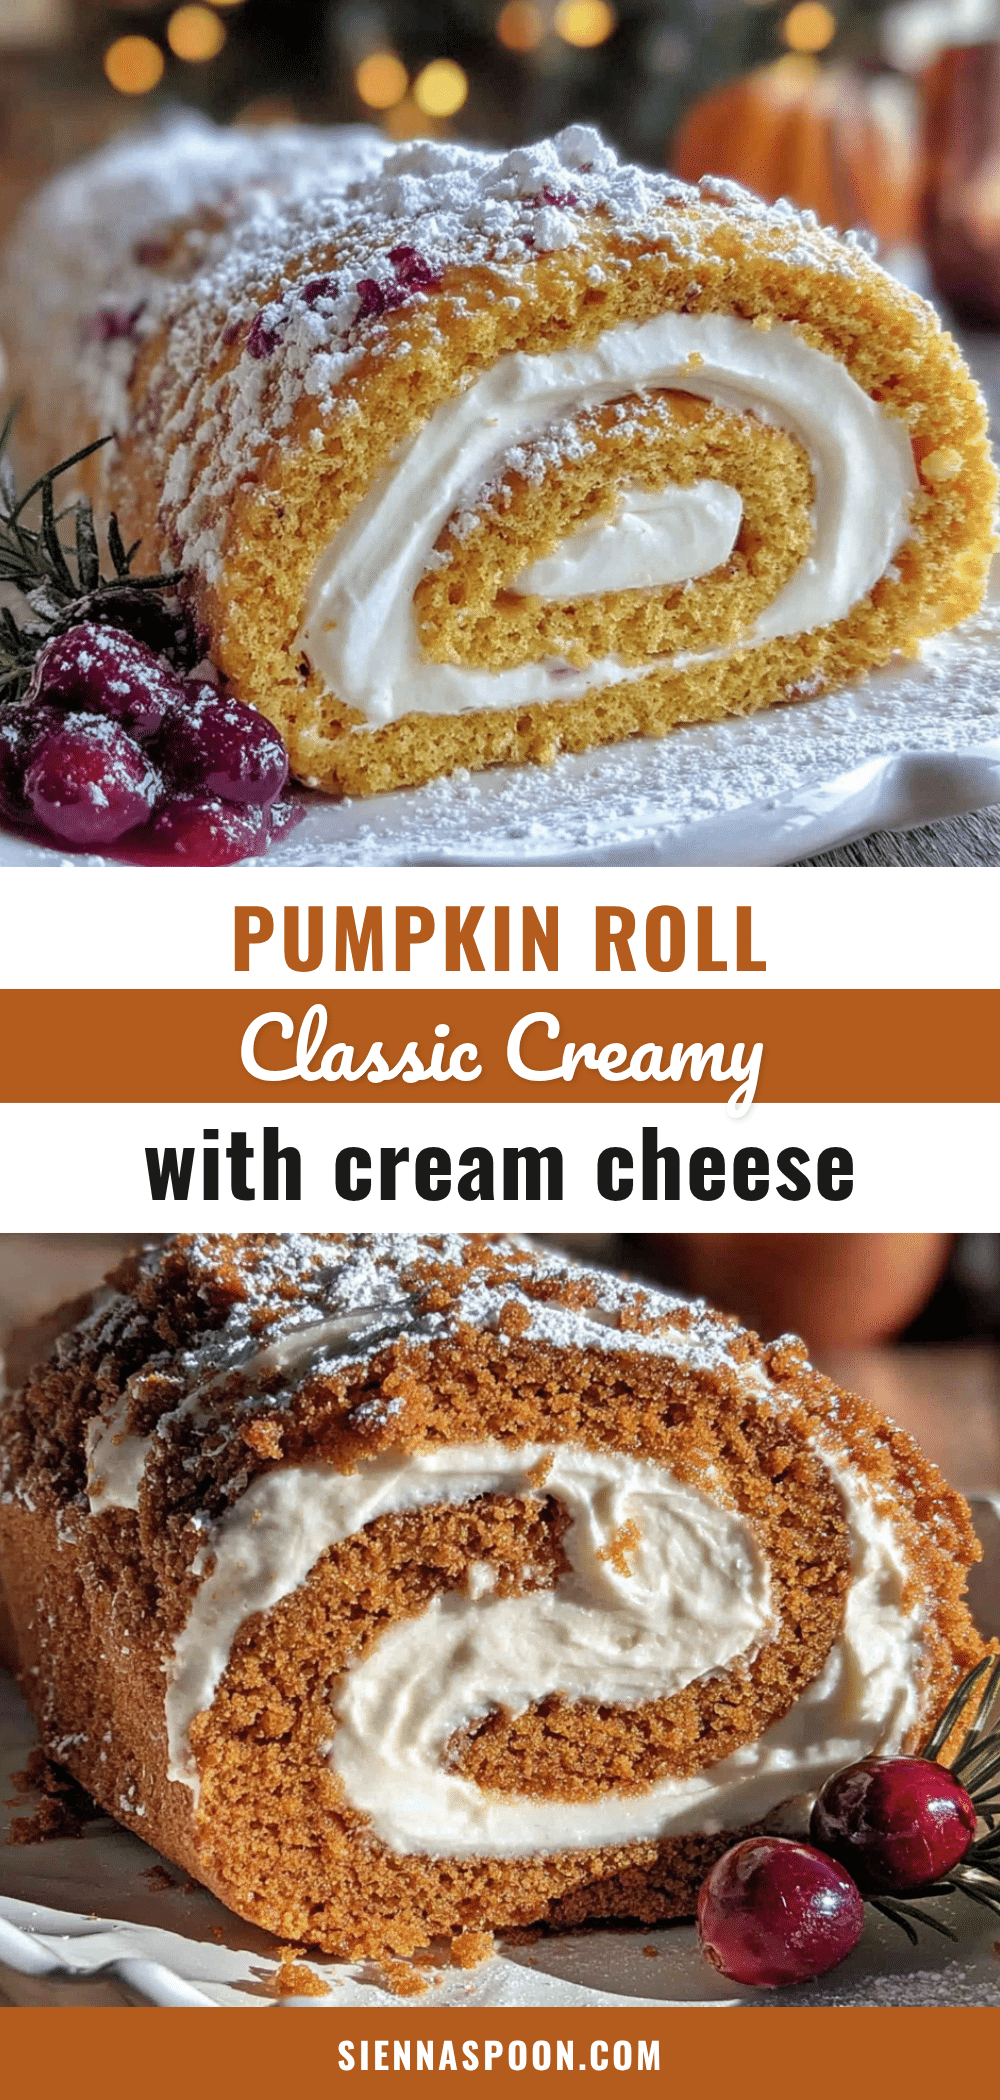
Easy Classic Pumpkin Roll with Cream Cheese Filling
This classic pumpkin roll with cream cheese filling is everything you want in a fall dessert. It’s light, spiced perfectly, and has that gorgeous swirl that makes everyone think you spent hours on it.
- Prep Time: 15 minutes
- Cook Time: 15 minutes
- Total Time: 45 minutes (plus 2 hours chilling)
- Yield: 10 servings 1x
- Category: Dessert
- Cuisine: American
Ingredients
- 3/4 cup (95g) all-purpose flour
- 1 teaspoon baking powder
- 1 teaspoon baking soda
- 2 teaspoons ground cinnamon
- 1/2 teaspoon ground ginger
- 1/2 teaspoon ground nutmeg
- 1/4 teaspoon ground cloves
- 1/2 teaspoon salt
- 1 cup (200g) granulated sugar
- 3 large eggs, at room temperature
- 2/3 cup (165g) canned pumpkin puree
- 1 teaspoon vanilla extract
- 1/4 cup powdered sugar (for dusting)
- 8 ounces (226g) cream cheese, softened
- 1/4 cup (57g) unsalted butter, softened
- 1 cup (120g) powdered sugar, sifted
- 1 teaspoon vanilla extract
Instructions
- Preheat oven to 375°F (190°C). Line a 10×15-inch jelly roll pan with parchment paper, leaving overhang on the long sides. Lightly grease the parchment paper.
- In a medium bowl, whisk together flour, baking powder, baking soda, cinnamon, ginger, nutmeg, cloves, and salt. Set aside.
- In a large mixing bowl, beat eggs and granulated sugar with an electric mixer on high speed for 3-4 minutes until thick, pale, and ribbon-like.
- Reduce mixer speed to low and beat in pumpkin puree and vanilla extract until just combined. Scrape down bowl.
- Sprinkle flour mixture over pumpkin batter and gently fold with a rubber spatula until no streaks remain.
- Pour batter into prepared pan and spread evenly into a thin layer.
- Bake for 12-15 minutes, until top springs back when lightly touched and edges start to pull away from pan.
- While cake bakes, lay a clean kitchen towel flat on the counter and sift a generous layer of powdered sugar over it.
- As soon as cake comes out of oven, run a knife around edges to loosen. Lift parchment to transfer cake onto the powdered sugar-dusted towel. Peel off parchment paper.
- Starting at one short end, roll cake and towel together into a tight log. Place on a cooling rack and cool completely, about 1 hour.
- While cake cools, make filling: In a medium bowl, beat softened cream cheese and butter with an electric mixer on medium speed until smooth and creamy, about 2 minutes. Add sifted powdered sugar and vanilla extract. Beat on low until combined, then increase to medium-high and beat for 2-3 minutes until light and fluffy.
- Once cake is completely cool, gently unroll it. Spread cream cheese filling evenly over cake, leaving a 1/2-inch border around edges.
- Carefully re-roll cake without the towel, rolling as tightly as possible without squeezing filling out. Wrap tightly in plastic wrap and refrigerate for at least 2 hours or overnight.
- When ready to serve, unwrap, trim ends if desired, dust with powdered sugar, and slice into 1-inch rounds with a sharp serrated knife, wiping knife clean between slices.
Notes
Roll the cake while it’s still warm to prevent cracking. Use a thin, lint-free towel dusted generously with powdered sugar. Chill before slicing for clean edges. For best results, make a day ahead.
Nutrition
- Serving Size: 1 slice
- Calories: 285
- Sugar: 30
- Sodium: 210
- Fat: 12
- Saturated Fat: 7
- Carbohydrates: 40
- Fiber: 1
- Protein: 4
Keywords: pumpkin roll, cream cheese filling, fall dessert, pumpkin dessert, easy pumpkin roll, Thanksgiving dessert


