Love this? Save it for later!
Share the inspiration with your friends
Introduction
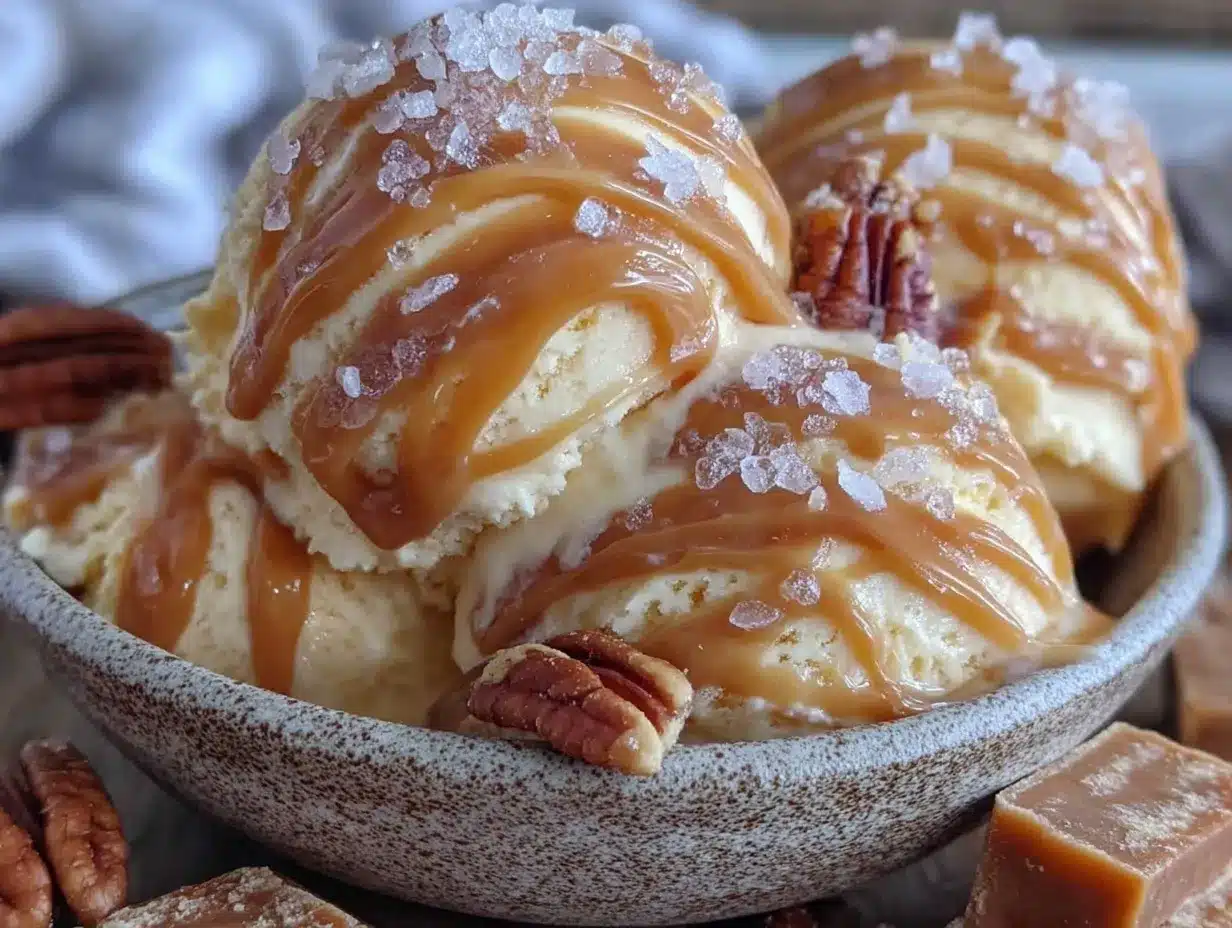
There used to be this tiny little ice cream shop tucked into a quiet corner of Beacon Hill in Boston that made the most unforgettable salted caramel ice cream. When they suddenly shuttered their doors one chilly October evening, I was honestly devastated. It wasn’t just any ice cream — it was the kind that melted in your mouth with a perfect balance of creamy sweetness and that hint of salty magic that makes you want to savor every bite. After about a dozen attempts — some too grainy, some too icy, and one downright caramel disaster that left me scrubbing the kitchen counter at midnight — I finally got it. This creamy no-churn salted caramel ice cream recipe nails that exact texture and flavor that had me hooked for years. I mean, maybe you’ve been there, chasing that one flavor memory that just won’t let go. It’s the kind of recipe that sticks with you, comforting and indulgent without all the fuss.
Why You’ll Love This Recipe
Honestly, this creamy no-churn salted caramel ice cream is a bit of a kitchen miracle. Here’s what makes it stand out:
- Quick & Easy: Comes together in under 20 minutes, no ice cream maker required — perfect for those last-minute dessert cravings.
- Simple Ingredients: You won’t need to hunt down anything exotic; most are pantry staples or easy to find at your local store.
- Perfect for Any Occasion: Whether it’s an impromptu summer gathering or a cozy night in, this ice cream fits right in.
- Crowd-Pleaser: Kids and adults alike rave about the rich, velvety texture combined with the salty-sweet caramel notes.
- Unbelievably Delicious: The secret is in the homemade salted caramel swirl that brings just the right balance of flavor and creaminess.
This recipe isn’t just another take on salted caramel ice cream. The no-churn method keeps it incredibly smooth and creamy, and blending the caramel right into the base before freezing creates layers of flavor that keep you coming back for spoonful after spoonful. It’s comfort food with a little twist — easy to make, yet feels special enough to impress guests or treat yourself.
What Ingredients You Will Need
This creamy no-churn salted caramel ice cream recipe uses simple, wholesome ingredients to deliver that rich, luscious texture paired with bold caramel flavor without any fuss. You’ll find most of these in your pantry or fridge already.
- Heavy whipping cream (2 cups/480 ml) – for that luxurious creaminess, I prefer Organic Valley heavy cream for its consistency.
- Sweetened condensed milk (1 can, 14 oz/396 g) – adds natural sweetness and helps create the no-churn texture.
- Granulated sugar (1/2 cup/100 g) – for making the caramel; use a fine sugar for even melting.
- Unsalted butter (4 tbsp/57 g) – enriches the caramel with a silky mouthfeel.
- Sea salt flakes (1 tsp, plus more for sprinkling) – flaky sea salt like Maldon gives the perfect crunchy salty contrast.
- Vanilla extract (1 tsp) – enhances the overall flavor without overpowering the caramel.
If you want to swap out dairy, coconut cream can substitute for the heavy cream, and use a dairy-free condensed milk alternative, but keep in mind the texture will be slightly different. Also, if you’re feeling adventurous, a splash of bourbon in the caramel adds a nice depth, but it’s totally optional.
Equipment Needed
- Mixing bowls: A large bowl for whipping cream and a separate one for caramel.
- Hand mixer or stand mixer: For whipping the cream to soft peaks; I’ve used both, and a stand mixer makes it hands-free.
- Medium saucepan: For melting sugar and making caramel; a heavy-bottomed pan prevents burning.
- Rubber spatula: Essential for folding the whipped cream gently into the condensed milk.
- Loaf pan or freezer-safe container: For freezing the ice cream; I find a metal loaf pan freezes the ice cream evenly and makes scooping easier.
Don’t have a candy thermometer? No worries. You’ll learn how to judge caramel by sight and smell below. If you want budget-friendly options, any basic hand mixer and a glass or plastic container will do just fine!
Preparation Method
- Prepare the salted caramel: In a medium saucepan over medium heat, add 1/2 cup (100 g) granulated sugar. Stir constantly with a wooden spoon or heatproof spatula as it melts into a golden amber liquid. This should take about 6–8 minutes. Tip: Resist stirring too vigorously to avoid crystallization. If sugar crystals form on the pan edges, brush them down with a wet pastry brush.
- Add butter: Once the sugar is fully melted and amber-colored, remove from heat and whisk in 4 tbsp (57 g) unsalted butter until smooth. It will bubble vigorously—be careful! Return to low heat if needed to melt any remaining chunks.
- Stir in cream and salt: Slowly add 1/4 cup (60 ml) heavy cream and 1 tsp sea salt flakes, stirring constantly until smooth. Let the caramel cool to room temperature; this takes about 15 minutes. If you want a thicker drizzle, simmer a little longer.
- Whip the cream: In a large bowl, whip 2 cups (480 ml) heavy cream to soft peaks using a mixer. This usually takes 3-5 minutes. The cream should hold its shape but still be pliable.
- Combine with condensed milk: Gently fold 1 can (14 oz/396 g) sweetened condensed milk and 1 tsp vanilla extract into the whipped cream. Use a spatula and fold slowly to keep the mixture airy.
- Swirl in caramel: Pour about 2/3 of your cooled salted caramel into the ice cream base and fold lightly to create ribbons; don’t overmix or the caramel will disappear.
- Freeze: Transfer the mixture to a loaf pan or container. Drizzle the remaining caramel on top and swirl with a knife for pretty marbling. Sprinkle a tiny pinch of flaky sea salt over the top.
- Freeze at least 6 hours or overnight: The ice cream will set firm but scoopable.
Pro tip: If you want softer ice cream, take it out 10 minutes before serving. Also, don’t skip the sea salt topping – it’s the little crunch that makes all the difference!
Cooking Tips & Techniques
Making salted caramel ice cream can seem intimidating with caramel involved, but a few tricks make it way easier. First, patience is key when melting sugar. I once rushed this step and ended up with burnt caramel — yikes! Stir gently and keep an eye on the color. You want a deep amber, not dark brown or burnt.
When whipping cream, don’t overdo it — soft peaks are ideal for folding. Over-whipping leads to grainy texture or butter formation, which ruins the smoothness. Also, folding is a gentle process. Imagine you’re mixing clouds, aiming to keep as much air as possible.
Timing matters too. You want the caramel cool enough so it doesn’t melt the whipped cream but still pourable for swirling. And finally, salt enhances caramel beautifully, but start small. Too much and the balance tips. I learned this the hard way after a too-salty batch that no one wanted to eat!
Variations & Adaptations
Feel like switching things up? Here are some variations to try:
- Chocolate Salted Caramel: Fold in mini chocolate chips or swirl melted dark chocolate with the caramel for a chocolate-caramel combo.
- Vegan Version: Use coconut cream instead of heavy cream and a dairy-free sweetened condensed milk alternative. The texture changes a bit but stays delicious.
- Spiced Caramel: Add a pinch of cinnamon or cardamom to the caramel for a warm spice note perfect for fall.
- Nutty Twist: Stir in toasted pecans or walnuts before freezing for added crunch and flavor.
I once added a splash of bourbon to the caramel — it was a hit at a dinner party, adding a subtle adult warmth. Remember, no-churn ice cream is forgiving, so feel free to experiment!
Serving & Storage Suggestions
This creamy no-churn salted caramel ice cream is best served slightly softened, about 5–10 minutes at room temperature, so the texture is creamy, not rock hard. Scoop into bowls or cones and sprinkle extra flaky sea salt on top to bring out the flavors.
Pair it with warm apple pie or a drizzle of chocolate sauce for a decadent dessert. It also goes great with a cup of strong coffee or chai for a cozy treat.
Store leftovers in an airtight container in the freezer for up to 2 weeks. To re-soften, let it sit at room temperature for 10 minutes before scooping. Flavors actually deepen the longer it sits, so sometimes it’s even better the next day.
Nutritional Information & Benefits
This no-churn salted caramel ice cream offers a satisfying dessert option with some benefits worth noting. One serving (about 1/2 cup or 125 ml) contains roughly 300 calories, with 18 grams of fat, mostly from heavy cream and butter, and 30 grams of sugar, mainly from the condensed milk and caramel.
While it isn’t a low-calorie treat, the recipe uses real ingredients without artificial additives or stabilizers common in store-bought versions. The caramel’s sea salt offers trace minerals, and homemade means you control the quality of every ingredient.
For those mindful of dairy, the coconut cream variation provides a dairy-free alternative, and swapping sugars or sweeteners can tweak the carb content.
Conclusion
This creamy no-churn salted caramel ice cream recipe is a keeper. It brings that perfect nostalgic flavor from a beloved ice cream shop straight into your own kitchen without the need for fancy equipment or complicated steps. I love how it combines simple ingredients into something that feels indulgent and special. Honestly, it’s become my go-to when I want to impress friends or just treat myself after a long day. Give it a try, play with the caramel swirl, and make it yours — I’d love to hear how your version turns out! Feel free to share your tips, tweaks, or questions below. Happy ice cream making!
FAQs
Can I make this salted caramel ice cream without a mixer?
Yes! You can whisk the cream by hand, but it will take more time and effort to reach soft peaks. Using a chilled bowl helps speed up the process.
Why is my caramel grainy or crystallized?
Sugar crystallizes if stirred too hard or if impurities are introduced. Use a clean pan, stir gently, and brush down sugar crystals on the pan edges with a wet brush to prevent this.
How do I store leftover ice cream?
Place in an airtight container and freeze for up to two weeks. Let it soften at room temperature for 10 minutes before scooping to retain creaminess.
Can I add mix-ins like nuts or chocolate chips?
Absolutely! Fold in your favorite mix-ins right before freezing for extra texture and flavor.
Is this recipe suitable for vegans or those with dairy allergies?
With substitutions like coconut cream and dairy-free condensed milk, you can make a vegan-friendly version. Just be mindful the texture will vary slightly.
Pin This Recipe!
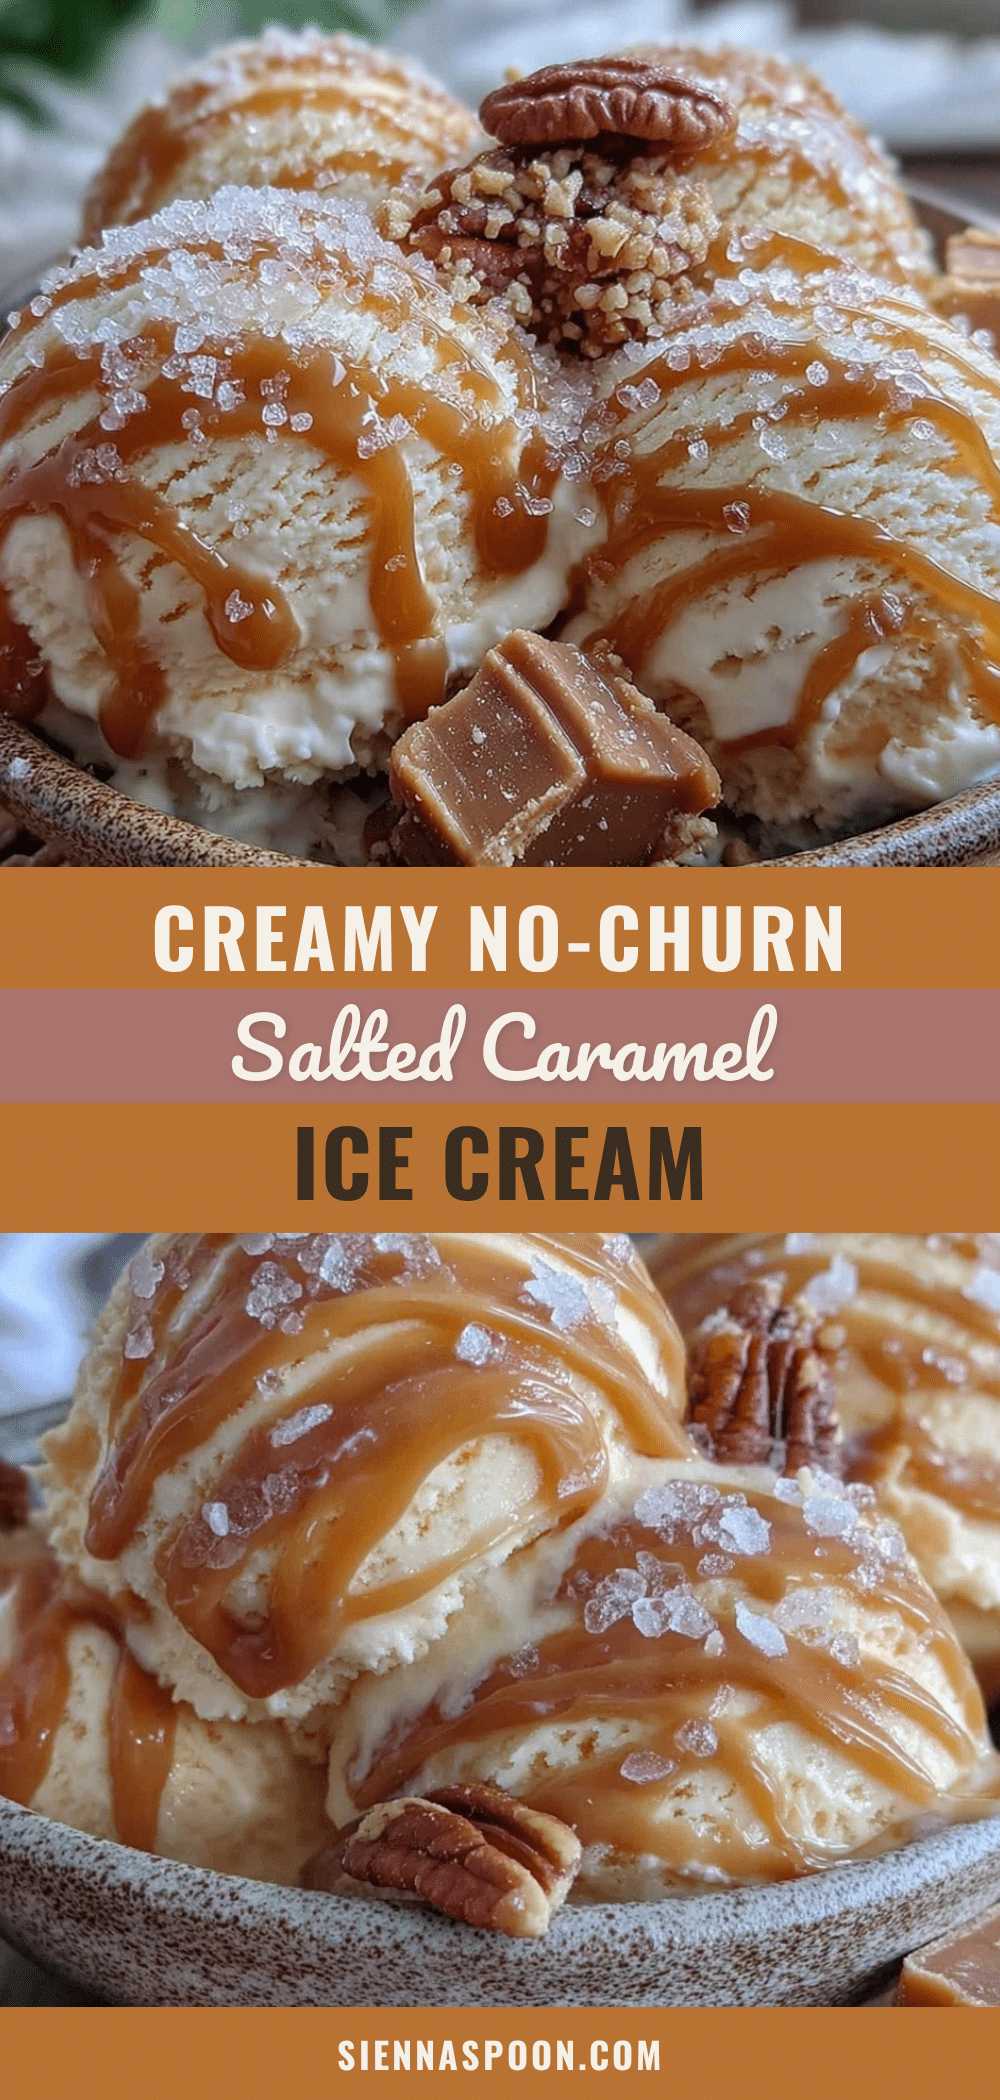
Creamy No-Churn Salted Caramel Ice Cream

A quick and easy no-churn salted caramel ice cream recipe that delivers a rich, velvety texture with a perfect balance of creamy sweetness and salty caramel notes. No ice cream maker required.
- Prep Time: 15 minutes
- Cook Time: 10 minutes
- Total Time: 6 hours 25 minutes
- Yield: 8 servings 1x
- Category: Dessert
- Cuisine: American
Ingredients
- 2 cups (480 ml) heavy whipping cream
- 1 can (14 oz / 396 g) sweetened condensed milk
- 1/2 cup (100 g) granulated sugar
- 4 tbsp (57 g) unsalted butter
- 1 tsp sea salt flakes, plus more for sprinkling
- 1 tsp vanilla extract
Instructions
- Prepare the salted caramel: In a medium saucepan over medium heat, add 1/2 cup (100 g) granulated sugar. Stir constantly with a wooden spoon or heatproof spatula as it melts into a golden amber liquid, about 6–8 minutes. Avoid stirring too vigorously to prevent crystallization. Brush down sugar crystals on pan edges with a wet pastry brush if needed.
- Add butter: Remove from heat and whisk in 4 tbsp (57 g) unsalted butter until smooth. Return to low heat if needed to melt any remaining chunks.
- Stir in cream and salt: Slowly add 1/4 cup (60 ml) heavy cream and 1 tsp sea salt flakes, stirring constantly until smooth. Let the caramel cool to room temperature, about 15 minutes.
- Whip the cream: In a large bowl, whip 2 cups (480 ml) heavy cream to soft peaks using a mixer, about 3-5 minutes.
- Combine with condensed milk: Gently fold 1 can (14 oz / 396 g) sweetened condensed milk and 1 tsp vanilla extract into the whipped cream using a spatula, folding slowly to keep the mixture airy.
- Swirl in caramel: Pour about 2/3 of the cooled salted caramel into the ice cream base and fold lightly to create ribbons without overmixing.
- Freeze: Transfer mixture to a loaf pan or freezer-safe container. Drizzle remaining caramel on top and swirl with a knife for marbling. Sprinkle a tiny pinch of flaky sea salt over the top.
- Freeze at least 6 hours or overnight until firm but scoopable.
Notes
If you want softer ice cream, take it out 10 minutes before serving. Don’t skip the sea salt topping for a crunchy salty contrast. Use a heavy-bottomed pan to prevent burning caramel. For dairy-free version, substitute coconut cream for heavy cream and use dairy-free condensed milk alternative. Optional splash of bourbon can be added to caramel for depth.
Nutrition
- Serving Size: 1/2 cup (125 ml)
- Calories: 300
- Sugar: 30
- Sodium: 150
- Fat: 18
- Saturated Fat: 11
- Carbohydrates: 30
- Protein: 3
Keywords: no-churn ice cream, salted caramel, homemade dessert, easy ice cream recipe, no ice cream maker, creamy ice cream, caramel swirl