Love this? Save it for later!
Share the inspiration with your friends
This was supposed to be a batch of my grandmother’s famous chocolate fudge. I had the marshmallow creme, the good vanilla, and a whole bag of semi-sweet chips ready to go. But somewhere between answering the door for the first trick-or-treaters and realizing my toddler had hidden the candy thermometer behind the couch cushions, the plan fell apart. I grabbed the wrong bag from the pantry—a half-eaten sack of fun-sized Snickers, some rogue Twix, and a few sad, smashed Reese’s cups that had been rattling around since November 1st. The stove was already on, the butter was melting, and I was already ten minutes behind schedule. What came out of that pan was nothing like fudge—and honestly, it was way, way better.
These cookie bars were born from that glorious kitchen mess. You know that feeling when you’re staring at a bowl of leftover Halloween candy and you just know you can’t eat another mini wrapper straight? That’s where this recipe lives. It’s the perfect cozy solution for the week after Halloween, when the candy bowl is still half-full and you need something warm, buttery, and satisfying to share with the family. I mean, let’s face it—those little candy bars are great on their own, but baked into a soft, chewy cookie bar? That’s next-level comfort.
The first time I made these, I pulled the pan out of the oven, let it cool for maybe five minutes (patience is not my strong suit), and cut a crooked square. The top was golden, the edges were crisp, and the inside was studded with melty pockets of caramel and chocolate. It was the kind of bite that makes you stop what you’re doing and just stand there in the kitchen, chewing slowly, thinking about how sometimes the best recipes come from the biggest disasters. Maybe you’ve been there—standing over a warm pan, spatula in hand, wondering why you ever stressed about the original plan. That’s why this recipe stuck with me. It’s a reminder that cozy doesn’t have to be perfect.
Why You’ll Love This Recipe
These Cozy Leftover Halloween Candy Cookie Bars are the kind of recipe that makes you look like a hero with almost zero effort. I’ve tested this base dough at least a dozen times—once with too much butter (greasy mess), once with not enough flour (flat disaster), and once with a mix of candy that included a stray peppermint patty (surprisingly good, actually). This version is the one. It’s the Goldilocks of cookie bars.
- Quick & Easy: From bowl to oven in under 15 minutes. No chilling, no rolling, no fuss. Just mix, press, and bake.
- Simple Ingredients: You probably already have butter, sugar, eggs, and flour in your pantry. The only “special” ingredient is whatever leftover candy you’ve got hiding in the cupboard.
- Perfect for Post-Halloween Coziness: These bars are made for crisp November afternoons, movie nights by the fire, or packing into lunchboxes for a sweet surprise. They’re the definition of cozy fall baking.
- Crowd-Pleaser: I brought a batch to a neighbor’s casual get-together last week, and they vanished in minutes. Kids grabbed two, adults pretended to grab one and snuck a second. No judgment here.
- Unbelievably Delicious: The texture is spot-on—soft and chewy in the middle, slightly crisp around the edges, with pockets of gooey caramel and melty chocolate in every bite. It’s comfort food reimagined: faster, easier, but with the same soul-soothing satisfaction.
What makes these bars different from every other cookie bar recipe out there? It’s the technique of chopping the candy into uneven pieces. I know it sounds silly, but trust me—when you leave some chunks bigger and some smaller, you get those glorious pockets of melted candy that make each bite a little different. It’s not just another version of a cookie bar. It’s your best version, the one you’ll make every year when the candy bowl starts looking sad and the weather turns cold.
What Ingredients You Will Need
This recipe uses simple, wholesome ingredients to deliver big flavor and that perfect chewy texture. Most of these are pantry staples you probably already have on hand, especially if you’ve done any fall baking this season. The star of the show, of course, is your leftover Halloween candy—so don’t overthink it. Anything goes.
- Unsalted butter, melted and slightly cooled (1 cup / 2 sticks / 226g) – Butter is the backbone here. I use unsalted so I can control the salt level. Let it cool for a few minutes after melting so it doesn’t scramble the eggs.
- Light brown sugar, packed (1 cup / 200g) – Brown sugar gives these bars their soft, chewy texture and that deep, almost caramel-like sweetness. I’ve tried using dark brown sugar, and it works too—just makes the bars a little richer.
- Granulated sugar (½ cup / 100g) – A little white sugar helps the edges get that perfect golden crispness. Don’t skip it.
- Large eggs (2, room temperature) – Room temperature eggs mix in more evenly. If you forget to take them out early, just place them in a bowl of warm water for 5 minutes.
- Vanilla extract (2 teaspoons) – Use the real stuff if you’ve got it. I’m partial to Nielsen-Massey, but any pure vanilla extract works. Imitation vanilla is fine in a pinch, but the flavor won’t be as warm and rounded.
- All-purpose flour (2 ¼ cups / 280g) – Spoon and level your flour. Scooping straight from the bag can pack it down and give you dry, crumbly bars. I learned this the hard way—my first batch was more like shortbread.
- Baking soda (1 teaspoon) – This gives the bars just enough lift to stay tender without puffing up too much.
- Salt (½ teaspoon) – Don’t skip the salt. It balances the sweetness and makes the chocolate pop. I use fine sea salt.
- Leftover Halloween candy, roughly chopped (2 cups / about 350g) – Here’s where you get creative. Snickers, Twix, Reese’s cups, Milky Way, Kit Kat—anything with caramel, chocolate, or peanut butter works beautifully. Avoid anything with a hard candy shell (like Skittles or M&Ms) unless you want crunchy bits, which honestly isn’t terrible. Just chop the bars into uneven chunks—some pea-sized, some bigger—so you get those melty pockets.
- Optional: Flaky sea salt for topping – A sprinkle of flaky salt right after the bars come out of the oven takes them from “really good” to “I can’t stop eating these.” I use Maldon, but any flaky salt works.
If you’re looking for substitutions, here are a few I’ve tested: You can swap the all-purpose flour with a 1:1 gluten-free baking flour blend. I’ve used King Arthur’s Measure for Measure, and the texture was nearly identical. For a dairy-free option, use vegan butter sticks (I like Miyoko’s). The flavor changes slightly, but it’s still delicious. And if you don’t have leftover Halloween candy? No problem. Just use 2 cups of chopped chocolate bars or chocolate chips mixed with some chopped nuts or toffee bits. The spirit of the recipe is flexibility.
Equipment Needed
You don’t need a fancy kitchen to make these cookie bars. I’ve made them in my own cluttered, slightly chaotic kitchen more times than I can count, and the only tools I really rely on are the basics.
- 9×13-inch baking pan – This is the sweet spot for getting thick, chewy bars. A metal pan works best for even browning. Glass pans work too, but you might need to add a few minutes to the bake time.
- Parchment paper – Line the pan with parchment, leaving some overhang on the long sides. This creates “handles” that let you lift the whole block of bars out cleanly. Total game-changer.
- Large mixing bowl – Any big bowl works. I use a ceramic one because it feels cozy, but glass or stainless steel is fine.
- Whisk and rubber spatula – A whisk for the wet ingredients, a spatula for folding in the candy. A wooden spoon works too, but the spatula helps you scrape every last bit of dough.
- Chef’s knife and cutting board – For chopping the candy. A serrated knife can help if the candy bars are sticky or have hard caramel centers.
- Cooling rack – Optional but helpful. Letting the bars cool in the pan for 10 minutes, then lifting them onto a rack, prevents the bottom from getting soggy.
If you don’t have a 9×13 pan, you can use two 8×8 square pans and reduce the bake time by about 5 minutes. I’ve done this when my main pan was in use, and it worked perfectly—just keep an eye on the edges. Also, if you’re on a budget, skip the fancy parchment and use non-stick foil. It’s cheaper and works almost as well, though the bars might brown a tiny bit more on the bottom.
Preparation Method
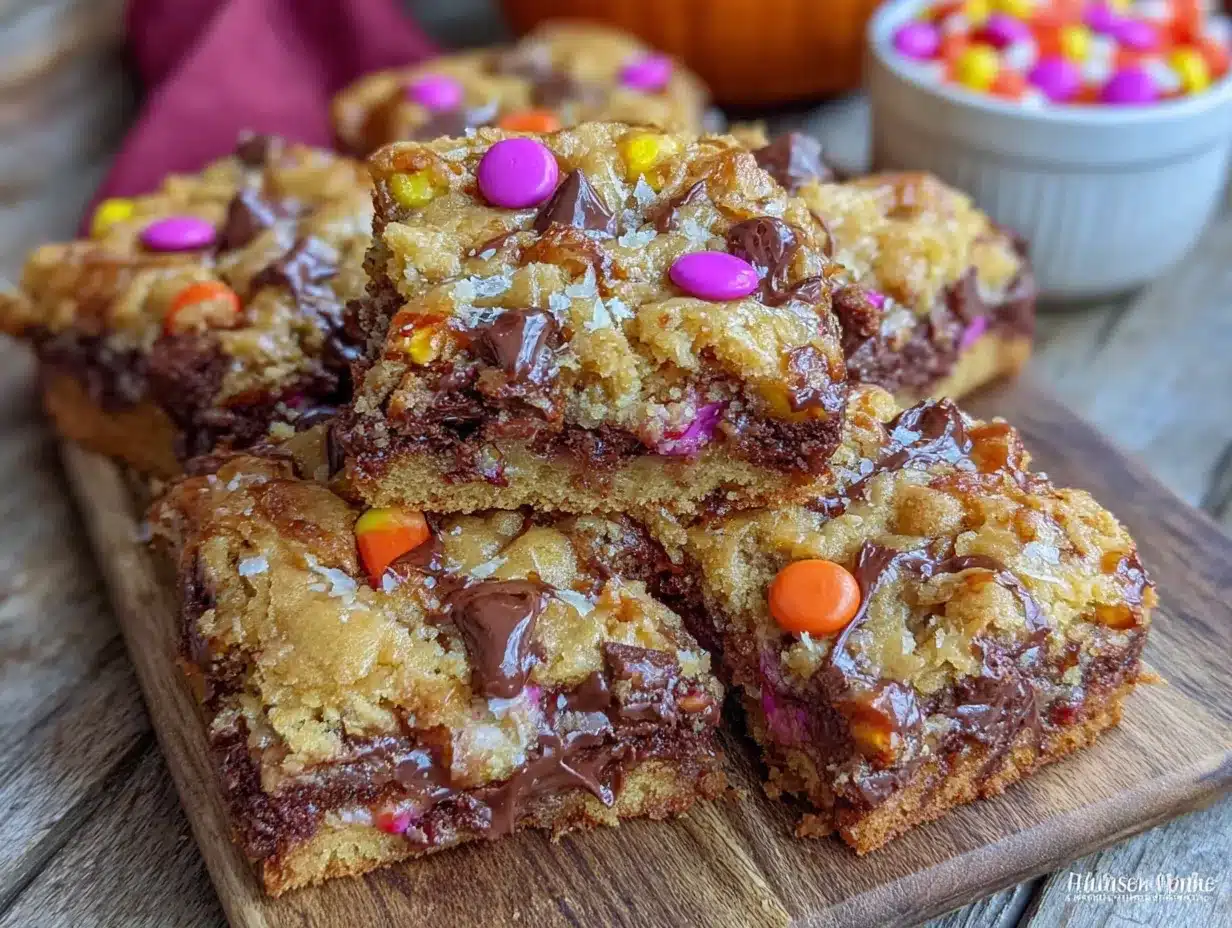
Let’s get to the good part. This method is straightforward, but I’ve sprinkled in some hard-earned tips so your first batch turns out perfect. Trust me—I’ve made the mistakes so you don’t have to.
- Preheat your oven to 350°F (175°C). Position the rack in the center of the oven. While it’s heating, line your 9×13-inch baking pan with parchment paper, leaving about 2 inches of overhang on the two long sides. Lightly grease the parchment with a little butter or non-stick spray—just a thin coat so nothing sticks.
- Melt the butter. In a small saucepan over low heat, melt 1 cup (2 sticks) of unsalted butter. You can also do this in the microwave in 30-second bursts. Let it cool for about 5 minutes—you want it warm, not hot. If it’s too hot, it’ll cook the eggs when you mix them in. I once rushed this step and ended up with tiny scrambled egg bits in my dough. Not ideal.
- Mix the wet ingredients. In a large bowl, whisk together the melted butter, 1 cup packed light brown sugar, and ½ cup granulated sugar until smooth and glossy. It should look like wet sand. Add the 2 room-temperature eggs and 2 teaspoons of vanilla extract, and whisk vigorously for about 30 seconds until the mixture is pale and slightly thickened. This little bit of whisking helps create that crackly top crust.
- Combine the dry ingredients. In a separate medium bowl, whisk together 2 ¼ cups all-purpose flour, 1 teaspoon baking soda, and ½ teaspoon salt. Make sure the baking soda is well distributed—nobody wants a pocket of bitter baking soda in their bar.
- Fold the dry into the wet. Pour the flour mixture into the butter-sugar mixture. Use a rubber spatula to fold gently until just combined. A few streaks of flour are okay—overmixing will make the bars tough. Stop when you can’t see any more dry flour.
- Add the chopped candy. Now for the fun part. Gently fold in 2 cups of roughly chopped leftover Halloween candy. Reserve about ¼ cup to press into the top of the dough later. This step is important: if you just mix it all in, some candy pieces will sink to the bottom. Pressing a few on top ensures every bar has visible, melty candy bits.
- Press the dough into the pan. Transfer the dough to your prepared pan. It will be thick and a little sticky. Use your hands (lightly dampened with water to prevent sticking) or the back of a spatula to press it evenly into the corners. Take your time here—an even layer means even baking. Press the reserved candy pieces into the top of the dough.
- Bake for 22-26 minutes. Place the pan in the preheated oven and bake until the edges are golden brown and the center looks set but still slightly soft. A toothpick inserted in the center should come out with a few moist crumbs, not raw batter. My oven runs hot, so I start checking at 22 minutes. If the edges are browning too fast but the center is still raw, tent the pan loosely with foil for the last 5 minutes.
- Cool completely before cutting. This is the hardest part. Let the bars cool in the pan on a wire rack for at least 1 hour. The bars need this time to set properly—if you cut them too early, they’ll fall apart into a delicious but crumbly mess. I speak from experience. Once cool, use the parchment overhang to lift the entire block onto a cutting board. Slice into 24 squares (6 rows by 4 rows) or 16 larger bars if you’re feeling generous.
A quick sensory note: When the bars are done, your kitchen will smell like a warm bakery crossed with a candy shop. The top should be a deep golden brown, and you’ll see little bubbles of melted caramel peeking through. If you tap the pan gently, the center should jiggle just slightly—it will continue to set as it cools.
Cooking Tips & Techniques
After making these bars more times than I care to admit (including that one batch where I forgot the sugar entirely—don’t ask), I’ve picked up a few tricks that make a real difference.
Chop your candy unevenly. I know I mentioned this earlier, but it bears repeating. When you chop the candy bars into a mix of small crumbs and bigger chunks, you get pockets of melted candy scattered throughout the bar. If all the pieces are the same size, the distribution feels too uniform. You want some bites with a big chunk of Snickers and some with just a hint of caramel.
Don’t overbake. The number one mistake people make with cookie bars is leaving them in the oven too long. They look underdone when you pull them out, and that’s exactly right. The residual heat from the pan continues to cook the bars as they cool. If you wait until the center looks fully set, you’ll end up with dry, crumbly bars. I learned this the hard way when I was making a batch for a book club and proudly pulled out a perfect-looking pan—only to realize later they were more like hockey pucks.
Use a sharp knife for clean cuts. Once the bars are completely cool, use a long, sharp chef’s knife to slice them. Wipe the blade clean between cuts with a damp paper towel. This prevents the caramel from dragging and making a mess of your beautiful bars. If you’re serving these for a party, you can also chill them in the fridge for 20 minutes before cutting—they slice even cleaner when cold.
Timing and multitasking. These bars come together fast, so I like to get all my ingredients measured and ready before I start mixing. It takes about 10 minutes of active prep, then 25 minutes of baking. Use that baking time to clean up your workspace or, you know, finally tackle that mountain of candy wrappers on the counter.
Variations & Adaptations
One of the best things about this recipe is how flexible it is. I’ve tried several variations over the years, and they’ve all been winners in their own way.
- Peanut Butter Lover’s Version: Swap ½ cup of the all-purpose flour for ½ cup of peanut butter powder (like PB2) or add ¼ cup of creamy peanut butter to the wet ingredients. Then use only peanut butter-based candies like Reese’s cups and Butterfinger. The result is intensely peanut buttery and dangerously addictive.
- Dark Chocolate and Sea Salt: Use only dark chocolate candies (like dark chocolate Kit Kats or dark chocolate almonds) and sprinkle the top generously with flaky sea salt before baking. The salt cuts through the sweetness and makes the chocolate taste even richer. This is my personal favorite for grown-up gatherings.
- Gluten-Free Adaptation: Substitute the all-purpose flour with a 1:1 gluten-free baking flour blend that contains xanthan gum. I’ve tested this with King Arthur’s Measure for Measure, and the texture was remarkably close to the original. Just make sure your candy is also gluten-free—some varieties of Twix and Kit Kat contain wheat.
- White Chocolate and Cranberry Twist: If you’re out of Halloween candy or just want a different flavor profile, swap the candy for 1 cup of white chocolate chips and ½ cup of dried cranberries. It’s less decadent but still cozy, and it feels a little more seasonal for Thanksgiving.
- Spiced Autumn Bars: Add 1 teaspoon of cinnamon and ¼ teaspoon of nutmeg to the dry ingredients. Use candy that has caramel or toffee (like Milky Way or Skor bars). The warm spices complement the caramel beautifully and make the kitchen smell incredible.
Serving & Storage Suggestions
These bars are best served at room temperature, but honestly, they’re pretty amazing at any temperature. I’ve eaten them warm from the pan (careful—the caramel is lava-hot), cold from the fridge the next morning with my coffee, and even straight from the freezer on a busy afternoon. No judgment here.
For presentation, I like to arrange the bars on a rustic wooden board or a simple white platter. A light dusting of powdered sugar or a drizzle of melted chocolate makes them look extra special for holiday gatherings. They pair beautifully with a cold glass of milk, a warm mug of spiced apple cider, or a strong cup of black coffee. If you’re serving them after a fall dinner, try them alongside a scoop of vanilla bean ice cream—the warm-cold contrast is pure magic.
Storage: Place leftover bars in an airtight container at room temperature for up to 5 days. Layer them between sheets of parchment paper to prevent sticking. If your kitchen is warm, the caramel might get a little soft—just pop them in the fridge for 10 minutes to firm up.
Freezing: These bars freeze beautifully. Wrap individual bars tightly in plastic wrap, then place them in a freezer-safe bag or container. They’ll keep for up to 3 months. To thaw, just let them sit at room temperature for about 30 minutes, or microwave a frozen bar for 15-20 seconds for that just-baked warmth. I always keep a stash in my freezer for unexpected guests or late-night cravings.
One thing I’ve noticed: the flavors actually get better on the second day. The candy pieces have time to meld into the dough, and the texture evens out. So if you can resist eating them all on day one, you’re in for a treat.
Nutritional Information & Benefits
Let’s be real—these are cookie bars made with butter, sugar, and Halloween candy. They’re a treat, not a health food, and that’s okay. But I do think it’s helpful to know what you’re working with so you can enjoy them mindfully.
Per bar (based on 24 servings), here’s an approximate breakdown:
- Calories: 215
- Total Fat: 11g
- Saturated Fat: 6g
- Carbohydrates: 28g
- Sugar: 18g
- Protein: 3g
- Sodium: 120mg
These numbers will vary depending on what candy you use. If you go heavy on peanut butter cups, the protein and fat will be a little higher. If you use mostly caramel-based candies, the sugar content goes up.
On the bright side, if you use dark chocolate candies, you’ll get a small dose of antioxidants and minerals like iron and magnesium. And hey—there’s something to be said for the mental health benefits of a warm, homemade treat on a chilly day. Baking can be a form of self-care, and sharing these bars with loved ones? That’s good for the soul.
If you’re watching your sugar intake, you can cut the bars smaller (32 instead of 24) or swap half the brown sugar for a sugar substitute like Swerve. I’ve tested this, and the texture changes slightly—it’s a bit less chewy—but the taste is still solid.
Conclusion
These Cozy Leftover Halloween Candy Cookie Bars are proof that the best recipes often come from happy accidents. What started as a failed attempt at fudge turned into a fall tradition I genuinely look forward to every year. They’re easy, forgiving, and endlessly customizable—exactly what you need when the weather turns cold and the candy bowl is staring at you from the counter.
I love that this recipe doesn’t take itself too seriously. You can use whatever candy you have, adjust the mix-ins to your liking, and still end up with something that makes people close their eyes and smile. That’s the kind of baking I want more of in my life.
Now I’d love to hear from you. What’s your favorite candy to bake with? Have you tried these bars with a wild combination I haven’t thought of? Drop a comment below and share your creation. And if you make these, don’t forget to tag me on Pinterest—I love seeing your kitchen victories, messy counters and all. Happy baking, friends!
Frequently Asked Questions
Can I use regular chocolate chips instead of leftover Halloween candy?
Absolutely. If you don’t have leftover candy, just use 2 cups of chocolate chips or chopped chocolate bars. The texture will be a little more uniform, but they’ll still be delicious. I’d recommend using a mix of semi-sweet and milk chocolate for the best flavor.
Why did my cookie bars turn out dry and crumbly?
This usually happens for one of two reasons: overbaking or overmeasuring the flour. Make sure you spoon the flour into your measuring cup and level it off with a knife. And pull the bars out of the oven when the center still looks slightly underdone—they’ll continue to set as they cool.
Can I make these bars ahead of time for a party?
Yes, and they actually taste better the next day! Bake them a day ahead, let them cool completely, and store them in an airtight container at room temperature. Just cut them right before serving for the cleanest edges.
Can I freeze the dough instead of baking it all at once?
You can. Press the dough into the pan, cover it tightly with plastic wrap and foil, and freeze for up to 3 months. When you’re ready to bake, let the pan thaw in the fridge overnight, then bake as directed, adding 2-3 minutes to the bake time since the dough will be cold.
What’s the best way to chop sticky Halloween candy without making a mess?
Pop the candy bars in the freezer for 10-15 minutes before chopping. This firms up the caramel and chocolate, making them much easier to cut cleanly. Use a sharp chef’s knife and a stable cutting board, and wipe the blade clean between cuts if it gets sticky.
Pin This Recipe!
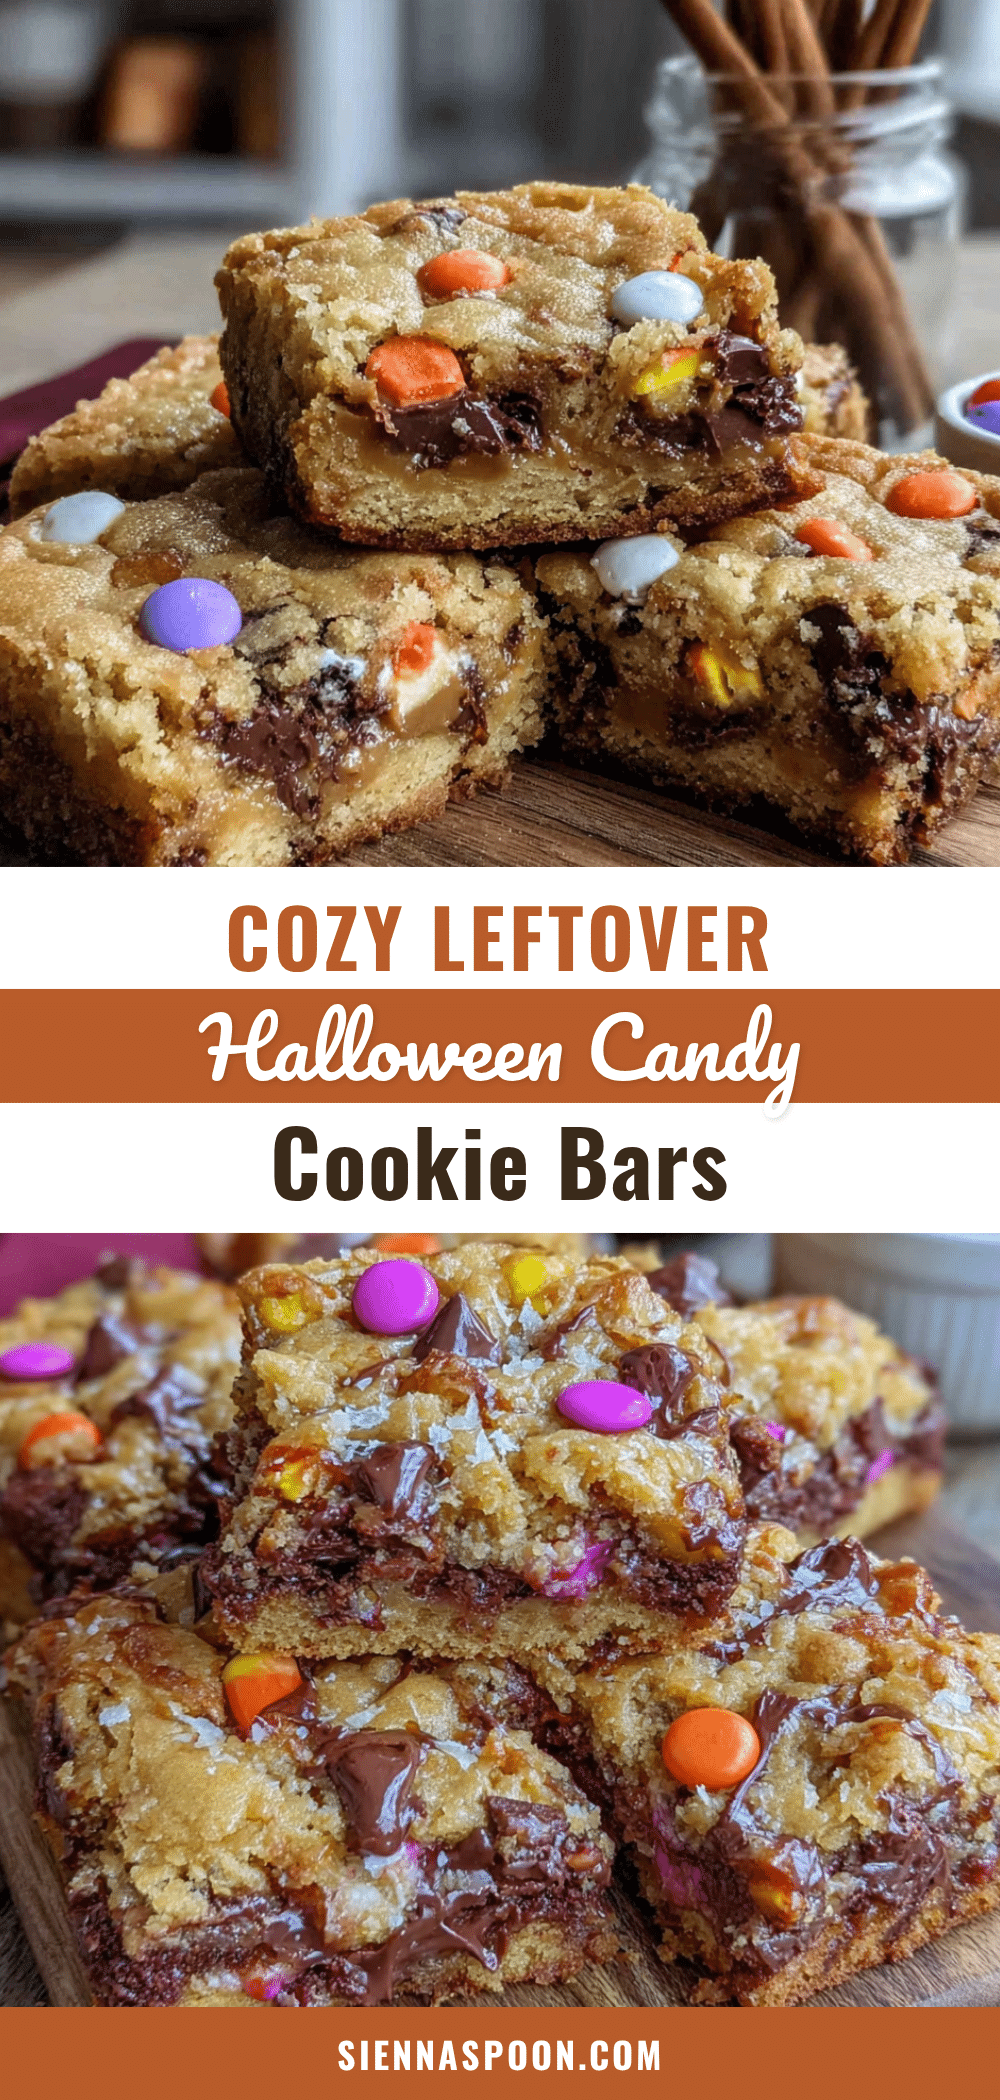
Cozy Leftover Halloween Candy Cookie Bars

These easy cookie bars are the perfect post-Halloween treat, made with leftover candy and simple pantry staples. Soft, chewy, and studded with melty pockets of caramel and chocolate, they’re a cozy fall dessert that comes together in under 30 minutes.
- Prep Time: 15 minutes
- Cook Time: 25 minutes
- Total Time: 40 minutes
- Yield: 24 servings 1x
- Category: Dessert
- Cuisine: American
Ingredients
- 1 cup (2 sticks / 226g) unsalted butter, melted and slightly cooled
- 1 cup (200g) light brown sugar, packed
- ½ cup (100g) granulated sugar
- 2 large eggs, room temperature
- 2 teaspoons vanilla extract
- 2 ¼ cups (280g) all-purpose flour
- 1 teaspoon baking soda
- ½ teaspoon salt
- 2 cups (about 350g) leftover Halloween candy, roughly chopped (e.g., Snickers, Twix, Reese’s cups)
- Optional: flaky sea salt for topping
Instructions
- Preheat your oven to 350°F (175°C). Line a 9×13-inch baking pan with parchment paper, leaving about 2 inches of overhang on the two long sides. Lightly grease the parchment with butter or non-stick spray.
- Melt the butter in a small saucepan over low heat or in the microwave in 30-second bursts. Let it cool for about 5 minutes until warm, not hot.
- In a large bowl, whisk together the melted butter, brown sugar, and granulated sugar until smooth and glossy. Add the eggs and vanilla extract, and whisk vigorously for about 30 seconds until pale and slightly thickened.
- In a separate medium bowl, whisk together the flour, baking soda, and salt.
- Pour the flour mixture into the butter-sugar mixture. Use a rubber spatula to fold gently until just combined. Do not overmix.
- Gently fold in 2 cups of chopped Halloween candy, reserving about ¼ cup to press into the top later.
- Transfer the dough to the prepared pan and press it evenly into the corners. Press the reserved candy pieces into the top of the dough.
- Bake for 22-26 minutes, until the edges are golden brown and the center looks set but still slightly soft. A toothpick inserted in the center should come out with a few moist crumbs.
- Let the bars cool in the pan on a wire rack for at least 1 hour. Then use the parchment overhang to lift the entire block onto a cutting board. Slice into 24 squares (6 rows by 4 rows) or 16 larger bars.
Notes
Chop the candy into uneven pieces for pockets of melted candy. Do not overbake; the center should look slightly underdone when you pull the bars out. For clean cuts, use a sharp knife and wipe the blade between cuts. The bars taste even better the next day.
Nutrition
- Serving Size: 1 bar
- Calories: 215
- Sugar: 18
- Sodium: 120
- Fat: 11
- Saturated Fat: 6
- Carbohydrates: 28
- Protein: 3
Keywords: cookie bars, Halloween candy, leftover candy, easy dessert, fall baking, chewy cookie bars


