Love this? Save it for later!
Share the inspiration with your friends
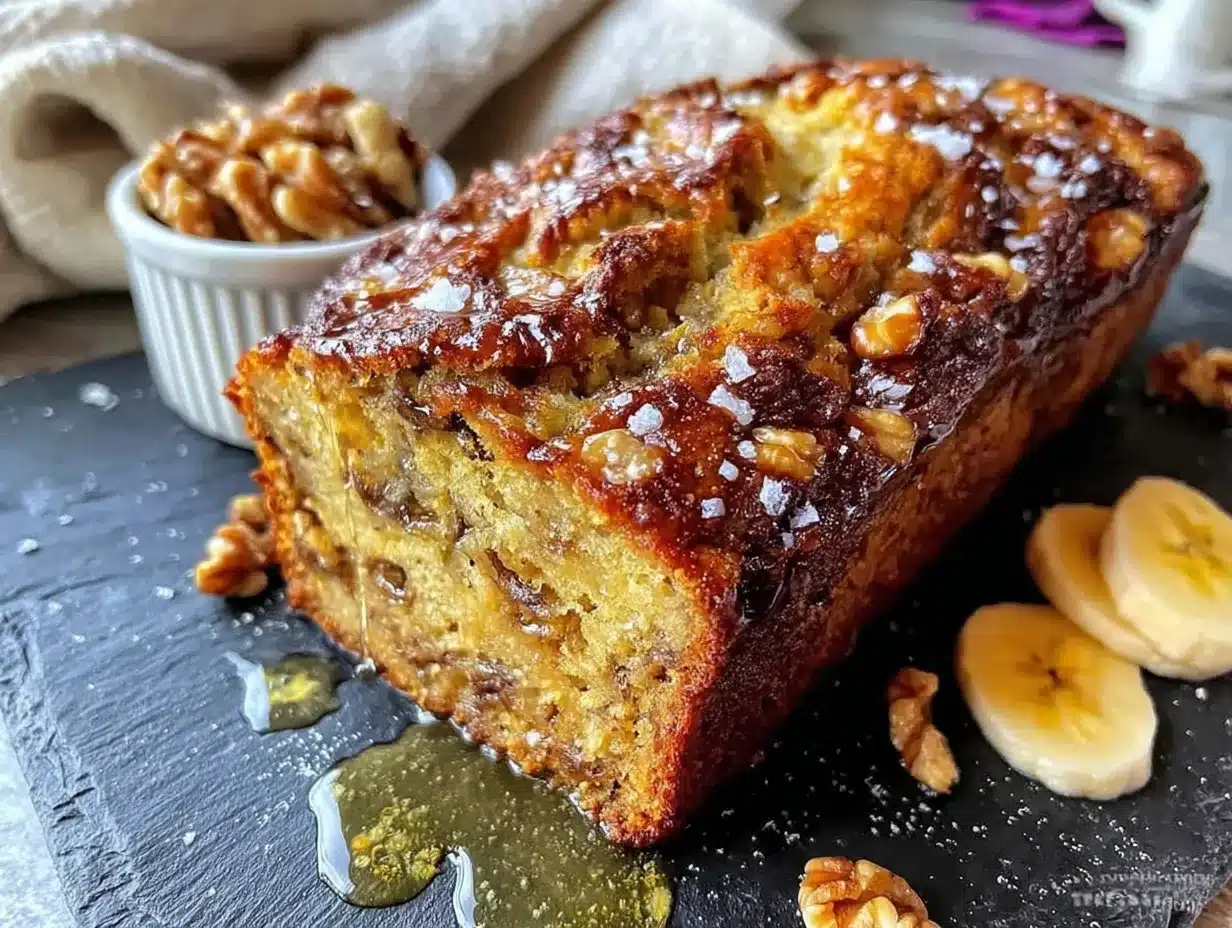
This isn’t just another banana bread recipe. Honestly, I’ve tested about a dozen versions over the years, and this one wins every single time. The brown butter is the game-changer here—it adds this nutty, almost caramel-like depth that regular melted butter just can’t touch. And the toasted walnuts? They bring this warm crunch that makes every bite interesting.
Here’s what makes this recipe special:
- Quick & Easy: Comes together in about 15 minutes of active prep time. The oven does the rest.
- Simple Ingredients: You probably have most of these in your kitchen right now. No fancy extracts or hard-to-find flours.
- Perfect for Cozy Mornings: This is the kind of bread you want with your coffee on a chilly Saturday. Or on a Tuesday. No judgment here.
- Crowd-Pleaser: I brought this to a book club meeting last month and three people asked for the recipe before I even sat down.
- Unbelievably Delicious: The texture is perfectly moist—not dense, not gummy. Just right. That brown butter flavor lingers in the best way.
This recipe came from a happy accident. I was making my standard banana bread and realized I was out of oil. Butter was all I had. I figured, why not brown it first? Best kitchen mistake I ever made. Now I can’t go back.
It’s comfort food, plain and simple. The kind that makes you close your eyes after that first warm slice. And honestly? It makes your whole house smell like a bakery. That alone is worth it.
What Ingredients You Will Need
This recipe relies on simple, wholesome ingredients that work together to create something truly special. The brown butter does the heavy lifting for flavor, while the bananas provide moisture and natural sweetness. Here’s everything you’ll need:
For the Banana Bread
- 1/2 cup (1 stick or 113g) unsalted butter — You’ll brown this, so don’t skip it. I prefer Kerrygold or any European-style butter for richer flavor.
- 3 large ripe bananas, mashed (about 1 1/2 cups or 340g) — The riper, the better. Seriously, those spotty ones sitting on your counter are perfect. Brown spots mean more sweetness.
- 3/4 cup (150g) granulated sugar — Regular white sugar works great. You could use coconut sugar for a deeper flavor, but it’ll be slightly less sweet.
- 1/4 cup (50g) packed light brown sugar — Adds moisture and that subtle molasses note that pairs beautifully with brown butter.
- 2 large eggs, room temperature — Cold eggs can seize up the batter. Leave them out for 30 minutes or pop them in warm water for 5 minutes.
- 1 teaspoon vanilla extract — Pure vanilla, not imitation. Trust me on this one.
- 1/2 cup (120ml) plain Greek yogurt or sour cream — This is my secret for extra moisture. Full-fat works best, but 2% is fine.
- 1 3/4 cups (220g) all-purpose flour — Spoon and level it. Don’t scoop directly from the bag or you’ll end up with dry bread.
- 1 teaspoon baking soda — Make sure it’s fresh. Test it by dropping a bit in vinegar—if it fizzes, you’re good.
- 1/2 teaspoon baking powder — Adds a little extra lift.
- 1/2 teaspoon salt — Fine sea salt or table salt. Don’t skip it—it balances the sweetness.
- 1 teaspoon ground cinnamon — I use Saigon cinnamon when I can find it. It’s warmer and more aromatic.
- 1/4 teaspoon ground nutmeg — Freshly grated if you have it. It makes a difference.
For the Toasted Walnuts
- 1 cup (120g) walnut halves or pieces — Toast them first. Raw walnuts are fine, but toasting brings out their oils and makes them crunchy instead of soft.
- Optional: 1 tablespoon maple syrup + pinch of flaky sea salt — For candied walnuts. I do this when I’m feeling fancy.
Substitution Notes: If you’re out of walnuts, pecans work beautifully. For a nut-free version, skip the walnuts entirely or use pumpkin seeds. Gluten-free? Swap the all-purpose flour with a good 1:1 gluten-free blend (I like Bob’s Red Mill). And if you don’t have Greek yogurt, buttermilk or even milk with a splash of lemon juice will work.
Equipment Needed
Nothing too complicated here. Most of this you probably already have:
- 9×5-inch loaf pan — The standard size. If you use an 8×4, you’ll need to bake it a bit longer. Glass or metal both work, but metal gives you a nicer crust.
- Light-colored saucepan — For browning the butter. Dark pans make it hard to see when the butter is actually browning versus burning.
- Mixing bowls — One large, one medium. Nothing fancy.
- Whisk and wooden spoon or rubber spatula — A whisk for the dry ingredients, a spatula for folding. Don’t overmix, so skip the electric mixer here.
- Parchment paper — Lining the pan makes removal so much easier. I learned this the hard way after a stuck loaf incident.
- Cooling rack — Lets air circulate so the bottom doesn’t get soggy.
- Skillet or baking sheet — For toasting the walnuts. A dry skillet works faster, but a baking sheet is more hands-off.
If you don’t have a cooling rack, just use the turned-off oven rack. I’ve done it plenty of times. And if you’re out of parchment, grease the pan well with butter and dust it with flour—old-school but effective.
Preparation Method
Let’s get baking. This takes about 15 minutes of active time, then the oven does the rest. Here’s the step-by-step:
- Preheat your oven to 350°F (175°C). Position the rack in the center. Line your 9×5 loaf pan with parchment paper, leaving some overhang on the long sides. This creates handles for easy removal later.
- Toast the walnuts. Spread the walnut pieces on a baking sheet and toast for 6-8 minutes, shaking halfway through. You’ll know they’re done when they smell nutty and look slightly darker. Watch carefully—they go from toasted to burnt fast. Let them cool completely, then roughly chop them. Set aside about 1/4 cup for topping the bread.
- Brown the butter. Cut the butter into pieces and add it to your light-colored saucepan over medium heat. Stir constantly with a rubber spatula or wooden spoon. The butter will melt, then foam, then start to sizzle. After about 4-5 minutes, you’ll see golden-brown specks forming at the bottom. The smell will shift from buttery to nutty and rich. That’s your cue. Immediately remove it from the heat and pour it into a heat-safe bowl to stop the cooking. Let it cool for 10 minutes.
- Mash the bananas. In a large bowl, mash those ripe bananas with a fork until mostly smooth. A few lumps are fine—they add texture. You want about 1 1/2 cups.
- Mix the wet ingredients. Add both sugars to the mashed bananas and stir well. Then add the cooled brown butter, eggs, vanilla, and Greek yogurt. Whisk until everything is combined and smooth. Don’t worry if it looks slightly separated—that’s normal.
- Combine the dry ingredients. In a separate medium bowl, whisk together the flour, baking soda, baking powder, salt, cinnamon, and nutmeg. Make sure there are no lumps. The cinnamon and nutmeg should be evenly distributed.
- Fold it together. Pour the dry ingredients into the wet ingredients. Use a rubber spatula to fold gently—just until you don’t see any more streaks of flour. A few small lumps are okay. Overmixing will make your bread tough. Fold in the chopped toasted walnuts (reserving that 1/4 cup for topping).
- Pour and top. Scrape the batter into your prepared loaf pan and spread it even. Sprinkle the reserved walnuts on top, pressing them gently into the batter so they stick.
- Bake. Place the pan in the preheated oven and bake for 55-65 minutes. At the 50-minute mark, start checking. The bread is done when a toothpick inserted in the center comes out clean or with just a few moist crumbs. The top should be deep golden brown and cracked beautifully.
- Cool properly. Let the bread cool in the pan for 15 minutes. Then use the parchment handles to lift it out and transfer it to a wire rack. Let it cool completely before slicing—about 1-2 hours. I know it’s tempting, but warm bread crumbles when you cut it. Patience pays off here.
Cooking Tips & Techniques
I’ve made this recipe more times than I can count, and I’ve definitely learned some things along the way. Here’s what I wish someone had told me:
Don’t skip browning the butter. I know it’s an extra step, but it’s what makes this bread special. The nutty flavor from brown butter pairs perfectly with the bananas and walnuts. If you’re short on time, you can use melted butter, but honestly, it won’t be the same. Save this recipe for when you have those extra 5 minutes.
Watch the butter carefully. I’ve burned butter more times than I’d like to admit. The trick is to keep stirring and watch for those brown specks. Once you see them and smell that nutty aroma, pull it off the heat immediately. The butter continues to cook even after you remove it, so pouring it into another bowl stops the process.
Use overripe bananas. This is non-negotiable. You want bananas that are almost black with lots of brown spots. They’re sweeter, softer, and have more banana flavor. If your bananas aren’t ripe enough, you can speed things up by baking them at 300°F for 15-20 minutes until the skins darken. Let them cool before mashing.
Measure flour correctly. The most common mistake in baking is using too much flour. Spoon the flour into your measuring cup and level it off with a knife. Don’t scoop directly from the bag—you’ll pack in extra flour and end up with dry bread.
Let it cool completely. I know, I know. The smell is torture. But slicing warm banana bread is a recipe for crumbs and gummy texture. The bread continues to set as it cools. If you absolutely can’t wait, warm individual slices in the microwave for 10 seconds. That’s my compromise.
Check for doneness early. Every oven runs differently. Start checking at 50 minutes. If the top is browning too fast but the center isn’t done, tent the pan loosely with foil for the last 10-15 minutes.
Variations & Adaptations
This recipe is flexible. Here are some ways to make it your own:
Chocolate Chip Brown Butter Banana Bread
Fold in 1/2 cup of dark chocolate chips along with the walnuts. The chocolate and brown butter combo is ridiculous. I did this for a friend’s birthday and she said it was the best banana bread she’d ever had. High praise.
Gluten-Free Version
Use a 1:1 gluten-free flour blend that contains xanthan gum. I’ve tested this with Bob’s Red Mill and King Arthur, and both work well. The texture is slightly more tender, but the flavor is all there. Toast the walnuts separately to make sure they’re gluten-free certified.
Vegan Adaptation
Replace the butter with vegan butter (like Miyoko’s) and brown it the same way. Use flax eggs (1 tablespoon ground flaxseed + 3 tablespoons water per egg, let sit for 5 minutes). Swap the Greek yogurt with coconut yogurt or applesauce. The texture will be a bit denser, but it’s still delicious.
Spiced Apple Banana Bread
Fold in 1/2 cup of finely diced apple (peeled) along with an extra 1/2 teaspoon of cinnamon and a pinch of cloves. The apple adds little bursts of sweetness and moisture. Perfect for fall baking.
Maple Glaze Option
Whisk together 1/2 cup powdered sugar, 2 tablespoons maple syrup, and 1 tablespoon milk. Drizzle over the cooled bread. It adds a pretty finish and extra sweetness. I do this when I’m serving it to company.
Serving & Storage Suggestions
Serving: This banana bread is best served at room temperature or slightly warmed. A slice with a pat of butter and a cup of coffee is my idea of a perfect morning. For dessert, try it with a scoop of vanilla ice cream or a dollop of whipped cream. The warm-cold contrast is magic.
Storage: Wrap the cooled loaf tightly in plastic wrap or aluminum foil. Store at room temperature for up to 4 days. The flavor actually improves after day one—the brown butter notes deepen and the bananas get even more pronounced. Keep it on the counter, not in the fridge. The fridge dries it out.
Freezing: This bread freezes beautifully. Wrap the cooled loaf in plastic wrap, then a layer of foil, and freeze for up to 3 months. You can also slice it first and freeze individual slices wrapped in plastic. That way you can grab one whenever the craving hits. To thaw, leave it on the counter for an hour or pop a slice in the microwave for 20 seconds.
Reheating: For that fresh-baked taste, warm slices in a 300°F oven for 5-7 minutes or in the toaster oven. The edges get slightly crisp while the inside stays tender. Microwave works too, but the texture gets a bit soft.
Flavor development: Here’s something I’ve noticed—this bread is even better the next day. The brown butter flavor melds with the banana overnight, creating this deeper, more complex taste. So if you can plan ahead, make it a day before you need it.
Nutritional Information & Benefits
Here’s the approximate nutritional breakdown per slice (based on 10 slices):
- Calories: 320
- Fat: 18g
- Saturated Fat: 7g
- Carbohydrates: 38g
- Fiber: 2g
- Sugar: 22g
- Protein: 6g
Bananas are packed with potassium and vitamin B6, which support heart health and energy levels. Walnuts provide omega-3 fatty acids and antioxidants—good for your brain and your mood. And while this isn’t health food by any stretch, it’s made with real ingredients you can feel good about.
If you’re watching your sugar intake, you can reduce the granulated sugar to 1/2 cup. The bananas and brown sugar provide plenty of sweetness. I’ve tested it with 1/2 cup and it’s still satisfying, just less sweet.
Dietary Notes: This recipe contains dairy (butter, yogurt), eggs, gluten (flour), and tree nuts (walnuts). For allergen-friendly options, see the variations section above.
Conclusion
This cozy brown butter banana bread with toasted walnuts is the kind of recipe that becomes a staple. It’s simple enough for a Tuesday morning but special enough for a holiday brunch. The brown butter adds this warmth that regular banana bread just can’t match, and those toasted walnuts give it texture that keeps you coming back for another slice.
I love that this recipe came from a mistake—running out of oil and having to improvise. Sometimes the best things in the kitchen happen when you least expect them. That’s what makes cooking fun, you know?
I’d love to hear how yours turns out. Did you add chocolate chips? Try it with pecans? Drizzle it with that maple glaze? Drop a comment below and let me know. And if you share it on Instagram, tag me—I want to see your beautiful loaf.
Go ahead, make that banana bread. Your kitchen is about to smell incredible.
Frequently Asked Questions
Can I use frozen bananas for this recipe?
Absolutely! Thaw them completely first, then drain off any excess liquid before mashing. Frozen bananas release more water as they thaw, so draining is important to keep the bread from getting soggy.
Why did my banana bread sink in the middle?
This usually happens when the bread is underbaked or the oven temperature is too low. Make sure your oven is fully preheated and check doneness with a toothpick. Also, don’t open the oven door during the first 45 minutes of baking—the temperature drop can cause sinking.
Can I make this into muffins instead?
Yes! Grease a 12-cup muffin tin or line with paper liners. Fill each cup about 3/4 full and bake at 350°F for 18-22 minutes. Check with a toothpick. You’ll get about 12-14 muffins. Reduce the baking time accordingly.
How do I know when the butter is properly browned?
Look for three signs: the butter will turn a golden-amber color, you’ll see small brown specks forming at the bottom of the pan, and the smell will shift from buttery to nutty and rich. It usually takes 4-6 minutes over medium heat. Keep stirring the whole time.
Can I skip the walnuts?
Of course. The bread is still delicious without them. You can replace them with chocolate chips, dried fruit, or just leave them out entirely. If you’re avoiding nuts, try pumpkin seeds or sunflower seeds for a similar crunch.
Pin This Recipe!
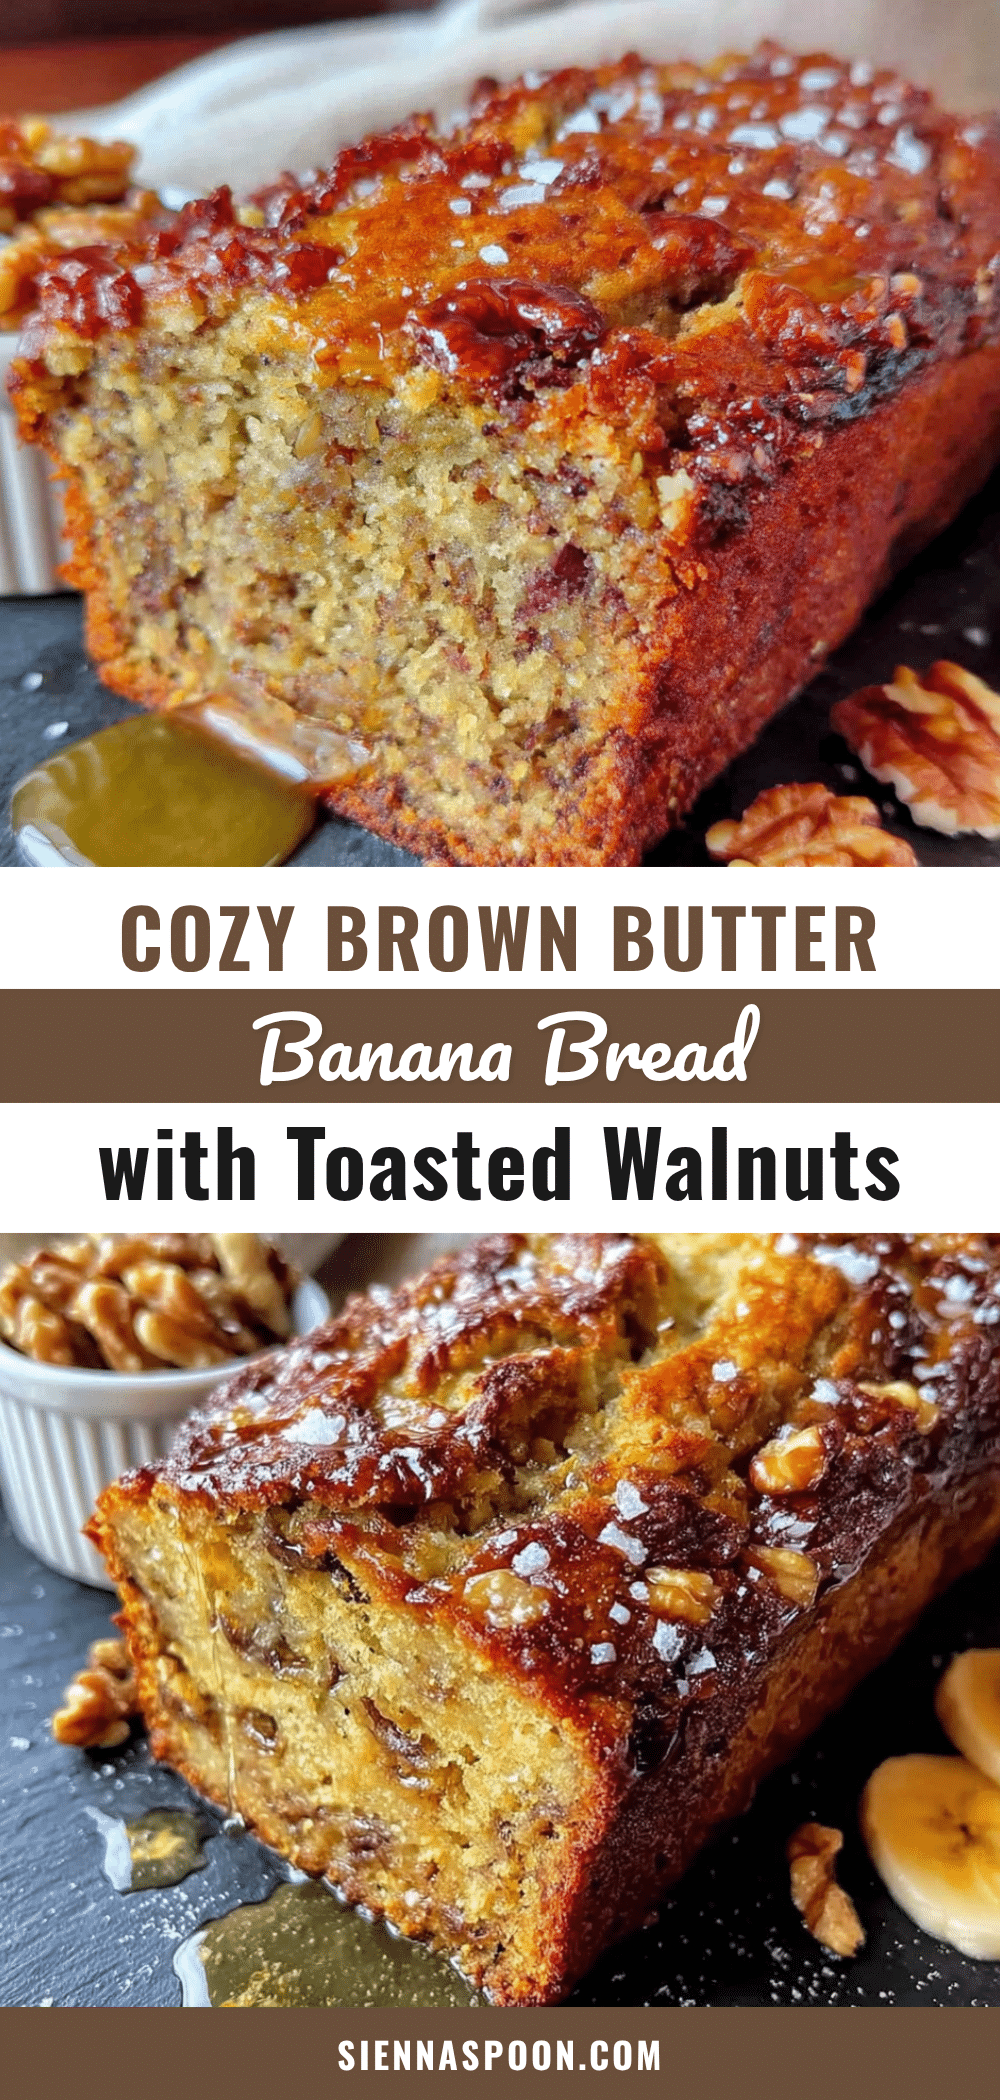
Cozy Brown Butter Banana Bread with Toasted Walnuts
This isn’t just another banana bread recipe. The brown butter adds a nutty, caramel-like depth, and the toasted walnuts bring a warm crunch. It’s quick, easy, and perfect for cozy mornings.
- Prep Time: 15 minutes
- Cook Time: 55-65 minutes
- Total Time: 1 hour 10 minutes to 1 hour 20 minutes
- Yield: 10 servings 1x
- Category: Dessert
- Cuisine: American
Ingredients
- 1/2 cup (1 stick or 113g) unsalted butter
- 3 large ripe bananas, mashed (about 1 1/2 cups or 340g)
- 3/4 cup (150g) granulated sugar
- 1/4 cup (50g) packed light brown sugar
- 2 large eggs, room temperature
- 1 teaspoon vanilla extract
- 1/2 cup (120ml) plain Greek yogurt or sour cream
- 1 3/4 cups (220g) all-purpose flour
- 1 teaspoon baking soda
- 1/2 teaspoon baking powder
- 1/2 teaspoon salt
- 1 teaspoon ground cinnamon
- 1/4 teaspoon ground nutmeg
- 1 cup (120g) walnut halves or pieces
- Optional: 1 tablespoon maple syrup + pinch of flaky sea salt (for candied walnuts)
Instructions
- Preheat your oven to 350°F (175°C). Position the rack in the center. Line your 9×5 loaf pan with parchment paper, leaving some overhang on the long sides.
- Toast the walnuts: Spread the walnut pieces on a baking sheet and toast for 6-8 minutes, shaking halfway through. Let them cool completely, then roughly chop. Set aside about 1/4 cup for topping.
- Brown the butter: Cut the butter into pieces and add to a light-colored saucepan over medium heat. Stir constantly. After about 4-5 minutes, golden-brown specks will form and the smell will become nutty. Immediately remove from heat and pour into a heat-safe bowl. Let cool for 10 minutes.
- Mash the bananas in a large bowl with a fork until mostly smooth.
- Mix the wet ingredients: Add both sugars to the mashed bananas and stir well. Add the cooled brown butter, eggs, vanilla, and Greek yogurt. Whisk until combined and smooth.
- Combine the dry ingredients in a separate medium bowl: whisk together the flour, baking soda, baking powder, salt, cinnamon, and nutmeg.
- Fold it together: Pour the dry ingredients into the wet ingredients. Use a rubber spatula to fold gently until just combined. Fold in the chopped toasted walnuts (reserving 1/4 cup for topping).
- Pour and top: Scrape the batter into the prepared loaf pan and spread even. Sprinkle the reserved walnuts on top, pressing them gently into the batter.
- Bake for 55-65 minutes. At the 50-minute mark, start checking. The bread is done when a toothpick inserted in the center comes out clean or with just a few moist crumbs.
- Cool properly: Let the bread cool in the pan for 15 minutes. Then use the parchment handles to lift it out and transfer to a wire rack. Let cool completely before slicing—about 1-2 hours.
Notes
Don’t skip browning the butter—it’s the key to the nutty flavor. Use overripe bananas for best sweetness and moisture. Measure flour correctly by spooning and leveling. Let the bread cool completely before slicing to avoid crumbling. The flavor improves after day one.
Nutrition
- Serving Size: 1 slice
- Calories: 320
- Sugar: 22
- Fat: 18
- Saturated Fat: 7
- Carbohydrates: 38
- Fiber: 2
- Protein: 6
Keywords: banana bread, brown butter, walnuts, easy banana bread, moist banana bread, comfort food, breakfast bread


