Love this? Save it for later!
Share the inspiration with your friends
My neighbor down the hall wasn’t trying to impress anyone. I’d stopped by to return a measuring cup I’d borrowed weeks ago, and the smell hit me before she even opened the door fully—warm, spiced, almost like autumn had decided to camp out in her tiny apartment kitchen. She just shrugged when I asked what she was baking. “Oh, just trying to use up some starter discard. You know how it is.”
I did not know how it was, honestly. My own sourdough starter had been sitting in the back of my fridge for months, looking neglected and guilty every time I opened the door. I kept feeding it out of obligation, watching it bubble and grow, then feeling terrible when I’d pour half of it down the drain during the discard phase. It felt wasteful, and frankly, a little sad.
She handed me a slice still warm from the oven, and let me tell you—that first bite was something else. The texture was soft but with that slight tangy edge sourdough is famous for. And the pumpkin? It wasn’t overpowering. It was subtle, earthy, and made the whole thing taste like a cozy sweater feels. I stood there in her doorway, crumbs falling on my jacket, asking a million questions while she laughed and told me it was basically impossible to mess up.
Maybe you’ve been there—staring at your jar of starter, wondering if there’s a better way to use the discard than another sad batch of crackers. This pumpkin sourdough discard bread is that better way. It’s the recipe that finally made me stop feeling guilty about my starter and start feeling excited about what I could make with it. I’ve been making it ever since, tweaking it here and there, and honestly, it’s become my fall baking staple. Let me show you how easy it is.
Why You’ll Love This Recipe
This isn’t just another pumpkin bread recipe floating around the internet. I’ve tested this version at least a dozen times, tweaking the ratios, adjusting the bake time, and even accidentally forgetting the sugar once (don’t ask—that batch went straight to the compost bin). What I landed on is something special, and here’s why I think you’ll love it too.
- Uses up sourdough discard : If you keep a starter, you know the struggle. This recipe turns that discard into something gorgeous instead of something guilt-inducing.
- No fancy techniques required : You don’t need to be a sourdough pro. If you can stir a bowl, you can make this bread.
- Perfect for fall mornings : It’s cozy enough for a chilly October breakfast but impressive enough to bring to a Friendsgiving brunch.
- Incredibly moist texture : The pumpkin puree and the discard work together to create a crumb that stays tender for days—if it lasts that long.
- Not overly sweet : This bread leans more toward a subtle sweetness, letting the warm spices and tangy sourdough flavor shine through. It’s the kind of bread you can eat plain without feeling like you’re having dessert for breakfast.
What makes this recipe different from the rest? It’s the balance. Most pumpkin breads are either too dense or too cake-like. The sourdough discard adds a lightness and a subtle tang that cuts through the richness of the pumpkin. Plus, the discard is already fermented, which means the bread develops a deeper flavor without any extra effort on your part. It’s comfort food that feels a little bit smarter, you know?
I’ve had friends who swore they didn’t like sourdough ask for seconds. I’ve had coworkers request loaves for their holiday brunches. This is one of those recipes that just works, and I’m genuinely excited for you to try it.
What Ingredients You Will Need
This recipe uses simple, wholesome ingredients that you probably already have in your pantry. The magic happens when these everyday staples come together with your sourdough discard and pumpkin puree.
- All-purpose flour : 2 cups (260g). This gives the bread structure without making it too heavy. I usually use Gold Medal or King Arthur for consistent results.
- Baking soda : 1 teaspoon. This helps the bread rise and gives it a nice, open crumb.
- Baking powder : 1/2 teaspoon. A little extra lift never hurt anyone.
- Ground cinnamon : 2 teaspoons. The backbone of the spice blend here.
- Ground nutmeg : 1/2 teaspoon. Freshly grated if you have it—it makes a difference.
- Ground ginger : 1/2 teaspoon. Adds warmth without being too spicy.
- Ground cloves : 1/4 teaspoon. A tiny amount goes a long way.
- Salt : 1/2 teaspoon. Balances the sweetness and enhances the other flavors.
- Unsalted butter : 1/2 cup (1 stick or 113g), melted and slightly cooled. Butter adds richness, but you can substitute coconut oil if needed.
- Granulated sugar : 3/4 cup (150g). Just enough to sweeten without overwhelming the pumpkin.
- Brown sugar : 1/2 cup (100g), packed. Adds moisture and a deeper, caramel-like sweetness.
- Large eggs : 2, at room temperature. They help bind everything together.
- Pumpkin puree : 1 cup (240g). Make sure it’s 100% pumpkin, not pumpkin pie filling. Libby’s is my go-to brand.
- Sourdough discard : 1 cup (240g), unfed and at room temperature. This is the star of the show. It doesn’t need to be active—just discard straight from the fridge works fine.
- Vanilla extract : 1 teaspoon. Pure vanilla is best, but imitation works in a pinch.
- Milk : 1/4 cup (60ml). Any kind works—dairy, oat, almond, whatever you have.
Ingredient selection tips: When choosing pumpkin puree, look for cans that list only pumpkin as the ingredient. Some brands add spices or sugar, which will throw off the balance of this recipe. For the sourdough discard, it’s okay if it’s been sitting in the fridge for a week or two. The flavor will actually be more pronounced, which works beautifully here.
Substitution guidance: If you need a gluten-free option, swap the all-purpose flour with a 1:1 gluten-free baking blend. I’ve used Bob’s Red Mill with good results. For a dairy-free version, use melted coconut oil instead of butter and your favorite plant-based milk. The texture will be slightly different but still delicious.
Equipment Needed
You don’t need a professional bakery setup for this recipe. Here’s what you’ll need:
- 9×5-inch loaf pan : This is the standard size for most quick breads. If you only have an 8×4-inch pan, the bread will take a few minutes longer to bake and will have a taller, more domed top.
- Mixing bowls : One large bowl for the dry ingredients and one medium bowl for the wet ingredients.
- Whisk : For combining the dry ingredients evenly.
- Rubber spatula : For folding everything together without overmixing.
- Parchment paper : Lining the loaf pan makes removal so much easier. I learned this the hard way after a few stuck loaves.
- Cooling rack : Letting the bread cool completely on a rack prevents a soggy bottom.
- Measuring cups and spoons : For accuracy, especially with the baking soda and spices.
- Kitchen scale (optional but helpful) : Weighing your flour and discard ensures consistent results every time.
Budget-friendly note: If you don’t have a cooling rack, you can use the inverted loaf pan or even the grates of your oven (turned off, of course). It’s not fancy, but it works.
Preparation Method
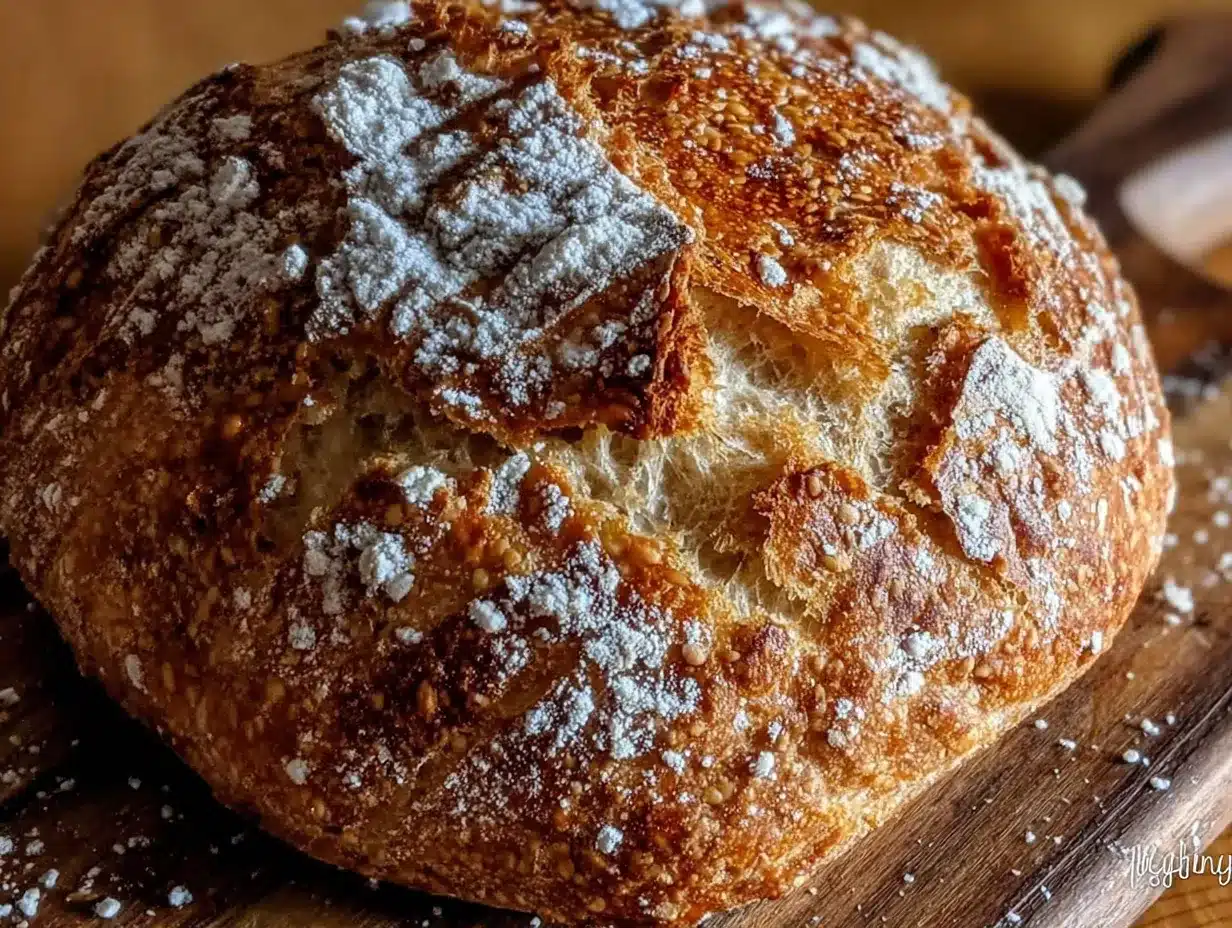
- Preheat your oven to 350°F (175°C). Position the rack in the center of the oven. Line your 9×5-inch loaf pan with parchment paper, leaving some overhang on the long sides—this will be your handle for lifting the bread out later. Lightly grease the exposed ends of the pan with butter or non-stick spray.
- Whisk the dry ingredients together. In a large mixing bowl, combine the all-purpose flour, baking soda, baking powder, cinnamon, nutmeg, ginger, cloves, and salt. Whisk thoroughly until everything is evenly distributed. This takes about 30 seconds. Set the bowl aside.
- Mix the wet ingredients. In a separate medium bowl, whisk together the melted butter, granulated sugar, and brown sugar until smooth. Add the eggs one at a time, whisking well after each addition. The mixture should look thick and glossy.
- Add the pumpkin, discard, and vanilla. Stir in the pumpkin puree, sourdough discard, and vanilla extract until fully combined. The mixture will be a beautiful orange color and smell amazing already. Finally, whisk in the milk until the batter is smooth.
- Combine wet and dry ingredients. Pour the wet mixture into the bowl with the dry ingredients. Use your rubber spatula to fold everything together gently. Stop as soon as you no longer see streaks of flour—overmixing will make the bread tough. A few small lumps are perfectly fine. The batter will be thick and slightly shaggy, which is exactly what you want.
- Pour the batter into the prepared pan. Use your spatula to scrape every last bit into the pan, then smooth the top gently. Give the pan a light tap on the counter to release any air bubbles.
- Bake for 50 to 60 minutes. Start checking at the 50-minute mark. The bread is done when a toothpick inserted into the center comes out clean or with just a few moist crumbs. If the top is browning too quickly around the 40-minute mark, tent the pan loosely with aluminum foil.
- Cool in the pan for 10 minutes. Place the loaf pan on a cooling rack and let it rest. After 10 minutes, use the parchment paper handles to lift the bread out of the pan and transfer it directly to the cooling rack. Let it cool completely before slicing—at least 1 hour. I know it’s tempting, but slicing too early will result in crumbly, gummy slices.
Sensory cues: When the bread is done, the kitchen will smell like a fall candle exploded in the best way. The top should be a deep golden brown, and the loaf should feel firm but spring back slightly when you press the center. If it feels jiggly, give it another 5 minutes.
Personal tip: I always set a timer for 50 minutes, then check every 5 minutes after that. Ovens vary, and nothing is worse than a burnt bottom. Also, if you’re using a dark non-stick pan, reduce the oven temperature to 325°F (165°C) to prevent over-browning.
Cooking Tips & Techniques
I’ve made this bread enough times to have a few tricks up my sleeve. Here are the things I wish someone had told me the first time around.
Don’t overmix the batter. This is the number one mistake I see. When you combine the wet and dry ingredients, mix just until the flour disappears. Overmixing develops the gluten too much, and you’ll end up with a dense, tough loaf instead of a tender, fluffy one. A few lumps are your friend here.
Room temperature ingredients matter. I know it’s annoying to wait for eggs and discard to come to room temperature, but it makes a real difference. Cold ingredients don’t emulsify as well, which can lead to a greasy or uneven crumb. If you’re in a hurry, place the eggs in a bowl of warm water for 5 minutes and let the discard sit on the counter while you prep everything else.
Use the parchment paper trick. I mentioned this earlier, but it’s worth repeating. Lining the pan with parchment paper with overhanging edges makes removing the bread a breeze. No more wrestling with a stuck loaf or scraping the bottom of the pan.
Check your oven temperature. Ovens are liars sometimes. I’ve had ovens that run 25 degrees hotter than what the dial says. An inexpensive oven thermometer is a worthwhile investment for any baker. If your bread is browning too fast on the outside but still raw in the middle, your oven is probably too hot.
Let it cool completely. I know, I sound like a broken record. But here’s the thing—when bread cools, the starches continue to set and the moisture redistributes evenly throughout the loaf. Slicing into a warm loaf releases all that steam and leaves you with a gummy, crumbly mess. I once ruined a perfectly good loaf because I couldn’t wait 20 more minutes. Learn from my impatience.
Variations & Adaptations
One of the best things about this recipe is how adaptable it is. Here are some variations I’ve tried and loved.
Chocolate chip pumpkin sourdough bread. Fold in 3/4 cup of semi-sweet chocolate chips along with the wet ingredients. The chocolate pairs beautifully with the warm spices and tangy sourdough. My kids go crazy for this version.
Vegan adaptation. Replace the eggs with two flax eggs (2 tablespoons ground flaxseed mixed with 6 tablespoons water, left to sit for 5 minutes). Use melted coconut oil instead of butter and your favorite plant-based milk. The texture will be slightly denser but still delicious. I’ve tested this for a vegan friend’s brunch and it was a hit.
Gluten-free version. Swap the all-purpose flour with a 1:1 gluten-free baking blend that contains xanthan gum. Bob’s Red Mill and King Arthur both make reliable options. Add an extra tablespoon of milk to compensate for the extra absorbency of gluten-free flours.
Spiced-up version. Add 1/4 teaspoon of cardamom and a pinch of black pepper to the spice blend. The pepper sounds weird, I know, but it actually enhances the pumpkin flavor without making the bread spicy. Trust me on this one.
Nutty crunch. Fold in 1/2 cup of toasted pecans or walnuts along with the dry ingredients. Toast them first in a dry pan over medium heat for 3-4 minutes until fragrant. It adds a lovely texture contrast to the soft crumb.
Serving & Storage Suggestions
Serving: This bread is wonderful at room temperature, but I personally love it slightly warm. Pop a slice in the microwave for 10-15 seconds or toast it lightly and spread a pat of salted butter on top. The butter melts into the warm crumb, and it’s honestly one of life’s simple pleasures. For a more decadent treat, serve it with a dollop of whipped cream or a drizzle of cream cheese glaze.
What to serve with it: A hot cup of coffee or chai tea is the perfect companion. If you’re serving it for brunch, pair it with scrambled eggs and fresh fruit for a balanced meal. It also makes a lovely afternoon snack with a glass of cold milk.
Storage: Store the bread in an airtight container at room temperature for up to 3 days. The moisture from the pumpkin actually helps keep it soft longer than regular quick breads. If you live in a humid climate, you might want to store it in the fridge after day two to prevent mold.
Freezing: This bread freezes beautifully. Wrap the completely cooled loaf tightly in plastic wrap, then in a layer of aluminum foil. Freeze for up to 3 months. When you’re ready to enjoy it, thaw overnight in the refrigerator or at room temperature for a few hours. You can also freeze individual slices for quick breakfasts—just grab a slice and pop it in the toaster.
Reheating: For the best texture, reheat slices in a toaster oven or regular oven at 300°F (150°C) for 5-7 minutes. The microwave works in a pinch, but the bread will be softer and less crisp on the edges.
Nutritional Information & Benefits
Here’s an approximate nutritional breakdown per slice (based on 10 slices):
- Calories: 285
- Fat: 11g
- Carbohydrates: 42g
- Fiber: 2g
- Sugar: 21g
- Protein: 5g
Health benefits: Pumpkin is packed with vitamin A, which supports eye health and immune function. It’s also a good source of fiber and antioxidants. The sourdough discard adds a probiotic element (though most of the beneficial bacteria are killed during baking, the fermentation process does make the bread easier to digest for some people). The whole spices like cinnamon and ginger have anti-inflammatory properties, so you can feel a little bit virtuous while enjoying a slice.
Dietary considerations: This recipe contains gluten, dairy, and eggs. See the variations section above for vegan and gluten-free adaptations. The bread is nut-free as written, but check your ingredients if you have allergies.
Personal perspective: I don’t believe in demonizing food, and this bread is meant to be enjoyed without guilt. It’s a treat, and that’s okay. The fact that it uses sourdough discard and pumpkin—both of which have some nutritional perks—is just a bonus. Life is too short for bad bread, you know?
Conclusion
This pumpkin sourdough discard bread has become a staple in my kitchen for good reason. It solves the problem of what to do with leftover starter, it tastes like autumn in a pan, and it’s genuinely easy to make. I’ve brought it to potlucks, given it as hostess gifts, and eaten it for breakfast more times than I care to admit. Every single time, someone asks for the recipe.
What I love most about it is how forgiving it is. You don’t need to be a sourdough expert. You don’t need fancy equipment. You just need a little bit of time, a few simple ingredients, and the willingness to try something new. And honestly, the smell alone is worth it.
I’d love to hear how yours turns out. Did you add chocolate chips? Try it with pecans? Forget the sugar like I did and learn the hard way? Drop a comment below and let me know. And if you have a favorite way to use sourdough discard, I’m always looking for new ideas. Happy baking, friends!
Frequently Asked Questions
Can I use active sourdough starter instead of discard?
Yes, you can. The bread will turn out slightly lighter and fluffier because the active starter has more gas in it. Just keep in mind that the tangy flavor will be milder. If you want that signature sourdough tang, stick with discard that’s been sitting in the fridge for a few days.
Why did my bread sink in the middle?
This usually happens for one of three reasons: the batter was overmixed, the oven temperature was too low, or the bread was underbaked. Make sure your oven is properly preheated to 350°F (175°C) and use an oven thermometer to verify. Also, resist the urge to open the oven door during the first 30 minutes of baking.
Can I make this into muffins instead of a loaf?
Absolutely. Grease a 12-cup muffin tin or line it with paper liners. Fill each cup about 3/4 full and bake at 350°F (175°C) for 18-22 minutes, or until a toothpick inserted into the center comes out clean. Muffins will be done faster than the loaf, so start checking at the 18-minute mark.
How do I know if my sourdough discard is still good to use?
Healthy discard should smell pleasantly sour, like yogurt or sourdough bread. If it smells like nail polish remover or has visible mold on the surface, it’s time to toss it and start fresh. Discard that has a layer of dark liquid (hooch) on top is still fine—just stir it back in or pour it off before using.
Can I reduce the sugar in this recipe?
You can reduce the granulated sugar to 1/2 cup (100g) without major issues. The bread will be less sweet and slightly denser. I wouldn’t recommend reducing it further than that, as sugar plays a role in both the texture and the moisture of the bread. If you want a less sweet loaf, try the chocolate chip variation—the bitterness of the chips balances the sweetness nicely.
Pin This Recipe!
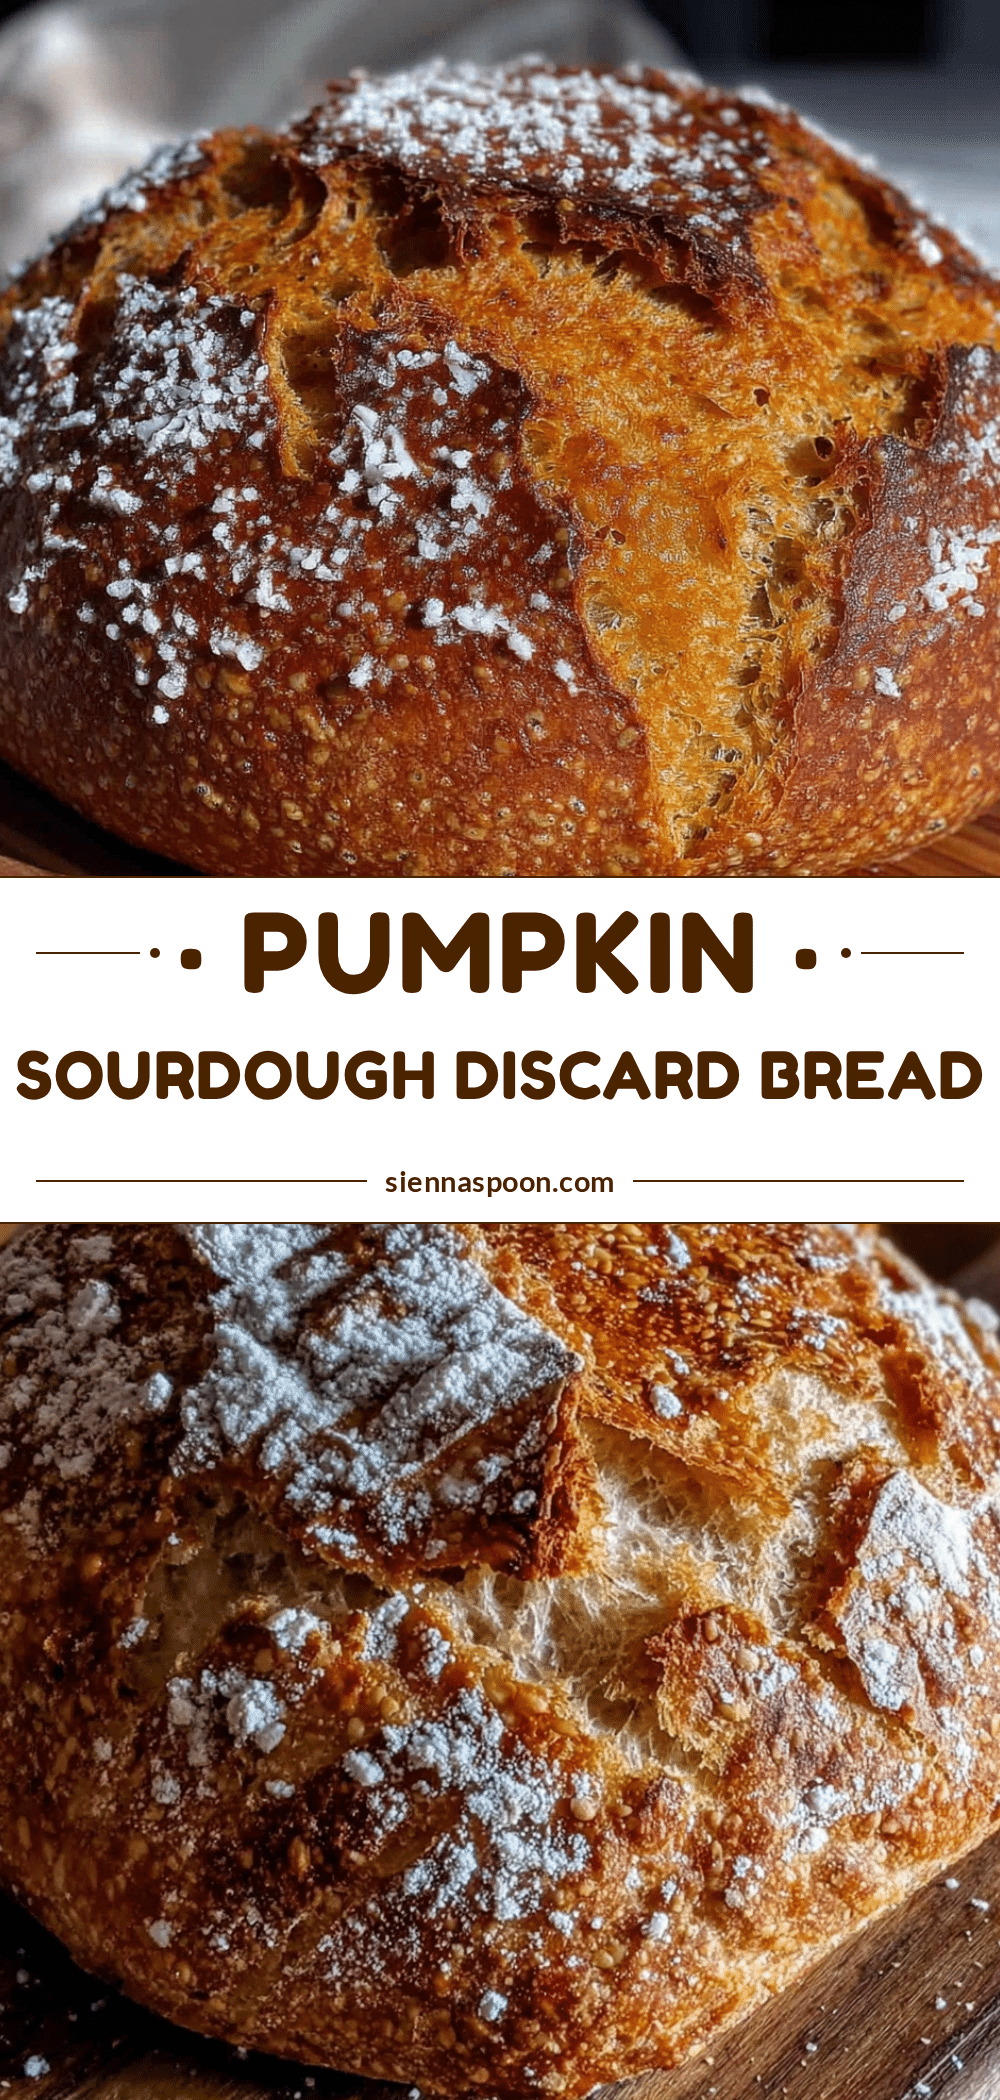
Best Easy Pumpkin Sourdough Discard Bread Recipe

This pumpkin sourdough discard bread is the perfect way to use up leftover starter. It’s incredibly moist, not overly sweet, and has a subtle tangy flavor that pairs beautifully with warm fall spices.
- Prep Time: 15 minutes
- Cook Time: 55 minutes
- Total Time: 1 hour 10 minutes
- Yield: 10 servings 1x
- Category: Bread
- Cuisine: American
Ingredients
- 2 cups (260g) all-purpose flour
- 1 teaspoon baking soda
- 1/2 teaspoon baking powder
- 2 teaspoons ground cinnamon
- 1/2 teaspoon ground nutmeg
- 1/2 teaspoon ground ginger
- 1/4 teaspoon ground cloves
- 1/2 teaspoon salt
- 1/2 cup (1 stick or 113g) unsalted butter, melted and slightly cooled
- 3/4 cup (150g) granulated sugar
- 1/2 cup (100g) packed brown sugar
- 2 large eggs, at room temperature
- 1 cup (240g) pumpkin puree (100% pumpkin, not pumpkin pie filling)
- 1 cup (240g) sourdough discard, unfed and at room temperature
- 1 teaspoon vanilla extract
- 1/4 cup (60ml) milk (dairy or plant-based)
Instructions
- Preheat your oven to 350°F (175°C). Position the rack in the center of the oven. Line a 9×5-inch loaf pan with parchment paper, leaving some overhang on the long sides. Lightly grease the exposed ends of the pan with butter or non-stick spray.
- In a large mixing bowl, whisk together the all-purpose flour, baking soda, baking powder, cinnamon, nutmeg, ginger, cloves, and salt until evenly distributed.
- In a separate medium bowl, whisk together the melted butter, granulated sugar, and brown sugar until smooth. Add the eggs one at a time, whisking well after each addition until the mixture is thick and glossy.
- Stir in the pumpkin puree, sourdough discard, and vanilla extract until fully combined. Whisk in the milk until the batter is smooth.
- Pour the wet mixture into the bowl with the dry ingredients. Use a rubber spatula to fold together gently until no streaks of flour remain. Do not overmix; a few small lumps are fine. The batter will be thick and slightly shaggy.
- Pour the batter into the prepared loaf pan and smooth the top. Tap the pan lightly on the counter to release any air bubbles.
- Bake for 50 to 60 minutes, starting to check at the 50-minute mark. The bread is done when a toothpick inserted into the center comes out clean or with a few moist crumbs. If the top is browning too quickly around the 40-minute mark, tent the pan loosely with aluminum foil.
- Cool the bread in the pan on a cooling rack for 10 minutes. Then use the parchment paper handles to lift the bread out of the pan and transfer it directly to the cooling rack. Let it cool completely before slicing, at least 1 hour.
Notes
Do not overmix the batter to avoid a dense loaf. Room temperature ingredients help with emulsification. Let the bread cool completely before slicing to prevent a gummy texture. For a darker non-stick pan, reduce oven temperature to 325°F (165°C).
Nutrition
- Serving Size: 1 slice
- Calories: 285
- Sugar: 21
- Sodium: 320
- Fat: 11
- Saturated Fat: 6
- Carbohydrates: 42
- Fiber: 2
- Protein: 5
Keywords: pumpkin bread, sourdough discard, fall baking, easy bread recipe, sourdough pumpkin bread


