Love this? Save it for later!
Share the inspiration with your friends
Last November, I was standing in the middle of the spice aisle at my local grocery store, staring at a jar of dried elderberries like it held the secrets to the universe. My youngest had just started preschool, and honestly, it felt like we were running a low-grade fever factory out of our living room. I was tired of the endless cycle of pharmacy runs and the smell of menthol rub filling the house. A woman next to me, grabbing turmeric by the handful, noticed my confused look and just said, “Make the syrup. It changes everything.” She didn’t elaborate. She just nodded once and walked away. I bought the berries, feeling a little ridiculous, and drove home with no real plan. That night, after the kids were finally asleep, I pulled out a pot I usually only use for chili and decided to just try it. The first batch was a disaster—way too thick, almost like a weird, medicinal jam. But the second batch? That was the one. The deep, almost wine-like smell filled the kitchen, and it felt less like cooking and more like making a potion. Maybe you’ve been there, staring at a shelf of supplements and just wanting something that actually works without a side of weird chemicals. This homemade elderberry syrup for cold and flu season became our kitchen’s secret weapon, and I haven’t bought a bottle of the store-bought stuff since.
Why You’ll Love This Recipe
Let me tell you, after testing about six different versions of this syrup—some too sweet, some too spicy, one that I accidentally burned so badly the smoke alarm went off—this is the one I keep coming back to. It’s not just another recipe you’ll pin and forget about. This is the kind of homemade elderberry syrup for cold and flu season that actually feels good to make.
- Quick & Easy: You only need about 45 minutes of hands-off simmering time. The actual prep is maybe 10 minutes. Perfect for a Sunday afternoon when you’re already puttering around the kitchen.
- Simple Ingredients: No weird extracts or hard-to-find powders. Your grocery store likely has everything, or you can order the dried berries online in bulk.
- Perfect for Sick Season: Whether you’re trying to head off a cold before it starts or you’re already in the thick of it, this syrup is a gentle way to support your immune system without loading up on sugar-filled alternatives.
- Crowd-Pleaser: I was honestly worried my kids would hate the taste—elderberries can be a little tart—but they ask for their “purple medicine” every morning. Even my husband, who rolls his eyes at most of my kitchen experiments, takes a spoonful without complaint.
- Unbelievably Delicious: The combo of deep berry flavor, warm cinnamon, and a hint of ginger is honestly comforting. It tastes like fall in a spoon, not like medicine.
What makes this version different from the rest is the balance. I found that a lot of recipes go overboard on the honey, making it cloying, or they skimp on the spices so it just tastes like tart juice. This one has a gentle warmth from the ginger and cinnamon that complements the elderberry without overpowering it. It is the kind of homemade elderberry syrup for cold and flu season that makes you feel like you’re actually taking care of yourself, not just downing another supplement. It’s comfort in a jar—simple, effective, and honestly, a little bit magical.
What Ingredients You Will Need
This recipe uses simple, wholesome ingredients that work together to create a potent, delicious syrup. Most of these are pantry staples or easy to find at any grocery store or online.
- Dried Elderberries (1 cup): These are the star of the show. I buy mine in bulk from a local health food store, but you can find them online from brands like Starwest Botanicals or Frontier Co-op. Look for deep purple-black berries that are plump, not shriveled and dusty. Fresh elderberries are toxic if not cooked properly, so always use dried for this recipe.
- Water (4 cups): Filtered water is best, especially if your tap water has a strong chlorine taste. You want the elderberry flavor to shine, not the pool water.
- Fresh Ginger (1 large thumb-sized piece, sliced): Ginger adds a warming, spicy kick that helps with nausea and circulation. Don’t bother peeling it—just give it a good scrub and slice it into thin rounds. The skin has lots of flavor and nutrients.
- Cinnamon Sticks (2): Cinnamon is anti-inflammatory and adds that cozy, sweet-spice aroma. I prefer Ceylon cinnamon if you can find it, but Cassia works just fine and is usually cheaper.
- Whole Cloves (1 teaspoon): Cloves are potent little things. They have a numbing quality that can soothe a sore throat. Be careful not to overdo it—a little goes a long way.
- Raw Honey (1 cup, or to taste): This is your sweetener and your preservative. Use raw, local honey if possible for the best immune-boosting benefits. Do NOT add honey to the hot liquid—it destroys the beneficial enzymes. You’ll stir it in after the syrup has cooled down.
- Optional: Orange Peel (from 1 orange, organic): I like to add a strip of orange peel for a bright, citrusy note. It helps cut through the earthy flavor of the elderberries. Just make sure you wash the orange well and avoid the white pith, which is bitter.
Equipment Needed
You don’t need a fancy kitchen setup for this. I’ve made this homemade elderberry syrup for cold and flu season in a tiny apartment kitchen and a full farmhouse kitchen, and it works the same either way.
- Medium to Large Saucepan (3-4 quart): You need a pot that can hold about 5 cups of liquid comfortably. I use my old stainless steel one that’s seen better days—it works perfectly.
- Fine-Mesh Strainer or Cheesecloth: You need something to strain out the berries and spices. A fine-mesh strainer works great. If you use cheesecloth, double it up so you don’t end up with tiny berry bits floating in your syrup.
- Glass Jar or Bottle (16-24 ounce): A swing-top bottle is ideal, but a regular mason jar works perfectly. Make sure it’s clean and sterilized—I usually just run it through the dishwasher on the sanitize cycle.
- Wooden Spoon or Silicone Spatula: For stirring. Nothing fancy needed.
- Measuring Cups and Spoons: Standard set for the ingredients.
Preparation Method
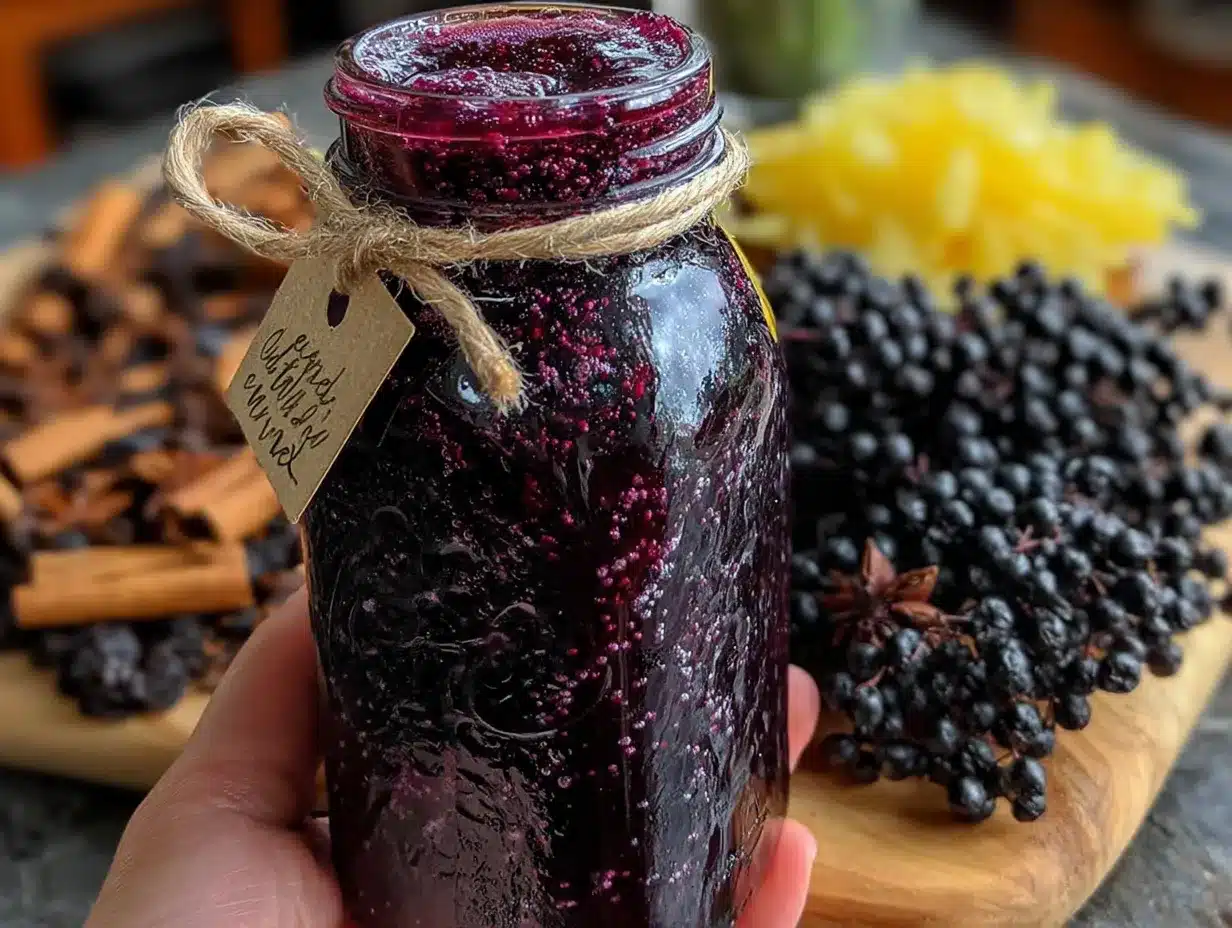
This is the part where the magic happens. Don’t rush it—let the berries do their thing. The process is simple, but the timing matters.
- Combine the berries and water (5 minutes): Place the dried elderberries in your saucepan. Pour in the 4 cups of filtered water. Give it a quick stir to make sure the berries are mostly submerged. Some will float—that’s normal.
- Add the aromatics (2 minutes): Toss in the sliced ginger, cinnamon sticks, cloves, and orange peel (if using). Don’t stir too much—just let them settle in the water with the berries.
- Bring to a boil (5-7 minutes): Turn the heat to medium-high and bring the mixture to a boil. Watch it carefully—you don’t want it to boil over. As soon as you see a steady boil, reduce the heat to low.
- Simmer, don’t rush (30-40 minutes): Let the mixture simmer gently with the lid slightly ajar. You should see small bubbles, not a rolling boil. The liquid will reduce by about half, and the berries will plump up and soften. The kitchen will start to smell incredible—like a cozy, spiced tea shop. Set a timer for 30 minutes, then check. The liquid should be dark purple and smell deeply fruity and spicy.
- Mash the berries (2 minutes): After simmering, take the pot off the heat. Use the back of your wooden spoon to gently mash the berries against the side of the pot. This releases more of the good stuff—the anthocyanins and flavonoids that make elderberry so powerful. Don’t go crazy; you’re not making a paste, just breaking them open.
- Strain the mixture (5 minutes): Place your fine-mesh strainer over a large bowl or a 4-cup liquid measuring cup. Carefully pour the mixture through the strainer. Let it drip for a few minutes. Don’t press on the berries too hard, or you’ll push through bitter sediment. Just let gravity do the work. You should end up with about 2 cups of dark, concentrated liquid.
- Cool the liquid (15-20 minutes): Let the strained liquid cool down to room temperature. This is crucial. If you add honey to hot liquid, you kill the beneficial enzymes. I usually set the bowl on the counter and stir it occasionally to help it cool faster.
- Stir in the honey (2 minutes): Once the liquid is completely cool, pour in the raw honey. Stir gently but thoroughly until the honey is fully dissolved. Taste it. If you want it sweeter, add a little more honey. If it’s too sweet for you, that’s fine—the flavor will mellow after a day in the fridge.
- Bottle and store (5 minutes): Pour the finished syrup into your clean glass jar or bottle. Seal it tight and give it a gentle shake. Label it with the date—this batch will last about 3-4 weeks in the refrigerator.
Cooking Tips & Techniques
I’ve made this homemade elderberry syrup for cold and flu season more times than I can count, and I’ve definitely learned a few things the hard way. Here are the tips I wish someone had told me on that first attempt.
Don’t boil the berries too aggressively. I made this mistake on my third batch. I thought a hard boil would extract more flavor faster. It didn’t. It just made the syrup cloudy and slightly bitter. A gentle simmer is all you need—the berries release their goodness slowly. Think of it like steeping tea, not boiling potatoes.
Watch the simmer time. I once got distracted by a phone call and let my berries simmer for almost an hour. The liquid reduced way too much, and the syrup was incredibly concentrated and almost syrupy-thick, like cough medicine. It was still effective, but it was hard to take. Stick to 30-40 minutes, and you’ll get a nice, pourable consistency.
Use the back of a spoon to mash, not a fork. I used a fork once, and it was a mess. The berries got stuck in the tines, and I ended up flicking purple juice all over my white counter. The flat back of a wooden spoon gives you more control and less splatter.
Strain twice if you want a crystal-clear syrup. I don’t bother with this usually—a few tiny berry specks don’t bother me—but if you’re making this as a gift or you just like a pristine look, strain the liquid through a coffee filter or a double layer of cheesecloth after the initial strain. It takes a little longer, but the result is beautiful.
Let the syrup rest overnight before judging the taste. The flavor changes as it sits in the fridge. The first time I made it, I thought it was too spicy. The next morning, it had mellowed into a perfect balance. The honey and spices need time to marry with the elderberry.
Variations & Adaptations
One of the best things about this homemade elderberry syrup for cold and flu season is how easy it is to tweak. Don’t be afraid to make it your own.
- Spicy Immune Booster: Add a pinch of cayenne pepper or a small dried chili pepper to the simmering liquid. It adds a subtle heat that can help clear sinuses. I tried this during a particularly nasty cold last winter, and it really helped open up my chest.
- Herbal Twist: Add a few sprigs of fresh thyme or a tablespoon of dried echinacea root to the pot with the berries. Thyme is great for coughs, and echinacea is a classic immune supporter. Just make sure to strain them out thoroughly.
- Low-Sugar Version: If you’re watching your sugar intake, you can reduce the honey to 1/2 cup or even use a sugar-free sweetener like monk fruit. Keep in mind that honey acts as a natural preservative, so a low-sugar syrup won’t last as long in the fridge—aim to use it within 2 weeks.
- Kid-Friendly Mocktail: My kids love this in sparkling water. Just add a tablespoon of syrup to a glass of plain seltzer. It turns into a beautiful purple fizzy drink that they think is a treat. I add a squeeze of fresh lemon, and it’s honestly delicious for adults too.
- Winter Wellness Tea: Add a tablespoon of the syrup to a mug of hot water with a slice of lemon. It’s like a comforting, immune-boosting tea that’s perfect for chilly evenings. I keep a jar in my office and sip on this during the winter months.
Serving & Storage Suggestions
This syrup is incredibly versatile, and how you serve it can make a big difference in how much you actually use it.
Serving: For daily immune support, adults can take 1 tablespoon per day, and children can take 1 teaspoon per day. If you feel a cold coming on, you can double that amount. I just take it straight off a spoon, but my kids prefer it mixed into a small glass of water or juice. It’s also fantastic drizzled over pancakes, yogurt, or oatmeal. The flavor is rich and fruity, so it works as a unique breakfast topping.
Storage: Keep your homemade elderberry syrup for cold and flu season in a sealed glass jar in the refrigerator. Because it contains raw honey and no artificial preservatives, it will last about 3-4 weeks. I usually make a double batch and keep one jar in the fridge and one in the freezer. The syrup freezes beautifully—just pour it into an ice cube tray, freeze, and pop out the cubes. You can store the cubes in a freezer bag for up to 6 months. Just thaw a cube in the fridge overnight when you need it.
Reheating: If you’re adding the syrup to hot tea, wait until the tea has cooled down a bit before stirring it in. Again, heat destroys the beneficial enzymes in the raw honey. I usually let my tea cool for about 2 minutes before adding the syrup.
Flavor Development: The flavor of the syrup actually improves after a day or two in the fridge. The spices continue to infuse, and the honey fully integrates. Don’t be discouraged if it tastes a little sharp on day one—give it time.
Nutritional Information & Benefits
This isn’t a meal replacement, but it’s packed with goodness that supports your body during cold and flu season.
Estimated Nutritional Values (per 1 tablespoon serving):
| Nutrient | Amount |
|---|---|
| Calories | 35-40 |
| Total Carbohydrates | 10g |
| Sugars | 9g (from honey) |
| Vitamin C | Variable (from elderberries) |
| Antioxidants | High |
Health Benefits: Elderberries are rich in anthocyanins, which are powerful antioxidants that help reduce inflammation and support the immune system. The honey provides natural antimicrobial properties, especially if you use raw, local honey. Ginger is well-known for its anti-nausea and anti-inflammatory effects, while cinnamon helps regulate blood sugar and has antiviral properties. This combination makes this homemade elderberry syrup for cold and flu season a gentle, whole-food way to support your body’s natural defenses.
Dietary Considerations: This recipe is naturally gluten-free, dairy-free, and vegetarian. It is not vegan due to the honey. If you have an allergy to bee products, you can substitute the honey with maple syrup or agave, but the shelf life will be shorter (about 1 week in the fridge). Always consult with your healthcare provider before giving herbal remedies to young children, pregnant women, or individuals with compromised immune systems.
Frequently Asked Questions
Can I use fresh elderberries instead of dried?
No, I strongly recommend against it. Fresh elderberries are toxic when raw and need to be cooked thoroughly to be safe. Dried elderberries are much easier to work with and are already safe to simmer. Stick with dried for this recipe.
How long does homemade elderberry syrup last?
In a sealed jar in the refrigerator, it will last about 3-4 weeks. If you freeze it in ice cube trays, it will last up to 6 months. Just make sure your jar is clean and sterilized before you pour the syrup in.
Can I give this to my toddler?
Yes, but in small amounts. For children under 2, consult your pediatrician first. For older children, a daily dose of 1 teaspoon is plenty. Never give honey to a child under 1 year old due to the risk of botulism.
Why did my syrup turn out cloudy?
Cloudiness is usually from over-boiling the berries or pressing on them too hard during straining. It’s not harmful at all—just a cosmetic issue. Next time, simmer gently and let the strainer do the work without pressing.
Can I make a double batch?
Absolutely! I often make a double batch to save time. Just use a larger pot and increase all the ingredients proportionally. The simmer time might need an extra 10 minutes. Store the extra in the freezer for later.
Conclusion
This homemade elderberry syrup for cold and flu season has honestly become a non-negotiable part of our winter routine. It’s not a cure-all, and I’m not here to make wild health claims, but it is a simple, comforting, and effective way to support your family’s health with real food. The process of making it—the simmering, the smell, the final pour into a jar—feels like an act of care. It reminds me that sometimes the best medicine is the one you make with your own hands, using ingredients that have been trusted for generations.
I’d love for you to try this recipe and make it your own. Maybe you’ll add a pinch of something extra, or you’ll find a new way to serve it. That’s the beauty of cooking—it’s never really finished. If you do give it a try, I’d love to hear how it turned out. Drop a comment below and let me know what tweaks you made, or share a photo of your jar on social media. Until next time, stay healthy and keep your kitchen cozy!
Pin This Recipe!
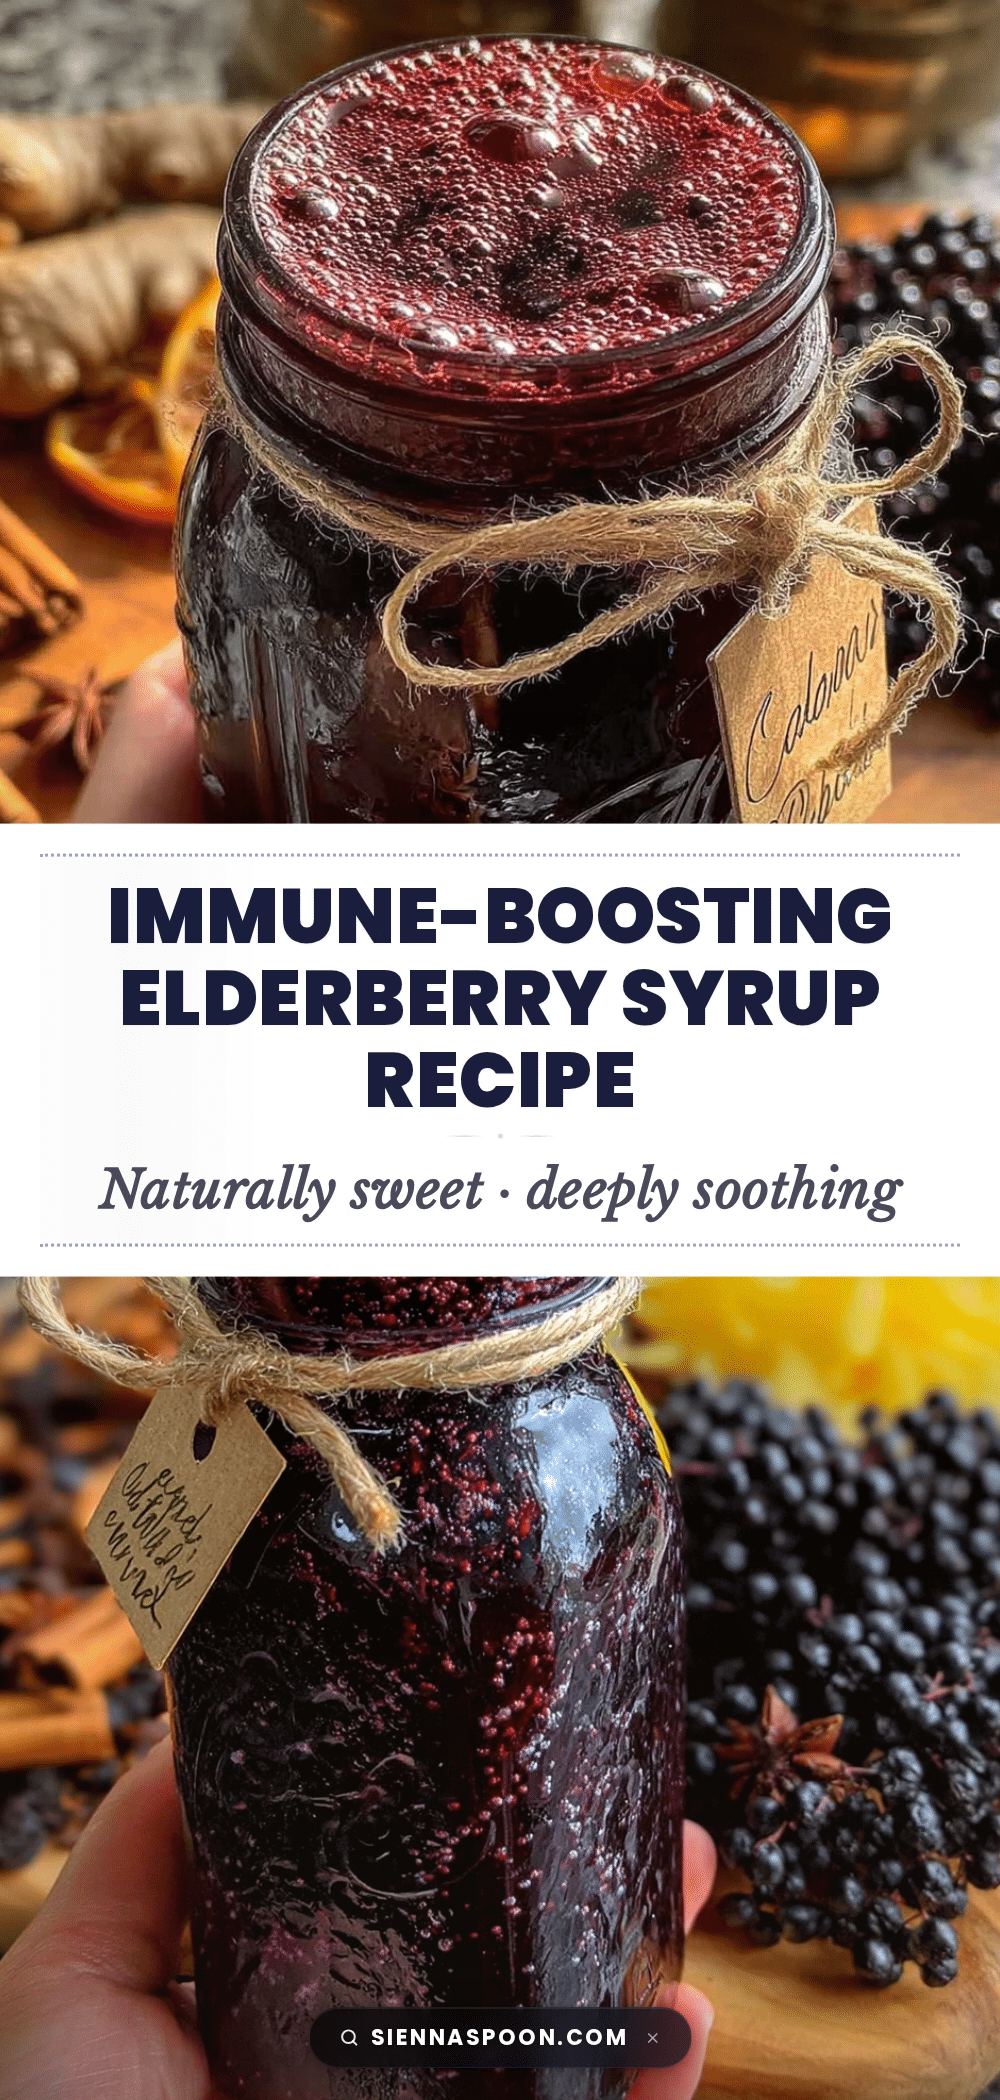
Best Homemade Elderberry Syrup for Cold and Flu Season
This homemade elderberry syrup is a comforting, immune-boosting remedy made with dried elderberries, ginger, cinnamon, and raw honey. It’s a simple and effective way to support your family’s health during cold and flu season.
- Prep Time: 10 minutes
- Cook Time: 40 minutes
- Total Time: 50 minutes
- Yield: 2 cups (approximately 32 servings of 1 tablespoon each) 1x
- Category: Condiment
- Cuisine: American
Ingredients
- 1 cup dried elderberries
- 4 cups filtered water
- 1 large thumb-sized piece fresh ginger, sliced
- 2 cinnamon sticks
- 1 teaspoon whole cloves
- 1 cup raw honey (or to taste)
- Optional: Peel from 1 organic orange
Instructions
- Combine the dried elderberries and 4 cups of filtered water in a medium to large saucepan. Stir to ensure berries are mostly submerged.
- Add the sliced ginger, cinnamon sticks, cloves, and orange peel (if using) to the pot.
- Bring the mixture to a boil over medium-high heat, then reduce heat to low.
- Simmer gently with the lid slightly ajar for 30-40 minutes, until the liquid has reduced by about half and the berries are plump and soft.
- Remove the pot from heat. Use the back of a wooden spoon to gently mash the berries against the side of the pot to release more flavor.
- Strain the mixture through a fine-mesh strainer or cheesecloth into a large bowl or measuring cup. Let it drip for a few minutes without pressing on the berries.
- Allow the strained liquid to cool to room temperature (about 15-20 minutes).
- Once cool, stir in the raw honey until fully dissolved. Taste and adjust sweetness if desired.
- Pour the finished syrup into a clean glass jar or bottle. Seal tightly and store in the refrigerator.
Notes
Do not add honey to hot liquid as it destroys beneficial enzymes. Let the syrup rest overnight in the fridge for the best flavor. For a crystal-clear syrup, strain twice through a coffee filter or double layer of cheesecloth. Store in the refrigerator for 3-4 weeks or freeze in ice cube trays for up to 6 months.
Nutrition
- Serving Size: 1 tablespoon
- Calories: 3540
- Sugar: 9
- Carbohydrates: 10
Keywords: elderberry syrup, homemade elderberry syrup, immune booster, cold and flu remedy, elderberry recipe, natural remedy, winter wellness


