Love this? Save it for later!
Share the inspiration with your friends
“I never thought a cookie could steal the show at a graduation party,” my friend Lisa confessed last June as we cleaned up after her daughter’s big celebration. The story behind that cookie cake is actually pretty hilarious. It started when Lisa was scrambling to find a dessert that could feed a crowd but didn’t involve the usual cupcakes or a giant sheet cake. She didn’t want anything too fancy or complicated—just something fun and memorable.
One afternoon, while browsing the local bakery for inspiration, Lisa noticed a massive cookie cake in the display window. It was covered with colorful frosting and a personalized message that made it feel extra special. But here’s the kicker: that bakery was about to close for the summer, and she wasn’t sure if she could get one in time. So, she decided to try making her own. Honestly, it was a bit of a mess at first—she forgot to grease the pan, and the frosting was way too runny. But after a couple of tweaks (and a kitchen full of flour on the floor), she nailed it.
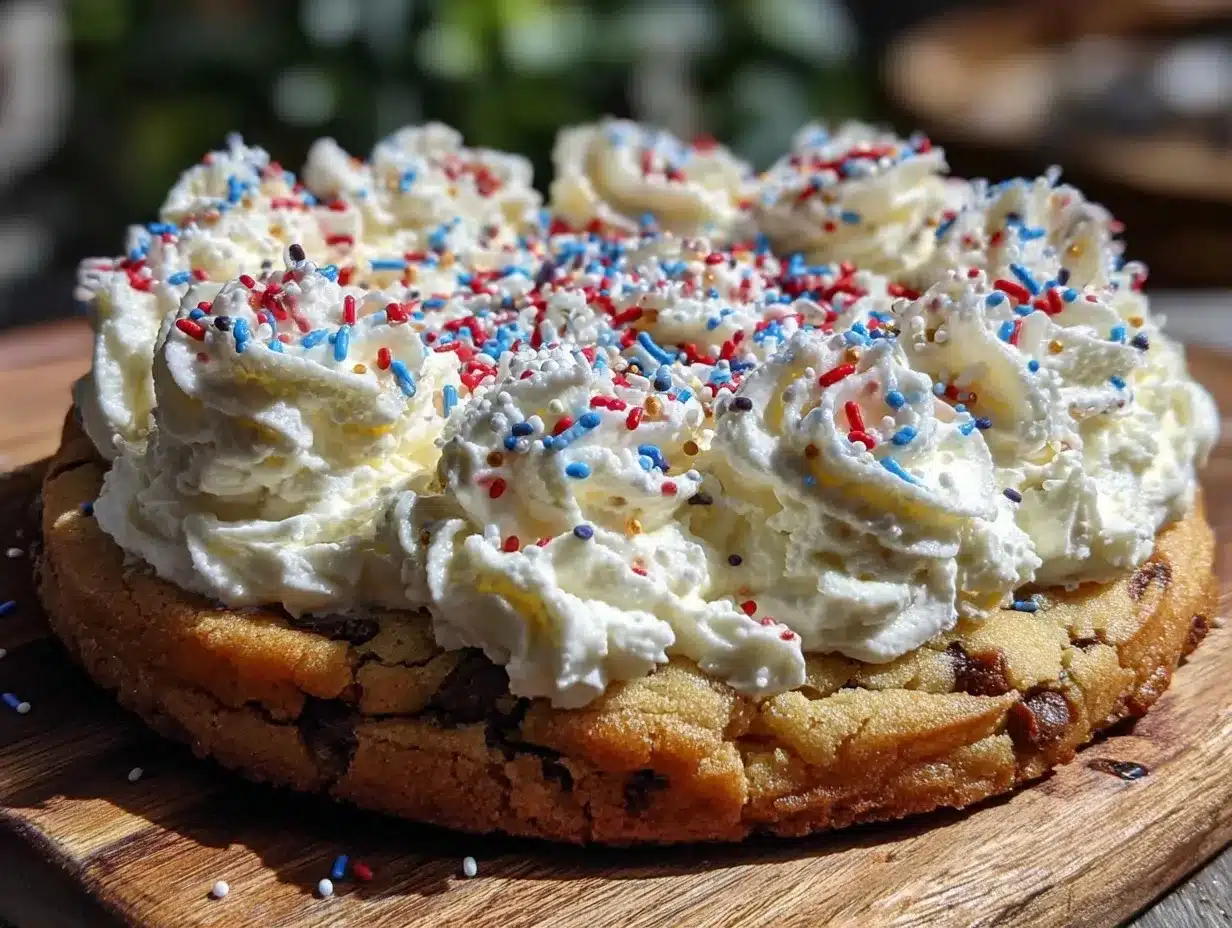
That cookie cake quickly became the highlight of the party, with everyone asking for seconds and snapping photos of the personalized frosting. I mean, you know that feeling when a simple dessert just hits all the right notes? That’s exactly what happens with this Perfect Giant Graduation Cookie Cake with Personalized Frosting. It’s big, bold, and totally customizable—just right for celebrating those milestone moments you want to remember forever.
So, whether you’re hosting a graduation bash, a special birthday, or just craving a giant cookie with a personal twist, this recipe is for you. Let me tell you, once you try it, you’ll keep coming back to it for every celebration (or even just a fun weekend treat!).
Why You’ll Love This Recipe
This Perfect Giant Graduation Cookie Cake with Personalized Frosting is honestly one of those recipes you’ll want to keep in your back pocket. I’ve tested it multiple times, tweaking the texture and the frosting to make sure it’s just right. Here’s why it’s become a go-to in my kitchen:
- Quick & Easy: It comes together in about 30 minutes plus baking time—perfect when you’re juggling party prep.
- Simple Ingredients: You probably already have everything in your pantry, so no last-minute grocery store runs.
- Perfect for Celebrations: This cookie cake shines at graduations, birthdays, or any big milestone event.
- Crowd-Pleaser: Kids and adults alike rave about the chewy, buttery texture and sweet, creamy frosting.
- Unbelievably Delicious: The balance of soft cookie and smooth frosting is just next-level comfort food.
What really makes this recipe stand out? It’s the frosting. I’ve tried a bunch of different methods, but this personalized frosting is smooth, holds its shape perfectly, and lets you get creative with messages or decorations. Plus, the cookie itself is thick and chewy—not dry or crumbly—thanks to a little trick of chilling the dough before baking.
This isn’t just another cookie cake; it’s the one that makes guests pause and say, “Wow, who made this?” It’s a simple way to add a personal touch to your celebration without stress, and honestly, it’s a lot of fun to decorate. Give it a try—you might just find yourself making it even when you don’t have a party!
What Ingredients You Will Need
This recipe uses simple, wholesome ingredients to deliver bold flavor and a satisfying texture without any fuss. Most are pantry staples, and the frosting ingredients are easy to customize depending on your taste and dietary needs.
- For the Cookie Cake:
- All-purpose flour, 2 ½ cups (320 g) – I prefer King Arthur for consistent results
- Baking soda, 1 teaspoon
- Salt, ½ teaspoon
- Unsalted butter, 1 cup (226 g), softened (adds richness and chewiness)
- Granulated sugar, ¾ cup (150 g)
- Brown sugar, ¾ cup (165 g), packed (for that deep caramel flavor)
- Large eggs, 2, room temperature
- Pure vanilla extract, 2 teaspoons
- Chocolate chips, 1 ½ cups (270 g) – semisweet or milk, depending on preference
- For the Personalized Frosting:
- Unsalted butter, ½ cup (113 g), softened
- Powdered sugar, 3 cups (360 g), sifted for smoothness
- Whole milk or heavy cream, 2–3 tablespoons (30–45 ml) – use more for thinner consistency
- Pure vanilla extract, 1 teaspoon
- Food coloring (gel-based recommended for vibrant colors)
- Optional: a pinch of salt to balance sweetness
Substitution tips: For a gluten-free version, swap the all-purpose flour with a 1:1 gluten-free baking flour. If you prefer dairy-free, use coconut oil or vegan butter and a plant-based milk like almond or oat milk for the frosting. I’ve also swapped in white chocolate chips or chopped nuts for some nice texture variations.
Equipment Needed
- Large mixing bowl and medium mixing bowl
- Electric mixer (stand mixer or hand mixer) – I like using my KitchenAid for easier creaming, but a sturdy whisk works too
- Measuring cups and spoons (for accuracy and ease)
- 9-inch (23 cm) round cake pan or a similar-sized oven-safe pan – greased well
- Spatula for folding and spreading
- Cooling rack to cool the cookie cake evenly
- Piping bags and tips or a small offset spatula for decorating the frosting
If you don’t have a cake pan, a rimmed baking sheet can work, but the cookie will be thinner. For frosting, I recommend gel food coloring over liquid to avoid thinning the frosting too much. Keeping your butter at room temperature helps with smooth mixing. If your mixer is on the older side, scrape down the sides often to blend everything evenly.
Preparation Method
- Preheat your oven to 350°F (175°C). Grease your 9-inch round cake pan well with butter or non-stick spray, then line the bottom with parchment paper for easy removal.
- Mix dry ingredients: In a medium bowl, whisk together 2 ½ cups (320 g) all-purpose flour, 1 teaspoon baking soda, and ½ teaspoon salt. Set aside.
- Cream butter and sugars: Using your mixer, beat 1 cup (226 g) softened unsalted butter with ¾ cup (150 g) granulated sugar and ¾ cup (165 g) packed brown sugar on medium speed for 3-4 minutes until light and fluffy. Scrape down the bowl as needed.
- Add eggs and vanilla: Beat in 2 large eggs, one at a time, then 2 teaspoons vanilla extract until fully combined. The mixture should be smooth and creamy.
- Combine wet and dry: Gradually add the dry ingredients to the wet, mixing on low speed just until combined. Avoid overmixing to keep the cookie tender.
- Fold in chocolate chips: Using a spatula, gently fold in 1 ½ cups (270 g) chocolate chips, making sure they’re evenly distributed.
- Chill the dough: Cover the bowl with plastic wrap and chill the dough in the fridge for at least 30 minutes. This step helps prevent spreading and ensures a thick, chewy cookie cake.
- Shape and bake: Transfer the dough to your prepared pan, pressing it evenly into the bottom. Bake for 25-30 minutes, or until the edges are golden and a toothpick inserted in the center comes out with a few moist crumbs. Don’t overbake—this is key for softness!
- Cool completely: Let the cookie cake cool in the pan for 15 minutes, then invert onto a cooling rack to cool fully before frosting.
- Make the frosting: Beat ½ cup (113 g) softened unsalted butter until creamy. Gradually add 3 cups (360 g) powdered sugar, mixing on low. Add 2-3 tablespoons (30-45 ml) milk and 1 teaspoon vanilla extract. Beat on medium-high until fluffy, about 3-4 minutes. Adjust consistency with more milk or sugar as needed.
- Color and personalize: Divide frosting into small bowls if using multiple colors. Add gel food coloring a drop at a time until you reach your desired shades.
- Decorate: Spread a thin base layer of frosting over the cookie cake, then pipe your personalized message and decorations. Let your creativity run wild! If you make a mistake, gently scrape off and smooth it out—no stress.
- Serve and enjoy: Slice with a sharp knife and watch your guests’ faces light up. This cookie cake is best enjoyed the day it’s made but stores well for a couple of days.
Cooking Tips & Techniques
One trick I learned is not to skip chilling the dough. It keeps the cookie cake thick and chewy rather than thin and crisp. Also, when creaming the butter and sugars, don’t rush—getting that light fluffiness makes a huge difference in texture.
For the frosting, using softened butter is essential. If your butter is cold, the frosting won’t be smooth and will feel gritty. And trust me, gel food coloring is your best friend—liquid colors can thin the frosting and make it harder to pipe.
Don’t overbake the cookie cake. It may look slightly underdone in the center when you pull it out, but it will continue to cook on the hot pan and stay soft. I always set a timer for 25 minutes and start checking from there.
When decorating, give yourself permission to be imperfect. I’ve had frosting slip, messages smudge, and colors blend unexpectedly—but those little quirks make it feel homemade and special.
Finally, slice gently with a serrated knife rather than a sharp chef’s knife to avoid crumbling edges. And if you want to multitask, prep the frosting while the cookie bakes to save time.
Variations & Adaptations
This recipe is super flexible. Here are a few ways I’ve made it my own:
- Flavor swaps: Try adding ½ cup chopped nuts, like pecans or walnuts, for crunch. Or swap chocolate chips with white chocolate or peanut butter chips for a different twist.
- Dietary tweaks: Use almond flour or a gluten-free blend to make the cookie cake gluten-free. Swap butter for coconut oil and milk for almond milk to make it dairy-free.
- Frosting fun: Instead of classic vanilla, mix in a bit of cocoa powder for chocolate frosting or a splash of lemon juice and zest for a bright, tangy flavor. I once made a cinnamon-spiced frosting that was a hit at a fall graduation!
- Size adjustments: For smaller gatherings, bake in an 8-inch pan or a square 9×9-inch pan. Just adjust baking time accordingly—usually shorter for smaller sizes.
The best part? You can personalize the message and colors to fit any occasion. I’ve even done this cookie cake for a baby shower with pastel frosting and cute little baby booties piped on top. It’s honestly a canvas waiting for your creativity.
Serving & Storage Suggestions
Serve this cookie cake at room temperature for the best texture and flavor. If you’ve refrigerated it, let it sit out for about 20 minutes before slicing to soften the frosting and cookie.
This dessert pairs wonderfully with cold milk, coffee, or even a sparkling lemonade for a festive touch. For a fun brunch, serve alongside fresh fruit or a light yogurt parfait to balance the sweetness.
To store, wrap the cookie cake tightly in plastic wrap and keep it at room temperature for up to 2 days. For longer storage, refrigerate for up to 5 days or freeze slices individually wrapped for up to a month. When reheating, warm slices briefly in the microwave (about 10-15 seconds) to bring back that fresh-baked softness.
Fun fact: the flavors actually mellow and deepen a bit after a day, so if you can wait, the next-day cookie cake is a real treat!
Nutritional Information & Benefits
An average slice (based on 12 servings) contains approximately 300-350 calories, with a balanced mix of carbohydrates, fats, and a bit of protein from the eggs and butter. The combination of brown and granulated sugars gives it that classic cookie flavor with a touch of caramel.
Using real butter and whole ingredients means no preservatives or artificial flavors, which I always appreciate. Plus, chocolate chips add a hint of antioxidants, and if you add nuts, you get some healthy fats and protein too.
This recipe can easily fit into most diets with small adjustments: gluten-free flour for celiac-friendly, dairy-free alternatives for lactose intolerance, and portion control for mindful indulgence. It’s comfort food that you can feel good about sharing with friends and family.
Conclusion
This Perfect Giant Graduation Cookie Cake with Personalized Frosting is more than just a dessert—it’s a celebration on a plate. It’s easy to make, crowd-pleasing, and full of that warm, nostalgic feeling you want at a graduation party. I love how it lets you add a personal message that truly makes the moment special.
Feel free to tweak the ingredients and decorations to make it your own. Whether you’re a frosting pro or a cookie novice, this recipe welcomes all levels of bakers. I hope it becomes your go-to for marking important milestones or just indulging in a giant, sweet hug of a cookie.
Try it out, share your creations, and let me know how you personalized your frosting. I’d love to hear your twists and tips!
FAQs
Can I make the cookie cake ahead of time?
Yes! Bake the cookie cake and frost it the same day for best results, but you can also bake it a day ahead and store it wrapped at room temperature. Frost just before serving for the freshest look.
How do I keep the frosting from melting?
Use room temperature butter for the frosting and avoid adding too much liquid. If your kitchen is warm, refrigerate the frosted cake briefly before serving to set the frosting.
Can I use different types of chips or mix-ins?
Absolutely! White chocolate, peanut butter chips, chopped nuts, or dried fruit all work well. Just fold them in gently with the chocolate chips or substitute entirely.
What’s the best way to personalize the frosting message?
Use piping bags with small round tips for neat lettering. If you don’t have piping bags, a zip-top bag with a small corner cut works fine. Practice on parchment paper first if you’re nervous!
How thick should the cookie cake dough be in the pan?
Press the dough evenly to about ½ to ¾ inch thick. This thickness helps the cookie bake evenly and stay chewy rather than too thin or crispy.
Pin This Recipe!
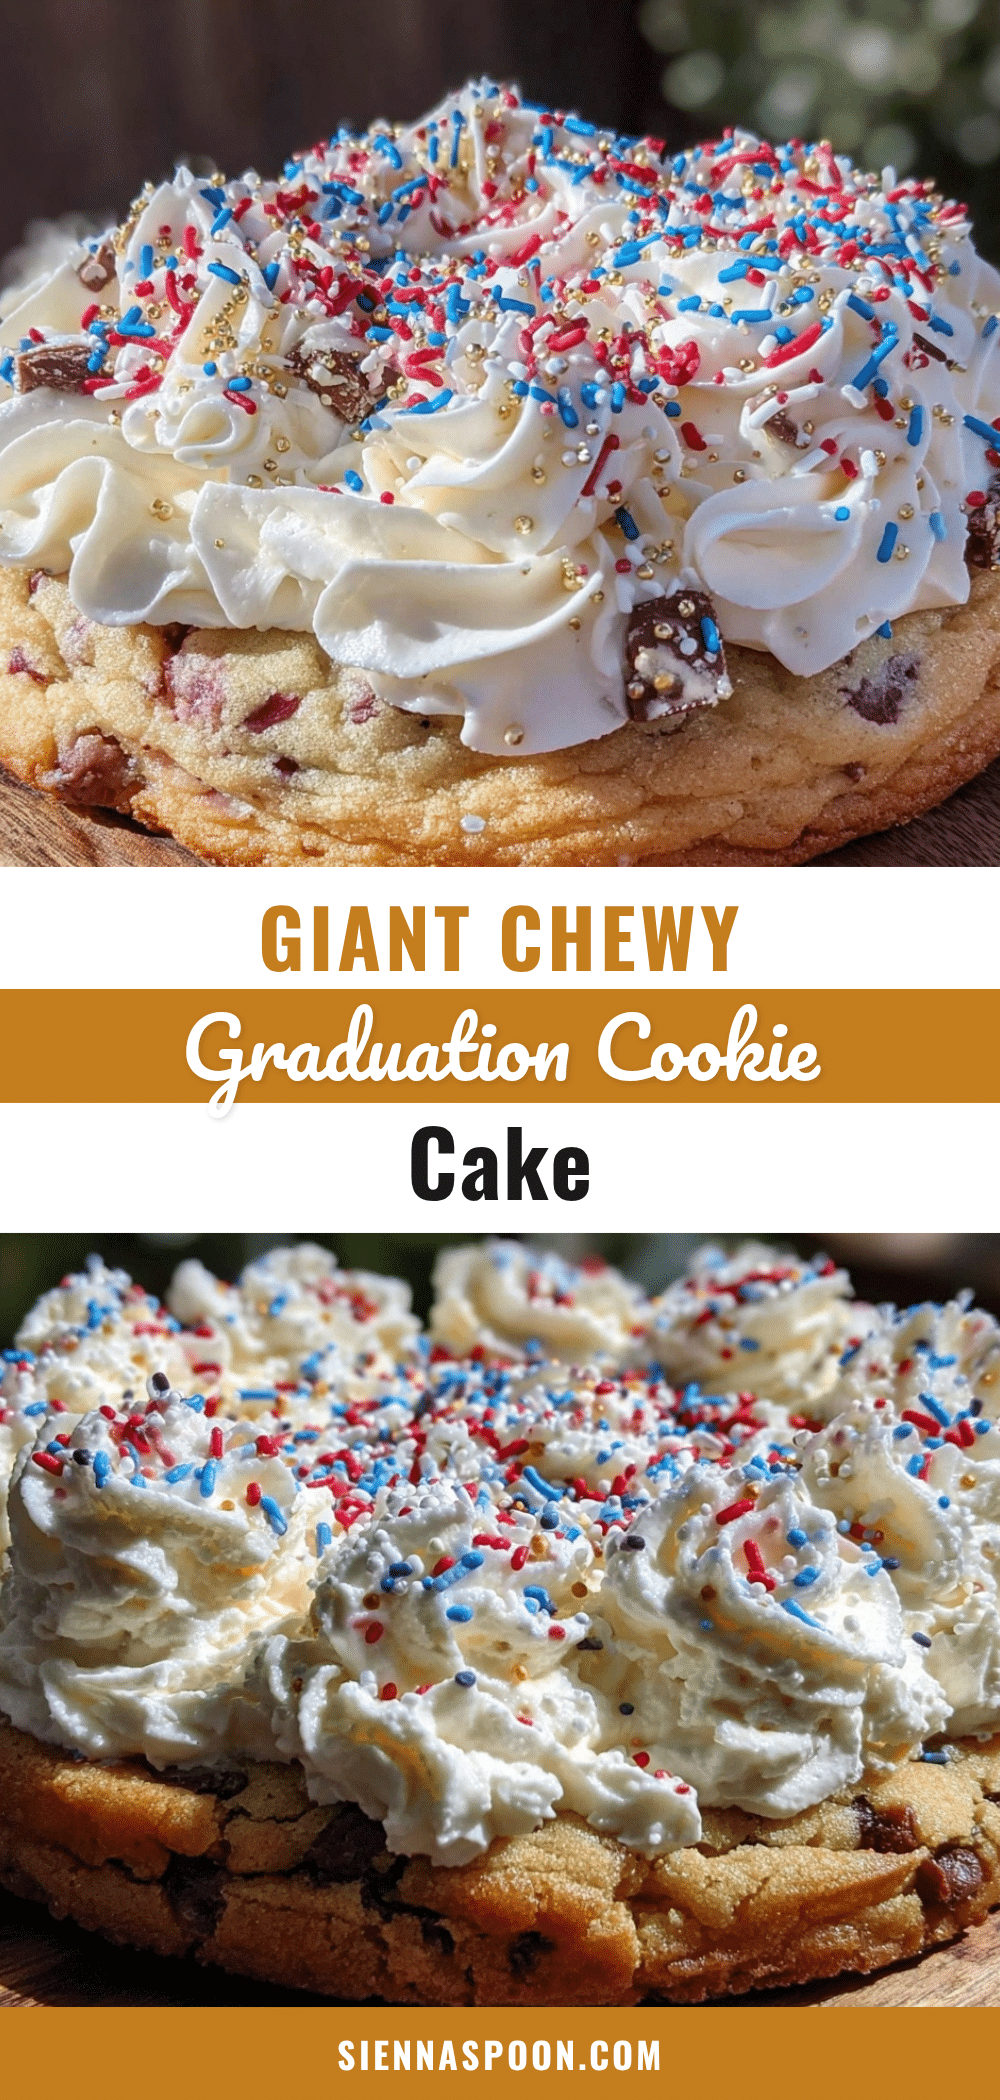
Perfect Giant Graduation Cookie Cake Recipe with Easy Personalized Frosting Tips

A big, bold, and customizable giant cookie cake perfect for graduations and celebrations, featuring a chewy texture and smooth personalized frosting.
- Prep Time: 15 minutes
- Cook Time: 30 minutes
- Total Time: 45 minutes
- Yield: 12 servings 1x
- Category: Dessert
- Cuisine: American
Ingredients
- 2 ½ cups (320 g) all-purpose flour
- 1 teaspoon baking soda
- ½ teaspoon salt
- 1 cup (226 g) unsalted butter, softened
- ¾ cup (150 g) granulated sugar
- ¾ cup (165 g) packed brown sugar
- 2 large eggs, room temperature
- 2 teaspoons pure vanilla extract
- 1 ½ cups (270 g) chocolate chips (semisweet or milk)
- ½ cup (113 g) unsalted butter, softened (for frosting)
- 3 cups (360 g) powdered sugar, sifted
- 2–3 tablespoons (30–45 ml) whole milk or heavy cream
- 1 teaspoon pure vanilla extract (for frosting)
- Gel-based food coloring
- Optional: a pinch of salt (for frosting)
Instructions
- Preheat your oven to 350°F (175°C). Grease a 9-inch round cake pan well with butter or non-stick spray, then line the bottom with parchment paper.
- In a medium bowl, whisk together 2 ½ cups all-purpose flour, 1 teaspoon baking soda, and ½ teaspoon salt. Set aside.
- Using a mixer, beat 1 cup softened unsalted butter with ¾ cup granulated sugar and ¾ cup packed brown sugar on medium speed for 3-4 minutes until light and fluffy. Scrape down the bowl as needed.
- Beat in 2 large eggs, one at a time, then add 2 teaspoons vanilla extract until fully combined and smooth.
- Gradually add the dry ingredients to the wet mixture on low speed just until combined. Avoid overmixing.
- Gently fold in 1 ½ cups chocolate chips with a spatula until evenly distributed.
- Cover the dough and chill in the fridge for at least 30 minutes to prevent spreading and ensure a thick, chewy cookie cake.
- Transfer the dough to the prepared pan, pressing it evenly into the bottom.
- Bake for 25-30 minutes, or until edges are golden and a toothpick inserted in the center comes out with a few moist crumbs. Do not overbake.
- Let the cookie cake cool in the pan for 15 minutes, then invert onto a cooling rack to cool completely before frosting.
- To make frosting, beat ½ cup softened unsalted butter until creamy. Gradually add 3 cups powdered sugar, mixing on low.
- Add 2-3 tablespoons milk and 1 teaspoon vanilla extract. Beat on medium-high until fluffy, about 3-4 minutes. Adjust consistency with more milk or sugar as needed.
- Divide frosting into small bowls if using multiple colors. Add gel food coloring a drop at a time until desired shades are reached.
- Spread a thin base layer of frosting over the cookie cake, then pipe personalized messages and decorations.
- Slice with a sharp knife and serve. Best enjoyed the day it’s made but stores well for a couple of days.
Notes
Chilling the dough before baking is essential to keep the cookie thick and chewy. Use softened butter for smooth frosting and gel food coloring for vibrant colors. Avoid overbaking to maintain softness. Slice gently with a serrated knife to prevent crumbling. Frosting can be personalized with different colors and messages.
Nutrition
- Serving Size: 1 slice (1/12 of coo
- Calories: 325
- Sugar: 30
- Sodium: 180
- Fat: 15
- Saturated Fat: 9
- Carbohydrates: 45
- Fiber: 1
- Protein: 4
Keywords: cookie cake, graduation dessert, personalized frosting, giant cookie, celebration dessert, easy cookie cake, chewy cookie