Love this? Save it for later!
Share the inspiration with your friends
The school Harvest Festival was in twelve hours and I had completely forgotten to sign up for the snack table. Everyone else would be bringing those Pinterest-perfect caramel apples and those fancy decorated sugar cookies that look like they belong in a bakery window. I had a bag of pumpkin seeds from our carving session last weekend, a head of garlic that was starting to sprout, and about twenty minutes of actual energy left in my body. Honestly, I almost just bought a bag of chips and called it a day.
But then I remembered the little jar of Parmesan cheese in the fridge and that stick of butter sitting on the counter. I mean, butter and cheese fix almost everything, right? So I tossed those seeds in a bowl, smashed up some garlic, and threw it all in the oven while I helped my youngest son tape his dinosaur costume back together. The kitchen smelled amazing—like a fancy restaurant and a cozy pizza parlor had a baby. I didn’t think much of it until the festival, when I saw a line of kids (and their parents) hovering around my little bowl.
That’s when I knew I had stumbled onto something good. These Kid-Approved Roasted Garlic Parmesan Pumpkin Seeds are now the thing I’m asked to bring everywhere. Maybe you’ve been there—standing in your kitchen, staring at pumpkin seeds, wondering if there’s a way to make them actually exciting instead of just, you know, chewy and bland. This is that way. They’re crunchy, savory, and have that salty-cheesy thing that makes everyone’s eyes go wide. I keep making them because they turn a simple leftover into the star of the show, and honestly, that’s my favorite kind of cooking.
Why You’ll Love This Recipe
Let me tell you why this isn’t just another pumpkin seed recipe. I’ve tested this about six times now, tweaking the garlic amount and the roasting time until my whole family agreed it was perfect. Even my picky seven-year-old, who usually picks seeds out of her pumpkin bread, asked for seconds. That’s a win in my book.
- Quick & Easy: From start to finish, you’re looking at about 25 minutes. Most of that is hands-off oven time while you fold laundry or help with homework.
- Simple Ingredients: You probably already have butter, garlic, Parmesan, and salt in your kitchen. No weird specialty items needed—just real food.
- Perfect for Fall Gatherings: Great for Halloween parties, Thanksgiving snacking, or just a fun after-school treat that doesn’t involve sugar.
- Crowd-Pleaser: Kids love the cheesy flavor, and adults can’t stop grabbing handfuls. It’s the snack that disappears fastest at every event.
- Unbelievably Delicious: The garlic gets all roasty and sweet, the Parmesan crisps up into little flavor bombs, and the seeds get perfectly crunchy. It’s next-level comfort snacking.
What makes this recipe different from all those other pumpkin seed recipes out there? It’s the combination of real butter and fresh garlic. Most recipes use oil and garlic powder, which is fine but kind of boring. Using fresh garlic and letting it roast right along with the seeds changes everything. The garlic gets mellow and almost sweet, and it infuses every single seed. Plus, the Parmesan melts into these little crispy bits that stick to the seeds—honestly, those are the best parts. This isn’t just another version of roasted seeds; it’s the version that will make you wonder why you ever bothered with the plain salted kind.
This recipe connects to that feeling of wanting something warm and satisfying without spending hours in the kitchen. It’s comfort food that feels a little special but doesn’t require any fancy skills. Perfect for impressing other parents at the school event without stressing yourself out, or for turning a simple afternoon snack into something the whole family looks forward to.
What Ingredients You Will Need
This recipe uses simple, wholesome ingredients that work together to create that irresistible savory crunch. Most of these are pantry staples, especially if you do any fall baking or pumpkin carving.
- Pumpkin seeds (raw, cleaned): 1 ½ cups (about 180 grams). You want the ones straight out of the pumpkin, washed and dried. If you’re using store-bought raw seeds, that works too—just make sure they’re unsalted.
- Unsalted butter, melted: 3 tablespoons (42 grams). I always use unsalted so I can control the salt level. Kerrygold is my go-to for the richest flavor, but any good butter works.
- Fresh garlic, minced: 4 cloves (about 2 teaspoons). Don’t use the jarred stuff here—fresh garlic makes a huge difference. It roasts up sweet and mellow instead of bitter.
- Grated Parmesan cheese: ¼ cup (25 grams). Buy the real stuff in a wedge and grate it yourself if you can. The pre-shredded kind has anti-caking agents that don’t melt as nicely. But in a pinch, the green can works—I’ve been there.
- Salt: ½ teaspoon (3 grams). Fine sea salt is best because it distributes evenly. If you’re using salted butter, reduce this to ¼ teaspoon.
- Garlic powder (optional): ¼ teaspoon. This is my secret trick—it gives an extra layer of garlic flavor without being too strong. Totally optional but highly recommended.
- Black pepper, freshly ground: ¼ teaspoon. Adds a little warmth without any heat. Kids don’t even notice it.
For the best texture, look for pumpkin seeds that are still a little bit damp from washing but not soaking wet. If they’re too dry, they can burn before the garlic and cheese have time to roast properly. Also, a quick note on the butter: if you’re dairy-free, you can swap in a good vegan butter or even olive oil. The flavor will be slightly different but still delicious.
Equipment Needed
You don’t need anything fancy for this recipe, which is part of why I love it. Here’s what you’ll want to have on hand:
- Baking sheet: A standard half-sheet pan works perfectly. Line it with parchment paper for easy cleanup—trust me, the melted cheese can get sticky.
- Mixing bowl: Any medium bowl will do. I use my favorite ceramic one because it doesn’t slide around on the counter.
- Chef’s knife and cutting board: For mincing the garlic. A garlic press works too if you’re in a hurry, but I find the flavor is better when you chop it by hand.
- Measuring spoons: For getting the amounts right. I’ve eyeballed it before and ended up with salty seeds—measuring is worth it.
- Spatula or wooden spoon: For stirring the seeds on the baking sheet halfway through roasting. A silicone spatula is great for scraping every bit of that garlic butter mixture onto the seeds.
- Paper towels: For drying the pumpkin seeds after washing them. You want them damp but not dripping.
If you don’t have a baking sheet, a cast-iron skillet works surprisingly well. Just keep an eye on the heat because cast iron retains heat differently. And if you’re using a convection oven, reduce the temperature by 25 degrees to prevent burning. I learned that one the hard way.
Preparation Method
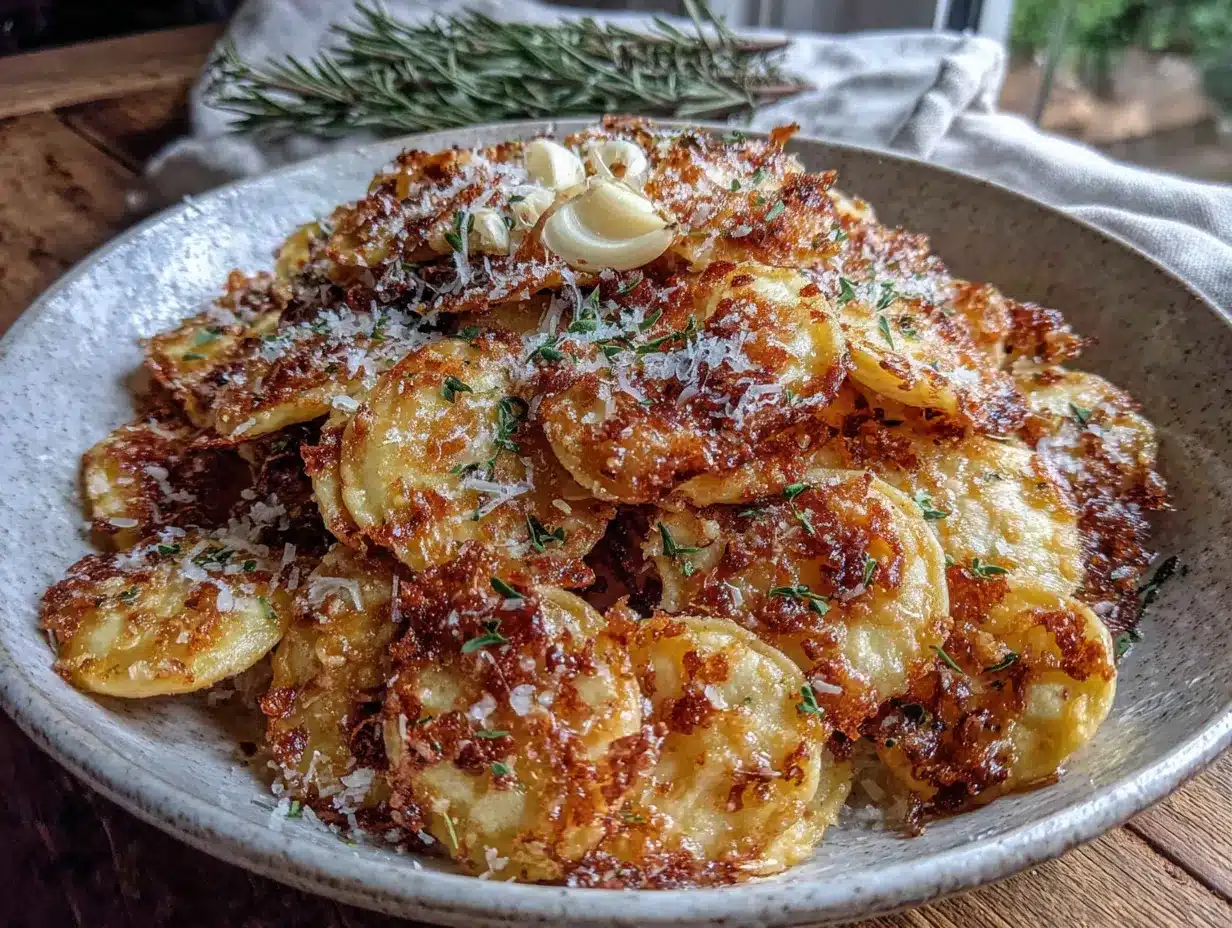
Let’s get these seeds roasting! Here’s the step-by-step process that works every time.
- Preheat your oven to 350°F (175°C). While it’s heating up, line a baking sheet with parchment paper. This makes cleanup so much easier—you’ll thank me later when you’re not scrubbing baked-on cheese off the pan.
- Clean and dry your pumpkin seeds. If you’re using seeds from a fresh pumpkin, rinse them in a colander under cool water, picking out any stringy pumpkin guts. Spread them on a clean kitchen towel or paper towels and pat them dry. You want them damp but not soaking wet—excess water will make them steam instead of roast. This should take about 2-3 minutes.
- Melt the butter in a small microwave-safe bowl. Heat it for about 30 seconds, or until fully melted. Alternatively, you can melt it in a small saucepan on the stove over low heat. Let it cool for a minute so it doesn’t cook the garlic when you add it.
- Mince the garlic cloves finely. You want small pieces so they distribute evenly and roast without burning. If you have a garlic press, this is a good time to use it. Add the minced garlic to the melted butter and stir. Let it sit for a minute—this infuses the butter with that gorgeous garlic flavor. The smell at this point is incredible.
- In a medium mixing bowl, combine the pumpkin seeds, garlic butter mixture, salt, garlic powder (if using), and black pepper. Stir well with a spatula until every seed is coated. Take your time here—uncoated seeds will be bland and sad. I like to use a silicone spatula to scrape every bit of that garlicky butter onto the seeds.
- Spread the seasoned seeds in a single layer on the prepared baking sheet. Try not to let them pile up on top of each other, or they’ll steam instead of getting crispy. If they’re crowded, use two baking sheets. Sprinkle the grated Parmesan cheese evenly over the top of the seeds.
- Roast for 10 minutes, then remove the pan from the oven and stir the seeds with a spatula. This ensures even cooking and helps the Parmesan get all melty and distributed. The seeds will start to smell amazing at this point—like garlic bread and fall combined.
- Return the pan to the oven and roast for another 8-12 minutes. Keep an eye on them after the 8-minute mark. You’re looking for golden brown seeds and crispy, slightly browned cheese. The seeds should look dry and feel firm when you press one. If they still feel soft, give them another 2 minutes. Every oven is different—my old oven took the full 12 minutes, but my new one only needs 9.
- Remove from the oven and let the seeds cool completely on the baking sheet. This is crucial—they’ll continue to crisp up as they cool. Don’t skip this step or you’ll end up with chewy seeds. Let them sit for at least 15-20 minutes. I know it’s hard to wait, but it’s worth it.
- Once cooled, break up any large clumps of seeds and cheese. Some of the Parmesan will have formed crispy little clusters—those are the best parts, so don’t break them up too much. Transfer to a serving bowl and try not to eat them all before anyone else gets a chance.
Cooking Tips & Techniques
After making these seeds about a dozen times (not exaggerating), I’ve picked up a few tricks that make a real difference.
Don’t skip the drying step. I learned this the hard way when I made a batch for a playdate and ended up with soggy, steamed seeds that nobody wanted to eat. Wet seeds don’t roast—they steam. Take the extra two minutes to pat them dry with paper towels. Your future self will thank you.
Watch the oven like a hawk at the end. The line between perfectly roasted and burnt is thin, especially with the Parmesan. Cheese can go from golden to black in about 60 seconds. I usually set a timer for 8 minutes, check them, then add time in 2-minute increments. If you smell anything burning, pull them out immediately.
Fresh garlic matters here. I tried making these with garlic powder only once, and they were fine but forgettable. The fresh garlic roasts and becomes sweet and mellow, while the tiny bit of garlic powder adds that background punch. It’s a one-two punch that makes people ask what your secret is.
Let them cool completely before storing. If you put warm seeds in a container, the steam will make them soft. I usually spread them out on the baking sheet and let them sit for a full 20 minutes. If I’m in a rush, I’ll spread them on a plate and pop them in the fridge for 10 minutes—that works too.
Double the batch if you’re feeding a crowd. These disappear fast. I made a single batch for a family movie night and they were gone before the opening credits finished. Now I always make at least double, and I hide a small bowl in the pantry for myself.
Variations & Adaptations
One of the best things about this recipe is how easy it is to change up. Here are some variations I’ve tried and loved:
- Spicy Ranch Version: Add 1 teaspoon of ranch seasoning mix and ¼ teaspoon of cayenne pepper along with the salt. My husband loves this version, and it’s great for adult gatherings. The kids still prefer the original, so I make both.
- Dairy-Free Adaptation: Swap the butter for olive oil or avocado oil, and use nutritional yeast instead of Parmesan. Use 2 tablespoons of nutritional yeast and add it after roasting so it doesn’t burn. It’s not exactly the same, but it’s still really good—I made this for a friend with a dairy allergy and she asked for the recipe.
- Everything Bagel Seasoning: Skip the garlic powder and add 1 tablespoon of everything bagel seasoning along with the salt. The sesame seeds and poppy seeds add such a nice crunch. This version is incredible on salads, by the way.
- Air Fryer Method: Cook at 300°F (150°C) for 8-10 minutes, shaking the basket halfway through. The air fryer makes them extra crispy, but you need to watch them closely because they cook faster. Start checking at the 6-minute mark.
- Sweet and Savory Twist: Add 1 tablespoon of maple syrup to the butter mixture and reduce the salt to ¼ teaspoon. The sweet and salty combo is amazing, and the kids go absolutely crazy for it. I made this for Thanksgiving once and it stole the show from the turkey.
Serving & Storage Suggestions
These seeds are best served at room temperature, straight from the cooling sheet if you’re being honest. But here are some more polished ideas:
Serving ideas: Pile them in a wooden bowl for a casual snack table, or portion them into small paper cups for a Halloween party. They’re amazing on top of soups—try them on butternut squash soup or tomato soup for that perfect crunchy topping. I also love sprinkling them over salads instead of croutons. They add such a nice savory crunch.
What to serve with them: These pair beautifully with apple slices, cheese cubes, and a warm mug of apple cider. For a movie night spread, serve them alongside popcorn and pretzels. They also make a great gift—fill a mason jar with them and tie a ribbon around the top.
Storage instructions: Store completely cooled seeds in an airtight container at room temperature for up to 2 weeks. I use a glass jar with a tight lid. Do not refrigerate them—the moisture in the fridge will make them soft. If they do get soft, you can re-crisp them in a 300°F oven for 3-4 minutes.
Freezer instructions: These freeze beautifully! Place cooled seeds in a freezer-safe bag or container and freeze for up to 3 months. Thaw at room temperature for about 15 minutes before serving. The texture stays perfect—I always keep a batch in the freezer for unexpected guests.
Flavor development: Honestly, these are best within the first 3 days. The garlic flavor is brightest and the cheese is crispiest. After that, they’re still good but start to lose a little magic. That’s never been a problem in my house because they’re usually gone by day two.
Nutritional Information & Benefits
Here’s the approximate nutritional breakdown for a ¼-cup serving (about 30 grams):
- Calories: 180
- Total Fat: 14g
- Saturated Fat: 5g
- Cholesterol: 20mg
- Sodium: 220mg
- Total Carbohydrates: 6g
- Dietary Fiber: 2g
- Sugars: 1g
- Protein: 8g
Pumpkin seeds are a nutritional powerhouse. They’re packed with magnesium, zinc, and healthy fats that are great for kids’ growing bodies. The zinc is especially good for immune health, which is perfect for fall and winter when everyone seems to be fighting off something. Plus, the protein and fiber help keep little tummies full between meals.
This recipe is naturally gluten-free and can be made dairy-free with simple swaps. It’s also low in sugar, which makes it a great alternative to candy-heavy snacks during the holiday season. I feel good about giving these to my kids because I know exactly what’s in them—real food, not a list of ingredients I can’t pronounce.
Conclusion
These Kid-Approved Roasted Garlic Parmesan Pumpkin Seeds are the snack that keeps on giving. They turn something you’d normally throw away into something your whole family will fight over. The best part? They’re so simple that you can whip up a batch without any stress, even on a busy school night when you’ve forgotten about the school festival until the last minute (not that I’m speaking from experience or anything).
I love this recipe because it’s proof that you don’t need complicated techniques or fancy ingredients to make something truly memorable. Just a little butter, some garlic, a handful of cheese, and a few minutes of your time. That’s it. That’s all it takes to create a snack that makes people close their eyes and say “mmm” after the first bite.
So go ahead—save those pumpkin seeds from your next carving session, or pick up a bag from the store. Make a batch (or two) and watch them disappear. And when someone asks you for the recipe, just smile and tell them it’s your little secret. Or share it—I won’t mind. In fact, I’d love to hear how yours turn out. Drop a comment below and let me know if your family loved them as much as mine does!
Frequently Asked Questions
Can I use canned pumpkin seeds for this recipe?
Yes, you can use store-bought raw pumpkin seeds. Just make sure they’re unsalted and raw, not roasted. If they’re already roasted, they’ll burn before the garlic and cheese have time to cook properly.
Why did my pumpkin seeds turn out chewy instead of crunchy?
This usually happens for one of two reasons: either the seeds weren’t dried well enough before roasting, or they weren’t roasted long enough. Make sure to pat them dry with paper towels and roast until they look golden and feel firm. Let them cool completely on the baking sheet for maximum crunch.
Can I make these in advance for a party?
Absolutely! You can make them up to 2 weeks ahead and store them in an airtight container at room temperature. If they lose some crunch, just re-crisp them in a 300°F oven for 3-4 minutes before serving.
How do I clean pumpkin seeds from a fresh pumpkin?
Separate the seeds from the stringy pulp, then place them in a colander and rinse under cool water. Pick out any remaining pumpkin guts with your fingers. Spread them on a kitchen towel and pat dry. It takes about 5 minutes and is oddly satisfying.
Can I use this recipe for other types of seeds?
Yes! This garlic Parmesan seasoning works great on sunflower seeds, squash seeds, and even pepitas. The roasting time may vary slightly, so keep an eye on them. Sunflower seeds usually roast a few minutes faster, so start checking at the 15-minute mark.
Pin This Recipe!
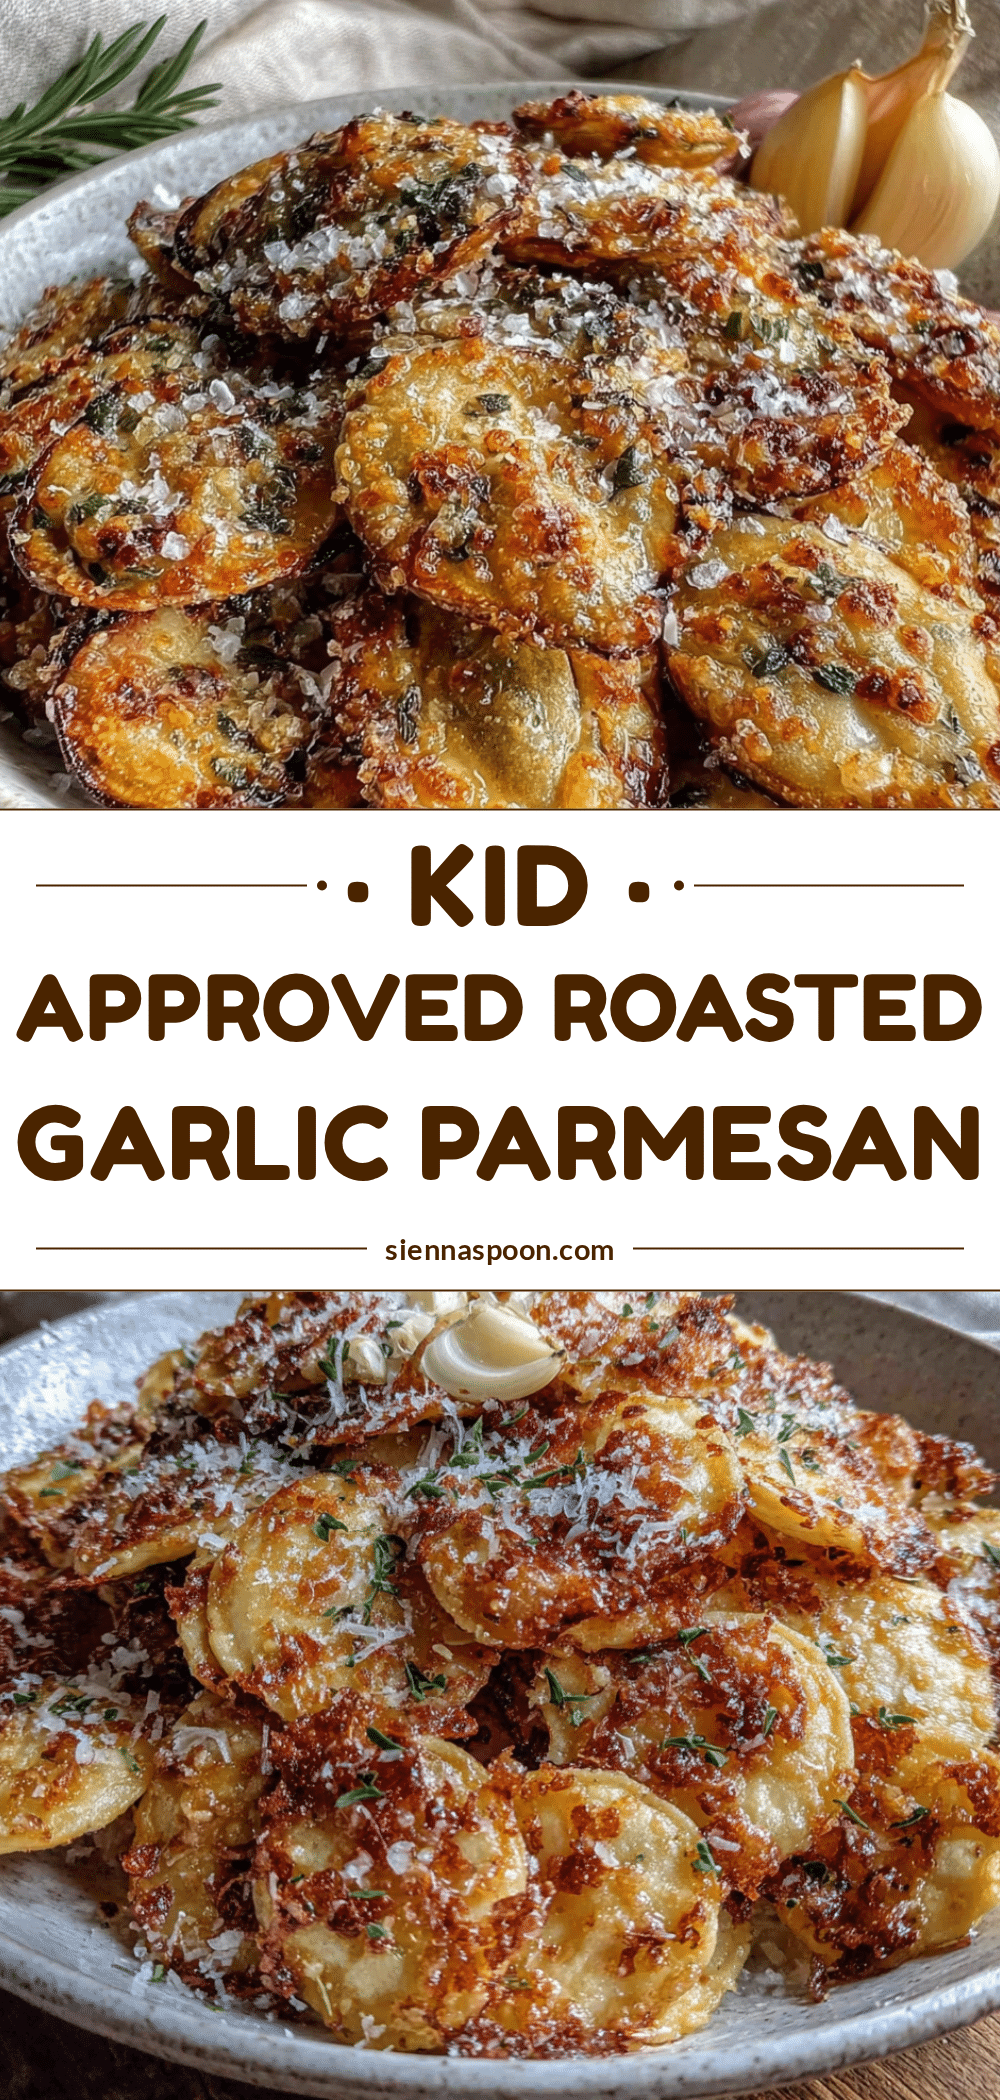
Kid-Approved Roasted Garlic Parmesan Pumpkin Seeds
Crunchy, savory roasted pumpkin seeds with roasted garlic and crispy Parmesan cheese. An easy, kid-friendly fall snack that turns simple pumpkin seeds into an irresistible treat.
- Prep Time: 10 minutes
- Cook Time: 18-22 minutes
- Total Time: 28-32 minutes
- Yield: 4 servings 1x
- Category: Snack
- Cuisine: American
Ingredients
- 1 ½ cups (180g) raw pumpkin seeds, cleaned
- 3 tablespoons (42g) unsalted butter, melted
- 4 cloves fresh garlic, minced (about 2 teaspoons)
- ¼ cup (25g) grated Parmesan cheese
- ½ teaspoon (3g) fine sea salt
- ¼ teaspoon garlic powder (optional)
- ¼ teaspoon freshly ground black pepper
Instructions
- Preheat oven to 350°F (175°C). Line a baking sheet with parchment paper.
- Clean and dry pumpkin seeds: rinse in a colander under cool water, removing any stringy pulp. Spread on a clean kitchen towel or paper towels and pat dry until damp but not soaking wet.
- Melt butter in a small microwave-safe bowl (about 30 seconds) or in a small saucepan over low heat. Let cool for 1 minute.
- Mince garlic cloves finely. Add minced garlic to melted butter and stir. Let sit for 1 minute to infuse.
- In a medium mixing bowl, combine pumpkin seeds, garlic butter mixture, salt, garlic powder (if using), and black pepper. Stir well until every seed is coated.
- Spread seasoned seeds in a single layer on the prepared baking sheet. Sprinkle grated Parmesan cheese evenly over the top.
- Roast for 10 minutes, then remove pan from oven and stir seeds with a spatula.
- Return to oven and roast for another 8-12 minutes, until seeds are golden brown and cheese is crispy and slightly browned. Watch closely to prevent burning.
- Remove from oven and let seeds cool completely on the baking sheet (at least 15-20 minutes) to allow them to crisp up.
- Once cooled, break up any large clumps of seeds and cheese. Transfer to a serving bowl.
Notes
For best texture, pat seeds dry before roasting to avoid steaming. Watch the oven closely at the end as Parmesan can burn quickly. Let seeds cool completely before storing to maintain crunch. Store in an airtight container at room temperature for up to 2 weeks. To re-crisp, bake at 300°F for 3-4 minutes. Can be frozen for up to 3 months.
Nutrition
- Serving Size: ¼ cup (about 30g)
- Calories: 180
- Sugar: 1
- Sodium: 220
- Fat: 14
- Saturated Fat: 5
- Carbohydrates: 6
- Fiber: 2
- Protein: 8
Keywords: roasted pumpkin seeds, garlic parmesan pumpkin seeds, fall snack, kid-friendly snack, easy pumpkin seeds, Halloween snack, Thanksgiving snack


