Love this? Save it for later!
Share the inspiration with your friends
It was 10:47 PM on a random Wednesday in late October, and I had a very specific craving for something creepy and crunchy. I didn’t have any fancy carving tools or cookie cutters shaped like skulls, but I had a bag of baby carrots, a head of broccoli, and this ridiculous idea that wouldn’t let me sleep. Honestly, I was supposed to be making a proper Halloween charcuterie board for the neighborhood party the next day, but my brain went completely off the rails. I mean, who needs another cheese platter shaped like a pumpkin, right?
So there I was, standing in my kitchen at nearly midnight, surrounded by vegetables and feeling slightly unhinged. The silence of the house made it feel like I was doing something secret, something that might either be brilliant or a total disaster. Maybe you’ve been there — that moment when a weird idea grabs you and you just have to see it through, even though you know you’ll regret the late night in the morning. I grabbed a big serving tray and started laying out veggies like I was building a tiny skeleton. Let me tell you, it was the most fun I’ve had in the kitchen in ages.
The best part? When I brought this spooky veggie skeleton tray to the party the next day, it disappeared faster than the candy bowl. Kids and adults alike couldn’t stop picking at it, and honestly, I felt like a kitchen genius. This recipe isn’t just about being healthy at a Halloween party — it’s about having fun with your food and creating something that makes people smile (or shriek, depending on how you arrange the eyes). I keep making it every year now because it’s that good.
Why You’ll Love This Spooky Veggie Skeleton Tray
Let’s be real — Halloween parties are usually a sugar bomb. Between the candy corn, the cupcakes, and the endless bowls of chips, your body starts begging for something that isn’t orange and artificially flavored. This spooky veggie skeleton tray is the hero your party needs, and here’s why you’re going to absolutely love it.
- Quick & Easy: You can throw this together in about 20 minutes, which is perfect when you’re running around like a headless chicken trying to get everything ready for the party. No cooking required!
- Simple Ingredients: Everything you need is probably already in your fridge or at your local grocery store. No weird specialty items or expensive ingredients.
- Perfect for Halloween Parties: This is the ultimate crowd-pleaser for any spooky gathering. It looks impressive but takes almost no effort — my favorite kind of party trick.
- Kid-Friendly Fun: My niece literally squealed when she saw the skeleton shape. Kids love building their own creepy veggie creations, and parents love that they’re eating actual vegetables.
- Unbelievably Delicious: The combination of crunchy veggies with a creamy dip is just next-level satisfying. Plus, that ranch dip with a little food coloring? Chef’s kiss.
What makes this recipe different from every other veggie tray is the presentation. I mean, we’ve all seen the same boring veggie platter at a hundred parties. This one actually looks like a skeleton! The body is made from cucumber slices, the ribs are celery sticks, and the bones are arranged in a way that’s genuinely spooky. It’s not just another version — it’s the best version because it actually fits the theme.
This recipe is the kind that makes you close your eyes after the first bite, not because the veggie is life-changing (though it is fresh and delicious), but because you realize you’ve pulled off something amazing with almost zero effort. It’s comfort food reimagined — healthier, faster, but with the same soul-soothing satisfaction of a perfect party contribution. Perfect for impressing other parents without stress, or turning a simple snack into something memorable.
What Ingredients You Will Need
This spooky veggie skeleton tray uses simple, wholesome ingredients to deliver a fun and festive Halloween snack. Most of these are pantry staples or easy to find at any grocery store, which makes this recipe perfect for last-minute party planning.
For the Skeleton Body
- Cucumbers (2 large): You’ll want English or Persian cucumbers for the body and limbs. They’re less watery and hold their shape better. I prefer the ones from the farmers market when they’re in season — they just taste fresher.
- Celery stalks (6-8): These form the ribs and spine of your skeleton. Look for crisp, bright green stalks without any brown spots. The crunch is essential here!
- Baby carrots (1 bag, about 12 ounces): These make excellent finger bones and smaller limb pieces. I like the organic ones from Trader Joe’s because they’re consistently sweet and crunchy.
- Broccoli florets (2 cups): These create the perfect skull shape and add a nice tree-like texture to the skeleton. Look for tight, dark green florets without any yellowing.
- Cherry tomatoes (1 cup): These become the creepy eyes and add a pop of color. Red ones work best for that bloodshot look, but yellow ones can look pretty spooky too.
- Bell peppers (1 red, 1 yellow): Slice these into strips for additional bone detail or use them as decoration around the skeleton. The colors really make the tray pop.
- Snow peas or snap peas (1 cup): These make great small joint pieces and add a lovely crunch. Plus, they’re fun to snap in half while you’re building.
For the Dip
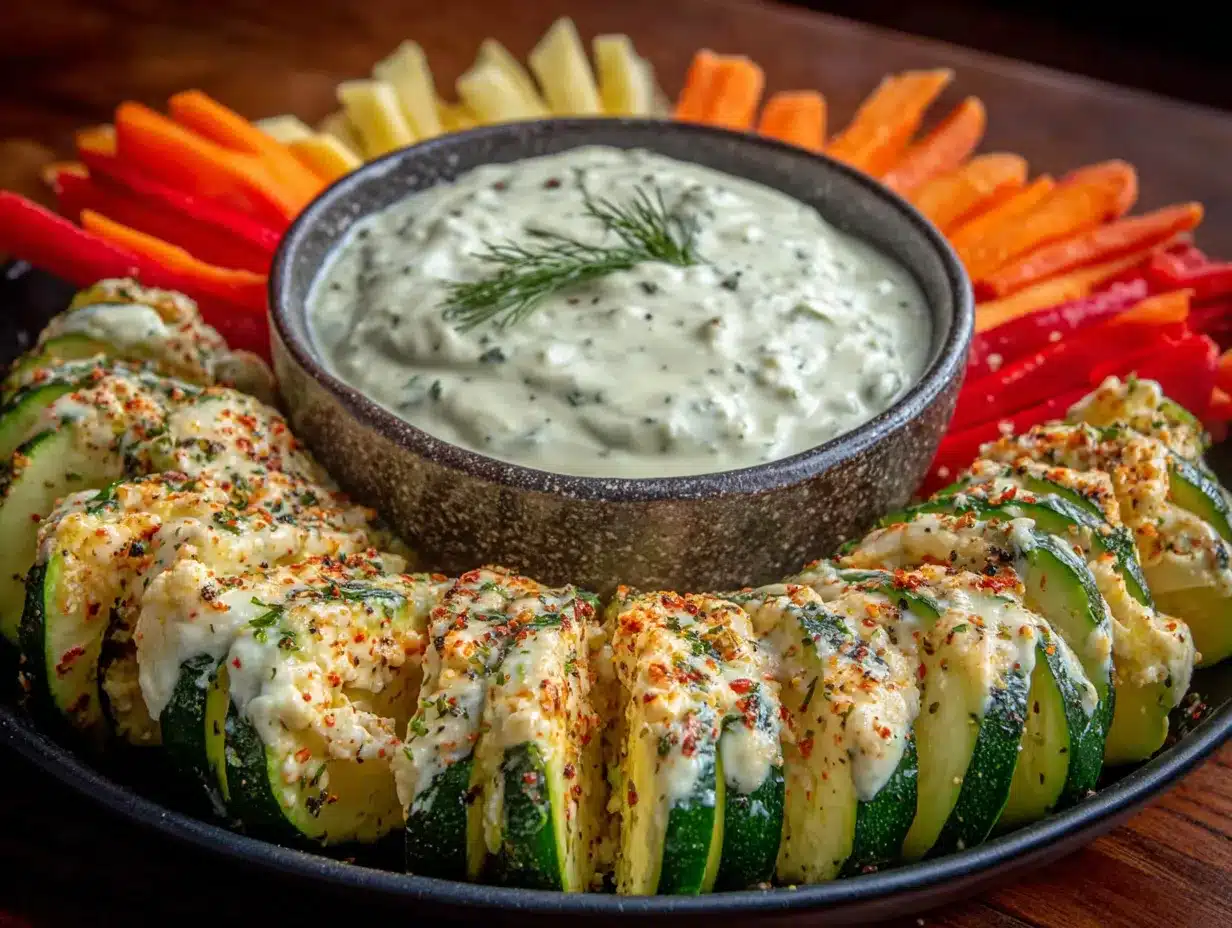
- Ranch dressing (1 cup): Use your favorite brand or make homemade. I really like the Hidden Valley buttermilk ranch for its creamy consistency. It’s thick enough to stay put on the tray.
- Green food coloring (a few drops): This turns your ranch into a creepy green slime dip. Gel food coloring works better than liquid — it gives a more intense color without thinning the dip.
- Optional: Black sesame seeds (1 tablespoon): Sprinkle these on the dip for a dirt-like effect. It adds a subtle nutty flavor and looks genuinely gross (in the best way).
For Decoration
- Black olives (1/2 cup): Use these for the eye sockets or to create a spooky mouth. Sliced olives work better than whole ones for placement.
- Fresh herbs (optional): Rosemary sprigs or dill can be used to create a graveyard effect around the skeleton. It adds a nice aroma too.
If you’re looking for substitutions, feel free to swap the ranch for hummus or a dairy-free ranch alternative. You can also use any crunchy vegetable you have on hand — jicama sticks, zucchini slices, or even bell pepper strips work great. For a gluten-free option, just make sure your ranch dressing is certified gluten-free. The beauty of this recipe is its flexibility — you can adapt it based on what your family loves.
Equipment Needed
You don’t need any fancy equipment to make this spooky veggie skeleton tray, which is honestly one of the best things about it. Here’s what you’ll need:
- Large serving tray or platter: A rectangular baking sheet or a large wooden board works perfectly. I use a white ceramic tray because it makes the colors pop, but any dark surface creates a nice spooky contrast.
- Sharp knife: A good chef’s knife makes slicing cucumbers and peppers much easier. I’ve learned the hard way that a dull knife just squishes your veggies.
- Cutting board: Any standard cutting board will do. I prefer a large wooden one because it doesn’t slide around as much.
- Small bowl: For the green slime dip. A ramekin or a small ceramic bowl works great.
- Paper towels: You’ll need these to pat your veggies dry. Wet veggies make the presentation look sloppy.
- Optional: Vegetable peeler: If you want to create cucumber ribbons for a different texture, a peeler can be handy. Not essential though.
If you don’t have a large tray, you can use a clean pizza pan or even a large cutting board. I’ve made this on a foil-covered cookie sheet before and it worked just fine. The key is having enough space to lay out your skeleton shape without everything touching.
Preparation Method
Alright, let’s build this spooky skeleton! I’ve broken it down into simple steps so you can follow along without any stress. Trust me, once you get the hang of it, this becomes super intuitive.
- Prep your veggies (5 minutes): Wash all your vegetables thoroughly. Pat them dry with paper towels — this is crucial because wet veggies slide around and make your skeleton look messy. Slice your cucumbers into rounds about 1/4-inch thick. Cut your celery stalks into 3-inch pieces. Leave the baby carrots whole (they look more like bones that way).
- Make the creepy dip (2 minutes): Pour your ranch dressing into the small bowl. Add 3-4 drops of green food coloring and stir until it’s evenly mixed. You want a slime-green color — not too dark, not too light. If you’re using black sesame seeds, sprinkle them on top now. Set the bowl aside — it’ll be the centerpiece of your tray.
- Plan your skeleton layout (2 minutes): Before you start placing anything, visualize where everything goes. The skull goes at the top, the spine runs down the center, the ribs spread out from the spine, and the arms and legs extend outward. I like to arrange the bowl of dip right where the skeleton’s belly would be — it looks like a creepy green stomach!
- Build the skull (3 minutes): Take your broccoli florets and arrange them in a circle at the top of the tray. You want a round shape about 6 inches in diameter. Place two cherry tomatoes in the center for the eyes — push them slightly apart to create that creepy wide-eyed look. Use a slice of black olive for the mouth, or arrange a few olive slices in a jagged line to look like teeth.
- Create the spine (3 minutes): Lay 3-4 celery stalks end to end down the center of the tray, starting from the skull. This forms the backbone. Make sure they’re straight and aligned. If a stalk is too long, just snap it in half (it’s oddly satisfying).
- Add the ribs (4 minutes): This is where it gets fun. Take your remaining celery stalks and place them perpendicular to the spine, like ribs. You want about 4-5 ribs on each side, angling slightly downward. Leave a gap in the middle for your dip bowl. The ribs should curve slightly outward — it makes the skeleton look more natural.
- Form the arms and legs (4 minutes): Use cucumber slices to create the upper arms and thighs — arrange them in lines extending from the shoulders and hips. Then use baby carrots for the forearms and lower legs. For the hands and feet, arrange small clusters of snow peas or snap peas to look like fingers and toes. Don’t worry about being perfect — a slightly messy skeleton actually looks more authentically spooky!
- Add the dip bowl (1 minute): Place your bowl of green slime dip right in the center of the skeleton’s torso, where the stomach would be. This creates a hilarious and gross effect that kids absolutely love. Make sure the bowl is stable and won’t tip over.
- Fill in the gaps (3 minutes): Use any remaining vegetables to fill empty spaces around the skeleton. Bell pepper strips can create a nice border. Extra cherry tomatoes can look like blood spatters. Don’t leave big empty patches — a full tray looks more impressive.
- Final touches (2 minutes): Step back and look at your creation. Adjust any pieces that look out of place. Make sure the skeleton shape is recognizable. If something looks wonky, just call it “abstract” — Halloween is the perfect time for imperfect art!
One thing I learned from my first attempt — don’t overthink the placement. The skeleton doesn’t need to be anatomically correct. In fact, the more cartoonish and exaggerated, the better it looks. Kids especially love when the arms are too long or the fingers are too many. It adds to the spooky charm.
Cooking Tips & Techniques
After making this spooky veggie skeleton tray for three Halloweens straight, I’ve picked up a few tricks that make the process smoother and the result more impressive. Let me share what I’ve learned the hard way so you don’t have to.
Keep your veggies dry. This is the number one tip I can give you. Vegetables release water as they sit, and if you don’t pat them dry thoroughly, your tray will end up with little puddles everywhere. Those puddles make the veggies slide around and ruin your skeleton shape. I pat everything dry twice — once after washing, and once right before placing them on the tray.
Cut uniform pieces. When you’re slicing cucumbers or cutting celery, try to make the pieces roughly the same size. It doesn’t have to be perfect, but consistency helps the skeleton look intentional rather than messy. I use the width of my finger as a guide — about 1/4 inch for cucumber rounds.
Use the dip as an anchor. The bowl of dip in the center isn’t just for eating — it actually helps hold the skeleton together. The ribs on either side press against the bowl, which keeps them from shifting. I learned this after my first skeleton collapsed into a pile of veggies halfway through the party.
Prep everything before you start arranging. This is one of those recipes where mise en place really matters. Slice all your veggies first, arrange them on a separate plate, and then build the skeleton. If you try to slice and arrange at the same time, you’ll end up with uneven pieces and a messy tray.
Make it ahead of time, but with caution. You can assemble this tray up to 4 hours before your party. Just cover it tightly with plastic wrap and keep it in the fridge. The veggies will stay crisp and the dip won’t dry out. I wouldn’t recommend making it the night before though — the cut edges of the vegetables start to dry out and look unappetizing.
I once made the mistake of using wet veggies straight from the rinse, and my skeleton looked like it had melted by the time guests arrived. Honestly, it was kind of hilarious — I told everyone it was a zombie skeleton that had come back to life. Sometimes mistakes turn into happy accidents!
Variations & Adaptations
One of the best things about this spooky veggie skeleton tray is how customizable it is. You can adapt it for different dietary needs, seasonal ingredients, or just based on what your family likes to eat. Here are some variations I’ve tried and loved.
Dairy-Free Version: Swap the ranch dressing for a dairy-free ranch or a simple hummus. I’ve used a roasted red pepper hummus before, and the red color actually looks pretty gruesome — perfect for Halloween! Just add a drop of green food coloring if you want that slime effect, or leave it red for a bloodier look.
Low-Carb/Keto Option: Replace the baby carrots and snow peas with more cucumber, celery, and bell peppers. You can also add some cauliflower florets for extra volume. The dip can be made with full-fat sour cream and ranch seasoning for a keto-friendly option.
Spicy Version: Add some jalapeño slices to the skeleton for a fiery kick. You can also mix a little sriracha or hot sauce into the ranch dip. I did this once for an adult Halloween party, and it was a huge hit with the spice lovers.
Seasonal Swaps: In the fall, you can add some roasted pumpkin seeds or sliced apples to the tray for extra texture and flavor. In the summer, fresh corn kernels or cherry tomatoes from the garden work beautifully. The skeleton shape is flexible enough to accommodate whatever is in season.
Allergen-Friendly: For nut-free versions, just make sure your ranch dressing doesn’t contain any nut-based ingredients. Most store-bought ranches are nut-free, but always check the label. For soy-free, use a homemade ranch with coconut milk or oat milk as the base.
My personal favorite variation is the “mummy skeleton” — I wrap some of the celery stalks in strips of cucumber peel to look like bandages. It’s a little extra work, but the effect is genuinely creepy and impressive. Plus, it gives you a chance to use the whole cucumber, which feels very satisfying.
Serving & Storage Suggestions
This spooky veggie skeleton tray is best served chilled, right out of the fridge. The cold temperature keeps the vegetables crisp and the dip thick. I usually pull it out about 10 minutes before guests arrive so it’s not ice-cold, but still refreshingly cool.
For presentation, I like to place the tray in the center of the table with some Halloween decorations around it. Fake spiders, plastic skulls, or even some dry ice (if you’re feeling fancy) can really elevate the spooky vibe. Just make sure the decorations don’t touch the food — you want creepy, not contaminated.
This tray pairs beautifully with other Halloween snacks. I love serving it alongside a bowl of popcorn “eyeballs” (popcorn balls with candy eyes), some ghost-shaped cheese slices, and a pitcher of “witches’ brew” punch. The contrast between the healthy veggie tray and the indulgent treats makes for a balanced party spread.
Storage: If you have leftovers (which honestly rarely happens at my parties), you can store the vegetables in an airtight container in the fridge for up to 2 days. The dip should be stored separately to prevent the veggies from getting soggy. Don’t try to reassemble the skeleton for leftovers — just enjoy the veggies as a regular snack.
Reheating: This is a no-cook recipe, so there’s nothing to reheat! If your veggies seem a little wilted after storage, you can revive them by soaking them in ice water for 10 minutes. Pat them dry before serving again.
The flavors actually develop a little over time — the ranch dip absorbs into the veggies slightly, making them more flavorful. I actually prefer the leftovers the next day because the veggies have marinated just a bit in the dip. It’s a happy accident that makes this recipe even better.
Nutritional Information & Benefits
This spooky veggie skeleton tray is not just fun — it’s genuinely good for you too. Here’s a rough breakdown of what you’re getting with each serving (based on about 1 cup of vegetables with 2 tablespoons of dip).
Estimated Nutritional Values (per serving):
- Calories: 120-150
- Protein: 3g
- Carbohydrates: 15g
- Fiber: 4g
- Fat: 6g (mostly from the ranch dip)
- Sugar: 6g (natural sugars from vegetables)
Health Benefits: This recipe is packed with vitamins and minerals. Cucumbers are hydrating and contain vitamin K. Carrots are famous for their beta-carotene (great for eye health). Broccoli is loaded with vitamin C and fiber. Celery is low in calories and high in antioxidants. Even the ranch dip has calcium from the dairy!
Dietary Considerations: This recipe is naturally gluten-free if you use a gluten-free ranch dressing. It’s also vegetarian and can easily be made vegan with a plant-based dip. The vegetables are all low-FODMAP in small portions, making this suitable for many digestive needs.
Potential Allergens: The main allergen concern is dairy from the ranch dressing. Some commercial ranches also contain soy or eggs, so check labels if you have allergies. The vegetables themselves are generally allergen-free.
I love that this recipe lets me feel good about what I’m serving at a party that’s usually dominated by sugar and processed snacks. It’s a small victory for health without sacrificing any of the Halloween fun. Plus, watching kids happily munch on broccoli because it looks like a skeleton bone? That’s a parenting win right there.
Conclusion
This spooky veggie skeleton tray has honestly become my signature Halloween dish, and I’m not even sorry about it. It’s the perfect combination of fun, healthy, and ridiculously easy to make. Whether you’re hosting a big Halloween bash or just want to surprise your kids with a creepy snack, this recipe delivers every single time.
I love that you can make it your own — swap in your family’s favorite veggies, experiment with different dips, or go all out with the decorations. The skeleton shape is just a starting point. Let your creativity run wild! Maybe your skeleton has three arms or six fingers. Maybe it’s surrounded by a moat of guacamole. Halloween is the one time of year when weird is welcome.
I’d love to hear how your spooky veggie skeleton turns out! Drop a comment below and tell me what vegetables you used, or share a photo of your creation. Did your kids help build it? Did it survive the party? I read every comment and I genuinely love seeing how people make this recipe their own. Happy Halloween, and happy snacking!
Frequently Asked Questions
Can I make this spooky veggie skeleton tray the night before?
I don’t recommend making it more than 4-6 hours ahead. The cut vegetables start to dry out and lose their crispness. If you need to prep early, you can wash and slice all the vegetables the night before, store them in separate bags in the fridge, and assemble the skeleton on the day of your party.
What other dips work well with this recipe?
Almost any dip works! Hummus, guacamole, spinach artichoke dip, or even a simple yogurt-based herb dip are all great options. For a really spooky effect, try a black bean dip (it looks like dirt) or a beet hummus (it looks like blood). Just make sure the dip is thick enough to hold its shape on the tray.
How do I keep the vegetables from sliding around?
Patting your veggies dry is the most important step. You can also use a slightly textured tray or board — the roughness helps grip the vegetables. If you’re really struggling, a thin layer of dip spread on the tray can act as a glue to hold everything in place.
Can I use frozen vegetables for this recipe?
Fresh vegetables work best for this recipe because they’re crunchier and hold their shape better. Frozen vegetables release a lot of water as they thaw, which will make your tray soggy and messy. Stick with fresh for the best results.
Is this recipe safe for kids to help make?
Absolutely! Kids love building the skeleton. Just handle the knife work yourself — slice all the vegetables ahead of time and let the kids arrange the pieces on the tray. It’s a great way to get picky eaters excited about vegetables. My nephew calls it “edible art” and it’s the only way I can get him to eat broccoli.
Pin This Recipe!
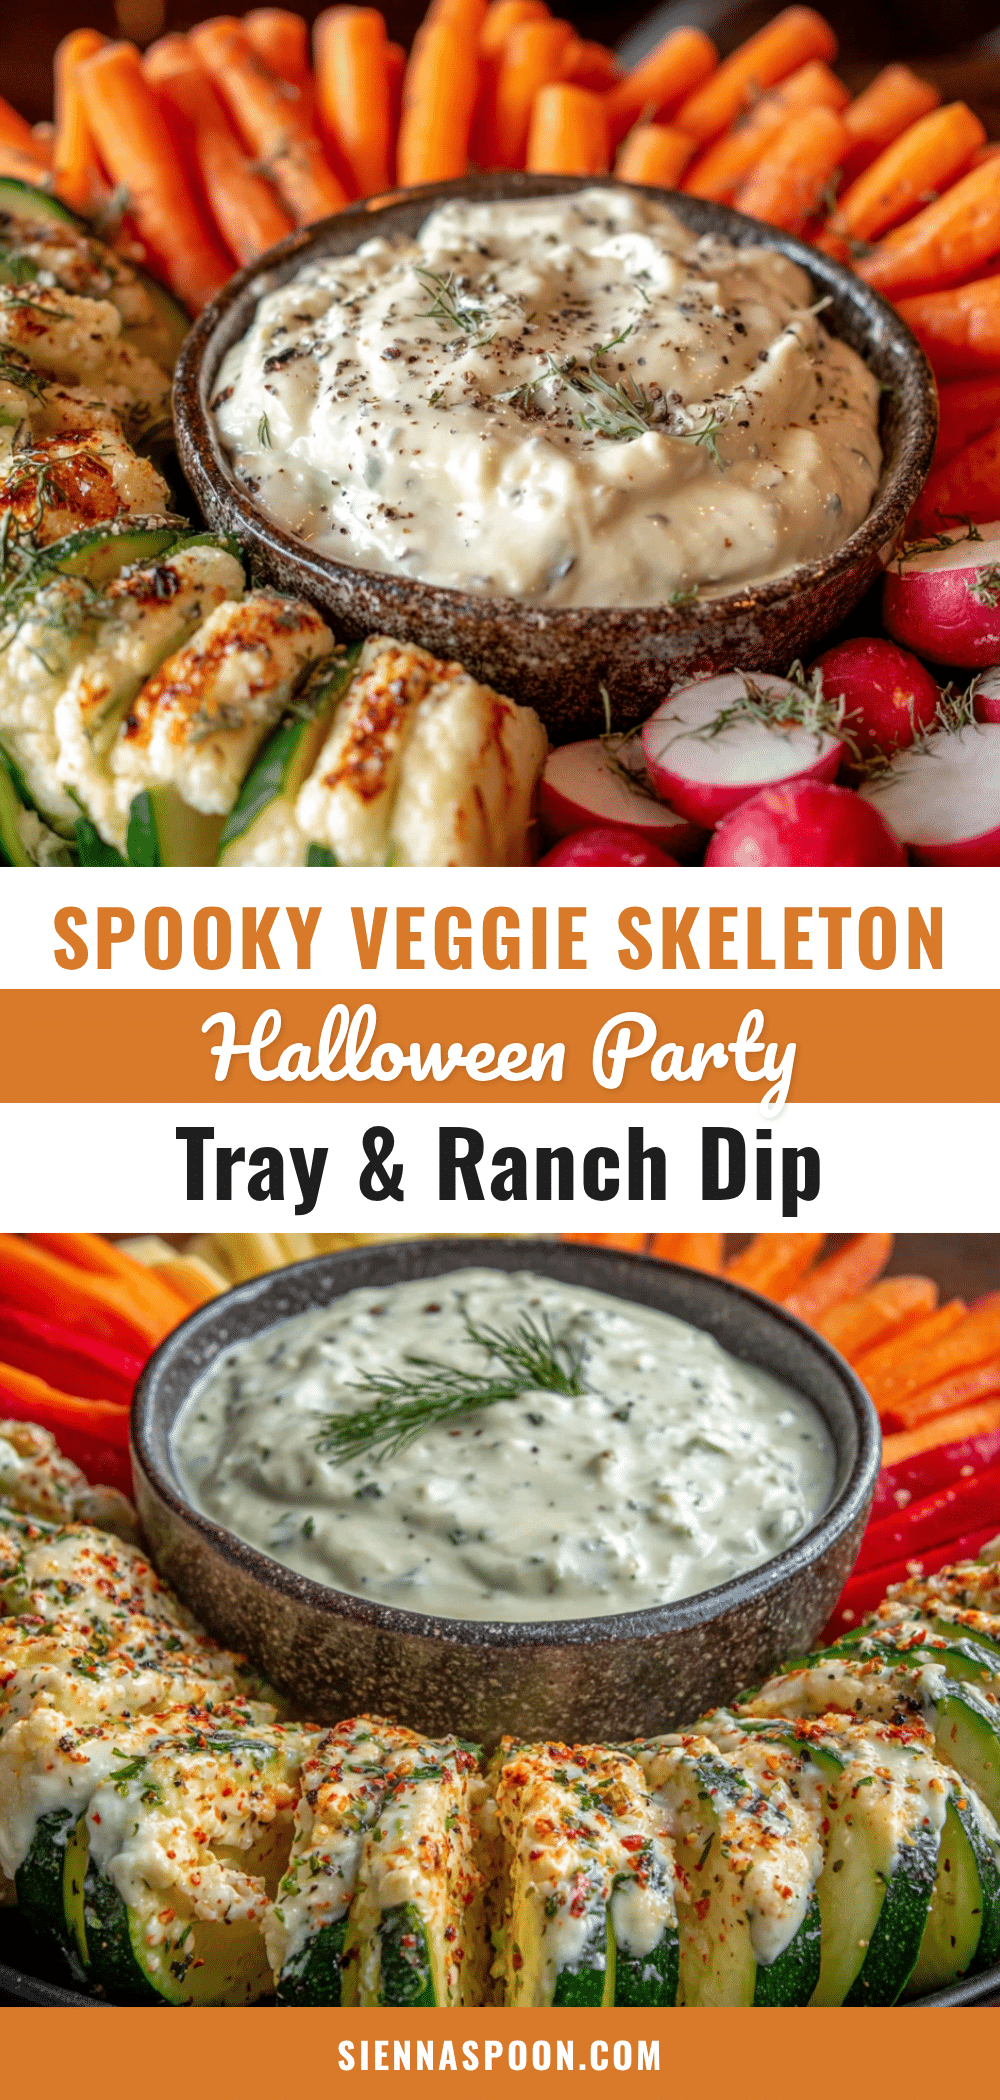
Best Spooky Veggie Skeleton Tray for Halloween Party

A fun and healthy Halloween snack that looks like a skeleton made from fresh vegetables, served with a creepy green slime dip. Perfect for parties and kid-friendly.
- Prep Time: 20 minutes
- Cook Time: 0 minutes
- Total Time: 20 minutes
- Yield: 8 servings 1x
- Category: Appetizer
- Cuisine: American
Ingredients
- 2 large cucumbers (English or Persian)
- 6–8 celery stalks
- 1 bag (12 ounces) baby carrots
- 2 cups broccoli florets
- 1 cup cherry tomatoes
- 1 red bell pepper
- 1 yellow bell pepper
- 1 cup snow peas or snap peas
- 1 cup ranch dressing
- A few drops green food coloring
- 1 tablespoon black sesame seeds (optional)
- 1/2 cup black olives
- Fresh herbs (optional, for decoration)
Instructions
- Wash all vegetables thoroughly and pat dry with paper towels. Slice cucumbers into 1/4-inch rounds. Cut celery stalks into 3-inch pieces. Leave baby carrots whole.
- Pour ranch dressing into a small bowl. Add 3-4 drops of green food coloring and stir until evenly mixed. Sprinkle black sesame seeds on top if using. Set aside.
- Visualize the skeleton layout: skull at top, spine down center, ribs spreading out, arms and legs extending outward. Place the dip bowl where the belly would be.
- Arrange broccoli florets in a circle at the top of the tray to form the skull (about 6 inches in diameter). Place two cherry tomatoes in the center for eyes. Use olive slices to create a jagged mouth.
- Lay 3-4 celery stalks end to end down the center of the tray to form the spine, starting from the skull.
- Place remaining celery stalks perpendicular to the spine to form ribs (4-5 on each side), angling slightly downward. Leave a gap in the middle for the dip bowl.
- Use cucumber slices to create upper arms and thighs. Use baby carrots for forearms and lower legs. Arrange small clusters of snow peas or snap peas for hands and feet.
- Place the bowl of green dip in the center of the skeleton’s torso.
- Fill empty spaces with remaining vegetables. Use bell pepper strips as a border and extra cherry tomatoes for a blood spatter effect.
- Step back and adjust any pieces. Make sure the skeleton shape is recognizable. Imperfections add to the spooky charm.
Notes
Pat vegetables dry thoroughly to prevent sliding. Cut uniform pieces for a neat look. Use the dip bowl as an anchor to keep ribs in place. Can be assembled up to 4 hours ahead; cover and refrigerate. For a dairy-free version, use dairy-free ranch or hummus. For a low-carb option, replace carrots and peas with more cucumber, celery, and bell peppers.
Nutrition
- Serving Size: 1 cup vegetables wit
- Calories: 135
- Sugar: 6
- Sodium: 300
- Fat: 6
- Saturated Fat: 1
- Carbohydrates: 15
- Fiber: 4
- Protein: 3
Keywords: Halloween, veggie tray, skeleton, party snack, healthy, kid-friendly, spooky, vegetables, dip


