Love this? Save it for later!
Share the inspiration with your friends
I was standing in the baking aisle of our local grocery store last Tuesday, staring at a box of Oreos like it held the secrets to the universe, when the smell of artificial chocolate and that weird, plasticky toy smell hit me — and suddenly I was eight years old at my neighbor Mrs. Kowalski’s kitchen table, her flour-dusted hands setting down a plastic cup filled with crushed cookies and pudding. I could almost feel the cool, smooth side of that cup against my palm, the way the gummy worm wiggled when I pulled it out before taking that first messy spoonful. She’s been gone ten years now, and honestly, I haven’t thought about those dirt cups in probably two decades. But there I was, a grown woman with a cart full of groceries, nearly tearing up over a childhood dessert I’d completely forgotten about.
I grabbed the Oreos, the pudding mix, and yes, a bag of those bright green gummy worms that my kids would inevitably fight over. Let me tell you, recreating that memory in my own kitchen was a little bit hilarious and a whole lot messy. I mean, I forgot to chill the pudding long enough the first time, and my “dirt” looked more like sad, gray mud. My youngest walked by, took one look, and said, “Mom, that looks gross.” Kids, right? But I tweaked it, learned from my mistakes, and now this easy no-bake Oreo dirt cups with gummy worms recipe is my go-to for school parties, birthday sleepovers, and those afternoons when I just need a win with the kids. Maybe you’ve been there — needing a dessert that comes together fast, uses stuff you probably already have, and makes everyone at the table smile. This is that recipe.
It’s more than just a dessert, honestly. It’s the kind of thing that brings back that feeling of being a kid, of not worrying about calories or fancy presentation. It’s about making something fun and delicious with your own hands, and watching the little faces around you light up. That’s why I keep coming back to it — not just for the taste, but for the moment it creates.
Why You’ll Love This Recipe
Let me be real with you — I’ve tested this recipe about seven times to get it just right. I wanted it to be foolproof for busy parents, and I think I’ve finally cracked the code. Here’s why these easy no-bake Oreo dirt cups with gummy worms deserve a spot in your regular rotation:
- Quick & Easy: From start to finish, you’re looking at about 15 minutes of active prep time. The hardest part is waiting for the pudding to chill, which is basically just letting the fridge do the work.
- Simple Ingredients: You probably have most of this stuff in your pantry right now. Oreos, milk, instant pudding mix, whipped topping — no fancy trips to specialty stores required.
- Perfect for Family Gatherings: Whether it’s a backyard barbecue, a classroom party, or just a Tuesday night treat, these little cups are always a hit. Kids go nuts for them, and adults secretly love them too.
- Crowd-Pleaser: I’ve brought these to three different potlucks now, and every single time, someone asks for the recipe. They disappear faster than the fancy store-bought desserts.
- Unbelievably Delicious: The combination of creamy chocolate pudding, crunchy Oreo “dirt,” and that silly little gummy worm on top is pure comfort food magic. It’s nostalgic and satisfying in a way that’s hard to beat.
What makes this version different from all the other dirt cup recipes out there? It’s the texture. I blend some of the Oreo filling right into the pudding mixture, which gives it this extra creamy, almost mousse-like consistency. Most recipes skip this step, but trust me — it makes a world of difference. Plus, I use a trick of layering the pudding and crushed cookies twice, so every single bite has that perfect ratio of creamy to crunchy. This isn’t just another version; it’s the best version I’ve ever made.
This recipe isn’t just good — it’s the kind that makes you close your eyes after the first bite. It’s comfort food reimagined: simpler, faster, but with the same soul-soothing satisfaction that takes you right back to childhood. Perfect for impressing the little ones without any stress, or turning a simple weeknight into something memorable.
What Ingredients You Will Need
This recipe keeps things wonderfully simple. You don’t need any weird ingredients or hard-to-find items — just classic pantry staples that come together to create something magical. Here’s what you’ll need to make these easy no-bake Oreo dirt cups with gummy worms:
- 1 package (14.3 ounces) Oreo cookies — You’ll use the whole cookie, cream filling and all. I recommend the classic Oreo for best flavor, but feel free to use Double Stuf if you want an extra creamy pudding.
- 1 package (3.9 ounces) instant chocolate pudding mix — Make sure you get the instant kind, not the cook-and-serve. Jell-O brand works great, but store brands work just fine too.
- 2 cups cold whole milk — Whole milk gives the richest, creamiest pudding. You can use 2% in a pinch, but avoid skim milk — it makes the pudding too thin and runny.
- 1 container (8 ounces) frozen whipped topping, thawed — Cool Whip is the classic choice, but any brand of whipped topping works. Make sure it’s fully thawed in the fridge before you start.
- 1 package (4.5 ounces) gummy worms — Get the bright, colorful ones for the best visual effect. The sour ones work too if you want a little tangy surprise.
- Optional: 2 tablespoons cream cheese, softened — This is my secret ingredient! Beating a little cream cheese into the pudding mixture gives it a thicker, almost cheesecake-like texture that adults especially love.
Ingredient Tips from My Kitchen: When picking your Oreos, look for packages where the cookies aren’t too crushed already. You want whole cookies so you can control the texture. For the pudding, I’ve tried several brands and honestly, the generic store brand works perfectly fine — no need to spend extra. If you’re using the cream cheese addition, make sure it’s truly softened to room temperature, or you’ll end up with little white lumps in your pudding.
Substitution Guidance: Need a dairy-free option? Use your favorite plant-based milk (oat milk works best) and a dairy-free whipped topping. The pudding will be slightly less thick, so chill it an extra 30 minutes. For a gluten-free version, use gluten-free chocolate sandwich cookies — they work just as well. And if gummy worms aren’t your thing, try gummy frogs, little gummy bears, or even crushed graham crackers for a different “dirt” vibe.
Equipment Needed
One of the best things about this recipe is that you don’t need any fancy equipment. Here’s what you’ll need:
- Mixing bowls — One large bowl for the pudding, one medium bowl for crushing cookies.
- A whisk or electric hand mixer — A whisk works fine, but a hand mixer makes the pudding come together faster and smoother, especially if you’re adding cream cheese.
- A rolling pin or food processor — For crushing the Oreos into fine “dirt.” A rolling pin and a zip-top bag is my preferred method — it’s oddly satisfying and gives you more control. A food processor works in seconds but can make the crumbs too fine if you’re not careful.
- 6 to 8 small clear cups or glasses — Clear cups are key for showing off those pretty layers! I use 8-ounce plastic cups from the party supply store, but small mason jars, juice glasses, or even ramekins work great.
- A spoon or spatula — For layering.
- A small offset spatula — Optional, but helpful for smoothing the top layer of pudding.
If you don’t have a food processor, don’t worry. I actually prefer the rolling pin method — it’s a great way to let the kids help without any danger. Just put the Oreos in a sturdy zip-top bag, squeeze out the air, and let them go to town. It’s a little messy, but that’s half the fun!
Preparation Method
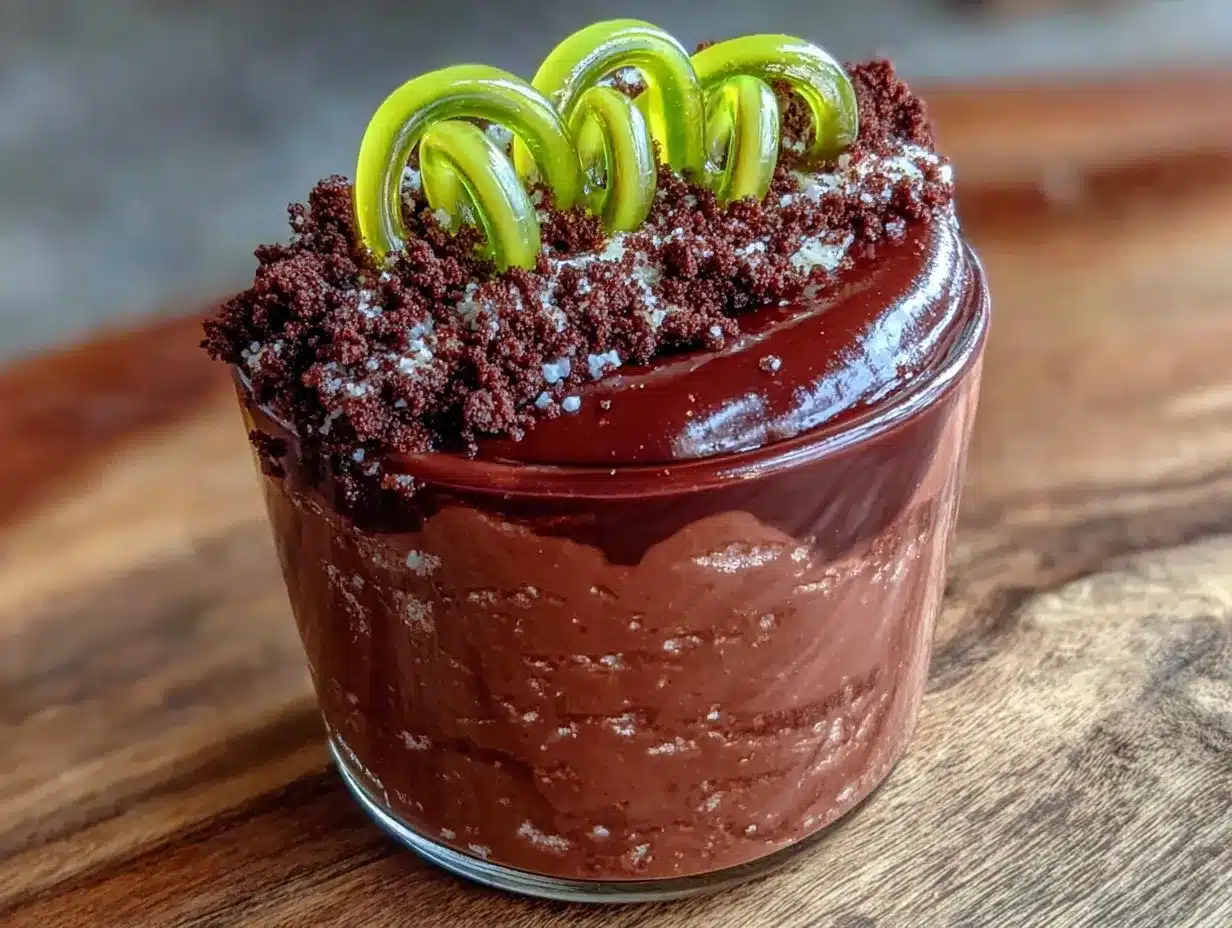
Alright, let’s get to the good part. Here’s how to make these easy no-bake Oreo dirt cups with gummy worms, step by step. I’ve included all my little tricks so you get perfect results every time.
Step 1: Crush the Oreos (5 minutes)
Place the entire package of Oreos — cookies and filling together — into a large zip-top bag. Seal it tightly, squeezing out as much air as possible. Using a rolling pin, gently crush the cookies until you have a mixture of fine crumbs and a few slightly larger pieces. You want it to look like real soil, not sand. Set aside about 1/4 cup of the crumbs for topping later. If you’re using a food processor, pulse the cookies in short bursts — about 5 to 6 pulses — to avoid turning everything into dust.
Step 2: Make the pudding (5 minutes)
In a large mixing bowl, combine the instant chocolate pudding mix and 2 cups of cold whole milk. Whisk vigorously for about 2 minutes, or until the pudding starts to thicken. If you’re using the cream cheese trick, beat the softened cream cheese in a separate small bowl first, then add it to the pudding mixture and whisk until smooth. The mixture will be thick but still pourable at this point. Let it sit for 5 minutes to set up slightly.
Step 3: Fold in the whipped topping (3 minutes)
Gently fold the thawed whipped topping into the pudding mixture using a spatula. Be gentle — you want to keep it light and airy, not deflate it completely. Fold until you see no more white streaks. The mixture should be a uniform chocolate color and have a mousse-like consistency. Taste it here — I dare you not to eat a spoonful!
Step 4: Layer the cups (10 minutes)
Now for the fun part. Take your clear cups and start layering. Spoon about 2 tablespoons of the crushed Oreo crumbs into the bottom of each cup. Press down lightly with the back of a spoon to create a solid base layer. Next, add about 3 tablespoons of the pudding mixture on top of the crumbs. Spread it gently to the edges of the cup. Add another 2 tablespoons of crumbs, then another 3 tablespoons of pudding. The goal is to create distinct, visible layers — that’s what makes these cups so visually fun. End with a final thin layer of crumbs on top.
Step 5: Add the gummy worms (2 minutes)
Take your gummy worms and gently press one or two into the top layer of each cup. You can have them poking out like they’re crawling out of the dirt, or half-buried for a more “underground” look. Let the kids help with this part — it’s the best part!
Step 6: Chill and serve (2 hours minimum)
Place the cups in the refrigerator for at least 2 hours, or up to overnight. This allows the pudding to fully set and the Oreo crumbs to soften slightly, creating that perfect dirt-like texture. Don’t skip this step — warm dirt cups are just sad pudding with soggy cookies. Trust me, I learned that the hard way.
Sensory Cues: When the pudding is ready, it should hold its shape when you spoon it. The Oreo crumbs should be dark and earthy-looking, with small visible specks of the cream filling. The gummy worms should be bright and cheerful against the dark “dirt.” When you take a bite, you should get that initial crunch of the cookie, followed by the silky smooth pudding, and then the chewy, fruity surprise of the gummy worm. It’s a textural party in your mouth!
Cooking Tips & Techniques
After making these easy no-bake Oreo dirt cups with gummy worms about a dozen times, I’ve picked up a few tricks that make all the difference. Let me share them with you so you don’t have to learn the hard way like I did.
The Biggest Mistake I Made: The first time I made these, I used warm milk for the pudding. Big mistake. The pudding never set properly, and I ended up with a soupy mess that looked more like chocolate soup than dirt. Always use cold milk — straight from the fridge. It helps the pudding thicken up quickly and gives you that perfect, spoonable texture.
Timing Tip: Make the pudding mixture first and let it sit while you crush the Oreos. This gives the pudding time to start setting up, which makes layering much easier. If you try to layer runny pudding, the crumbs will just sink and mix in, ruining those beautiful layers.
Multitasking Strategy: While the pudding is setting after you fold in the whipped topping, get your cups ready and crush the Oreos. That way, everything is ready to go when you start layering. I like to line up all my cups on a baking sheet first — it makes it easier to move them to the fridge later without spilling.
Consistency Tip: If your pudding mixture seems too thick after adding the whipped topping, don’t panic. Just let it sit for 5 minutes — it will loosen up slightly as it warms to room temperature. If it’s too thin, pop the bowl in the fridge for 15 minutes before layering.
Pro Tip for Perfect Layers: Use a piping bag or a zip-top bag with the corner snipped off to pipe the pudding into the cups. It gives you much more control and keeps the sides of the cups clean. This is especially helpful if you’re making these for a party and want them to look picture-perfect.
Variations & Adaptations
One of the best things about this recipe is how easy it is to customize. Here are some of my favorite variations on these easy no-bake Oreo dirt cups with gummy worms:
Peanut Butter Dirt Cups: Add 3 tablespoons of creamy peanut butter to the pudding mixture before folding in the whipped topping. The peanut butter adds a salty, nutty depth that pairs beautifully with the chocolate. My kids go crazy for this version.
Mint Chocolate Dirt Cups: Use mint-flavored Oreos (the ones with green filling) and add 1/2 teaspoon of peppermint extract to the pudding mixture. Top with a few crushed peppermint candies for extra crunch. This is my go-to for St. Patrick’s Day or Christmas.
Vegan Dirt Cups: Use dairy-free chocolate sandwich cookies, coconut milk, and a vegan whipped topping. The texture is slightly different — a bit less creamy — but still delicious. I’ve served this to vegan friends and they couldn’t tell the difference.
Berry Dirt Cups: Layer fresh raspberries or sliced strawberries between the pudding and crumbs for a fruity twist. The tartness of the berries cuts through the richness of the chocolate beautifully. This is perfect for summer.
S’mores Dirt Cups: Swap half the Oreo crumbs for crushed graham crackers and add a layer of mini marshmallows on top. Pop the cups under the broiler for 30 seconds to toast the marshmallows — watch them carefully, they burn fast!
My personal favorite variation? I once made these for a Halloween party and used orange-colored gummy worms and added a drop of orange food coloring to the whipped topping. They looked like little pumpkin patches! It was silly and fun, and honestly, that’s what this recipe is all about.
Serving & Storage Suggestions
These easy no-bake Oreo dirt cups with gummy worms are best served cold, straight from the fridge. The contrast between the chilled, creamy pudding and the slightly softened Oreo crumbs is pure perfection. I like to serve them in their clear cups so everyone can see those beautiful layers.
Presentation Ideas: For parties, place the cups on a tray lined with green paper “grass” or a clean kitchen towel that looks like soil. Add a few extra gummy worms scattered around the tray for a playful touch. You can also stick a little paper flag or a plastic shovel in each cup for a garden-themed party.
What to Serve With Them: These are rich enough to stand alone, but if you want to round out the dessert table, serve them alongside fresh fruit — strawberries or raspberries work beautifully. A cold glass of milk is the classic pairing, but they’re also great with coffee or hot chocolate.
Storage Instructions: These dirt cups will keep in the refrigerator for up to 3 days. Cover them with plastic wrap or pop a lid on each cup to prevent them from absorbing other fridge odors. The texture changes slightly over time — the Oreo crumbs soften more and the pudding firms up — but honestly, some people prefer them that way.
Freezing Instructions: You can freeze these for up to 2 months! Make them in freezer-safe cups, leave off the gummy worms, and freeze uncovered until solid, then cover with lids or foil. To serve, thaw in the fridge overnight and add fresh gummy worms before serving. The texture is a little icier, but still delicious.
Reheating: Don’t. Just don’t. These are meant to be served cold. If you want a warm dessert, make a different recipe.
Nutritional Information & Benefits
Let’s be honest — these easy no-bake Oreo dirt cups with gummy worms are a treat, not a health food. But here’s the estimated nutritional breakdown per serving (based on 8 servings):
- Calories: Approximately 350-400 per cup
- Fat: 18g
- Carbohydrates: 48g
- Protein: 5g
- Sugar: 32g
Health Considerations: This recipe contains dairy (milk, cream cheese, whipped topping), gluten (Oreos), and soy (often in chocolate cookies). If you have allergies, check labels carefully. The gummy worms may contain gelatin, so they’re not vegetarian.
Dietary Adaptations: For a lower-sugar version, use sugar-free pudding mix and sugar-free cookies. The taste is slightly different, but still good. For a lower-fat version, use skim milk and light whipped topping — just know the texture won’t be as rich.
My Personal Perspective: Look, I’m not going to pretend these are healthy. But here’s the thing — life is about balance. I make these for special occasions, birthday parties, and the occasional “we survived the week” celebration. They’re meant to be fun, nostalgic, and indulgent. And honestly, the joy they bring — watching kids’ faces light up, hearing the laughter around the table — that’s a kind of nourishment too. So enjoy them, guilt-free, and maybe go for a walk afterwards.
Conclusion
So there you have it — my tried-and-true recipe for easy no-bake Oreo dirt cups with gummy worms. It’s silly, it’s fun, and it’s absolutely delicious. Whether you’re making them for a classroom party, a backyard barbecue, or just a random Tuesday night when the kids need a smile, this recipe delivers every single time.
I love this recipe because it reminds me that cooking doesn’t always have to be serious. Sometimes the best dishes are the ones that make you laugh, that bring back childhood memories, that let you get a little messy and creative. It’s about more than just food — it’s about creating moments that stick with you.
Now I want to hear from you! Have you made dirt cups before? What’s your favorite variation? Did your kids try to steal all the gummy worms before you even finished assembling? Drop a comment below and let me know — I read every single one, and I love hearing your stories. And if you try this recipe, tag me in your photos. I can’t wait to see your beautiful, silly, wonderful dirt cups!
Happy cooking, friends. Or should I say, happy dirt-making.
Frequently Asked Questions
Can I make these dirt cups ahead of time?
Absolutely! In fact, they’re better when made a day ahead. The flavors meld together and the texture becomes perfectly creamy. Just wait to add the gummy worms until right before serving so they stay chewy and don’t get too soft.
Why did my pudding turn out runny?
This usually happens when you use warm milk or don’t whisk the pudding long enough. Make sure your milk is cold from the fridge, and whisk for a full 2 minutes. Also, check that you’re using instant pudding mix — cook-and-serve won’t set up the same way.
Can I use homemade whipped cream instead of Cool Whip?
Yes, but it won’t hold up as well over time. Homemade whipped cream is lighter and more delicate, so the texture will be less stable. If you use it, plan to serve the cups within a few hours of making them.
How many cups does this recipe make?
It depends on the size of your cups. Using standard 8-ounce cups, you’ll get about 6 to 8 servings. For smaller cups (like 4-ounce ones), you can get up to 12. Adjust your layering accordingly.
Can I use a different type of cookie?
Absolutely! Golden Oreos make a fun “sand” version. You can also use chocolate wafer cookies, crushed brownies, or even crushed graham crackers. Just keep in mind that different cookies will change the texture and sweetness level.
Pin This Recipe!
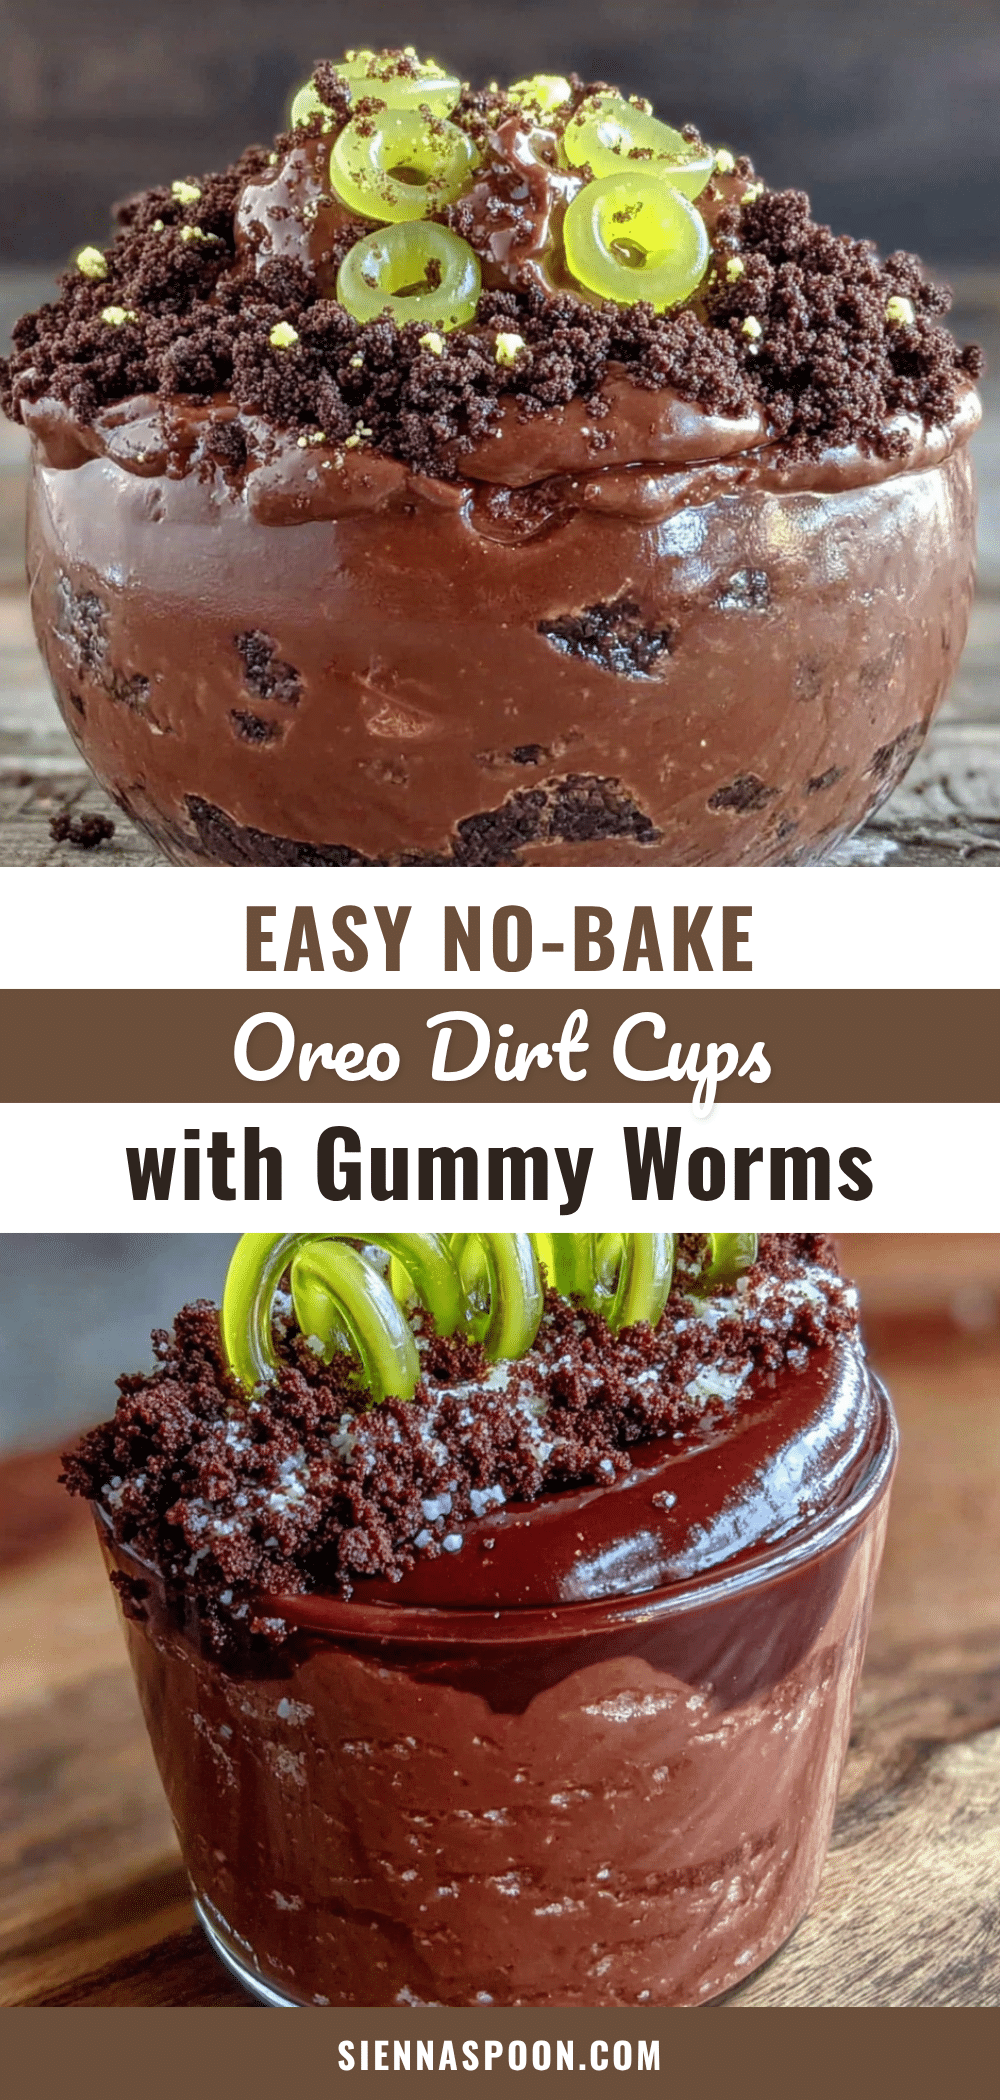
Easy No-Bake Oreo Dirt Cups with Gummy Worms
A fun, nostalgic no-bake dessert featuring layers of creamy chocolate pudding and crushed Oreo ‘dirt,’ topped with gummy worms. Perfect for kids’ parties and family gatherings.
- Prep Time: 15 minutes
- Cook Time: 0 minutes
- Total Time: 2 hours 15 minutes
- Yield: 6 to 8 servings 1x
- Category: Dessert
- Cuisine: American
Ingredients
- 1 package (14.3 ounces) Oreo cookies
- 1 package (3.9 ounces) instant chocolate pudding mix
- 2 cups cold whole milk
- 1 container (8 ounces) frozen whipped topping, thawed
- 1 package (4.5 ounces) gummy worms
- Optional: 2 tablespoons cream cheese, softened
Instructions
- Crush the Oreos: Place the entire package of Oreos into a large zip-top bag. Seal tightly, squeezing out air. Using a rolling pin, gently crush until you have a mixture of fine crumbs and slightly larger pieces. Set aside about 1/4 cup of crumbs for topping.
- Make the pudding: In a large mixing bowl, combine the instant chocolate pudding mix and 2 cups of cold whole milk. Whisk vigorously for about 2 minutes until the pudding starts to thicken. If using cream cheese, beat it separately first, then add to the pudding mixture and whisk until smooth. Let sit for 5 minutes.
- Fold in the whipped topping: Gently fold the thawed whipped topping into the pudding mixture using a spatula until no white streaks remain. The mixture should be uniform and mousse-like.
- Layer the cups: Spoon about 2 tablespoons of crushed Oreo crumbs into the bottom of each clear cup. Press down lightly. Add about 3 tablespoons of pudding mixture. Repeat with another layer of crumbs and pudding. End with a final thin layer of crumbs on top.
- Add the gummy worms: Gently press one or two gummy worms into the top layer of each cup, letting them poke out like they are crawling out of the dirt.
- Chill and serve: Refrigerate the cups for at least 2 hours, or up to overnight, to allow the pudding to set and the Oreo crumbs to soften slightly. Serve cold.
Notes
For best results, use cold milk and instant pudding mix. The cream cheese addition is optional but adds a cheesecake-like texture. For dairy-free, use plant-based milk and dairy-free whipped topping. For gluten-free, use gluten-free chocolate sandwich cookies. The cups can be stored in the refrigerator for up to 3 days or frozen for up to 2 months (add fresh gummy worms after thawing).
Nutrition
- Serving Size: 1 cup
- Calories: 375
- Sugar: 32
- Sodium: 320
- Fat: 18
- Saturated Fat: 8
- Carbohydrates: 48
- Fiber: 2
- Protein: 5
Keywords: no-bake dessert, Oreo dirt cups, gummy worms, kids dessert, chocolate pudding, easy dessert, party dessert


