Love this? Save it for later!
Share the inspiration with your friends
This was supposed to be a batch of perfectly piped French macarons. I had the almond flour sifted, the egg whites aging on the counter for three days, and a brand-new piping tip I was convinced would change my baking life forever. My four-year-old was “helping” by standing on a stool with a spoon in each hand, and somewhere between separating the sixth egg and answering his question about whether ghosts eat cookies, I grabbed the wrong bag of sugar. Granulated instead of superfine. By the time I realized what I’d done, the meringue was already whipped into stiff peaks, glossy and beautiful and completely wrong for what I’d planned.
I almost dumped it. I mean, I had my hand on the bowl, ready to scrape it into the sink and start over. But my son was watching me with those big eyes, and I could hear my wallet crying over the wasted eggs. So I did what any tired parent on a budget would do—I shrugged, grabbed a piping bag, and decided to make something up as I went along. I piped little blobs onto the baking sheet, stuck on some mini chocolate chips for eyes, and called them ghosts. They baked up light as air, crispy on the outside with a tiny bit of chew inside, and my kid looked at me like I’d just pulled off actual magic. Honestly, I felt like I had.
That’s how these ghost meringue cookies were born—not from a carefully tested recipe, but from a happy accident in a messy kitchen with a distracted mom and a very insistent toddler. Maybe you’ve been there, staring at a batch of something that went sideways, wondering if you should just give up and order pizza. Let me tell you, sometimes the best recipes come from the moments when you stop trying so hard. These little ghosts are proof that you don’t need fancy ingredients or perfect technique to make something your family will remember. They’re crunchy, sweet, and just spooky enough for Halloween without being scary for little ones.
Why You’ll Love This Recipe
Let me be honest with you—I’ve tested this recipe about a dozen times since that first accidental batch, and it keeps getting better. Here’s why these ghost meringue cookies have become my go-to for Halloween and beyond:
- Super Simple Ingredients : You only need four things—egg whites, sugar, cream of tartar, and mini chocolate chips. No fancy extracts, no specialty flours, nothing you have to hunt down at three different stores.
- Budget-Friendly Fun : A dozen eggs costs way less than a bag of Halloween candy, and you can make multiple batches from one carton. Perfect for families trying to stretch the grocery budget without skimping on the holiday spirit.
- Kid-Approved Activity : My kids help me pipe these every single time now. The ghost shapes are forgiving enough that even little hands can make something that looks cute, and the chocolate chip eyes are basically a built-in snack break.
- Naturally Gluten-Free and Low-Fat : No butter, no flour, no dairy. These cookies are light as air and actually pretty guilt-free for a Halloween treat.
- Make-Ahead Magic : They stay crispy in an airtight container for up to two weeks, which means you can bake them well before Halloween and not stress about last-minute prep.
- Always a Crowd-Pleaser : I brought these to a school Halloween party last year, and they disappeared faster than the store-bought cupcakes. Kids love the shape, and adults love that they’re not loaded with sugar and artificial colors.
What really sets these apart from other meringue recipes is the texture. I’ve figured out the exact baking temperature and time to get that perfect balance—crispy on the outside, slightly marshmallowy on the inside, with just enough sweetness to satisfy a craving without sending the kids bouncing off the walls.
What Ingredients You Will Need
This recipe uses simple, everyday ingredients that you probably already have in your kitchen. The magic happens when these basic components come together to create something that looks way more impressive than it actually is.
- 3 large egg whites, room temperature (this is important—cold eggs won’t whip up as high or as stable)
- ¾ cup granulated sugar (150 grams, and yes, regular white sugar works perfectly—no need for superfine)
- ¼ teaspoon cream of tartar (this stabilizes the meringue and helps it hold its shape; you can substitute with ½ teaspoon lemon juice or white vinegar if needed)
- ½ teaspoon vanilla extract (pure vanilla gives the best flavor, but imitation works fine and is cheaper)
- ¼ cup mini chocolate chips (about 60 grams—I like Ghirardelli or Toll House, but any brand works)
- Pinch of salt (just a tiny one—it balances the sweetness without making the cookies salty)
A few notes from my testing: Room temperature egg whites are non-negotiable here. I learned this the hard way when I tried to rush things with cold eggs and ended up with flat, sad ghosts that looked more like puddles than spirits. Let your eggs sit on the counter for about 30 minutes before you start, or put them in a bowl of warm water for 5 minutes if you’re in a hurry.
For the sugar, I’ve tested this with both granulated and caster sugar, and honestly, regular granulated works just fine. The key is adding it slowly so it dissolves completely. If you’re feeling fancy, you can pulse the sugar in a food processor for a few seconds to make it finer, but don’t stress if you skip that step.
The cream of tartar is worth buying if you don’t have it—it’s cheap and makes a real difference in stability. But if you’re in a pinch, that lemon juice substitute works surprisingly well. I’ve done it when my cream of tartar was expired, and the cookies still turned out great.
Equipment Needed
You don’t need a professional bakery setup for these ghost meringue cookies. Here’s what I use, along with some budget-friendly alternatives:
- Electric mixer (stand mixer or hand mixer both work; I use my trusty KitchenAid, but a $20 hand mixer from Target does the job just as well)
- Large mixing bowl (glass or metal—avoid plastic because it can hold onto grease that ruins meringue)
- Piping bag (disposable ones are cheap and easy; you can also use a zip-top bag with the corner snipped off in a pinch)
- Large round piping tip (about ½ inch wide; I use a Wilton 1A, but any round tip works)
- Baking sheet (rimmed or flat—just make sure it’s clean and dry)
- Parchment paper (silicon baking mats work too, but parchment is cheaper and easier to clean)
- Cooling rack (optional but helpful for cooling the cookies evenly)
One thing I’ve learned the hard way: make sure your bowl and beaters are completely clean and dry. Any trace of grease or moisture will keep your egg whites from whipping up properly. I wipe mine down with a little lemon juice on a paper towel before I start, just to be safe.
Preparation Method
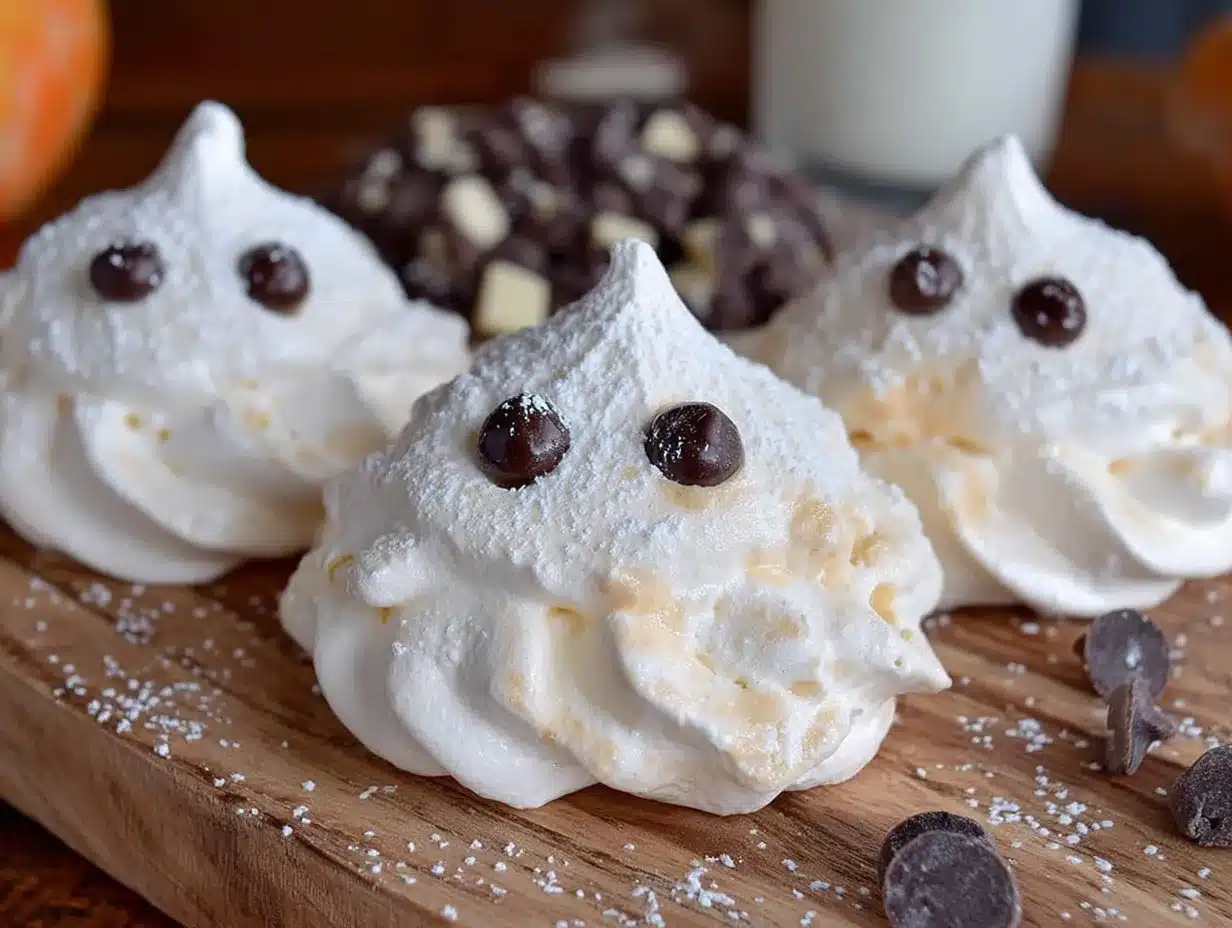
Alright, let’s make some ghosts! This process takes about 20 minutes of active prep time and about 2 hours of baking and cooling, so plan accordingly.
- Preheat your oven to 200°F (95°C). Yes, that’s really the temperature—low and slow is the secret to perfect meringue. Line your baking sheet with parchment paper and set it aside.
- Clean your bowl and beaters. Like I said, any grease will ruin your meringue. Wipe everything down with a little lemon juice or white vinegar on a paper towel, then dry thoroughly.
- Start whipping the egg whites. Pour your room temperature egg whites into the clean bowl and add the cream of tartar and salt. Start beating on medium speed until the mixture becomes foamy and bubbly, about 1-2 minutes. You’ll see tiny bubbles forming, and the mixture will look like soapy water.
- Add the sugar slowly. With the mixer running on medium-high speed, add the sugar one tablespoon at a time. I know it’s tedious, but this gradual addition is key—if you dump it all in at once, the sugar won’t dissolve properly, and your cookies will be grainy. Take about 2-3 minutes to add all the sugar.
- Whip until stiff peaks form. Keep beating on medium-high speed for another 5-7 minutes. You’re looking for stiff, glossy peaks that hold their shape when you lift the beater. The meringue should be thick enough that it doesn’t slide around in the bowl when you tilt it. A good test: rub a little between your fingers—if it feels smooth and not gritty, the sugar has dissolved.
- Add the vanilla. Pour in the vanilla extract and beat for another 30 seconds until it’s fully incorporated. The meringue will deflate slightly, but that’s normal.
- Prepare your piping bag. Fit your piping bag with the round tip and fold the top edge down over your hand. Use a spatula to fill the bag with meringue—don’t overfill it, about half full is perfect. Twist the top closed and squeeze a little bit out to make sure the tip is clear.
- Pipe the ghosts. Hold the piping bag straight up and down, about ½ inch above the parchment paper. Squeeze gently to create a round base about 1½ inches wide, then lift the bag straight up while continuing to squeeze. As you lift, pull the bag away to create a little tail on top—that’s the ghost’s head. Each ghost should be about 2 inches tall. Leave about 1 inch between each cookie because they won’t spread much.
- Add the eyes. While the meringue is still wet, gently press two mini chocolate chips into each ghost for eyes. Don’t push them in too deep or they’ll sink as the cookies bake. Just set them on the surface so they stick.
- Bake for 2 hours. Place the baking sheet in the preheated oven and bake for 1½ to 2 hours. The cookies are done when they’re dry to the touch and easily lift off the parchment paper. They should be pale white with just a hint of golden color on the very bottom.
- Cool completely in the oven. Here’s my favorite trick: turn off the oven but leave the cookies inside with the door closed for another hour. This extra drying time ensures they’re perfectly crisp all the way through. Don’t skip this step—I’ve had batches that seemed done but turned chewy because I pulled them out too soon.
- Cool on a rack. After the hour is up, take the cookies out of the oven and let them cool completely on the baking sheet on a wire rack. They’ll continue to firm up as they cool.
A few troubleshooting notes: If your meringue looks weepy or starts separating, your bowl might have had some grease on it. If the cookies crack while baking, the oven was too hot or the meringue was overmixed. And if they’re chewy instead of crispy, they need more drying time—pop them back in a 200°F oven for another 30 minutes.
Cooking Tips & Techniques
After making these ghost meringue cookies more times than I care to count, I’ve picked up a few tricks that make the process smoother and the results more consistent.
The humidity factor is real with meringue. I live in a pretty dry climate, so these work great for me year-round, but if you’re in a humid area, pick a dry day to make them. Meringue absorbs moisture from the air, which can make it sticky and hard to pipe. You can also add an extra tablespoon of sugar to help stabilize the mixture.
Don’t overmix once you’ve reached stiff peaks. I’ve definitely made the mistake of walking away from the mixer and coming back to grainy, separated meringue. As soon as the peaks hold their shape and the mixture is glossy, stop. Overwhipping breaks down the structure and your cookies won’t hold their shape.
Room temperature eggs really do make a difference. I know it’s tempting to use eggs straight from the fridge, but cold egg whites don’t whip up as high or as stable. Set them out 30 minutes before you start, or put them in a bowl of warm water for 5 minutes if you forgot.
Piping consistency takes practice. My first batch of ghosts looked more like blobs than spirits. The trick is to squeeze steadily and lift the bag straight up without wobbling. If you mess up, just scrape the meringue back into the bowl and start again—it’s very forgiving.
Storage is everything. Once these cookies are completely cool, store them in an airtight container at room temperature. Don’t put them in the fridge—the moisture will make them sticky. I keep mine in a glass jar on the counter, and they stay crispy for up to two weeks.
Variations & Adaptations
One of the best things about these ghost meringue cookies is how easy they are to customize. Here are some variations I’ve tried and loved:
- Spooky Colors : Add a drop of black or purple food coloring to the meringue before piping for a more dramatic look. Gel food coloring works best because it doesn’t add extra liquid.
- Flavor Twists : Swap the vanilla extract for peppermint, almond, or orange extract. Just use the same amount—½ teaspoon. My kids love the peppermint version for Christmas.
- Different Faces : Instead of chocolate chips, use mini candy eyes (the ones shaped like actual eyes) for a goofier look. You can also pipe little mouths with melted chocolate after the cookies are baked.
- Gluten-Free Guarantee : These are naturally gluten-free, but double-check your chocolate chips if you’re serving someone with celiac disease—some brands have cross-contamination risks.
- Dairy-Free Option : Most chocolate chips are dairy-free, but check the label. Enjoy Life and Pascha brands are safe bets.
- Pumpkin Spice Ghosts : Add ½ teaspoon pumpkin pie spice to the sugar before whipping. This is my personal favorite fall variation.
I once tried making these with stevia instead of sugar, and let me tell you—don’t do it. The texture was off, and they never got crispy. Stick with real sugar for the best results.
Serving & Storage Suggestions
These ghost meringue cookies are best served at room temperature, right after they’ve cooled completely. They’re perfect for Halloween parties, school events, or just a fun afternoon treat with the kids.
For presentation, I like to arrange them on a platter with a few fake spiderwebs and plastic spiders scattered around. You can also stack them in a clear glass jar tied with a black ribbon for a cute homemade gift. My neighbor brings these to her office Halloween potluck every year, and they’re always the first thing to disappear.
Storage is simple: keep them in an airtight container at room temperature. I use a glass cookie jar with a tight-fitting lid, and they stay fresh for up to two weeks. Do not refrigerate them—the moisture will make them sticky and ruin the texture. If you live in a humid climate, add a silica gel packet (the kind that comes in shoe boxes) to the container to absorb excess moisture.
These cookies also freeze beautifully. Place them in a single layer in a freezer-safe container with parchment paper between layers, and they’ll keep for up to three months. Thaw them at room temperature for about 30 minutes before serving. The texture stays exactly the same.
One thing I’ve noticed: the flavor actually improves after a day or two. The cookies mellow out and the vanilla becomes more pronounced. So if you’re making these for a Halloween party, bake them a few days ahead—your future self will thank you.
Nutritional Information & Benefits
Per serving (1 ghost meringue cookie, about 15 grams):
- Calories: 35
- Fat: 0.5g
- Carbohydrates: 8g
- Sugar: 7g
- Protein: 0.5g
- Sodium: 5mg
These cookies are surprisingly light compared to most Halloween treats. They’re naturally low in fat since there’s no butter or oil, and they’re gluten-free and dairy-free as written. The main ingredient is egg whites, which are a great source of protein and contain no cholesterol (it’s all in the yolk).
Compared to a typical Halloween candy bar that can have 200-300 calories and 20+ grams of sugar, these ghost cookies are a much lighter option. They satisfy that sweet craving without the sugar crash. Plus, the act of making them together as a family is a great way to create memories without relying on store-bought treats.
If you’re watching your sugar intake, you can reduce the sugar to ½ cup (100 grams) and add a little extra vanilla for flavor. The texture will be slightly less crisp, but they’ll still be delicious.
Conclusion
These ghost meringue cookies have become a Halloween tradition in our house, and I hope they become one in yours too. They started as a mistake—a happy accident in a chaotic kitchen—and turned into something my kids ask for all year round. There’s something special about making treats together, especially when the recipe is forgiving enough that little hands can help without causing a disaster.
I love that these cookies are simple, affordable, and naturally allergy-friendly. They prove that you don’t need fancy ingredients or professional skills to create something magical for your family. Whether you’re hosting a Halloween party, sending treats to school, or just looking for a fun afternoon activity, these ghosts deliver every time.
So grab your eggs, your sugar, and your favorite little helper, and give these a try. I’d love to hear how they turn out for you—drop a comment below and let me know if your kids loved them as much as mine do. And if you make any fun variations, share those too! Happy Halloween, and happy baking!
Frequently Asked Questions
Can I make these ghost meringue cookies without a piping bag?
Absolutely! If you don’t have a piping bag, just use a sturdy zip-top plastic bag. Fill it with the meringue, snip off a small corner (about ½ inch wide), and pipe away. It works just as well and saves you from buying disposable bags.
Why did my meringue turn out flat and not hold its shape?
This usually happens for one of three reasons: your bowl or beaters had grease on them, your egg whites were too cold, or you didn’t whip them long enough. Make sure everything is squeaky clean, use room temperature eggs, and whip until you see stiff, glossy peaks that don’t droop.
How do I know when the cookies are done baking?
The cookies are done when they’re dry to the touch and lift easily off the parchment paper. They should be pale white with just a hint of golden color on the bottom. If they stick or feel soft, give them more time. The extra drying time in the turned-off oven is crucial for getting that perfect crispy texture.
Can I use liquid food coloring in the meringue?
I don’t recommend it. Liquid food coloring adds extra moisture that can destabilize the meringue and make it weepy. If you want colored ghosts, use gel or paste food coloring instead—it’s more concentrated and won’t affect the texture.
How long do these cookies stay fresh?
Stored in an airtight container at room temperature, these cookies stay perfectly crispy for up to two weeks. Don’t refrigerate them, and keep them away from humidity. If they do get a little soft, you can re-crisp them in a 200°F oven for 15-20 minutes.
Pin This Recipe!
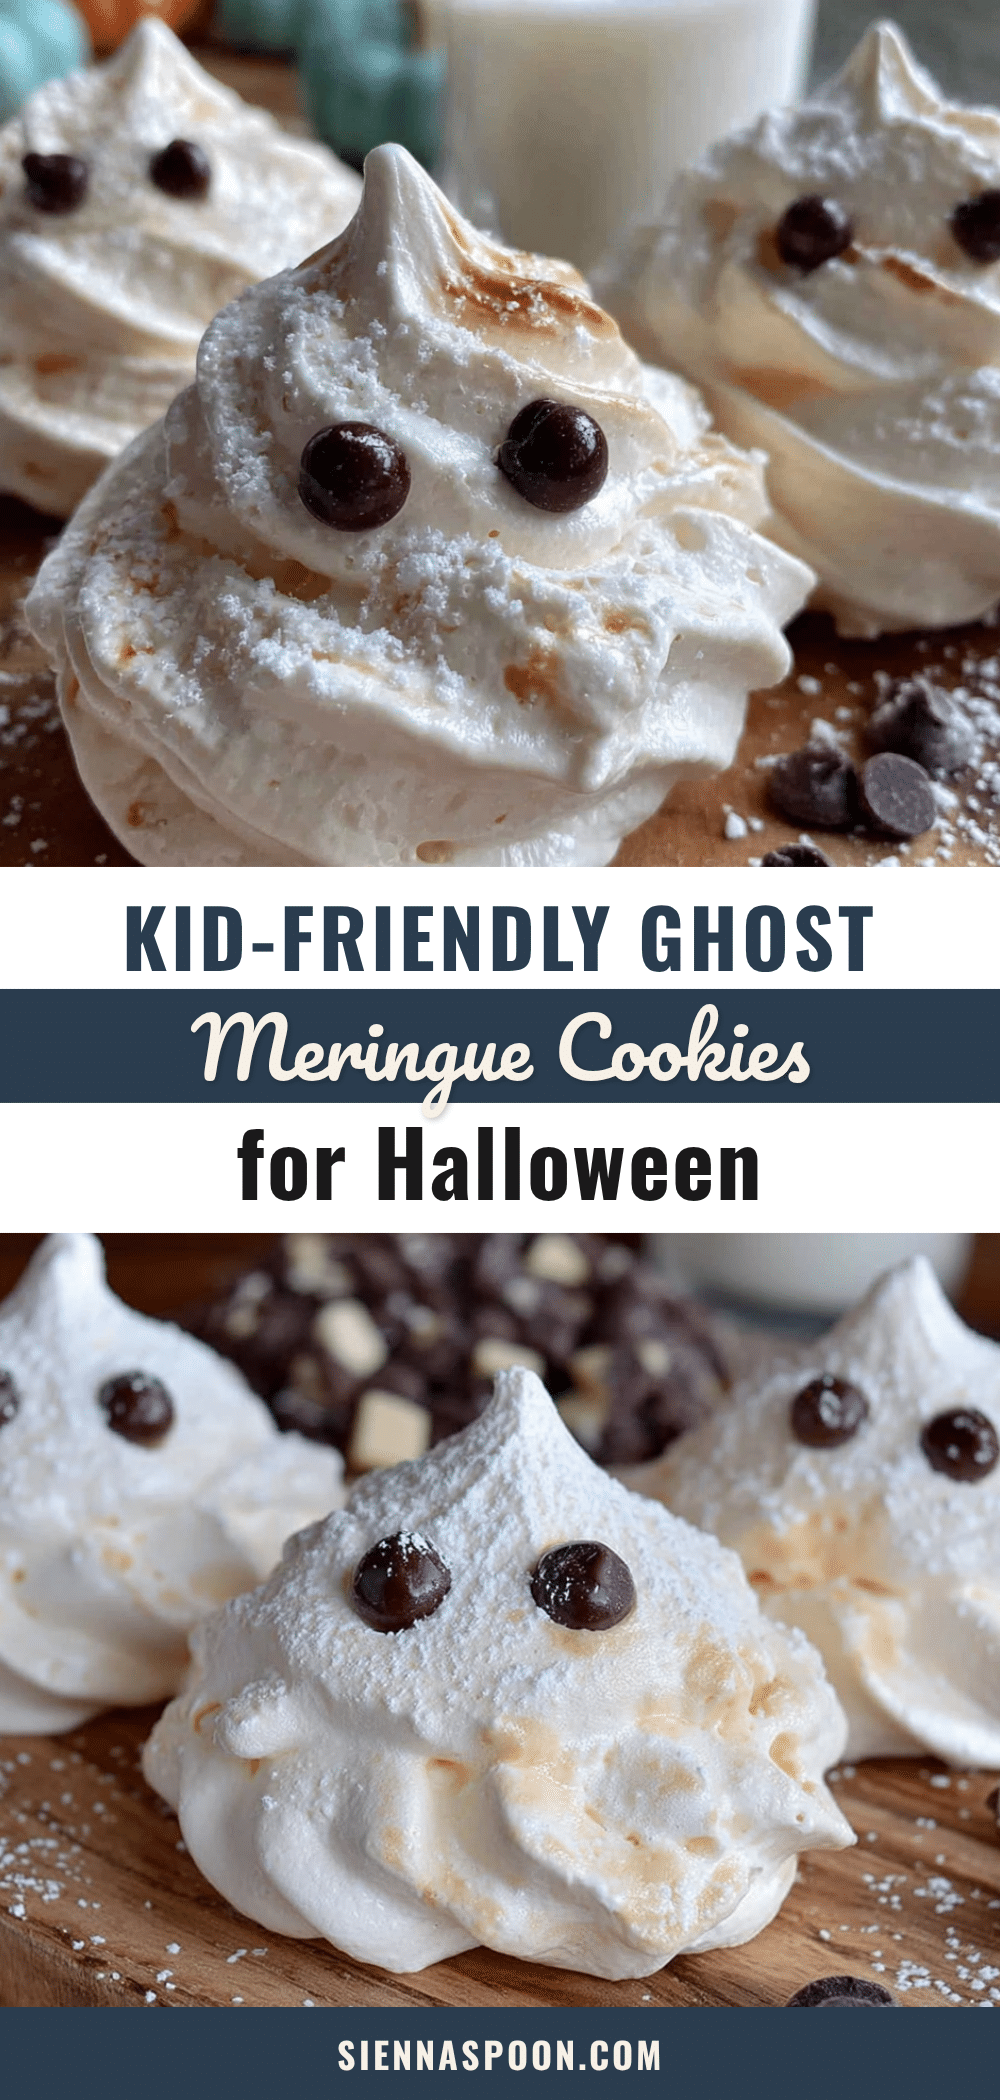
Easy Ghost Meringue Cookies for Halloween Fun
These ghost meringue cookies are light, crispy, and naturally gluten-free. Made with just four simple ingredients, they’re a fun and budget-friendly Halloween treat that kids love to help make.
- Prep Time: 20 minutes
- Cook Time: 2 hours
- Total Time: 3 hours 20 minutes
- Yield: 24 servings 1x
- Category: Dessert
- Cuisine: American
Ingredients
- 3 large egg whites, room temperature
- 3/4 cup granulated sugar (150 grams)
- 1/4 teaspoon cream of tartar
- 1/2 teaspoon vanilla extract
- 1/4 cup mini chocolate chips (about 60 grams)
- Pinch of salt
Instructions
- Preheat your oven to 200°F (95°C). Line a baking sheet with parchment paper.
- Clean your bowl and beaters with lemon juice or white vinegar to remove any grease, then dry thoroughly.
- Pour room temperature egg whites into the clean bowl. Add cream of tartar and salt. Beat on medium speed until foamy and bubbly, about 1-2 minutes.
- With the mixer running on medium-high speed, add the sugar one tablespoon at a time, taking 2-3 minutes to add all the sugar.
- Continue beating on medium-high speed for 5-7 minutes until stiff, glossy peaks form. The meringue should be thick and smooth when rubbed between fingers.
- Add vanilla extract and beat for another 30 seconds until fully incorporated.
- Fit a piping bag with a large round tip (about 1/2 inch wide). Fill the bag halfway with meringue.
- Pipe ghosts onto the parchment: hold the bag straight up, squeeze to create a 1.5-inch round base, then lift straight up while squeezing to create a tail. Leave 1 inch between cookies.
- While meringue is still wet, gently press two mini chocolate chips into each ghost for eyes.
- Bake for 1.5 to 2 hours, until cookies are dry to the touch and lift easily off the parchment.
- Turn off the oven and leave cookies inside with the door closed for 1 hour to dry completely.
- Remove from oven and cool completely on the baking sheet on a wire rack.
Notes
Room temperature egg whites are essential for proper volume. For best results, let eggs sit out for 30 minutes or warm in a bowl of warm water for 5 minutes. Avoid making meringue on humid days. Store in an airtight container at room temperature for up to 2 weeks. Do not refrigerate. If cookies become soft, re-crisp in a 200°F oven for 15-20 minutes.
Nutrition
- Serving Size: 1 ghost meringue coo
- Calories: 35
- Sugar: 7
- Sodium: 5
- Fat: 0.5
- Carbohydrates: 8
- Protein: 0.5
Keywords: ghost meringue cookies, Halloween cookies, meringue cookies, gluten-free cookies, low-fat cookies, kid-friendly Halloween treats


