Love this? Save it for later!
Share the inspiration with your friends
The office Friendsgiving potluck was in four hours and I’d completely forgotten. I stared into my pantry like it might magically produce a show-stopping dessert. Everyone else would be bringing their grandmother’s famous pies or those fancy layered cakes you see on Instagram. I had a can of pumpkin puree, a box of cream cheese, and a vague memory of my aunt making something rolled up once. Honestly, I was already mentally preparing my excuse about a “family emergency.”
Then I remembered the pumpkin roll my neighbor Linda brought to last year’s block party. It looked incredible—that perfect spiral of orange and white—and she’d made it look so easy. I had maybe 45 minutes before I needed to leave. Let me tell you, that was a panicked 45 minutes. I burned my fingers on the baking sheet, got powdered sugar all over my black sweater (classic), and somehow, by some miracle, the thing rolled up without a single crack. I almost cried. No, I actually did tear up a little.
And then came the kicker. I walked into that potluck with my slightly lopsided pumpkin roll, feeling like I’d brought a Happy Meal to a Michelin-star dinner. But you know what happened? That humble little roll was gone in twenty minutes. People were asking for the recipe. My boss’s wife—who makes a legendary pecan pie—asked for seconds. I stood there, sheepish and covered in flour, trying to explain that it was actually the easiest thing I’d ever made. The secret? A technique I’d stumbled onto that prevents the dreaded cracks. I’ve been making it ever since, and it’s never let me down. Maybe you’ve been there, staring at a cracked pumpkin roll and wondering what went wrong. Well, I’ve got good news for you.
Why You’ll Love This Recipe
Let me be straight with you—this isn’t just another pumpkin roll recipe floating around the internet. I’ve tested this one about a dozen times, tweaking the flour ratio and the rolling technique until it was practically foolproof. As someone who’s burned more than a few batches of cookies, I can tell you with confidence: if I can make this without cracking it, you absolutely can too.
- Quick & Easy: From start to finish, you’re looking at about 45 minutes of active time. The hardest part is waiting for it to chill, and even that’s only two hours. Perfect for those “oh no, I need a dessert for tomorrow” moments.
- Simple Ingredients: You probably have most of these in your kitchen right now. No weird specialty flours or obscure extracts. Just good old-fashioned pantry staples.
- Perfect for Fall Gatherings: Thanksgiving, Friendsgiving, Halloween parties, or just a cozy Sunday dessert—this roll fits everywhere. It looks fancy enough for company but is easy enough for a random Tuesday.
- Crowd-Pleaser: I’ve brought this to five different gatherings now, and it’s always the first thing to disappear. Kids love it, adults love it, even my picky father-in-law asked for the recipe.
- Unbelievably Delicious: The texture is what gets people. That light, tender pumpkin cake wrapped around silky cream cheese filling—it’s comfort food at its finest. And the best part? No cracks, no stress, no tears.
What makes this recipe different is the technique. Instead of the traditional method that leaves you praying the cake doesn’t crack, I use a slightly modified rolling process and a specific cooling trick that practically guarantees success. It’s not magic—it’s just a smarter way to work with the batter. And honestly, that first bite where the flavors come together? It’s the kind of moment that makes you close your eyes and forget about the messy kitchen waiting for you.
What Ingredients You Will Need
This recipe uses simple, wholesome ingredients that work together to create that perfect pumpkin roll texture and flavor. Most of these are pantry staples, so you might not even need a grocery run. Here’s what you’ll need, broken down by the cake and the filling.
For the Pumpkin Cake
- 3 large eggs, room temperature (cold eggs don’t incorporate as well, so let them sit out for 20 minutes)
- 1 cup granulated sugar (adds sweetness and helps with structure)
- 2/3 cup pumpkin puree (not pumpkin pie filling—make sure it’s 100% pure pumpkin. I prefer Libby’s for consistent texture)
- 3/4 cup all-purpose flour (spoon and level it—don’t scoop directly from the bag or you’ll get too much)
- 1 teaspoon baking powder (helps the cake rise just enough to be tender)
- 1/2 teaspoon baking soda (works with the pumpkin’s acidity for a light crumb)
- 1 teaspoon ground cinnamon (the backbone of pumpkin spice flavor)
- 1/2 teaspoon ground ginger (adds warmth without being overpowering)
- 1/4 teaspoon ground nutmeg (freshly grated if you have it—it makes a difference)
- 1/4 teaspoon salt (balances the sweetness and enhances the spices)
- Powdered sugar for dusting (you’ll need about 1/4 cup for the kitchen towel and final garnish)
For the Cream Cheese Filling
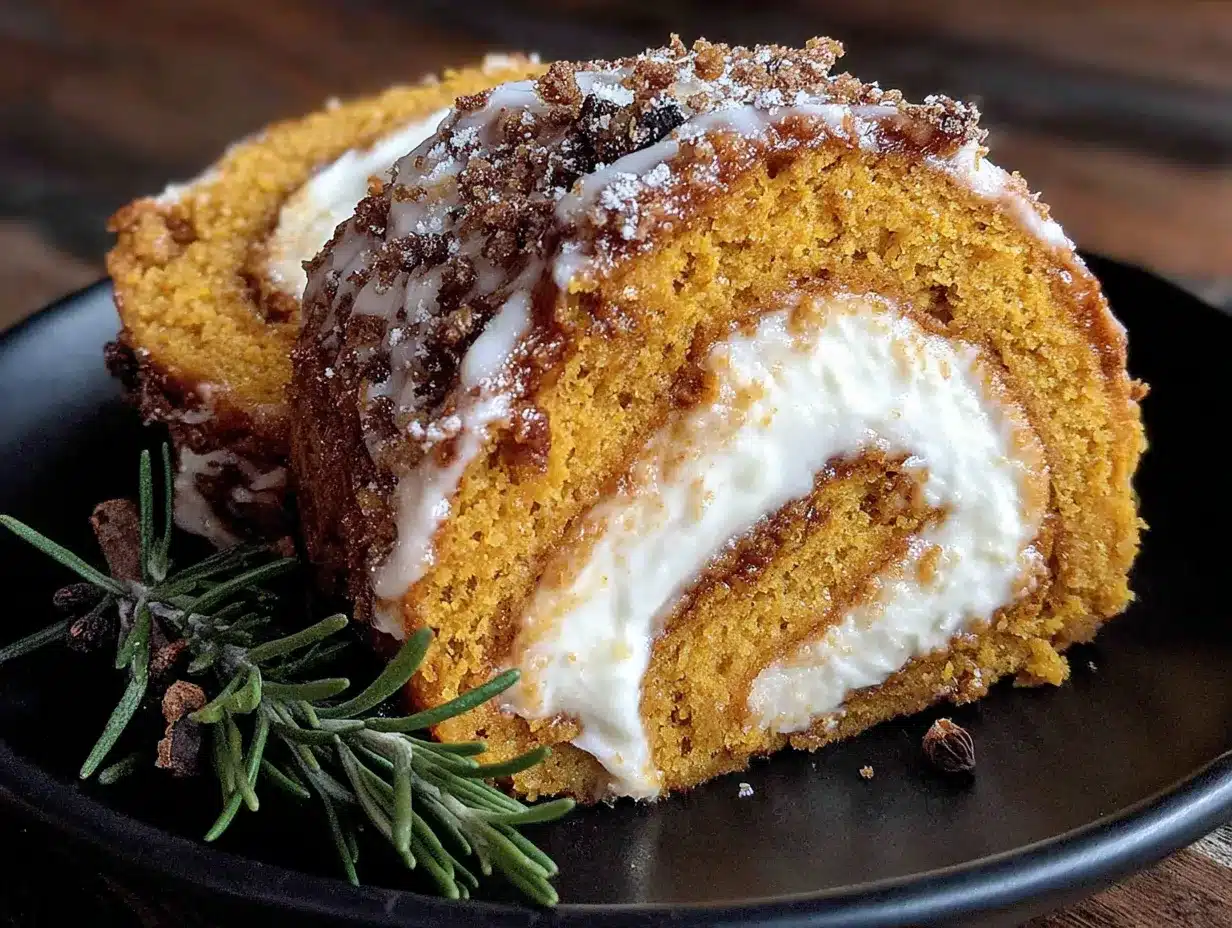
- 8 ounces cream cheese, softened (full-fat is best—low-fat can make the filling runny. Let it sit out for at least 30 minutes)
- 1/4 cup unsalted butter, softened (I use Land O’Lakes—it has a consistent fat content that works well here)
- 1 cup powdered sugar, sifted (sifting prevents lumps that can ruin the smooth texture)
- 1 teaspoon vanilla extract (pure vanilla, not imitation—it really does taste better)
- Pinch of salt (just a tiny bit to cut the sweetness)
A few notes on ingredient selection: For the pumpkin puree, look for a can that’s just pumpkin—no added spices or sweeteners. The texture should be smooth, not watery. If your puree looks separated, stir it well before measuring. For the cream cheese, Philadelphia is my go-to because it has a consistent texture that creates a perfectly smooth filling. And please, please use room temperature ingredients—I learned this the hard way when my filling came out lumpy because I was in a hurry. Just trust me on this one.
Equipment Needed
You don’t need a fancy kitchen for this recipe, but a few specific tools make the process much smoother. Here’s what you’ll need:
- 10×15-inch jelly roll pan (also called a half-sheet pan—this is the standard size for roll cakes. If you don’t have one, a 9×13-inch pan can work, but the cake will be thicker and harder to roll)
- Parchment paper (non-negotiable—you need it to lift the cake out of the pan and to roll it up. Don’t use wax paper; it will stick)
- Electric mixer (handheld or stand mixer works fine. I’ve made this with both, and the stand mixer is easier for beating the eggs, but a hand mixer gets the job done)
- Clean kitchen towel (a thin, lint-free towel—flour sack towels are perfect. Avoid terry cloth; it leaves fuzz on the cake)
- Rubber spatula (for spreading the batter evenly in the pan)
- Wire cooling rack (allows air to circulate around the cake so it cools evenly)
- Fine-mesh sieve (for sifting the powdered sugar—a fork can work in a pinch, but a sieve is easier)
- Sharp knife or serrated knife (for trimming the ends before serving)
If you don’t have a jelly roll pan, you can find them at most kitchen supply stores for around $15. Honestly, it’s worth the investment if you plan to make rolled cakes or even sheet cakes. I’ve also seen them at thrift stores for a couple of bucks. Just make sure the pan is light-colored—dark pans can cause the cake to brown too quickly on the bottom.
Preparation Method
Alright, let’s get to the good part. I’m going to walk you through every step, including the little tricks I’ve learned to prevent cracking. Follow these exactly, and you’ll have a perfect pumpkin roll on your first try.
- Preheat and prep. Preheat your oven to 375°F (190°C). Line your jelly roll pan with parchment paper, leaving a little overhang on the long sides—this makes it easy to lift the cake out later. Lightly spray the parchment with non-stick cooking spray. Trust me, you don’t want to skip this step.
- Beat the eggs and sugar. In a large bowl (or the bowl of your stand mixer), beat the eggs and sugar together on high speed for about 3-4 minutes. You’re looking for a thick, pale yellow mixture that falls in ribbons when you lift the beaters. This step is crucial—it incorporates air that gives the cake its light texture. Don’t rush it. I once tried to save time by beating for only a minute, and the cake came out dense and flat.
- Add the pumpkin. Reduce the mixer speed to low and add the pumpkin puree. Mix just until combined—you don’t want to deflate all that air you just worked for. Scrape down the sides of the bowl with a rubber spatula.
- Mix the dry ingredients. In a separate bowl, whisk together the flour, baking powder, baking soda, cinnamon, ginger, nutmeg, and salt. Whisking ensures everything is evenly distributed—no biting into a clump of baking soda.
- Combine wet and dry. Gradually add the dry ingredients to the wet mixture, mixing on low speed until just combined. You should see a few streaks of flour remaining—that’s fine. Overmixing will make the cake tough. Fold the last bits in gently with a spatula.
- Spread the batter. Pour the batter into your prepared pan and use an offset spatula or the back of a spoon to spread it evenly into all corners. The layer should be thin—about 1/4 inch thick. Take your time here; an uneven layer will roll unevenly.
- Bake. Bake for 12-14 minutes, or until the cake springs back when lightly touched in the center and the edges are just starting to pull away from the pan. Don’t overbake—this is the number one cause of cracking. The cake should be golden and fragrant. Set a timer; I’ve gotten distracted and left it in for 16 minutes, and let me tell you, that cake cracked like a desert floor.
- Prepare the rolling station. While the cake bakes, lay your clean kitchen towel flat on the counter and generously dust it with powdered sugar. I mean generous—you want a nice even layer. This prevents the cake from sticking to the towel.
- Roll it up hot. Here’s the secret: As soon as the cake comes out of the oven, run a knife around the edges to loosen it. Invert the cake onto the prepared towel (carefully—it’s hot!). Peel off the parchment paper. Then, starting at one of the short ends, roll the cake and towel together into a tight spiral. Roll it while it’s still warm—this is what trains the cake to hold its shape without cracking. Place the rolled cake on a wire rack to cool completely. This takes about 1-2 hours. Don’t rush it; a warm cake will melt your filling.
- Make the filling. While the cake cools, make the cream cheese filling. In a medium bowl, beat the softened cream cheese and butter together until smooth and creamy—about 2 minutes. Add the sifted powdered sugar, vanilla, and salt, and beat until combined. Scrape down the sides and beat for another 30 seconds until fluffy. Don’t overbeat or the filling can become too soft.
- Unroll and fill. Once the cake is completely cool, gently unroll it. It might try to curl back up—that’s normal. Spread the cream cheese filling evenly over the cake, leaving about a 1/2-inch border around the edges. If you spread it all the way to the edges, it will squish out when you roll it.
- Roll it again. Starting at the same short end, roll the cake back up (without the towel this time). Use the towel to help guide it if needed. Wrap the rolled cake tightly in plastic wrap and refrigerate for at least 2 hours. This firms up the filling and makes slicing much easier. I know it’s tempting to cut into it right away, but trust me—the wait is worth it.
- Serve. When ready to serve, unwrap the cake and place it on a serving platter. Trim about 1/2 inch off each end for a clean look. Dust with powdered sugar right before serving. Slice with a sharp serrated knife for the cleanest cuts.
Cooking Tips & Techniques
I’ve made this pumpkin roll more times than I care to count, and I’ve learned a few things the hard way. Here are my best tips to ensure success every time.
Don’t overbake the cake. This is the most common mistake, and it’s also the most avoidable. The cake should be just set—not brown and dry. Overbaked cakes lose their flexibility and crack when you try to roll them. If you’re unsure, err on the side of underbaking by a minute. A slightly underbaked cake will still set as it cools, but an overbaked one is doomed.
Roll it while it’s hot. I cannot stress this enough. The cake is most pliable when it’s warm. If you let it cool flat in the pan, it will crack the moment you try to bend it. That first roll with the towel is what “trains” the cake to hold the spiral shape. I learned this lesson when I got distracted by a phone call and let the cake cool completely. It cracked into three pieces. I still ate it (pumpkin cake with cream cheese is still delicious, even in pieces), but it wasn’t pretty.
Use a thin kitchen towel. A thick, fluffy towel will leave marks on your cake and make the roll lumpy. Flour sack towels are ideal—they’re thin, smooth, and absorbent. If you don’t have one, a clean, lint-free dishcloth works. Just make sure it’s not too bulky.
Let the filling ingredients come to room temperature. Cold cream cheese and butter will give you a lumpy filling, no matter how long you beat it. I’ve tried to speed this up by microwaving the cream cheese, and it always ends up partially melted and weird. Just let them sit out for 30-45 minutes. Plan ahead.
Chill before slicing. The filling needs time to firm up. If you slice it too soon, the filling will squish out and you’ll have a messy, uneven roll. Two hours in the fridge is the minimum. Overnight is even better. The flavors actually meld together more overnight, too.
Use a serrated knife for clean slices. A sharp chef’s knife can work, but a serrated knife saws through the cake without compressing it. Run the knife under hot water and wipe it dry between cuts for the cleanest slices. This little trick makes a huge difference when you’re serving guests.
Variations & Adaptations
Once you’ve mastered the basic recipe, feel free to play around. Here are some variations I’ve tried and loved.
Pumpkin Spice Roll: Swap the individual spices for 2 teaspoons of pumpkin pie spice. It’s a shortcut that works surprisingly well. I do this when I’m in a rush and don’t want to measure out four different spices. The flavor is slightly different—more uniform—but still delicious.
Chocolate Cream Cheese Filling: Add 2 tablespoons of cocoa powder to the filling along with the powdered sugar. This gives you a chocolate-pumpkin combo that’s absolutely divine. My nephew, who claims to hate pumpkin, ate three slices of this version before I told him what was in it.
Gluten-Free Version: Substitute the all-purpose flour with a 1:1 gluten-free baking flour blend. I’ve had good luck with King Arthur’s measure-for-measure blend. The texture is slightly more delicate, so be extra gentle when rolling. Also, add 1/4 teaspoon of xanthan gum if your blend doesn’t already include it.
Maple Pecan Twist: Add 1/4 cup of finely chopped pecans to the batter before baking, and substitute 1 tablespoon of maple syrup for 1 tablespoon of the sugar in the filling. The maple and pumpkin flavors are a match made in fall heaven.
Dairy-Free Adaptation: Use vegan cream cheese and vegan butter for the filling. I’ve tried this with Miyoko’s brand, and it works well. The cake itself can use regular eggs, but if you need it fully vegan, use a flax egg substitute (1 tablespoon ground flaxseed mixed with 3 tablespoons water per egg). The texture will be slightly different, but it’s still good.
Serving & Storage Suggestions
This pumpkin roll is best served chilled. I like to take it out of the fridge about 10 minutes before serving to take the chill off slightly—it makes the cake a bit more tender. Dust it with powdered sugar right before serving, not ahead of time, or the sugar will dissolve into the cake and disappear.
For presentation, I like to slice the roll into 1-inch rounds and arrange them on a platter with a few cinnamon sticks and star anise for a fall-themed look. A drizzle of caramel sauce over the top is also gorgeous and adds an extra layer of flavor. If you’re feeling extra fancy, add a dollop of whipped cream on the side.
This roll pairs beautifully with a hot cup of coffee, spiced apple cider, or even a glass of cold milk. For a dessert spread, serve it alongside a pecan pie or apple crisp for a full fall dessert table.
Storage: Keep the pumpkin roll wrapped tightly in plastic wrap in the refrigerator for up to 5 days. The flavors actually improve after a day or two as the pumpkin and cream cheese meld together. I honestly think it tastes better on day two.
Freezing: This roll freezes beautifully. Wrap it tightly in plastic wrap, then in a layer of aluminum foil, and freeze for up to 3 months. To serve, thaw it in the refrigerator overnight. Don’t thaw it at room temperature—the filling can become too soft. I always keep one in the freezer for unexpected guests or last-minute holiday parties.
Nutritional Information & Benefits
Here’s the estimated nutritional information for one slice (based on 10 slices per roll):
| Nutrient | Amount Per Slice |
|---|---|
| Calories | 285 |
| Total Fat | 14g |
| Saturated Fat | 8g |
| Cholesterol | 95mg |
| Sodium | 210mg |
| Total Carbohydrates | 36g |
| Dietary Fiber | 1g |
| Sugars | 26g |
| Protein | 5g |
Pumpkin is packed with vitamin A (great for eye health) and fiber, which helps with digestion. The cream cheese provides calcium and a little protein. While this is definitely a treat (it’s dessert, after all!), it’s not the worst thing you could indulge in. I like to think of it as a slightly more nutritious option than a traditional frosted layer cake. Plus, the spices—cinnamon, ginger, and nutmeg—have anti-inflammatory properties. Every little bit counts, right?
This recipe contains gluten, dairy, and eggs. For gluten-free and dairy-free alternatives, see the variations section above. If you have nut allergies, skip the pecan variation and stick with the classic version.
Conclusion
Look, I know making a rolled cake can feel intimidating. Trust me, I’ve been there—staring at a cracked, crumbling mess and wondering why I didn’t just buy something from the bakery. But this recipe is different. The hot-roll technique is a game-changer, and once you try it, you’ll wonder why you ever stressed about pumpkin rolls in the first place.
This is the recipe that made me look like a hero at that potluck, and it’s the one I turn to every fall when I need a dessert that looks impressive but doesn’t take all day. It’s forgiving, it’s delicious, and it’s honestly kind of fun to make. There’s something satisfying about that perfect spiral when you slice into it.
I’d love to hear how yours turns out. Did you try any variations? Did it crack on you (and did you eat it anyway, because let’s be honest, cracked pumpkin roll is still delicious)? Drop a comment below and let me know. And if you’re looking for another easy fall dessert, you might enjoy this easy pumpkin bread recipe—it uses the same pumpkin puree and is just as forgiving. Happy baking, friends!
Frequently Asked Questions
Why did my pumpkin roll crack?
The most common reason is overbaking. The cake dries out in the oven and loses its flexibility. Other causes include rolling it when it’s too cool (it needs to be warm) or not rolling it tightly enough in the towel. Try baking it for a minute less next time and rolling it immediately out of the oven.
Can I make this pumpkin roll ahead of time?
Absolutely! In fact, I recommend it. You can make it up to 2 days ahead and keep it wrapped in the refrigerator. The flavors meld together beautifully overnight. You can also freeze it for up to 3 months—just thaw in the fridge overnight before serving.
Can I use pumpkin pie filling instead of pumpkin puree?
No, please don’t. Pumpkin pie filling has added sugar and spices, which will throw off the balance of the recipe. The cake will be too sweet and might not set properly. Stick with 100% pure pumpkin puree. I’ve made this mistake before, and the cake came out gummy and overly spiced.
How do I get clean slices without the filling squishing out?
The key is chilling the roll for at least 2 hours before slicing. Use a sharp serrated knife and run it under hot water, wiping it dry between cuts. The heat helps the knife glide through the cake without dragging the filling. Also, trim about 1/2 inch off each end for the cleanest presentation.
Can I double this recipe?
You can, but you’ll need to bake the batter in two separate pans. Don’t try to put double the batter in one pan—it will be too thick to roll properly. Divide the batter evenly between two prepared pans and bake them at the same time, rotating the pans halfway through for even baking.
Pin This Recipe!
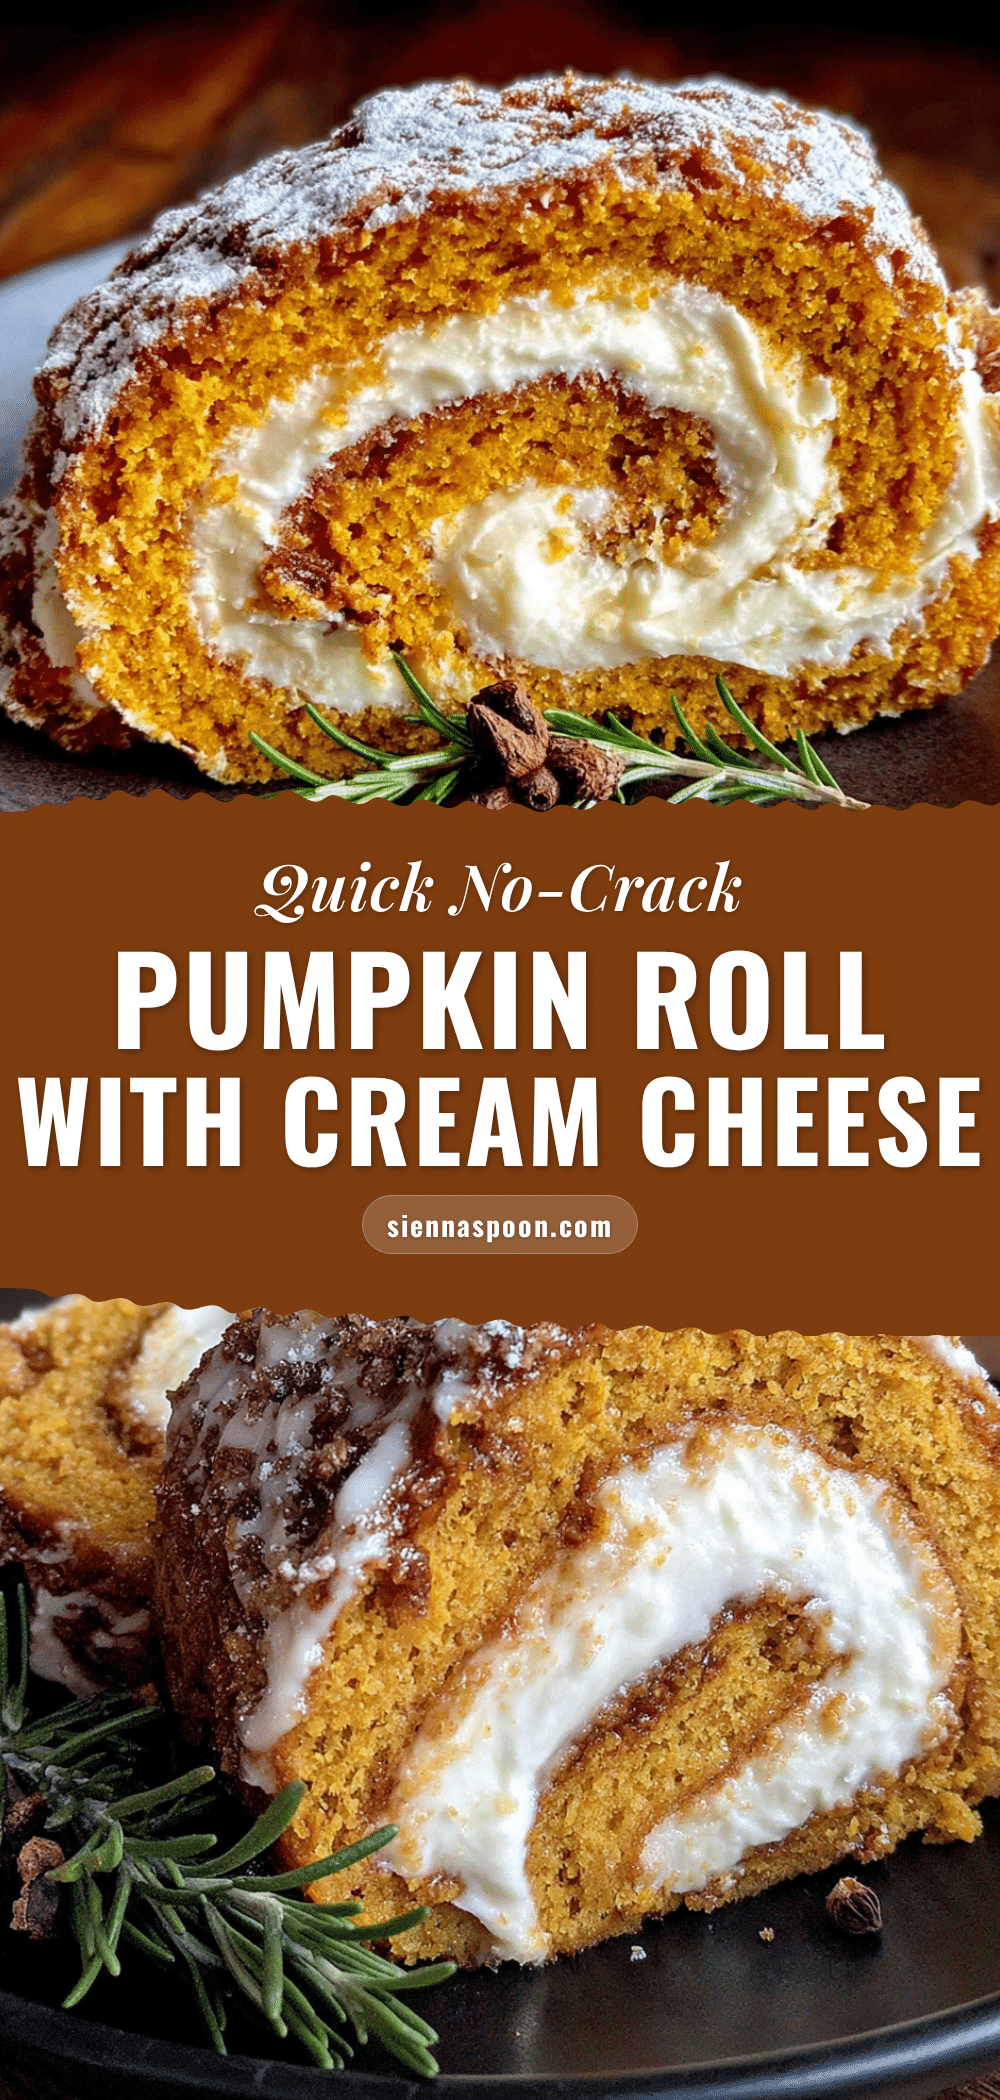
Easy No-Crack Pumpkin Roll with Cream Cheese Filling
A foolproof pumpkin roll recipe with a hot-roll technique that prevents cracking. This tender pumpkin cake is filled with silky cream cheese frosting and dusted with powdered sugar—perfect for fall gatherings.
- Prep Time: 15 minutes
- Cook Time: 14 minutes
- Total Time: 2 hours 30 minutes (includes chilling)
- Yield: 10 servings 1x
- Category: Dessert
- Cuisine: American
Ingredients
- 3 large eggs, room temperature
- 1 cup granulated sugar
- 2/3 cup pumpkin puree (100% pure, not pumpkin pie filling)
- 3/4 cup all-purpose flour, spooned and leveled
- 1 teaspoon baking powder
- 1/2 teaspoon baking soda
- 1 teaspoon ground cinnamon
- 1/2 teaspoon ground ginger
- 1/4 teaspoon ground nutmeg
- 1/4 teaspoon salt
- 1/4 cup powdered sugar (for dusting towel and garnish)
- 8 ounces cream cheese, softened
- 1/4 cup unsalted butter, softened
- 1 cup powdered sugar, sifted
- 1 teaspoon vanilla extract
- Pinch of salt
Instructions
- Preheat oven to 375°F (190°C). Line a 10×15-inch jelly roll pan with parchment paper, leaving overhang on long sides. Lightly spray parchment with non-stick cooking spray.
- In a large bowl, beat eggs and sugar on high speed for 3-4 minutes until thick, pale yellow, and ribbon-like.
- Reduce mixer speed to low and add pumpkin puree; mix just until combined. Scrape down sides.
- In a separate bowl, whisk together flour, baking powder, baking soda, cinnamon, ginger, nutmeg, and salt.
- Gradually add dry ingredients to wet mixture on low speed until just combined (a few streaks of flour remain). Fold gently with a spatula.
- Pour batter into prepared pan and spread evenly into a thin layer (about 1/4 inch thick).
- Bake for 12-14 minutes until cake springs back when lightly touched and edges pull away from pan. Do not overbake.
- While cake bakes, lay a clean kitchen towel flat on counter and generously dust with powdered sugar.
- Immediately after baking, run a knife around edges to loosen. Invert cake onto prepared towel. Peel off parchment paper.
- Starting at a short end, roll cake and towel together into a tight spiral. Place rolled cake on a wire rack to cool completely (1-2 hours).
- For filling: In a medium bowl, beat softened cream cheese and butter until smooth (about 2 minutes). Add sifted powdered sugar, vanilla, and salt; beat until combined and fluffy (about 30 seconds more).
- Once cake is completely cool, gently unroll it. Spread cream cheese filling evenly over cake, leaving a 1/2-inch border around edges.
- Starting at the same short end, roll cake back up (without towel). Wrap tightly in plastic wrap and refrigerate for at least 2 hours.
- To serve: Unwrap, trim about 1/2 inch off each end, dust with powdered sugar, and slice with a sharp serrated knife.
Notes
Roll the cake while it’s still hot to prevent cracking. Use room temperature ingredients for the filling to avoid lumps. Chill the roll for at least 2 hours before slicing for clean cuts. For best results, make a day ahead—flavors meld overnight.
Nutrition
- Serving Size: 1 slice (1/10 of rol
- Calories: 285
- Sugar: 26
- Sodium: 210
- Fat: 14
- Saturated Fat: 8
- Carbohydrates: 36
- Fiber: 1
- Protein: 5
Keywords: pumpkin roll, pumpkin dessert, fall dessert, cream cheese filling, no-crack pumpkin roll, easy pumpkin roll


