Love this? Save it for later!
Share the inspiration with your friends
I wasn’t supposed to be there for dinner. I’d stopped by my neighbor Maria’s house on a Tuesday afternoon to drop off a package that got delivered to my place by mistake. The plan was simple: hand it over, chat for two minutes, and leave. But then I walked through her front door, and the smell hit me like a warm blanket on a freezing night.
Maria wasn’t trying to impress anyone. She was standing at the stove in sweatpants and a faded t-shirt, stirring something in a single pan while her kid did homework at the kitchen table. “Oh, that’s just dinner,” she said when I asked what smelled so good. Just dinner. She said it like it was nothing—like she hadn’t just created the most comforting aroma I’d ever walked into.
I stood there awkwardly for a solid minute, trying to figure out how to ask for the recipe without sounding like a total weirdo. She laughed at me, honestly. “It’s just chicken and rice with garlic butter. I make it when I don’t feel like cleaning a million dishes.” She gestured at the pan with her spatula like it was the most boring thing in the world. Let me tell you, that “boring” pan of food has lived rent-free in my head ever since.
Maybe you’ve been there—standing in someone’s kitchen, watching them make something incredible without even trying, and thinking I need to learn how to do that. That’s exactly how this cozy one-pan garlic butter chicken and rice became a staple in my own home. It’s the kind of meal that feels like a hug, requires minimal cleanup, and makes your whole house smell like the best kind of comfort.
Why You’ll Love This Recipe
Let me be real with you—I’ve tested this recipe about a dozen times to get it just right. I wanted it to feel like the version Maria made that day: effortless, rich, and deeply satisfying. After burning the rice once (we don’t talk about that) and oversalting another batch, I finally nailed it. Here’s why this one is different from every other chicken and rice recipe out there.
- One-Pan Wonder: Everything cooks in a single skillet or Dutch oven. That means fewer dishes, less stress, and more time doing literally anything else.
- Simple Ingredients: You probably already have garlic, butter, rice, and chicken in your kitchen right now. No fancy grocery trips required—I promise.
- Perfect for Cozy Nights: This dish was made for cold weather, rough days, or those evenings when you just need something warm and comforting without a ton of effort.
- Crowd-Pleaser: My picky-eating nephew asked for seconds the first time I made this. That’s basically a culinary award in my book.
- Unbelievably Delicious: The garlic butter sauce seeps into every grain of rice, and the chicken comes out tender and golden. It’s the kind of meal that makes you close your eyes after the first bite.
What sets this recipe apart is the technique—browning the chicken first to build that deep, savory flavor, then letting the rice soak up all those delicious pan drippings. It’s not just another one-pan dinner; it’s your new go-to for nights when you need comfort without the chaos.
What Ingredients You Will Need
This recipe uses simple, everyday ingredients to create something that tastes way more complex than it is. Most of these are pantry staples, which is exactly what you want on a busy weeknight when you don’t feel like making a special trip to the store.
- Chicken thighs, bone-in and skin-on (about 2 pounds or 900g) — I recommend using thighs here because they stay juicy and flavorful during cooking. The skin gets beautifully crispy, too. If you prefer breasts, go for it, but watch the cooking time so they don’t dry out.
- Unsalted butter (4 tablespoons, divided) — Butter is the star here, so use good quality. I personally love Kerrygold for its rich flavor, but any unsalted butter works. You’ll use some for searing the chicken and some for the garlic rice.
- Garlic, minced (6-8 cloves) — Don’t skimp on this. Fresh garlic makes a huge difference compared to the pre-minced stuff in jars. Trust me on this one.
- Long-grain white rice (1½ cups or 300g) — Basmati or jasmine rice works beautifully here. Avoid short-grain rice, as it can get too sticky and gummy for this dish.
- Chicken broth (3 cups or 710ml) — Use low-sodium broth so you can control the salt level. Homemade broth is amazing if you have it, but store-bought works just fine.
- Yellow onion, diced (1 medium) — Adds a subtle sweetness that balances the savory garlic butter. You can substitute with shallots if you want something a bit milder.
- Dried thyme (1 teaspoon) — Earthy and slightly floral, thyme pairs beautifully with chicken and garlic. Fresh thyme works too—use about 1 tablespoon of fresh leaves.
- Paprika (1 teaspoon) — Adds a warm, smoky depth and gives the chicken a gorgeous golden color. Smoked paprika is my favorite here.
- Salt and black pepper (to taste) — Simple seasonings, but don’t underestimate them. Season the chicken generously before searing.
- Fresh parsley, chopped (for garnish) — Optional but highly recommended. It adds a pop of color and freshness that cuts through the richness.
- Lemon wedges (for serving) — A squeeze of lemon juice right before eating brightens up the whole dish. It’s a small step that makes a big difference.
For substitutions, you can swap the butter with ghee if you’re dairy-sensitive, and use brown rice instead of white—just adjust the cooking time and add more broth as needed. I’ve also made this with boneless chicken thighs in a pinch, and it still turned out great, though you lose a bit of that crispy skin magic.
Equipment Needed
You don’t need a fancy kitchen to make this recipe. Here’s what you’ll need:
- A large, deep skillet or Dutch oven (12-inch or 5-quart) — This is the most important piece. You need something with a lid and enough space to fit the chicken and rice comfortably. I use my trusty cast iron Dutch oven, but a heavy-bottomed stainless steel skillet works perfectly too.
- Tongs — For flipping the chicken without splattering hot butter everywhere. Trust me, your fingers will thank you.
- A wooden spoon or silicone spatula — For stirring the rice and scraping up those flavorful browned bits from the bottom of the pan.
- A sharp knife and cutting board — For mincing garlic and dicing the onion. A microplane also works great for garlic if you want it extra fine.
- Measuring cups and spoons — Rice-to-liquid ratios matter here, so measure carefully. Eyeballing it can lead to mushy or undercooked rice.
If you don’t have a Dutch oven, any oven-safe skillet with a tight-fitting lid will work. Just make sure it can go from stovetop to oven if you’re using that method. Budget-friendly options like a good nonstick skillet also get the job done—just be gentle with the metal utensils to avoid scratching the surface.
Preparation Method
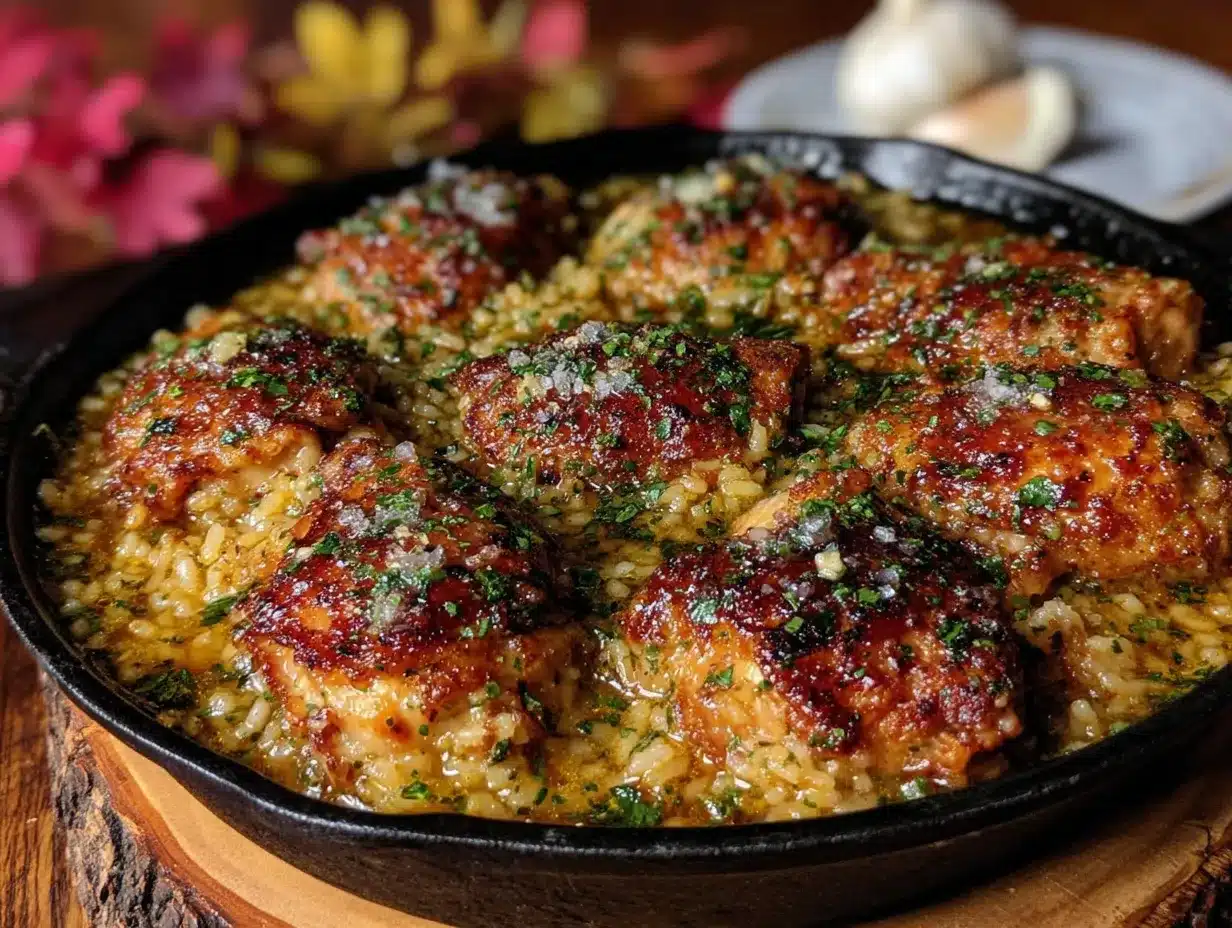
Alright, let’s get cooking. This might look like a lot of steps, but I promise it flows naturally once you get going. Set a timer if you need to—it helps keep everything on track.
- Prep your ingredients first. Dice the onion, mince the garlic, and measure out the rice and broth. Having everything ready before you start cooking makes the process so much smoother. I learned this the hard way after burning garlic while scrambling for the broth.
- Pat the chicken thighs dry with paper towels. This is crucial for getting that beautiful golden-brown crust. Season both sides generously with salt, pepper, and paprika. Don’t be shy with the seasoning—it’s the foundation of the flavor.
- Heat 2 tablespoons of butter in your skillet or Dutch oven over medium-high heat. Once it’s melted and sizzling, place the chicken thighs skin-side down in a single layer. Let them cook undisturbed for 5-6 minutes, until the skin is deep golden brown and crispy. Flip and cook for another 4-5 minutes on the other side.
- Remove the chicken from the pan and set it aside on a plate. Don’t worry if it’s not fully cooked through—it will finish cooking with the rice later. Leave the drippings in the pan—that’s pure flavor gold.
- Reduce the heat to medium and add the remaining 2 tablespoons of butter. Toss in the diced onion and cook for 3-4 minutes, stirring occasionally, until it’s soft and translucent. Scrape up any browned bits from the bottom of the pan as you stir.
- Add the minced garlic and cook for about 30 seconds, until it’s fragrant. Don’t let it burn—burnt garlic turns bitter and ruins the whole dish. Trust me, I’ve been there.
- Pour in the rice and stir it around for 1-2 minutes, coating every grain in that buttery garlic mixture. This toasting step adds a nutty flavor that makes the rice extra delicious.
- Add the chicken broth and dried thyme, then stir everything together. Bring the liquid to a gentle boil, then reduce the heat to low. Nestle the chicken thighs back into the rice, skin-side up.
- Cover the pan with a tight-fitting lid and let it simmer for 18-20 minutes. Don’t lift the lid during this time—the steam is what cooks the rice evenly. I know it’s tempting to peek, but resist the urge!
- After 20 minutes, remove the pan from heat and let it sit, still covered, for 5 more minutes. This resting time allows the rice to absorb any remaining liquid and fluff up perfectly.
- Fluff the rice gently with a fork, being careful not to break up the chicken. Taste and adjust seasoning if needed. Garnish with fresh parsley and serve with lemon wedges on the side.
One thing I want to mention: if your rice seems a little wet after the cooking time, just leave the lid off for a few minutes and let the excess moisture evaporate. If it’s undercooked, add a splash more broth and cook for another 5 minutes covered. Every stovetop runs a little differently, so don’t stress if you need to adjust.
Cooking Tips & Techniques
After making this recipe more times than I can count, I’ve picked up a few tricks that make a real difference. Here’s what I wish someone had told me the first time around.
Don’t rush the browning step. That golden crust on the chicken isn’t just for looks—it’s packed with flavor that infuses the entire dish. Let the chicken sit in the hot pan without moving it for the full 5-6 minutes. If you try to flip it too early, the skin will stick and tear. You’ll know it’s ready when it releases easily from the pan.
Use room temperature chicken. I know it’s tempting to cook straight from the fridge, but cold chicken lowers the pan temperature and prevents proper browning. Let the thighs sit on the counter for 15-20 minutes before cooking. Just don’t leave them out too long—food safety matters.
Watch your heat levels. Medium-high for searing, medium for the onions, and low for simmering the rice. Getting the heat wrong is the most common mistake I see people make. Too high, and you’ll burn the garlic and dry out the rice. Too low, and the chicken won’t get that beautiful color.
Toast the rice properly. That 1-2 minutes of stirring the rice in the butter and garlic might seem insignificant, but it’s actually a game-changer. Toasted rice has a nuttier, more complex flavor that you just can’t get from dumping raw rice into liquid. Plus, it helps the grains stay separate instead of clumping together.
Let it rest. I know you’re hungry, but those 5 minutes of resting time are non-negotiable. The rice continues to absorb steam and moisture during this time, resulting in perfectly fluffy grains. If you dig in right away, you’ll end up with soupy rice and sad chicken.
One mistake I made early on was using too much liquid because I thought it would make the rice fluffier. Nope. It just made mushy rice. Stick to the 2:1 ratio of liquid to rice (3 cups broth to 1½ cups rice) and you’ll be golden.
Variations & Adaptations
One of the best things about this recipe is how easily it adapts to different tastes and dietary needs. Here are some variations I’ve tried and loved.
Vegetarian Version: Skip the chicken entirely and use vegetable broth instead of chicken broth. Add a can of drained chickpeas or white beans along with the rice for protein. Mushrooms also work beautifully here—sauté them with the onions for an earthy, meaty flavor.
Spicy Kick: If you like heat, add ½ teaspoon of red pepper flakes along with the garlic. You can also use andouille sausage instead of chicken for a Cajun-inspired twist. My husband loves this version, and it’s become our go-to for game day dinners.
Herb Garden Variation: Swap the dried thyme for a mix of fresh rosemary, sage, and parsley. Stir in a handful of fresh spinach at the end for extra greens. The rosemary adds a piney, aromatic quality that pairs beautifully with the garlic butter.
Dairy-Free Adaptation: Use olive oil or ghee instead of butter. Ghee is technically dairy-free (the milk solids are removed), and it gives you that same rich, buttery flavor without the lactose. Coconut oil also works, though it adds a subtle coconut flavor that some people love.
Oven Method: If you’re nervous about stovetop rice cooking, you can finish this dish in the oven. After adding the broth and rice, cover the pan and bake at 375°F (190°C) for 25-30 minutes. The oven provides even, gentle heat that’s very forgiving. I actually prefer this method when I’m cooking for company because it frees up stovetop space.
I once tried adding a splash of white wine to the pan after removing the chicken, letting it reduce before adding the rice. It added a lovely acidity that balanced the richness. Just use about ¼ cup and let it cook for a minute before adding the broth.
Serving & Storage Suggestions
This dish is incredibly versatile when it comes to serving. Here’s how I like to enjoy it.
Serving Temperature: Serve this dish hot, straight from the pan. The rice should be steaming, and the chicken skin should still have a bit of crispiness. A squeeze of fresh lemon juice right before eating brightens everything up and cuts through the richness of the butter.
What to Serve With It: A simple green salad with a light vinaigrette is my go-to side—it balances the hearty rice and chicken perfectly. Steamed green beans or roasted asparagus also work beautifully. If you’re feeling extra cozy, serve it with a side of crusty bread to soak up any leftover garlic butter sauce.
Storage Instructions: Store leftovers in an airtight container in the refrigerator for up to 4 days. The flavors actually meld together even more overnight, so it tastes just as good—if not better—the next day. I’ve been known to make a double batch just for leftovers.
Reheating Tips: The best way to reheat this is in a skillet over medium-low heat with a splash of chicken broth or water. Cover the pan and let it warm through for 5-7 minutes, stirring occasionally. The microwave works in a pinch, but it tends to dry out the rice and make the chicken skin soggy.
Freezing: You can freeze this dish for up to 3 months. Let it cool completely, then transfer to a freezer-safe container. To reheat, thaw overnight in the refrigerator and warm in a skillet as described above. I’ve found that the rice texture changes slightly after freezing—it’s a bit softer—but the flavor is still fantastic.
One thing I love about this recipe is how the flavors develop over time. Day-old garlic butter chicken and rice is honestly even more flavorful than fresh, as the garlic and herbs have had time to really sink into every grain.
Nutritional Information & Benefits
Here’s a rough estimate of the nutritional content per serving (based on 4 servings):
| Nutrient | Amount Per Serving |
|---|---|
| Calories | 520 |
| Protein | 35g |
| Fat | 22g |
| Saturated Fat | 10g |
| Carbohydrates | 45g |
| Fiber | 1g |
| Sugar | 2g |
| Sodium | 680mg |
Chicken thighs are a great source of protein and B vitamins, which support energy metabolism. Garlic is known for its immune-boosting properties, and the butter provides fat-soluble vitamins A, D, and E. While this isn’t a low-calorie dish, it’s a balanced meal that provides sustained energy—perfect for a cozy night in.
If you’re watching your sodium, use low-sodium broth and go easy on the added salt. You can also reduce the butter to 3 tablespoons without sacrificing too much flavor. For a lower-carb option, serve the chicken and garlic butter sauce over cauliflower rice instead.
Conclusion
This cozy one-pan garlic butter chicken and rice has become my ultimate comfort food. It’s the recipe I turn to after a long day, the dish I make when I want to feel like everything’s going to be okay. Every time I make it, I think of Maria standing in her kitchen in sweatpants, making something extraordinary look so easy. That’s the magic of this recipe—it’s simple enough for a Tuesday night but special enough to share with people you love.
I hope you give this recipe a try and make it your own. Maybe you’ll add extra garlic, throw in some mushrooms, or serve it with a side of roasted vegetables. Whatever you do, I’d love to hear about it. Drop a comment below and tell me how it turned out, or share your own twist on this dish. And if you snap a photo, tag me—I genuinely love seeing your creations.
Here’s to cozy nights, one-pan dinners, and the kind of food that feels like a hug. Happy cooking, friend.
Frequently Asked Questions
Can I use chicken breast instead of thighs?
Absolutely, but you’ll need to adjust the cooking time. Chicken breasts cook faster and can dry out more easily. I recommend using boneless, skinless breasts and cutting them in half horizontally so they cook evenly. Reduce the initial searing time to about 3-4 minutes per side.
Why is my rice mushy or undercooked?
Mushy rice usually means too much liquid or too long cooking time. Undercooked rice means not enough liquid or heat that was too high. Stick to the 2:1 liquid-to-rice ratio and make sure your lid fits tightly. Every stovetop is different, so you might need to adjust by a few minutes.
Can I make this in a slow cooker?
You can, but the rice texture won’t be the same. Slow cookers tend to make rice mushy because of the prolonged cooking time. If you want to try it, cook the chicken and sauce on low for 4 hours, then stir in cooked rice at the end.
How do I get crispy chicken skin if I’m using the oven method?
Sear the chicken skin-side down in the skillet first until it’s deep golden brown, then transfer the skillet to the oven. The initial searing is what creates that crispy skin. You can also broil the chicken for the last 2-3 minutes of cooking if you want extra crunch.
Can I double this recipe?
Yes, but you’ll need a larger pan. A 5-quart Dutch oven can handle a double batch, but make sure not to overcrowd the pan during the searing step. Sear the chicken in batches if needed, and increase the cooking time by about 5-10 minutes for the rice.
Pin This Recipe!
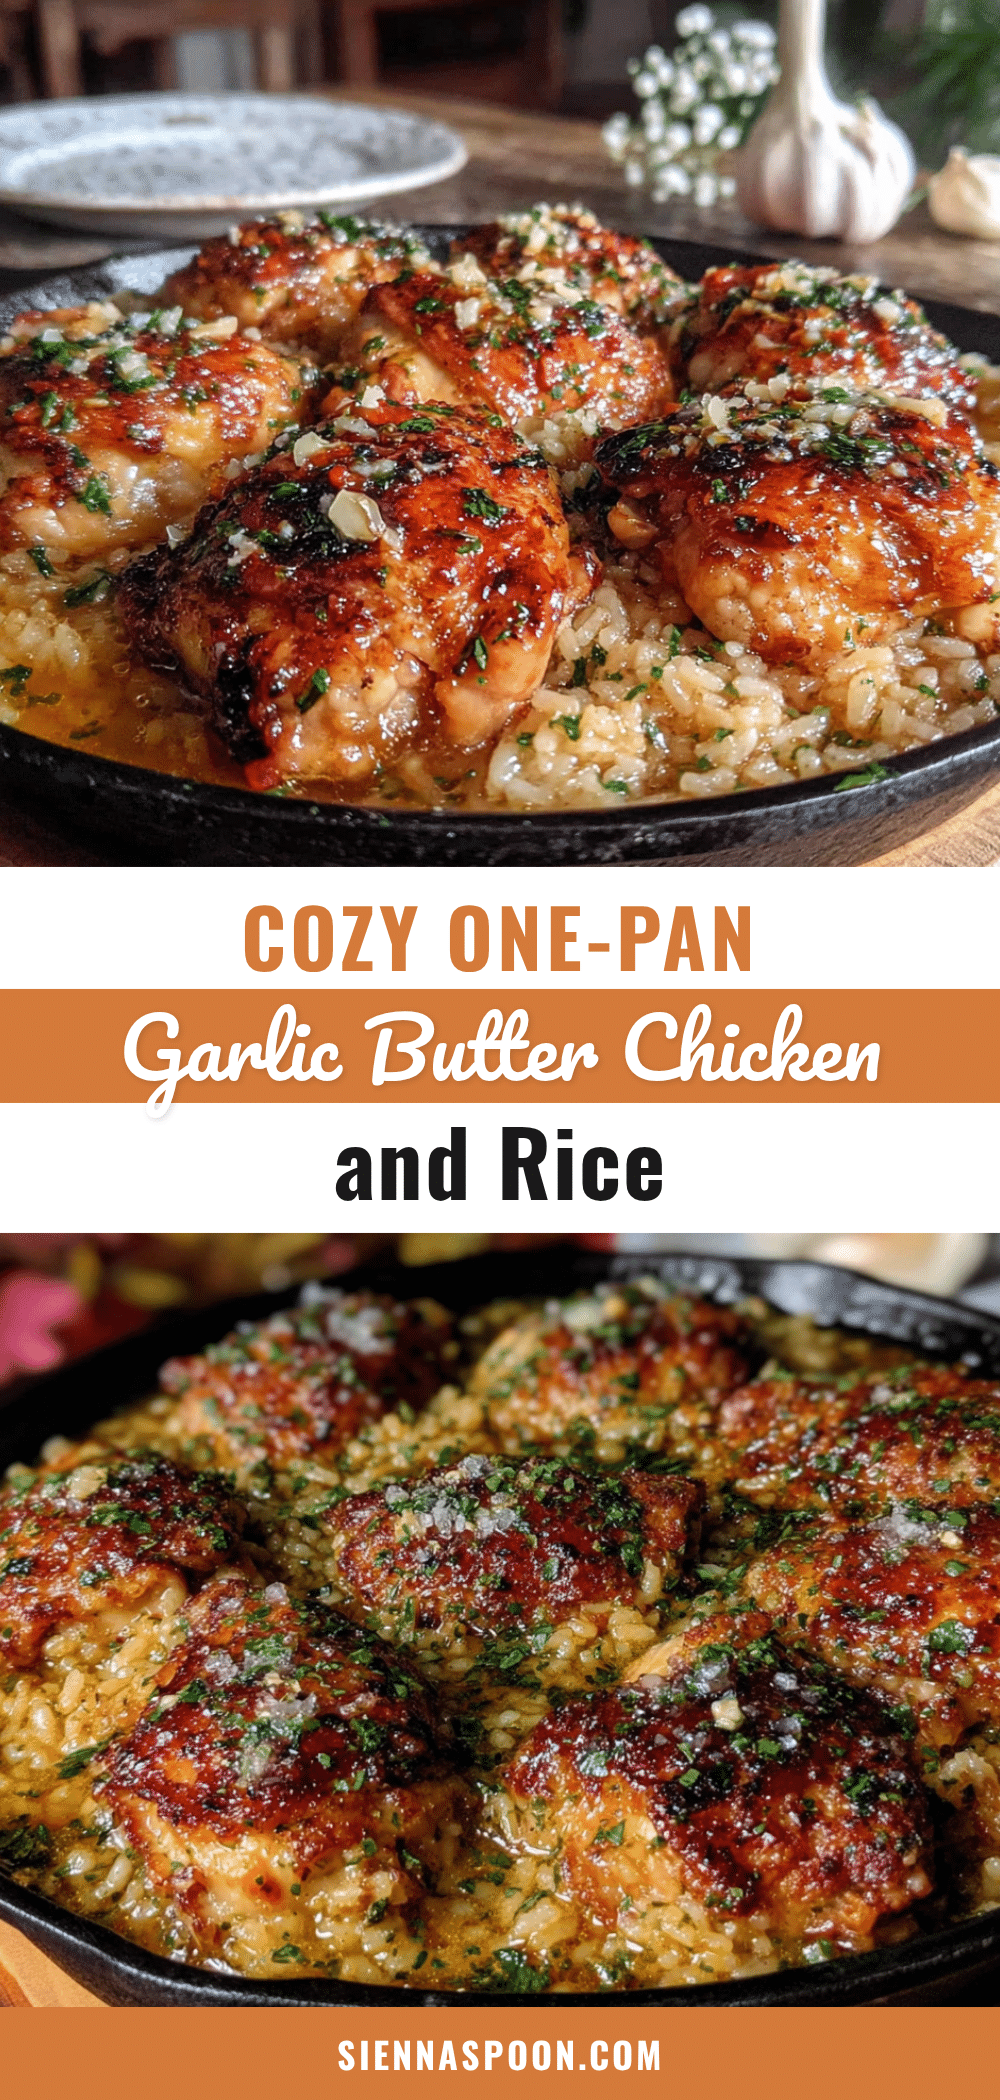
Cozy One-Pan Garlic Butter Chicken and Rice

A comforting one-pan dinner featuring juicy chicken thighs and fluffy rice in a rich garlic butter sauce. Perfect for busy weeknights when you want a delicious meal with minimal cleanup.
- Prep Time: 15 minutes
- Cook Time: 30 minutes
- Total Time: 45 minutes
- Yield: 4 servings 1x
- Category: Main Course
- Cuisine: American
Ingredients
- 2 pounds (900g) bone-in, skin-on chicken thighs
- 4 tablespoons unsalted butter, divided
- 6–8 cloves garlic, minced
- 1½ cups (300g) long-grain white rice (basmati or jasmine)
- 3 cups (710ml) low-sodium chicken broth
- 1 medium yellow onion, diced
- 1 teaspoon dried thyme
- 1 teaspoon paprika
- Salt and black pepper to taste
- Fresh parsley, chopped (for garnish)
- Lemon wedges (for serving)
Instructions
- Prep your ingredients first. Dice the onion, mince the garlic, and measure out the rice and broth.
- Pat the chicken thighs dry with paper towels. Season both sides generously with salt, pepper, and paprika.
- Heat 2 tablespoons of butter in a large skillet or Dutch oven over medium-high heat. Place the chicken thighs skin-side down in a single layer. Cook undisturbed for 5-6 minutes until the skin is deep golden brown and crispy. Flip and cook for another 4-5 minutes on the other side.
- Remove the chicken from the pan and set aside on a plate. Leave the drippings in the pan.
- Reduce the heat to medium and add the remaining 2 tablespoons of butter. Add the diced onion and cook for 3-4 minutes, stirring occasionally, until soft and translucent. Scrape up any browned bits from the bottom of the pan.
- Add the minced garlic and cook for about 30 seconds until fragrant.
- Pour in the rice and stir for 1-2 minutes, coating every grain in the buttery garlic mixture.
- Add the chicken broth and dried thyme, then stir everything together. Bring to a gentle boil, then reduce the heat to low. Nestle the chicken thighs back into the rice, skin-side up.
- Cover the pan with a tight-fitting lid and let it simmer for 18-20 minutes. Do not lift the lid during this time.
- After 20 minutes, remove the pan from heat and let it sit, still covered, for 5 more minutes.
- Fluff the rice gently with a fork, being careful not to break up the chicken. Taste and adjust seasoning if needed. Garnish with fresh parsley and serve with lemon wedges on the side.
Notes
For best results, use room temperature chicken and don’t rush the browning step. If rice seems wet after cooking, leave the lid off for a few minutes. If undercooked, add a splash more broth and cook for another 5 minutes covered. Let the dish rest for 5 minutes before serving for perfectly fluffy rice.
Nutrition
- Serving Size: 1 serving
- Calories: 520
- Sugar: 2
- Sodium: 680
- Fat: 22
- Saturated Fat: 10
- Carbohydrates: 45
- Fiber: 1
- Protein: 35
Keywords: one-pan dinner, garlic butter chicken, chicken and rice, easy dinner, comfort food, weeknight meal


