Love this? Save it for later!
Share the inspiration with your friends
This was supposed to be a braised chicken situation. I had the wine, the herbs, the whole cozy Sunday afternoon vibe planned out. But my oven decided to play tricks on me that day—the temperature gauge was off by a solid fifty degrees, and I didn’t realize it until the chicken had been in there for almost an hour with barely any color. I was already running late for a dinner party, and the pressure was real, let me tell you. I pulled those sad-looking thighs out, grabbed my air fryer in a moment of pure desperation, and figured I had nothing to lose.
What came out was nothing like the plan—and better. The skin was this incredible shade of golden brown, so crispy it practically shattered when I bit into it. The meat stayed juicy and tender, which honestly shocked me given how long it had already been cooking. I walked into that dinner party twenty minutes late with a tray of the most ridiculous air fryer chicken thighs, and they were gone before I even set the bowl down. Someone actually asked me for the recipe while still chewing, and I had to admit I sort of stumbled into it by accident.
Maybe you’ve been there—the moment when a kitchen failure turns into something you can’t stop thinking about. I’ve made these air fryer chicken thighs at least a dozen times since that night, tweaking the seasoning and the timing until they became my go-to for those nights when I need dinner to be amazing without needing a lot of effort. They’re the kind of recipe that makes you look like you know exactly what you’re doing, even when you’re just figuring it out as you go. Honestly, I think the happy accidents are the ones worth sharing.
Why You’ll Love This Recipe
Let me tell you why these crispy air fryer chicken thighs have become a staple in my kitchen. I’ve tested this recipe more times than I can count, and every single time, the results are consistently fantastic. It’s one of those rare dishes that delivers on flavor, texture, and convenience all at once.
- Quick & Easy: From start to finish, these chicken thighs are ready in about 25 minutes. Perfect for those hectic weeknights when you need dinner on the table fast without sacrificing quality.
- Simple Ingredients: You probably already have everything you need in your pantry and fridge right now. No fancy specialty items required, just basic staples that work beautifully together.
- Perfect for Busy Weeknights: Whether you’re feeding a hungry family or just meal-prepping for the week, these thighs fit right into your schedule. They’re also great for Sunday meal prep since they reheat so well.
- Crowd-Pleaser: I’ve served these at casual dinners and even holiday gatherings, and they always get rave reviews. Kids love the crispy skin, and adults appreciate the juicy, flavorful meat.
- Unbelievably Delicious: The texture is what sets this recipe apart. That golden, shatteringly crisp skin combined with tender, moist meat creates a contrast that’s pure comfort food perfection.
What makes this version different from all the other air fryer chicken recipes out there? It’s the technique. I discovered that patting the skin completely dry and using a specific oil-to-seasoning ratio makes all the difference. Most recipes skip over the drying step, but trust me, it’s the secret to that crackling skin you’re after. This isn’t just another chicken recipe—it’s the one that’ll make you retire your oven for good when it comes to chicken thighs.
What Ingredients You Will Need
This recipe relies on a handful of simple, wholesome ingredients that work together to create big flavor and that irresistible golden skin. Most of these are pantry staples, which makes this dish even more convenient for spontaneous cooking.
- Chicken Thighs (bone-in, skin-on): About 4 to 6 thighs, depending on how many you’re feeding. I prefer bone-in for extra flavor and moisture, but boneless works too (just adjust cooking time). Look for thighs with the skin still attached and intact for best results.
- Olive Oil (or avocado oil): You’ll need about one tablespoon. I use olive oil for its flavor, but avocado oil has a higher smoke point if you’re worried about that. Both work great for getting that golden color.
- Garlic Powder: One teaspoon adds that savory depth without burning in the air fryer. Fresh garlic can burn at high temperatures, so stick with powder here.
- Onion Powder: Half a teaspoon rounds out the savory notes beautifully. It’s subtle but makes a difference.
- Paprika (smoked or sweet): One teaspoon gives the skin that gorgeous color and a hint of warmth. I personally love smoked paprika for the extra layer of flavor it brings.
- Dried Thyme (or rosemary): Half a teaspoon adds an earthy, aromatic quality that pairs perfectly with chicken. Dried herbs hold up better in the air fryer than fresh ones.
- Salt: One teaspoon is usually perfect, but adjust based on your preference. I use kosher salt for its clean taste and easy handling.
- Black Pepper: Half a teaspoon freshly ground adds just the right amount of bite.
- Optional – Cayenne Pepper: A pinch if you want a little heat. I sometimes add this when I’m craving something with a kick.
One thing I’ve learned from making this recipe so many times is that the quality of your chicken matters. I recommend picking up thighs from a brand you trust—I’ve had great luck with Bell & Evans and organic options from my local market. The skin should be intact and not torn, which helps it crisp up evenly. If you’re using frozen thighs, make sure they’re completely thawed and patted very dry before you start.
For substitutions, you can easily swap the dried thyme for oregano or Italian seasoning if that’s what you have. If you’re avoiding oil, you can try using a light spray of cooking spray, but the texture won’t be quite as crispy. I’ve tested it both ways, and the oil version wins every time.
Equipment Needed
You don’t need a lot of fancy gear for this recipe, which is part of why I love it. Here’s what you’ll want to have on hand:
- Air Fryer: Any model works—I use a 5.8-quart Cosori, but even a smaller basket style will do the job. Just make sure you don’t overcrowd the basket, which means cooking in batches if needed. I learned that lesson the hard way when I tried to cram six thighs in at once and ended up with soggy skin.
- Paper Towels: Essential for drying the chicken skin thoroughly. This step is non-negotiable for getting that golden crispness.
- Mixing Bowl: A medium bowl for tossing the chicken with oil and seasonings. Glass or stainless steel works great.
- Tongs: For handling the hot chicken safely. Silicone-tipped ones are gentle on the air fryer basket.
- Instant-Read Thermometer: Not strictly necessary, but it takes the guesswork out of doneness. Chicken thighs are safe at 165°F, but I pull them at 170°F for the best texture.
- Cutting Board: For resting the chicken after cooking. Letting them sit for a few minutes helps the juices redistribute.
If you don’t have an air fryer yet, I’d say this recipe is a pretty good reason to get one. They’ve come down in price a lot, and you can find decent models for under sixty bucks. Honestly, I use mine almost every day now—it’s replaced my oven for most things.
Preparation Method
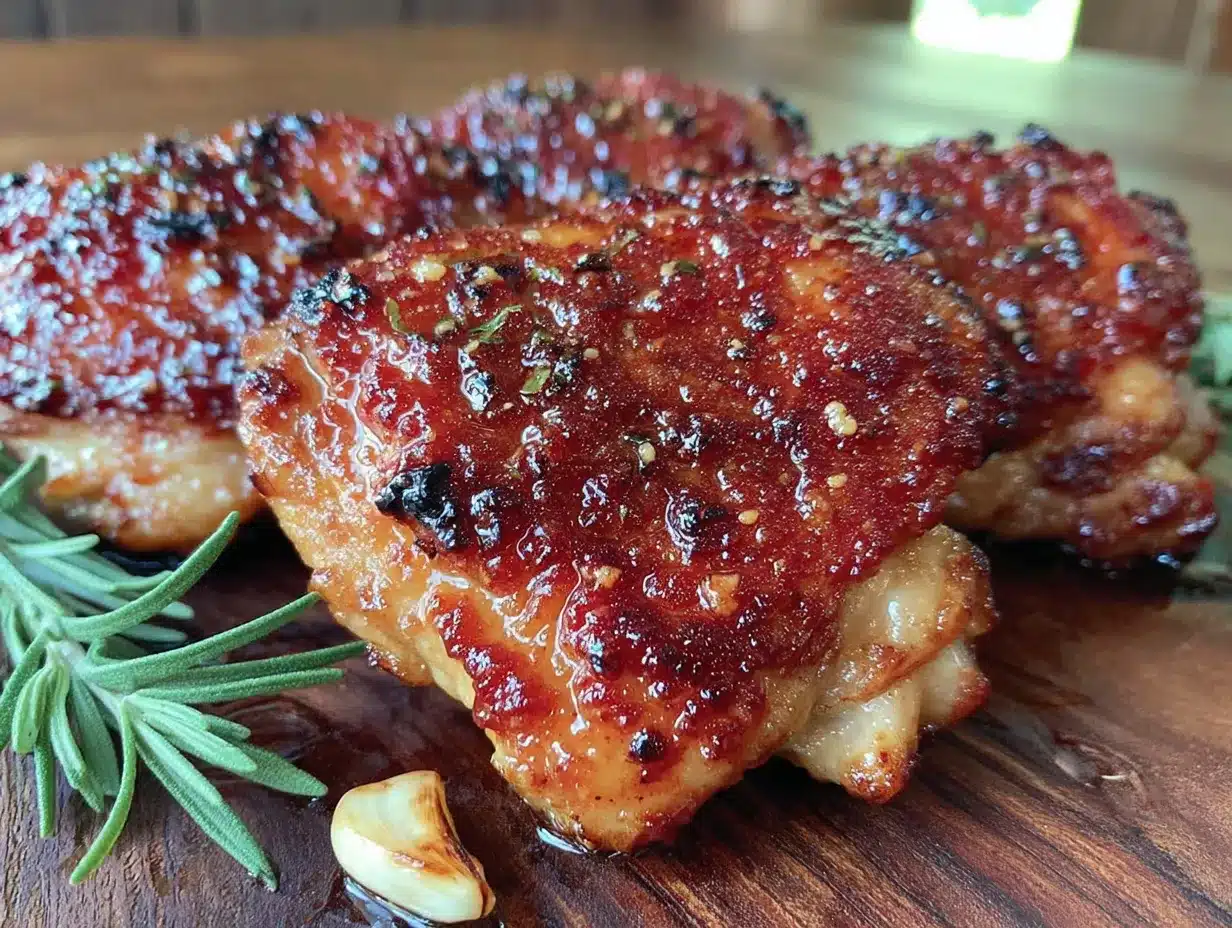
Let me walk you through how I make these crispy air fryer chicken thighs step by step. It’s simpler than you think, and I’ve included all the little details I wish someone had told me when I first started.
- Pat the chicken completely dry (5 minutes): Take your chicken thighs out of the package and use paper towels to pat every inch of the skin dry. I mean really dry—you want no visible moisture left. This is the most important step for getting that golden, crispy skin. If the skin is even slightly damp, it’ll steam instead of crisp. I usually use about three or four paper towels per batch.
- Season the chicken (5 minutes): In a mixing bowl, combine one tablespoon olive oil, one teaspoon garlic powder, half a teaspoon onion powder, one teaspoon paprika, half a teaspoon dried thyme, one teaspoon salt, half a teaspoon black pepper, and a pinch of cayenne if you’re using it. Add the chicken thighs and toss everything together with your hands until each piece is evenly coated. Make sure to get the seasoning under the skin too if you can—it adds so much flavor to the meat.
- Preheat the air fryer (3 minutes): Set your air fryer to 380°F (193°C) and let it preheat for about three minutes. I know some people skip this step, but I’ve found it makes a noticeable difference in how evenly the chicken cooks. The hot air hits the skin immediately, which helps kickstart the crisping process.
- Arrange the chicken in the basket (2 minutes): Place the seasoned chicken thighs in the air fryer basket in a single layer, skin side up. Make sure they’re not touching each other—overcrowding traps steam and ruins the crispiness. Depending on the size of your air fryer, you might need to cook them in batches. I can fit about four medium thighs in my 5.8-quart model.
- Cook at 380°F for 18 minutes: Set the timer for 18 minutes. About halfway through (at the 9-minute mark), open the basket and flip the thighs over using tongs. This helps the skin crisp evenly on both sides. When you flip them, you’ll notice the skin starting to turn golden—that’s a good sign.
- Check for doneness (2 minutes): After 18 minutes, use an instant-read thermometer to check the internal temperature. Insert it into the thickest part of the thigh without touching the bone. You’re looking for at least 165°F, but I prefer 170°F for the best texture. If they need more time, cook in 2-minute increments until done.
- Rest before serving (5 minutes): Transfer the chicken to a cutting board and let it rest for 5 minutes. This allows the juices to redistribute throughout the meat, making every bite tender and moist. I know it’s tempting to dig in right away, but trust me on this one.
One thing I always tell people: don’t be afraid to open the air fryer and check on your chicken. Unlike an oven, the air fryer recovers heat quickly, so peeking won’t ruin anything. I’ve definitely opened mine multiple times just to admire the color as it develops.
Cooking Tips & Techniques
Over the many times I’ve made these air fryer chicken thighs, I’ve picked up a few tricks that make a real difference. Let me share what I’ve learned, including some of my own kitchen failures.
The drying step is everything. I cannot stress this enough. The first time I made these, I was in a hurry and only gave the skin a quick pat with one paper towel. The result was edible but nowhere near crispy—the skin was chewy and pale. Now I take the extra minute to really dry each thigh thoroughly, and the difference is night and day. Moisture is the enemy of crispiness, period.
Don’t skip the preheat. I used to think preheating the air fryer was unnecessary, but I was wrong. Starting with a hot basket means the chicken skin begins crisping immediately. If you put chicken into a cold air fryer, it spends the first few minutes just heating up, which can lead to uneven cooking. My air fryer takes about three minutes to preheat, and I use that time to finish seasoning the chicken.
Flip halfway through for even cooking. This might seem obvious, but I’ve definitely forgotten to flip mid-cook before. The side that’s facing down in the basket gets more direct heat, so flipping ensures both sides get equal treatment. I set a timer on my phone so I don’t forget.
Watch for smoke. If your chicken has a lot of fat, it might cause some smoking in the air fryer. This is normal, but if it gets excessive, you can pour off the rendered fat halfway through cooking. I usually just let it be, but I’ve learned to keep my kitchen vent on just in case.
Let the chicken rest. I know I mentioned this already, but it’s worth repeating. Resting allows the juices to settle, so they don’t run out when you cut into the chicken. I’ve served impatient guests who cut into chicken immediately, and it’s always drier than when I let it rest. Five minutes makes a big difference.
Variations & Adaptations
One of the best things about this recipe is how easily it adapts to different tastes and dietary needs. Here are some variations I’ve tried and loved:
Spicy Honey Glaze: After the chicken finishes cooking, brush it with a mixture of two tablespoons honey and half a teaspoon cayenne pepper. Return to the air fryer for two more minutes. The sweet heat combination is incredible, and it adds a beautiful sticky glaze to the crispy skin. My neighbor tried this version and now makes it every week.
Lemon Herb Version: Add the zest of one lemon and two teaspoons of dried oregano to the seasoning mix. Squeeze fresh lemon juice over the cooked chicken before serving. This bright, fresh flavor is perfect for spring and summer meals. I served this at a backyard dinner last July, and it was a hit.
Garlic Parmesan Crust: After the initial 18 minutes of cooking, sprinkle the chicken with a mixture of two tablespoons grated Parmesan cheese and half a teaspoon garlic powder. Cook for another two minutes until the cheese melts and turns golden. The nutty, salty crust adds amazing texture and flavor.
Bone-In vs. Boneless: If you’re using boneless, skin-on thighs, reduce the cooking time to about 12 to 14 minutes at 380°F. Boneless thighs cook faster, so keep an eye on them. I’ve made both versions, and while boneless is quicker, bone-in definitely has more flavor and moisture.
Gluten-Free Adaptation: This recipe is naturally gluten-free as written. Just double-check your spice blends to make sure they don’t contain any hidden gluten. I’ve never had an issue, but it’s always good to be safe.
Serving & Storage Suggestions
These crispy air fryer chicken thighs are versatile enough to pair with almost anything. Here’s how I like to serve and store them:
Serving Temperature: Serve the chicken hot, straight from the air fryer. The skin is at its crispiest within the first ten minutes of cooking. If you’re serving a crowd, you can keep them warm in a 200°F oven on a wire rack, which helps maintain the crispiness.
Perfect Pairings: I love serving these with a simple side of roasted vegetables—asparagus, broccoli, or green beans work beautifully. A fresh garden salad with a tangy vinaigrette cuts through the richness of the chicken. For a heartier meal, try them with mashed potatoes or garlic rice. Honestly, they go with just about anything.
Storage: Leftover chicken thighs can be stored in an airtight container in the refrigerator for up to four days. The skin will lose some of its crispiness, but the meat stays moist and flavorful. I often make extra on purpose for meal prep.
Reheating: The best way to reheat these is back in the air fryer at 350°F for about 3 to 4 minutes. This brings back much of the original crispiness. The microwave works in a pinch, but the skin will be soft. I’ve tried both, and the air fryer method is far superior.
Freezer Tips: You can freeze cooked chicken thighs for up to three months. Wrap each piece individually in plastic wrap, then place them in a freezer bag. To reheat, thaw in the refrigerator overnight, then warm in the air fryer at 350°F for 5 to 6 minutes. The texture won’t be quite as good as fresh, but it’s still delicious.
Nutritional Information & Benefits
Chicken thighs are often overlooked in favor of chicken breasts, but they have plenty to offer nutritionally. Here’s a quick breakdown for one serving (one thigh, based on a recipe serving four):
| Nutrient | Amount Per Serving |
|---|---|
| Calories | 285 |
| Protein | 22g |
| Fat | 19g |
| Saturated Fat | 5g |
| Carbohydrates | 2g |
| Fiber | 0g |
| Sugar | 0g |
| Sodium | 620mg |
Chicken thighs are a great source of high-quality protein, which supports muscle health and keeps you feeling full. They also provide important nutrients like iron, zinc, and B vitamins. The skin does add some fat, but it’s mostly unsaturated, especially if you’re using olive oil. I personally think the flavor and texture benefits are worth it.
If you’re watching your sodium intake, you can reduce the salt to half a teaspoon and add more herbs for flavor. This recipe is naturally low in carbs, making it suitable for keto and low-carb diets. Just be mindful of any sides you pair it with.
Conclusion
These crispy air fryer chicken thighs have become a regular in my kitchen for good reason. They deliver that golden, shatteringly crisp skin and juicy meat that everyone craves, all in under half an hour. Whether you’re a seasoned cook or just starting out, this recipe is forgiving enough to work every time.
I love how adaptable it is—you can change up the seasonings based on what you’re in the mood for, and it always turns out great. It’s the kind of recipe that makes you feel like a kitchen hero without a lot of effort. Honestly, I think the best recipes are the ones that let you relax and enjoy the process, and this one does exactly that.
I’d love to hear how yours turn out! Try swapping in your favorite spice blend or adding a glaze, and let me know what works for you. Drop a comment below or tag me in your photos—I’m always looking for new ideas to try. Happy cooking, and here’s to many more happy accidents in the kitchen!
Frequently Asked Questions
Can I use boneless, skinless chicken thighs instead?
Yes, you can, but the cooking time will be shorter—about 12 to 14 minutes at 380°F. You’ll also miss out on the crispy skin, so consider adding a breadcrumb coating if you want a similar texture.
Why is my chicken skin not getting crispy?
The most common reason is that the skin wasn’t dried thoroughly before seasoning. Moisture creates steam, which prevents crisping. Also, make sure you’re not overcrowding the air fryer basket, as that traps steam too.
Can I cook frozen chicken thighs in the air fryer?
You can, but the results won’t be as good. Frozen chicken releases a lot of water as it thaws, which makes it hard to get crispy skin. If you must use frozen, thaw them completely in the refrigerator first, then pat dry thoroughly.
How do I prevent the air fryer from smoking?
Some smoking is normal, especially with fatty chicken thighs. To minimize it, pour off any rendered fat halfway through cooking. You can also line the bottom of the air fryer basket with a piece of bread to absorb excess grease.
Can I meal prep these chicken thighs for the week?
Absolutely! Cook them as directed, let them cool completely, and store in an airtight container in the fridge for up to four days. Reheat in the air fryer at 350°F for 3 to 4 minutes to bring back the crispiness. They’re perfect for quick lunches or dinners.
Pin This Recipe!
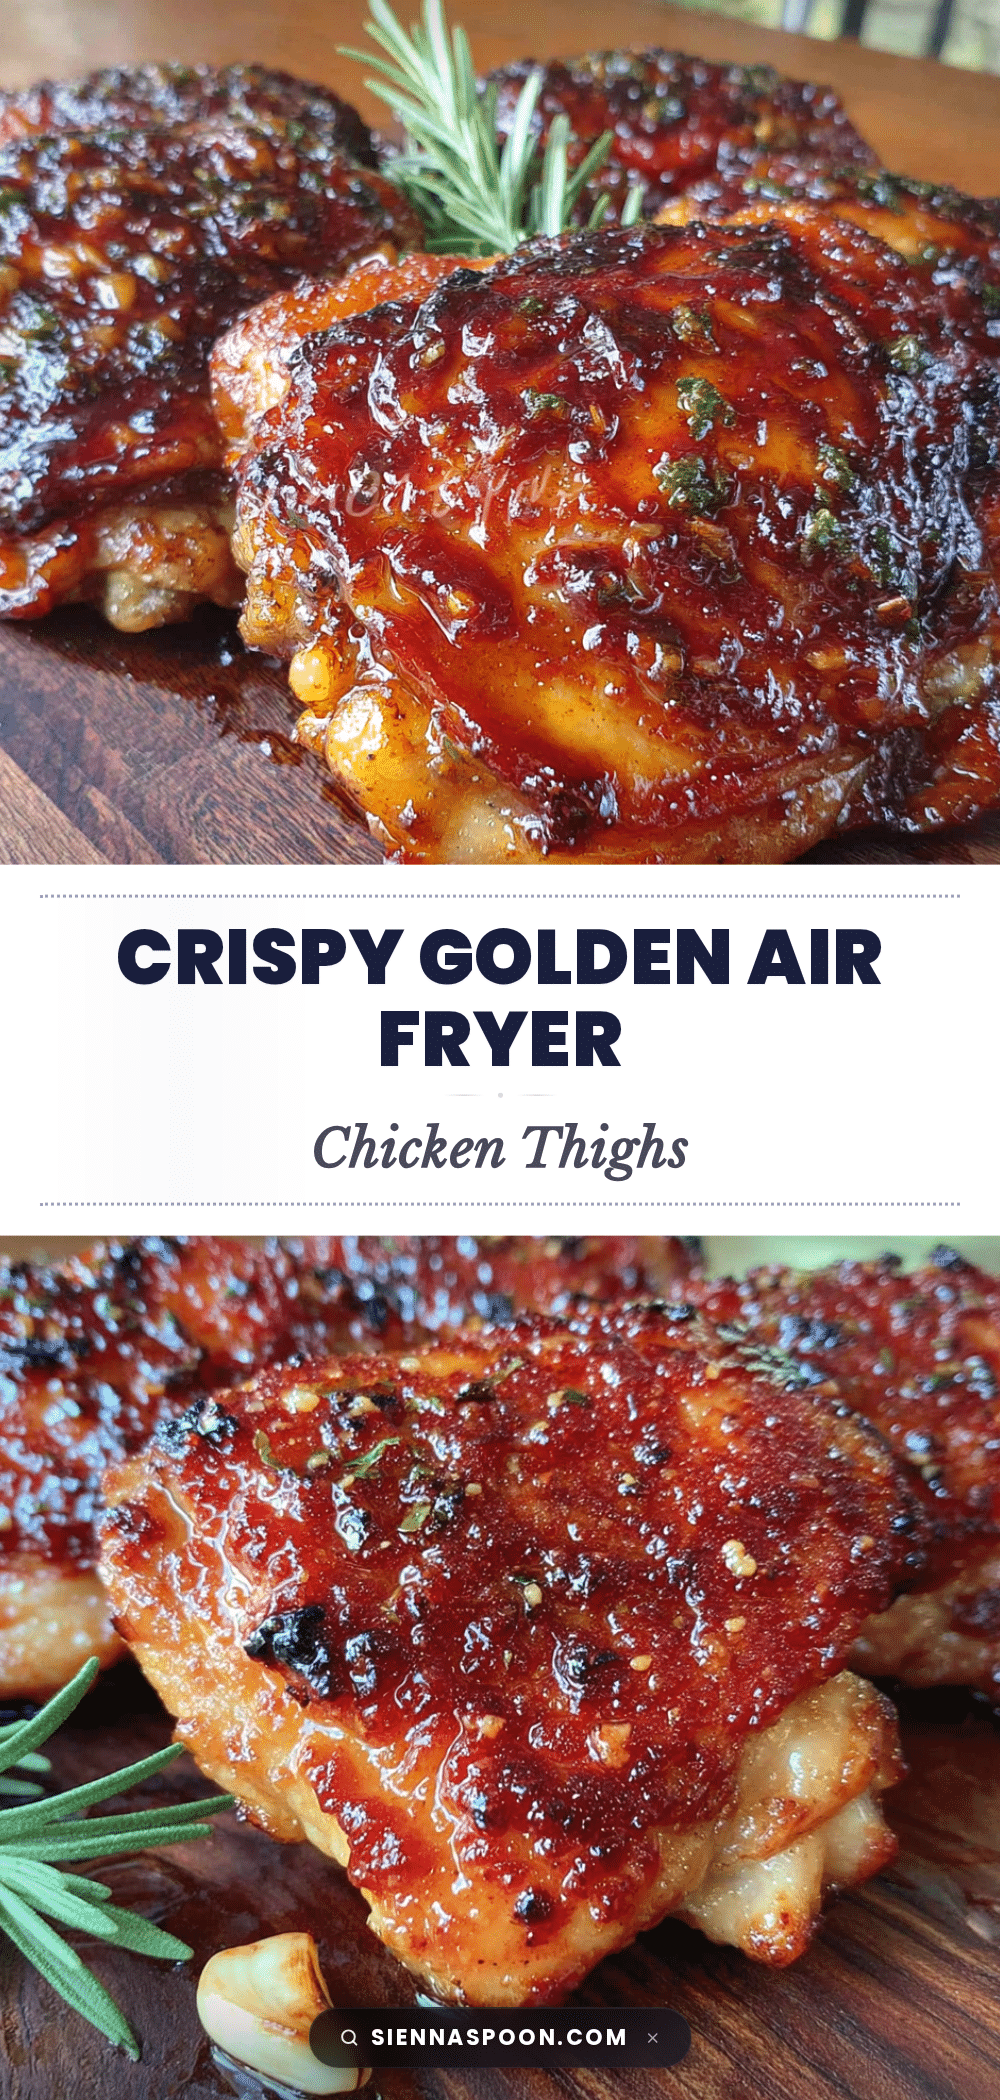
Crispy Air Fryer Chicken Thighs: Easy Golden Skin Recipe

These air fryer chicken thighs deliver golden, shatteringly crisp skin and juicy, tender meat in under 30 minutes. A happy accident turned into a go-to weeknight dinner that’s quick, easy, and always a crowd-pleaser.
- Prep Time: 10 minutes
- Cook Time: 18 minutes
- Total Time: 28 minutes
- Yield: 4 servings 1x
- Category: Main Course
- Cuisine: American
Ingredients
- 4 to 6 bone-in, skin-on chicken thighs
- 1 tablespoon olive oil (or avocado oil)
- 1 teaspoon garlic powder
- 1/2 teaspoon onion powder
- 1 teaspoon paprika (smoked or sweet)
- 1/2 teaspoon dried thyme (or rosemary)
- 1 teaspoon kosher salt
- 1/2 teaspoon black pepper, freshly ground
- Pinch cayenne pepper (optional)
Instructions
- Pat the chicken completely dry with paper towels, removing all visible moisture.
- In a mixing bowl, combine olive oil, garlic powder, onion powder, paprika, dried thyme, salt, black pepper, and cayenne (if using). Add chicken thighs and toss until evenly coated, getting seasoning under the skin if possible.
- Preheat air fryer to 380°F (193°C) for about 3 minutes.
- Place seasoned chicken thighs in the air fryer basket in a single layer, skin side up, without touching. Cook in batches if needed.
- Cook at 380°F for 18 minutes. Halfway through (at 9 minutes), flip the thighs using tongs.
- Check internal temperature with an instant-read thermometer; it should reach at least 165°F, preferably 170°F. Cook in 2-minute increments if needed.
- Transfer chicken to a cutting board and let rest for 5 minutes before serving.
Notes
Patting the skin completely dry is essential for crispiness. Do not overcrowd the basket. Preheating the air fryer helps kickstart crisping. Let chicken rest 5 minutes before serving. For boneless thighs, reduce cooking time to 12-14 minutes.
Nutrition
- Serving Size: 1 chicken thigh
- Calories: 285
- Sodium: 620
- Fat: 19
- Saturated Fat: 5
- Carbohydrates: 2
- Protein: 22
Keywords: air fryer chicken thighs, crispy chicken thighs, easy chicken recipe, weeknight dinner, golden skin chicken


