Love this? Save it for later!
Share the inspiration with your friends
My sister asked why I couldn’t just use honey instead of sugar. I started to explain why that wouldn’t work — then stopped. Honestly, I had no real reason. I was just being stubborn. It was a Tuesday afternoon, and she was helping me test a new batch of homemade elderberry gummies for immune support. I had my “pro” system down: the exact gelatin ratio, the precise simmer time for the berries, the whole nine yards. She just wanted them sweeter, but in a “healthier” way. I almost laughed. Honey in gummies? That’s a disaster waiting to happen — too sticky, too unpredictable.
But she was holding the jar of local wildflower honey, and she looked so sure of herself. I mean, maybe you’ve been there. You think you know a recipe inside and out, and someone comes along with a suggestion that feels like an insult to your kitchen experience. I almost said no. But instead, I shrugged and said, “Fine, you do it.” I figured I’d just have to scrape a sticky mess out of the molds later. Let me tell you, I was wrong. Completely, delightfully wrong. The honey didn’t just work — it made the gummies better. It gave them this subtle floral depth that the plain sugar never did. The texture was still perfect, and they held up beautifully in the fridge. I ate three of them right there, standing over the counter, feeling a little sheepish and a lot impressed.
That day, I learned something important: sometimes the best tweaks come from the people who don’t overthink things. These homemade elderberry gummies for immune support have been a winter staple in my house ever since. They’re the reason my kids actually ask for their daily dose of immunity. And they remind me, every time I make them, that being a good cook isn’t about being right — it’s about being open.
Why You’ll Love This Recipe
These gummies are more than just a tasty treat. They are a gentle, effective way to support your family’s immune system during cold and flu season. I’ve tested this recipe through three winters now, tweaking the ratios and flavors until it was absolutely foolproof. Here is why I think you will absolutely love making these homemade elderberry gummies for immune support.
- Quick & Easy: From start to finish, you are looking at about 20 minutes of active work. The rest is just setting time in the fridge. Perfect for a Sunday afternoon prep session.
- Simple Ingredients: You only need four main ingredients — dried elderberries, raw honey, gelatin, and water. No weird chemicals or hard-to-find supplements.
- Kid-Approved: Let’s face it, getting kids to take a spoonful of dark syrup is a battle. These gummies taste like a sweet, fruity candy. My niece calls them “berry jigglers” and asks for them by name.
- Customizable: You can adjust the sweetness, add immune-boosting extras like vitamin C powder or echinacea, or change up the flavors with different fruit juices.
- Budget-Friendly: A bag of dried elderberries goes a long way, and making your own gummies is a fraction of the cost of store-bought immune supplements.
What makes this recipe different from all the others out there? It is the texture. I spent a long time getting the gelatin-to-liquid ratio just right so you don’t end up with gummies that are either too hard or too slimy. These are perfectly chewy, just like the gummy bears you loved as a kid. Plus, using raw honey instead of processed sugar means you are getting additional antibacterial and antiviral benefits with every single bite. This isn’t just another version of elderberry gummies — it is the best version. The kind that makes you feel good about giving your kids a handful.
What Ingredients You Will Need
This recipe relies on a few key ingredients that work together to create a powerful immune-boosting treat. Each one plays a specific role, and I have found that sticking with high-quality ingredients makes a real difference in the final result. Here is everything you need to make your own homemade elderberry gummies for immune support.
For the Elderberry Syrup Base
- 1/2 cup dried elderberries — Look for organic, whole dried elderberries. I prefer the brand Mountain Rose Herbs for their consistent quality. Do not use fresh elderberries, as they need to be cooked to be safe for consumption.
- 3 cups filtered water — Tap water can contain chlorine or minerals that might affect the flavor. Filtered water gives you a cleaner taste.
- 1 cinnamon stick — Adds warmth and a subtle spice. It also has its own anti-inflammatory properties, so it is a win-win.
- 1 tablespoon fresh ginger, sliced — Ginger adds a gentle kick and is amazing for digestion and immune support. I use fresh because the flavor is so much brighter than dried.
- 1/2 cup raw honey — This is my non-negotiable ingredient. Raw, local honey is best. It contains natural enzymes and pollen that support allergies and immunity. Note: Do not give honey to children under one year of age.
For the Gummy Base
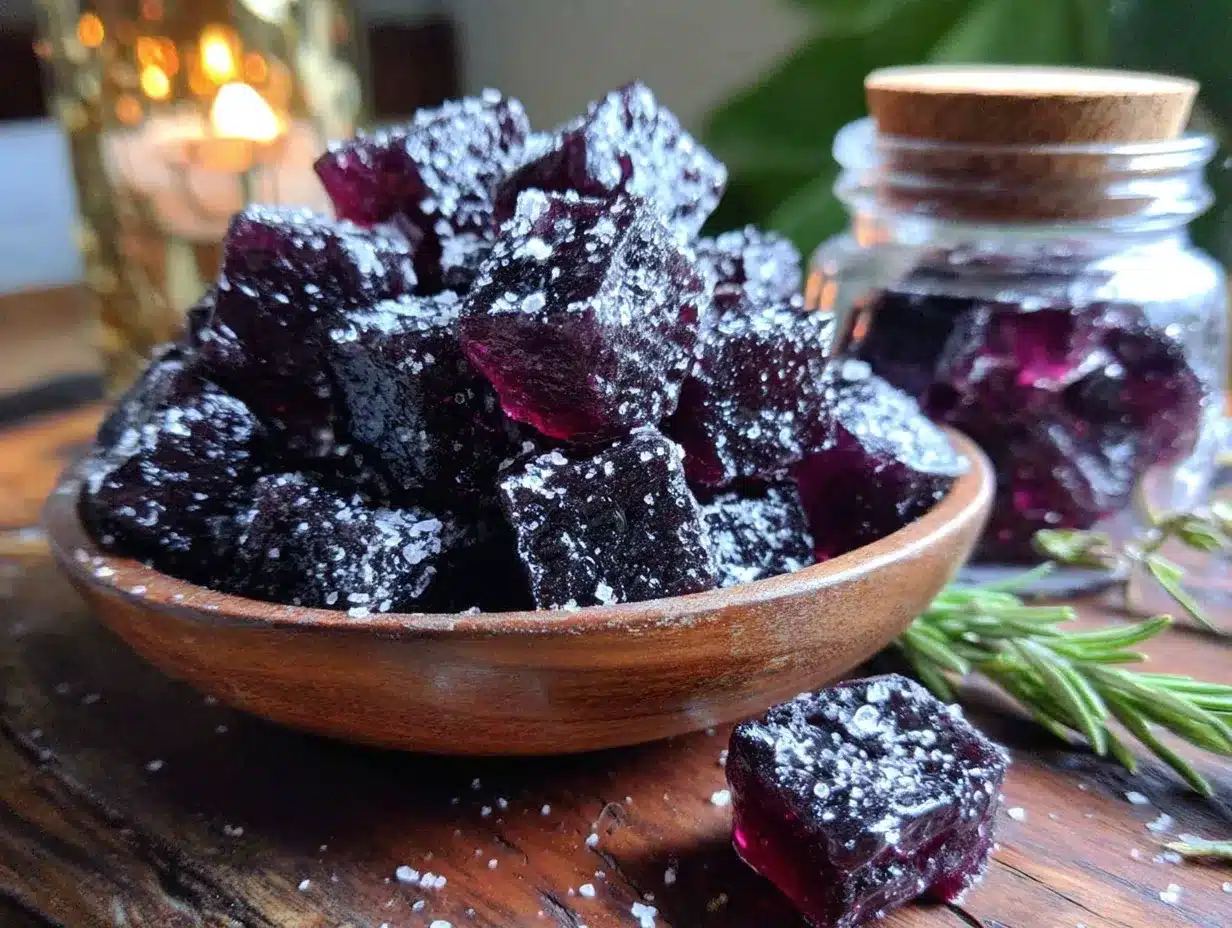
- 1/2 cup cold elderberry syrup — You will make the syrup first, then reserve half a cup for the gummies. The rest you can drink as a tea or save for another batch.
- 1/4 cup cold water — Cold liquid is crucial for blooming the gelatin properly. If the liquid is warm, the gelatin will clump.
- 3 tablespoons grass-fed gelatin — I highly recommend Great Lakes Gelatin or Vital Proteins. Grass-fed gelatin is higher in protein and has a neutral flavor. Do not use Jell-O or flavored gelatin mixes.
- 1 tablespoon lemon juice — Freshly squeezed is best. The acidity helps balance the sweetness and acts as a natural preservative.
- Optional: 1/4 teaspoon vitamin C powder — This is a great addition if you want to supercharge the immune benefits. It dissolves easily and doesn’t affect the taste much.
Ingredient Substitution Notes
If you are vegan, you can use agar agar powder instead of gelatin. Just know that the texture will be different — more like a firm jelly than a chewy gummy. You will also need to follow the instructions on the agar agar package, as it sets differently. For a low-sugar version, you can use a monk fruit honey substitute, but the flavor will be slightly different. I have tried it, and it works, but the texture is a bit less springy.
Equipment Needed
You do not need a ton of fancy equipment to make these gummies. Most of these items are probably already in your kitchen. Here is what you will need:
- Small saucepan — For simmering the elderberry syrup. A 2-quart saucepan is perfect.
- Fine-mesh strainer or cheesecloth — To strain out the berries and spices. A nut milk bag also works great.
- Glass measuring cup — I use a 2-cup Pyrex measuring cup for mixing the gelatin. The spout makes pouring into the molds much easier.
- Silicone gummy molds — These are a game-changer. They are flexible, so the gummies pop right out. I like the bear-shaped ones because my kids love them, but you can use any shape. You can find them on Amazon or at craft stores for a few dollars.
- Whisk or fork — For mixing the gelatin into the liquid. A small whisk works best to prevent lumps.
- Dropper or small spoon — For filling the molds. A dropper is faster and less messy, but a small spoon works perfectly fine.
- Baking sheet or plate — To hold the filled molds in the fridge. It makes them easier to move around.
If you do not have silicone molds, you can pour the mixture into a small glass baking dish (like an 8×8 inch pan) and let it set. Once firm, you can cut the gummies into squares with a sharp knife. It is not as cute, but it works just as well. I have done it that way when I couldn’t find my molds, and honestly, the gummies tasted exactly the same.
Preparation Method
Making your own homemade elderberry gummies for immune support is simpler than you might think. Follow these steps carefully, and you will have a batch of delicious, chewy gummies ready in a few hours. Most of the time is just waiting for them to set.
- Make the elderberry syrup: In a small saucepan, combine the dried elderberries, 3 cups of filtered water, the cinnamon stick, and the sliced ginger. Bring to a boil over medium-high heat. Once boiling, reduce the heat to low and let it simmer, uncovered, for about 30 minutes. The liquid will reduce by about half, and your kitchen will smell amazing — like a warm, spiced tea.
- Strain the syrup: Place a fine-mesh strainer over a large bowl or glass measuring cup. Carefully pour the hot liquid through the strainer, using the back of a spoon to press down on the berries and extract as much liquid as possible. Discard the solids. Let the syrup cool to room temperature. You should have about 1 to 1.5 cups of syrup. Pro tip: Do not throw away the cooked berries! They are still packed with goodness. I sometimes mix them into applesauce or yogurt for an extra immune boost.
- Bloom the gelatin: This is the most important step. In your glass measuring cup, combine 1/2 cup of the cooled elderberry syrup with 1/4 cup of cold water. Stir to combine. Sprinkle the 3 tablespoons of gelatin evenly over the surface of the liquid. Do not stir it in yet. Let it sit for 5 to 10 minutes. The gelatin will absorb the liquid and look like a thick, jiggly paste. This is called “blooming,” and it ensures your gummies have a smooth, lump-free texture.
- Gently warm the mixture: After the gelatin has bloomed, place the measuring cup in a small saucepan filled with about an inch of simmering water. This is a double boiler method. Stir the gelatin mixture gently with a whisk until it becomes completely liquid and smooth. This usually takes about 2 to 3 minutes. Do not let it boil, as high heat can destroy the gelatin’s setting properties. Once it is liquid, remove it from the heat.
- Add the honey and lemon: Whisk in the 1/2 cup of raw honey and the 1 tablespoon of lemon juice. If you are using vitamin C powder, add it now. Whisk until everything is fully combined. The mixture should be a deep, rich purple color. Taste it at this point — it should be sweet and slightly tart. Adjust if needed, but remember that the flavors will mellow as they set.
- Fill the molds: Place your silicone molds on a baking sheet for stability. Using a dropper or a small spoon, carefully fill each cavity with the liquid mixture. Work quickly, as the gelatin will start to set as it cools. If it becomes too thick, you can gently reheat it in the double boiler for a few seconds. Do not overfill the molds — leave a tiny bit of space at the top.
- Set the gummies: Carefully transfer the baking sheet with the filled molds to the refrigerator. Let them set for at least 2 to 3 hours, or until they are firm to the touch. I usually leave them overnight for the best texture. Do not rush this step. If you try to pop them out too early, they will be too soft and might tear.
- Unmold and store: Once the gummies are fully set, gently push them out of the molds. They should release easily. If any are stuck, you can flex the silicone a bit or use your fingertip to gently press them out. Place the gummies in an airtight glass container. Store them in the refrigerator.
Cooking Tips & Techniques
I have made this recipe more times than I can count, and I have definitely made my share of mistakes. Here are the lessons I have learned so you can skip the frustration and get perfect gummies on your first try.
Do not skip the blooming step. I know it feels like a waste of time, but it is absolutely essential. If you add the gelatin directly to warm liquid, it will form clumps that you cannot whisk out. Your gummies will have weird, hard bits in them. I learned this the hard way when I was rushing one morning. The gummies still tasted fine, but the texture was off-putting. Just let the gelatin sit in the cold liquid for the full 5 to 10 minutes.
Keep your heat low. Gelatin is a protein, and high heat can break it down. If you boil the mixture, your gummies might not set properly. You want to warm it just enough to melt the gelatin, not cook it. Using a double boiler is the safest method, but you can also microwave the mixture in short 10-second bursts, stirring in between.
Work quickly when filling the molds. The mixture will start to thicken as soon as it cools. If you are making a large batch, you might want to keep the measuring cup in a bowl of warm water to keep it liquid. I have also had success reheating the mixture for a few seconds in the microwave if it gets too thick. Just be careful not to overheat it.
Use a dropper for precision. A dropper gives you much more control than a spoon. It reduces mess and helps you fill the molds evenly. You can buy a pack of plastic droppers on Amazon for a few dollars, or reuse one from an old bottle of liquid medicine. Just wash it thoroughly first.
Let them set completely. I know you will be excited to try them, but patience pays off. Gummies that are pulled from the mold too early will be sticky and misshapen. Give them at least 2 to 3 hours, but overnight is best. The texture is so much better after a full night in the fridge.
Variations & Adaptations
One of the best things about this recipe is how easy it is to customize. Once you have the basic method down, you can experiment with different flavors and add-ins. Here are some of my favorite variations for homemade elderberry gummies for immune support.
Citrus Burst Gummies: Replace 1/4 cup of the water with fresh orange juice. Add 1 teaspoon of orange zest along with the lemon juice. The citrus flavor pairs beautifully with the elderberries and adds even more vitamin C. I make this version when I feel a cold coming on.
Spiced Chai Gummies: Add 1 star anise, 2 cardamom pods, and a pinch of cloves to the simmering elderberry syrup. Strain them out with the berries. The warm spices make these gummies taste like a cozy winter treat. My husband loves this version and says it reminds him of chai tea.
Vegan Agar Agar Gummies: Substitute the gelatin with 2 tablespoons of agar agar powder. Follow the package instructions for blooming and setting, as agar agar requires a boil to activate. The texture will be firmer and more jelly-like, but still delicious. I have made this for vegan friends, and they always ask for the recipe.
Berry Blend Gummies: Add 1/4 cup of dried hibiscus flowers or dried rose hips to the elderberry syrup while it simmers. These flowers are packed with vitamin C and add a beautiful, tart flavor. The color becomes an even deeper, more vibrant red. It is gorgeous.
Low-Sugar Gummies: Replace the honey with 1/4 cup of monk fruit sweetener or stevia glycerite. You might need to adjust the amount to taste. The texture will be slightly less springy, but the immune benefits are still there. I have made this for a friend who is diabetic, and she was thrilled to have a treat she could enjoy.
Serving & Storage Suggestions
These gummies are best enjoyed cold, straight from the fridge. The texture is perfectly chewy, and the flavors are most vibrant when they are chilled. I like to take a few out about 5 minutes before eating to take the edge off the chill, but that is just my preference.
Serving Size: For adults, I recommend 2 to 3 gummies per day. For children over the age of 2, 1 to 2 gummies per day is plenty. Remember, these are a supplement, not a candy. They are concentrated with immune-boosting ingredients, so a little goes a long way.
Storage: Keep your gummies in an airtight glass container in the refrigerator. They will stay fresh for up to 2 weeks. I have kept them for 3 weeks with no issues, but they do start to dry out a bit after the 2-week mark. Do not store them at room temperature, as they will become soft and sticky.
Freezing: You can freeze these gummies for up to 3 months. Place them in a single layer on a baking sheet and freeze until solid, then transfer them to a freezer-safe bag or container. To thaw, simply move them to the refrigerator overnight. The texture will be slightly softer after freezing, but they are still delicious.
Reheating: Do not microwave these gummies. They will melt into a sticky puddle. If you want to add them to a warm drink like tea, just drop a gummy in and stir until it dissolves. It is a fun way to enjoy them on a cold day.
I have noticed that the flavors actually develop and deepen after a day or two in the fridge. The ginger and cinnamon become more pronounced, and the honey sweetness mellows out. So do not be discouraged if they taste a little strong on the first day — they will balance out beautifully.
Nutritional Information & Benefits
These homemade elderberry gummies for immune support are more than just a tasty snack. They are packed with nutrients that support your body’s natural defenses. Here is a breakdown of what you are getting in each serving.
Estimated Nutritional Values (per 2 gummies):
- Calories: 45
- Carbohydrates: 10g
- Sugars: 8g (from honey)
- Protein: 4g
- Vitamin C: 15mg (if using optional powder)
- Zinc: 0.5mg (trace amounts from elderberries)
Health Benefits of Key Ingredients:
- Elderberries: Rich in antioxidants and flavonoids, particularly anthocyanins, which have been shown to reduce the duration and severity of cold and flu symptoms. They also support healthy inflammation response.
- Raw Honey: Contains natural antibacterial and antiviral properties. It also soothes sore throats and supports gut health with its prebiotic enzymes.
- Ginger: A powerful anti-inflammatory that aids digestion and can help reduce nausea. It also has antimicrobial properties.
- Gelatin: A great source of collagen, which supports joint health, skin elasticity, and gut health. It also helps the gummies set perfectly.
Dietary Considerations: This recipe is naturally gluten-free, dairy-free, and soy-free. It contains no refined sugar. However, it is not suitable for vegans (unless using agar agar) or for children under one year of age due to the honey. Always check with your healthcare provider before adding new supplements to your routine, especially if you are pregnant, nursing, or have a medical condition.
Frequently Asked Questions
Can I use fresh elderberries instead of dried?
No, I do not recommend using fresh elderberries for this recipe. Fresh elderberries must be cooked thoroughly before eating, as they contain a compound that can cause stomach upset. Dried elderberries are already processed and safe to use. They are also more concentrated in flavor and nutrients.
Why did my gummies not set?
This usually happens for one of three reasons. First, you might have used too much liquid relative to the gelatin. Double-check your measurements. Second, the gelatin might have been overheated. If you boil the mixture, the gelatin loses its setting power. Third, you might have used an old or expired gelatin. Check the expiration date on your package. If your gelatin has been sitting in the pantry for years, it might not work as well.
Can I use flavored gelatin instead of plain gelatin?
I do not recommend it. Flavored gelatin mixes contain sugar, artificial flavors, and sometimes other additives that will change the taste and texture of your gummies. They also usually have a lower concentration of gelatin, so your gummies might not set properly. Stick with plain, grass-fed gelatin for the best results.
How long do these gummies last?
Stored properly in an airtight container in the refrigerator, these gummies will stay fresh for up to 2 weeks. You can also freeze them for up to 3 months. I always make a double batch and freeze half so I always have some on hand when cold season hits.
Can I give these gummies to my toddler?
Yes, but with caution. These gummies are safe for children over the age of 2, as long as they are able to chew soft foods safely. For younger children, I recommend making the syrup without the gelatin and giving it to them in a spoonful or mixed into yogurt. Always supervise young children while they are eating gummies to prevent choking.
Conclusion
Making your own homemade elderberry gummies for immune support is one of the most rewarding kitchen projects you can take on. It is simple, affordable, and gives you complete control over what goes into your body. No weird additives, no artificial colors, just real, whole ingredients that work together to keep you and your family healthy.
I love this recipe because it turns something that feels like a chore — taking daily supplements — into something genuinely enjoyable. My kids actually look forward to “taking their medicine.” And honestly, that feeling of knowing I am giving them something that is both delicious and good for them? It is unbeatable.
I encourage you to make this recipe your own. Play with the flavors. Adjust the sweetness. Add your favorite immune-boosting extras. And when you do, I would love to hear about it. Leave a comment below and tell me how your batch turned out. What variations did you try? Did your kids love them as much as mine do? Share your experience, and let us build a community of healthy, happy snackers together. Happy cooking, and here is to a strong immune system all season long!
Pin This Recipe!
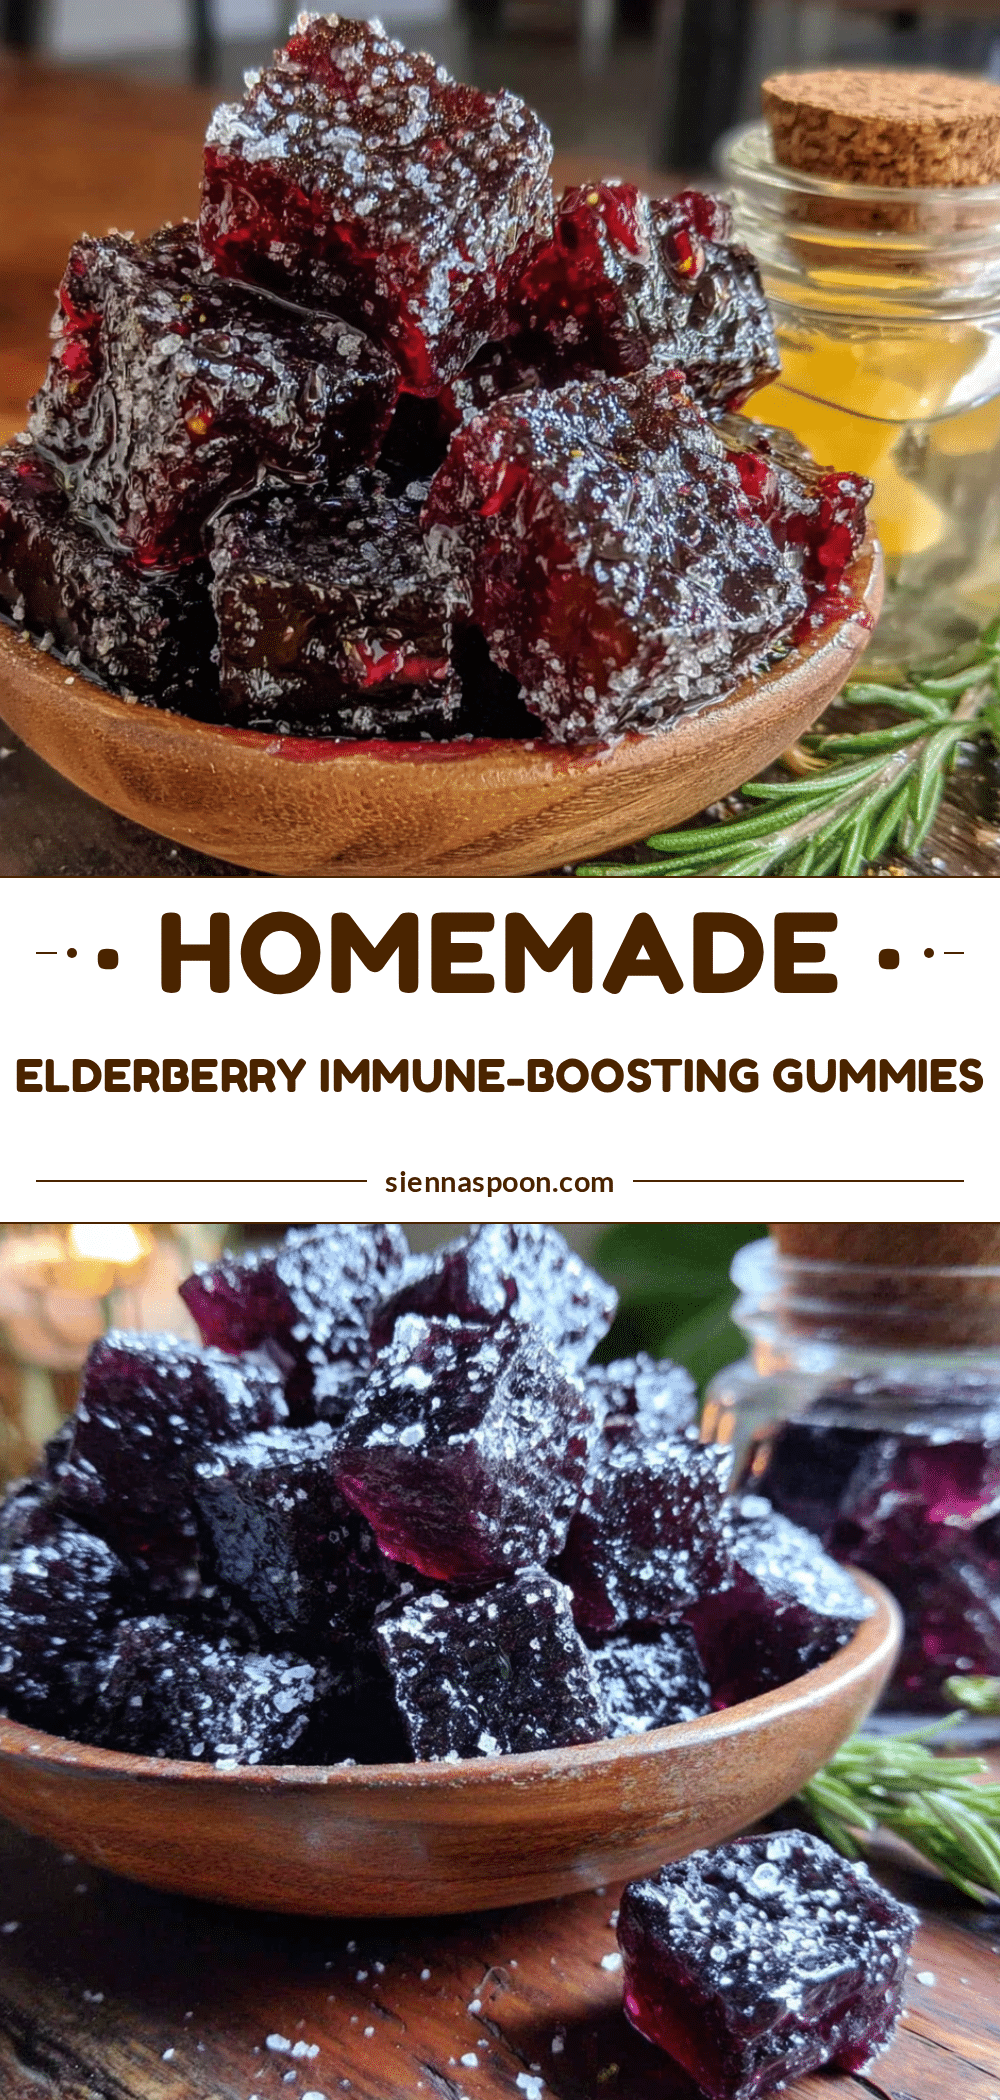
Homemade Elderberry Gummies: Easy Immune-Boosting Recipe
These homemade elderberry gummies are a delicious and effective way to support your family’s immune system during cold and flu season. Made with simple ingredients like dried elderberries, raw honey, and gelatin, they are kid-approved and budget-friendly.
- Prep Time: 20 minutes
- Cook Time: 30 minutes
- Total Time: 2 hours 50 minutes (including setting time)
- Yield: 4 servings 1x
- Category: Snack
- Cuisine: American
Ingredients
- 1/2 cup dried elderberries
- 3 cups filtered water
- 1 cinnamon stick
- 1 tablespoon fresh ginger, sliced
- 1/2 cup raw honey
- 1/2 cup cold elderberry syrup
- 1/4 cup cold water
- 3 tablespoons grass-fed gelatin
- 1 tablespoon lemon juice
- Optional: 1/4 teaspoon vitamin C powder
Instructions
- Make the elderberry syrup: In a small saucepan, combine the dried elderberries, 3 cups of filtered water, the cinnamon stick, and the sliced ginger. Bring to a boil over medium-high heat. Once boiling, reduce the heat to low and let it simmer, uncovered, for about 30 minutes. The liquid will reduce by about half.
- Strain the syrup: Place a fine-mesh strainer over a large bowl or glass measuring cup. Carefully pour the hot liquid through the strainer, using the back of a spoon to press down on the berries and extract as much liquid as possible. Discard the solids. Let the syrup cool to room temperature. You should have about 1 to 1.5 cups of syrup.
- Bloom the gelatin: In your glass measuring cup, combine 1/2 cup of the cooled elderberry syrup with 1/4 cup of cold water. Stir to combine. Sprinkle the 3 tablespoons of gelatin evenly over the surface of the liquid. Do not stir it in yet. Let it sit for 5 to 10 minutes. The gelatin will absorb the liquid and look like a thick, jiggly paste.
- Gently warm the mixture: After the gelatin has bloomed, place the measuring cup in a small saucepan filled with about an inch of simmering water. Stir the gelatin mixture gently with a whisk until it becomes completely liquid and smooth. This usually takes about 2 to 3 minutes. Do not let it boil. Once it is liquid, remove it from the heat.
- Add the honey and lemon: Whisk in the 1/2 cup of raw honey and the 1 tablespoon of lemon juice. If you are using vitamin C powder, add it now. Whisk until everything is fully combined.
- Fill the molds: Place your silicone molds on a baking sheet for stability. Using a dropper or a small spoon, carefully fill each cavity with the liquid mixture. Work quickly, as the gelatin will start to set as it cools. Do not overfill the molds.
- Set the gummies: Carefully transfer the baking sheet with the filled molds to the refrigerator. Let them set for at least 2 to 3 hours, or until they are firm to the touch. Overnight is best.
- Unmold and store: Once the gummies are fully set, gently push them out of the molds. Place the gummies in an airtight glass container. Store them in the refrigerator.
Notes
Do not give honey to children under one year of age. For vegan option, use agar agar powder instead of gelatin (texture will be different). Store in refrigerator for up to 2 weeks or freeze for up to 3 months.
Nutrition
- Serving Size: 2 gummies
- Calories: 45
- Sugar: 8
- Carbohydrates: 10
- Protein: 4
Keywords: elderberry gummies, immune support, homemade gummies, elderberry recipe, honey gummies, kid-friendly, immune booster


