Love this? Save it for later!
Share the inspiration with your friends
This was supposed to be a batch of no-bake oatmeal cookies. I had the oats ready, the cocoa powder measured, and I was feeling pretty good about myself for making a healthy-ish snack on a Sunday afternoon. Then I grabbed the peanut butter jar—except it wasn’t the peanut butter. It was a jar of vanilla protein powder I’d shoved in the back of the pantry after a failed smoothie phase. I realized my mistake about three seconds after dumping a hefty scoop into the bowl. The powder went everywhere, dusting my counter like a weird, fragrant snowstorm. I stood there, spatula in hand, and honestly, I almost threw the whole thing in the trash.
But I hate wasting food, you know? So I just kept mixing. The texture was all wrong at first—dry and crumbly, nothing like the chewy cookies I planned. I added a splash of milk, then another. I tossed in some chocolate chips because, let’s face it, chocolate fixes almost everything. What came out of my fridge an hour later was nothing like the oatmeal cookies I intended. It was better. These little balls of peanut butter goodness were dense, satisfying, and actually kept me full until dinner. I didn’t mean to invent a protein ball recipe. I just made a mistake and refused to admit defeat.
That first batch was ugly but delicious. The second batch, I perfected. Now, I make these no-bake peanut butter protein balls every single week. They’ve saved me from countless afternoon slumps and desperate fast-food runs. Maybe you’ve had that moment where a recipe goes sideways and you just have to roll with it. That’s exactly how this one was born—out of a pantry fail and a stubborn refusal to start over.
Why You’ll Love This Recipe
Let me tell you why these easy no-bake peanut butter protein balls have become my most-requested snack. I’ve tested this recipe at least a dozen times, tweaking the ratios until everything clicked. It’s not just another energy ball recipe floating around the internet. This one actually works.
- Quick & Easy: You can make these in under five minutes. No oven, no stove, no complicated steps. Just mix, roll, and eat. Perfect for those days when you need a snack now.
- Simple Ingredients: You probably have everything in your pantry already. Peanut butter, oats, protein powder, honey, and chocolate chips. That’s it. No fancy superfoods or expensive add-ins required.
- Perfect for Meal Prep: These little guys stay fresh in the fridge for up to two weeks. Make a double batch on Sunday and grab them all week long for breakfast, snacks, or post-workout fuel.
- Crowd-Pleaser: I’ve brought these to potlucks, office parties, and family gatherings. Kids love them. Adults love them. Even my picky-eating cousin asked for the recipe.
- Unbelievably Delicious: The texture is just right—chewy, slightly sticky, with little bursts of melty chocolate in every bite. It tastes like dessert but fuels you like a proper snack.
What makes this recipe different from the rest? It’s the ratio. Most protein ball recipes end up too dry or too sticky. I spent time figuring out the perfect balance of wet and dry ingredients so you get a ball that holds together without being a crumbly mess. Plus, I use a trick of letting the mixture rest for five minutes before rolling. That little pause lets the oats absorb the moisture and makes everything easier to handle.
This isn’t just a snack. It’s the kind of recipe that makes you feel good about eating something quick. No guilt, no complicated prep, just pure peanut butter satisfaction.
What Ingredients You Will Need
This recipe uses simple, wholesome ingredients that come together to create a satisfying snack with bold flavor and a perfect chewy texture. Most of these are pantry staples, so you might not even need a trip to the store.
- 1 cup creamy peanut butter (I prefer natural peanut butter with no added sugar or oil, but any creamy variety works. If your peanut butter is very dry, add an extra tablespoon of honey.)
- 1 ½ cups old-fashioned rolled oats (Quick oats work too, but they create a softer texture. I like old-fashioned for more chew. Use certified gluten-free oats if needed.)
- ½ cup vanilla protein powder (I recommend a good-quality whey or plant-based protein powder. Vanilla adds sweetness and flavor. Chocolate protein powder is also delicious here. Avoid collagen peptides as they don’t bind well.)
- ⅓ cup honey or maple syrup (Honey gives a classic sweetness and helps bind everything together. Maple syrup works perfectly for a vegan option. If you want lower sugar, use ¼ cup honey and add an extra tablespoon of peanut butter.)
- ⅓ cup mini chocolate chips (Regular chocolate chips work too, but mini ones distribute more evenly. Dark chocolate, milk chocolate, or sugar-free chips all work great. I like Enjoy Life brand for dairy-free options.)
- 1-2 tablespoons milk of choice (Only if needed. I often add a splash of almond milk when the mixture feels too dry. Start with one tablespoon and add more as needed.)
- Pinch of sea salt (Optional but recommended. Salt balances the sweetness and enhances the peanut butter flavor. Flaky sea salt on top is even better.)
A quick note on protein powder: different brands absorb liquid differently. If your mixture seems too dry, add a splash of milk. If it’s too sticky, add a tablespoon of oats or a little more protein powder. I’ve made this with both whey and plant-based protein powders, and both work well. Just adjust the liquid as needed.
Equipment Needed
You don’t need any fancy gadgets for this recipe. That’s honestly one of my favorite things about it.
- Large mixing bowl (Any bowl works, but a wide one makes mixing easier. I use my favorite ceramic mixing bowl.)
- Spatula or wooden spoon (For mixing everything together. A sturdy spatula is my go-to.)
- Measuring cups and spoons (For accurate measurements. I use standard dry measuring cups for oats and protein powder.)
- Parchment paper or wax paper (For lining a baking sheet or plate while the balls chill. Not strictly necessary, but it prevents sticking.)
- Baking sheet or large plate (To hold the balls while they set in the fridge. Any flat surface that fits in your fridge works.)
- Small cookie scoop (optional) (For perfectly uniform balls. I use a 1-tablespoon scoop and it makes the process so much faster. If you don’t have one, just use your hands.)
- Air-tight container (For storing the finished protein balls in the fridge. A glass container with a tight lid works best.)
If you don’t have a cookie scoop, no worries. Just wash your hands and roll the mixture into balls using your palms. It takes a little longer, but it’s totally doable. I actually prefer hand-rolling sometimes because it feels more satisfying.
Preparation Method
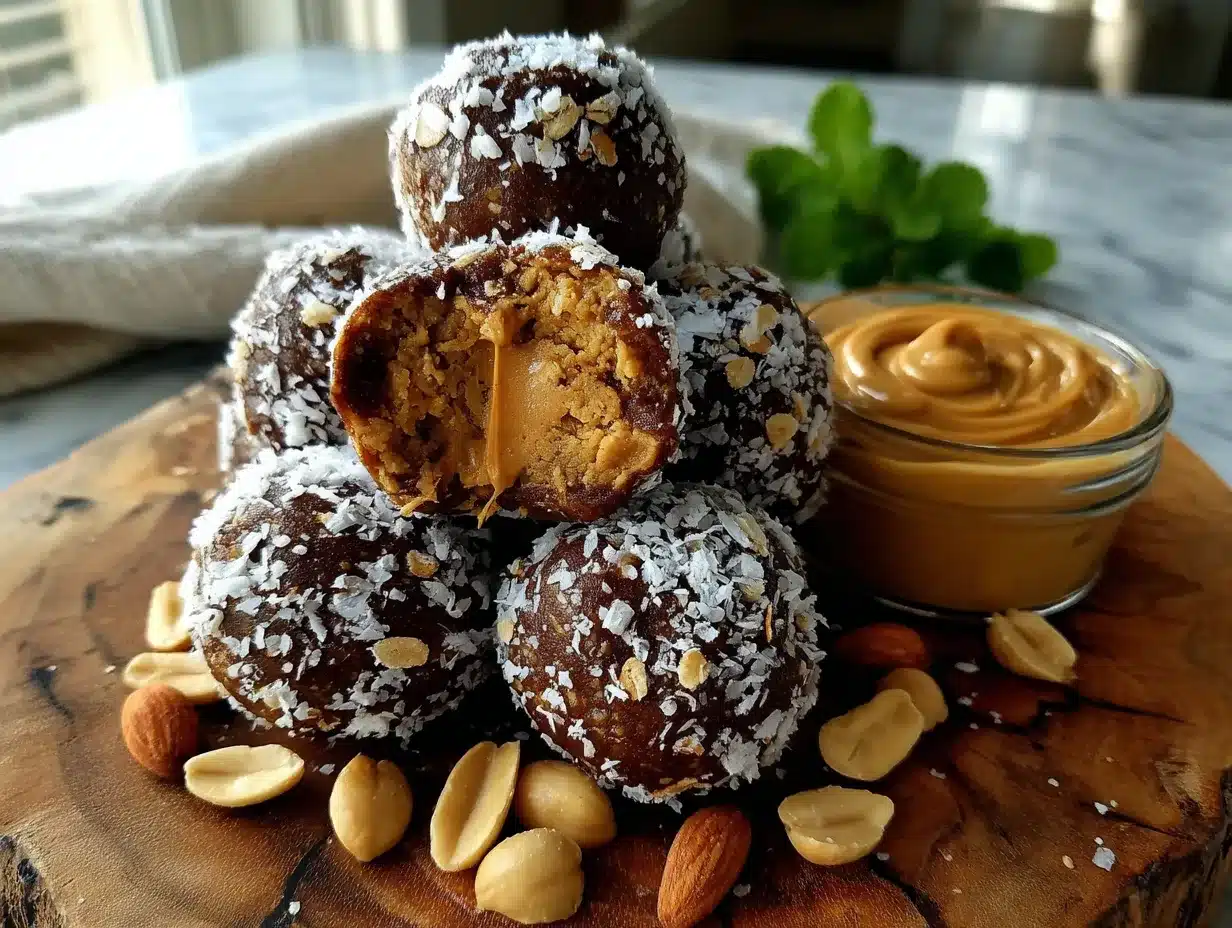
This recipe comes together fast, so have everything ready before you start. Here’s how to make the best no-bake peanut butter protein balls.
- Combine the dry ingredients. In a large mixing bowl, add 1 ½ cups rolled oats, ½ cup vanilla protein powder, and a pinch of sea salt if using. Whisk them together with a fork or spatula to break up any clumps in the protein powder. This step matters more than you think—lumpy protein powder makes lumpy protein balls.
- Add the wet ingredients. Add 1 cup creamy peanut butter and ⅓ cup honey to the bowl. Stir everything together with a spatula or wooden spoon. The mixture will look dry and crumbly at first. Don’t panic. Keep stirring and pressing the mixture against the sides of the bowl. It will come together as the peanut butter and honey coat the dry ingredients.
- Check the consistency. After about a minute of mixing, the dough should hold together when pressed between your fingers. If it’s too crumbly and won’t stick, add one tablespoon of milk and stir again. If it’s too sticky and wet, add one tablespoon of oats or a teaspoon of protein powder. The perfect texture is slightly tacky but not sticky.
- Fold in the chocolate chips. Add ⅓ cup mini chocolate chips to the bowl. Fold them in gently until they’re evenly distributed throughout the dough. Make sure no chocolate chips are hiding at the bottom of the bowl.
- Let the mixture rest. This is my secret step. Cover the bowl with a clean kitchen towel or plastic wrap and let it sit at room temperature for 5-10 minutes. This resting time allows the oats to absorb some moisture from the peanut butter and honey. The dough will become easier to handle and the balls will hold their shape better. I learned this trick after my first batch fell apart in my hands.
- Roll into balls. Line a baking sheet or large plate with parchment paper. Using a 1-tablespoon cookie scoop or your hands, scoop out portions of the dough and roll them between your palms into smooth balls. Aim for about 1-inch diameter balls. You should get 18-22 balls depending on size. If your hands get sticky, lightly wet them with cold water between rolls.
- Chill and set. Place the baking sheet with the rolled protein balls in the refrigerator. Let them chill for at least 30 minutes. This step is essential—the balls need time to firm up and hold their shape. If you skip this, they’ll be too soft and might fall apart when you try to pick them up.
- Transfer to storage container. Once the balls are firm, transfer them to an airtight container. Store them in the refrigerator for up to two weeks. You can also freeze them for up to three months.
That’s it. Eight simple steps and you have a week’s worth of healthy, delicious snacks ready to go. The whole process takes about 15 minutes of active time, plus 30 minutes of chilling. Not bad for something that tastes this good.
Cooking Tips & Techniques
I’ve made this recipe enough times to know exactly where things can go wrong. Here are my best tips for perfect protein balls every time.
Use room temperature peanut butter. Cold peanut butter straight from the fridge is stiff and hard to mix. Let it sit on the counter for 15-20 minutes before you start. If you forget, microwave it for 10-15 seconds to soften it slightly. This makes mixing so much easier and prevents overworking the dough.
Don’t overmix. Once everything is combined, stop stirring. Overmixing can make the protein balls dense and tough. You want them tender and chewy, not like hockey pucks. Mix just until no dry spots remain and the chocolate chips are evenly distributed.
Wet your hands. If the dough sticks to your palms while rolling, lightly wet your hands with cold water. Don’t use too much water—just a light dampening. This trick works like magic and makes rolling quick and mess-free.
Chill before eating. I know it’s tempting to eat one right away, but trust me on this. The balls need at least 30 minutes in the fridge to firm up. They taste better cold, and the texture is much more satisfying. I’ve made the mistake of eating them warm, and they just don’t hold together well.
Adjust sweetness to your taste. Some protein powders are sweeter than others. If your protein powder is already very sweet, reduce the honey to ¼ cup. Taste the dough before rolling and adjust if needed. You can always add more honey, but you can’t take it out.
Toast the oats for more flavor. If you have an extra five minutes, spread the oats on a baking sheet and toast them in a 350°F oven for 5-7 minutes until lightly golden. Let them cool completely before using. Toasted oats add a nutty, deeper flavor that takes these protein balls to another level. I do this when I’m making a batch for guests.
One mistake I made early on was using crunchy peanut butter. Don’t do it. The chunks of peanuts make the balls crumbly and hard to roll. Stick with creamy peanut butter for the best texture.
Variations & Adaptations
This recipe is incredibly versatile. Here are some of my favorite ways to change it up depending on what I have on hand or what I’m craving.
Chocolate Peanut Butter: Use chocolate protein powder instead of vanilla and add an extra tablespoon of cocoa powder. Reduce the chocolate chips to ¼ cup since the dough is already chocolatey. This version tastes like a Reese’s cup in snack form. I make this one when I need a little extra indulgence.
Almond Joy: Swap the peanut butter for almond butter and add ¼ cup shredded coconut. Use dark chocolate chips instead of milk chocolate. The coconut adds a lovely texture and the almond butter gives a different, slightly milder flavor. This is my go-to when I want something a little more tropical.
Vegan Option: Use maple syrup instead of honey and a plant-based protein powder. Make sure your chocolate chips are dairy-free. I’ve tested this with pea protein and brown rice protein, and both work well. The texture might be slightly different, but the taste is still amazing.
Low-Carb/Keto: Replace the oats with unsweetened shredded coconut and almond flour. Use a low-carb sweetener like monk fruit or stevia instead of honey. This version is higher in fat and lower in carbs, perfect for a keto-friendly snack. Just note that the texture will be different—more dense and less chewy.
Add Some Crunch: Fold in ¼ cup chopped nuts like almonds, pecans, or walnuts. You can also add 2 tablespoons of chia seeds or flax seeds for extra fiber and omega-3s. I love adding chopped pecans for a buttery crunch that pairs beautifully with the peanut butter.
Fruit & Nut: Swap the chocolate chips for dried fruit like raisins, chopped dates, or dried cranberries. Add ¼ cup chopped almonds or cashews. This version is naturally sweet from the fruit and feels a little more wholesome. I make this one when I want a snack for hiking or long car rides.
Don’t be afraid to experiment. The base recipe is forgiving, so feel free to swap ingredients based on what you have or what sounds good. Just keep the wet-to-dry ratio roughly the same and you’ll be fine.
Serving & Storage Suggestions
These protein balls are incredibly versatile when it comes to serving. Here’s how I enjoy them.
Serve cold or at room temperature. I prefer them straight from the fridge—they’re firm, chewy, and incredibly satisfying. If you prefer a softer texture, let them sit at room temperature for 5-10 minutes before eating. They’re delicious either way.
Perfect for on-the-go. Grab a couple in the morning with your coffee for a quick breakfast. Pack them in lunchboxes for a midday snack. Take them to the gym for post-workout fuel. They don’t get mushy or melt, making them ideal for travel.
Pair with beverages. These balls go beautifully with a cold glass of milk, a hot cup of coffee, or a protein shake. The combination of peanut butter and chocolate with a cold drink is just classic comfort.
Storage instructions. Store the protein balls in an airtight container in the refrigerator. They’ll stay fresh for up to two weeks. I like to layer them between sheets of parchment paper so they don’t stick together. If you’re stacking them, make sure they’re fully chilled first.
Freezer instructions. These freeze beautifully. Place the rolled balls on a baking sheet and freeze until solid, about 1-2 hours. Transfer them to a freezer-safe bag or container. They’ll keep for up to three months. Thaw in the refrigerator overnight or at room temperature for 15-20 minutes before eating. I always keep a batch in my freezer for emergencies.
Flavor development. The flavors actually get better after a day or two in the fridge. The oats soften slightly, the peanut butter melds with the honey, and everything becomes more cohesive. I often make a batch on Sunday and find they taste even better by Wednesday.
Nutritional Information & Benefits
These protein balls aren’t just delicious—they’re actually good for you. Here’s a breakdown of what you’re getting in each serving.
Estimated nutrition per ball (based on 20 balls):
- Calories: 145-165
- Protein: 7-9 grams
- Carbohydrates: 16-18 grams
- Fiber: 2-3 grams
- Fat: 7-9 grams
- Sugar: 8-10 grams (naturally occurring from honey and peanut butter)
Health benefits of key ingredients:
- Peanut butter provides healthy fats and plant-based protein that keeps you full and satisfied. It’s also rich in vitamin E, magnesium, and potassium.
- Rolled oats are a great source of complex carbohydrates and fiber, which helps stabilize blood sugar and keeps energy levels steady throughout the day.
- Protein powder boosts the protein content significantly, making these balls a great post-workout snack or meal replacement option.
- Honey provides natural sweetness along with antioxidants and antibacterial properties. It’s a better choice than refined sugar.
- Dark chocolate chips offer antioxidants called flavonoids, which support heart health and reduce inflammation.
Dietary considerations: This recipe can easily be made gluten-free by using certified gluten-free oats. It can be made vegan by using maple syrup and plant-based protein powder. It’s naturally dairy-free if you use dairy-free chocolate chips. Always check labels if you have specific allergies or dietary restrictions.
I love that I can feel good about eating these. They satisfy my sweet tooth while actually nourishing my body. That’s a win-win in my book.
Conclusion
These easy no-bake peanut butter protein balls started as a kitchen accident, but they’ve become one of my most reliable recipes. They’re quick, simple, and incredibly forgiving. Whether you need a post-workout snack, a lunchbox treat, or just something to get you through the 3 PM slump, these little balls deliver every single time.
I love that this recipe is flexible enough to adapt to whatever you have in your pantry. Don’t have chocolate chips? Use dried fruit. Want a different flavor? Swap the protein powder. The base recipe is solid, but it welcomes your personal touches. That’s what makes it special.
I hope you give these a try. And if you do, I’d love to hear how they turn out. Did you make any substitutions? Did they disappear faster than you expected? Drop a comment below and let me know. Share this recipe with a friend who needs a quick, healthy snack in their life. And most importantly, don’t be afraid to make mistakes in the kitchen—you never know what delicious accident might be waiting to happen.
Happy snacking, my friend. You’ve got this.
Frequently Asked Questions
Can I use crunchy peanut butter instead of creamy?
I don’t recommend it. Crunchy peanut butter has chunks of peanuts that make the dough crumbly and harder to roll into balls. The balls may also fall apart more easily. Stick with creamy peanut butter for the best texture and easiest handling.
How long do these protein balls last?
Stored in an airtight container in the refrigerator, they stay fresh for up to two weeks. You can also freeze them for up to three months. Just thaw them in the fridge overnight or at room temperature for 15-20 minutes before eating.
Can I make these without protein powder?
Yes, but you’ll need to adjust the recipe. Replace the ½ cup protein powder with ½ cup of additional oats or almond flour. The texture will be slightly different, and the protein content will be lower, but they’ll still taste great. You might need to add a tablespoon or two of milk to get the right consistency.
Are these protein balls gluten-free?
They can be if you use certified gluten-free oats. Regular oats are often processed in facilities that also handle wheat, so check the label if you have celiac disease or gluten sensitivity. The rest of the ingredients are naturally gluten-free.
Can I use a different nut butter?
Absolutely. Almond butter, cashew butter, or sunflower seed butter all work well. Keep in mind that different nut butters have different consistencies. If your nut butter is very runny, you may need to add a tablespoon or two of extra oats to firm up the dough. If it’s very thick, add a splash of milk.
Pin This Recipe!
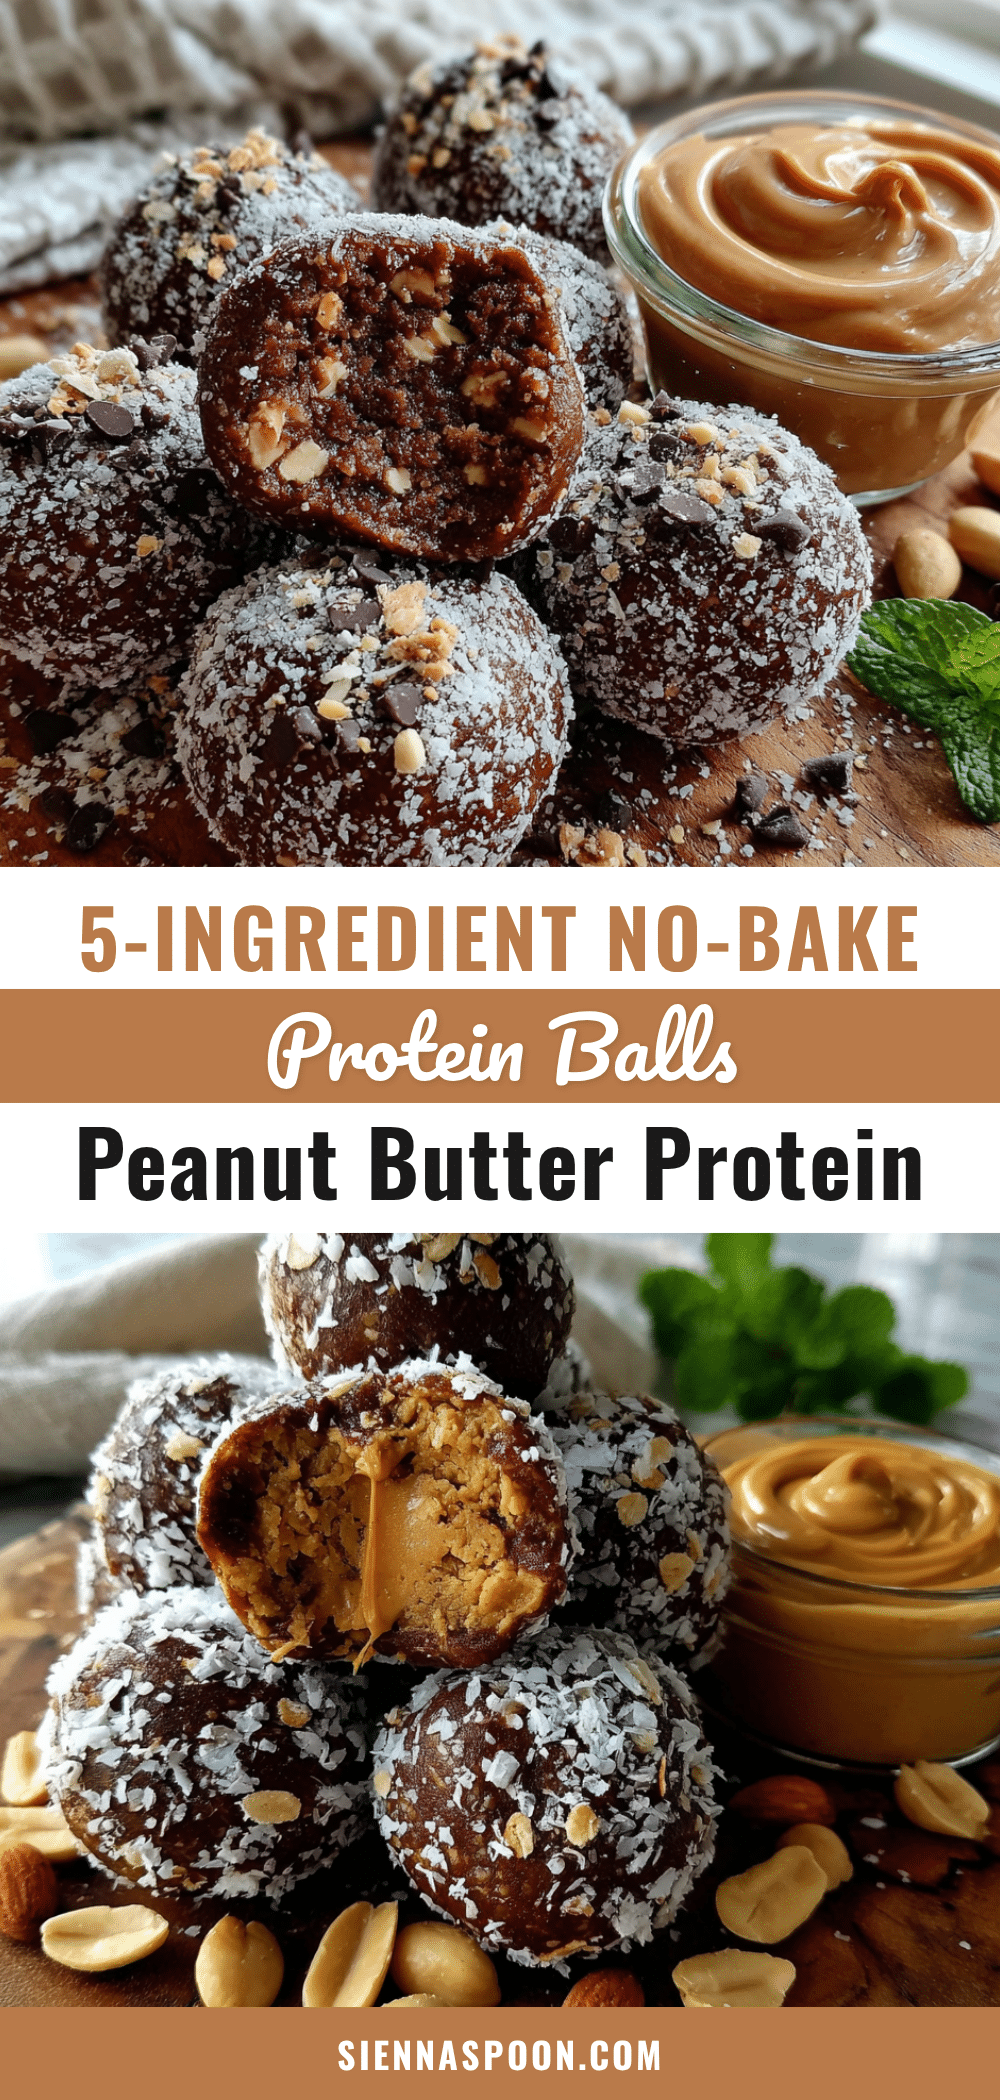
Easy No-Bake Peanut Butter Protein Balls (Best 5-Minute Recipe)
These no-bake peanut butter protein balls are a quick, healthy snack made with simple pantry ingredients. They’re perfect for meal prep, post-workout fuel, or a satisfying treat that tastes like dessert but fuels your body.
- Prep Time: 15 minutes
- Cook Time: 0 minutes
- Total Time: 45 minutes
- Yield: 20 servings 1x
- Category: Snack
- Cuisine: American
Ingredients
- 1 cup creamy peanut butter
- 1 ½ cups old-fashioned rolled oats
- ½ cup vanilla protein powder
- ⅓ cup honey or maple syrup
- ⅓ cup mini chocolate chips
- 1–2 tablespoons milk of choice (if needed)
- Pinch of sea salt (optional)
Instructions
- Combine the dry ingredients: In a large mixing bowl, add 1 ½ cups rolled oats, ½ cup vanilla protein powder, and a pinch of sea salt if using. Whisk together to break up any clumps.
- Add the wet ingredients: Add 1 cup creamy peanut butter and ⅓ cup honey to the bowl. Stir together with a spatula or wooden spoon until the mixture comes together.
- Check the consistency: The dough should hold together when pressed between your fingers. If too crumbly, add 1 tablespoon of milk; if too sticky, add 1 tablespoon of oats or a teaspoon of protein powder.
- Fold in the chocolate chips: Add ⅓ cup mini chocolate chips and fold gently until evenly distributed.
- Let the mixture rest: Cover the bowl and let it sit at room temperature for 5-10 minutes to allow the oats to absorb moisture.
- Roll into balls: Line a baking sheet with parchment paper. Using a 1-tablespoon cookie scoop or your hands, roll the dough into 1-inch balls. You should get 18-22 balls.
- Chill and set: Place the baking sheet in the refrigerator and chill for at least 30 minutes until firm.
- Transfer to storage container: Once firm, transfer the balls to an airtight container. Store in the refrigerator for up to two weeks or freeze for up to three months.
Notes
Use room temperature peanut butter for easier mixing. Don’t overmix the dough. If the dough sticks to your hands while rolling, lightly wet your hands with cold water. Chill the balls for at least 30 minutes before eating for best texture. The flavors develop and improve after a day or two in the fridge.
Nutrition
- Serving Size: 1 ball
- Calories: 155
- Sugar: 9
- Sodium: 80
- Fat: 8
- Saturated Fat: 2
- Carbohydrates: 17
- Fiber: 2.5
- Protein: 8
Keywords: no-bake, peanut butter, protein balls, energy balls, healthy snack, gluten-free option, vegan option, meal prep


