Love this? Save it for later!
Share the inspiration with your friends
My daughter came home from preschool with a sniffle for the third time in a month, and I just felt… defeated. You know that feeling? It was a Tuesday, and I was staring into my pantry like it held the answers to the universe. I had a bag of dried elderberries I’d impulse-bought months ago, a jar of honey from the farmer’s market, and a vague memory of a friend mentioning she made her own gummies. Honestly, I was tired of the constant run to the pharmacy and the battle to get my kid to take anything that tasted like medicine. I wanted something that felt like a treat, not a chore. So, I grabbed a saucepan, crossed my fingers, and decided to just try it. I didn’t have any fancy molds—just a little silicone ice cube tray shaped like stars—and I definitely didn’t have any gelatin, which I’d read can be a little hard on some tummies. Let me tell you, the first batch was a mess. I used too much liquid, and they never set. But the second time? Pure magic. These Homemade Elderberry Gummies with Honey (No Gelatin) are the result of that messy, desperate Tuesday, and they’ve been a non-negotiable in our house ever since.
These aren’t just any gummies. They’re made with a simple, plant-based thickener that gives them the perfect, bouncy chew without any weird animal products. And the best part? They actually work. We pop one or two a day during cold season, and I swear we’ve dodged more bugs than a windshield on a summer road trip. This isn’t a complicated science project; it’s a 15-minute kitchen activity that makes you feel like a superhero parent (or just a very smart adult who takes care of themselves).
So, whether you’re a seasoned homesteader or just someone looking for a fun, functional snack, these gummies are for you. They’re the perfect blend of sweet, tart, and immunity-boosting goodness. Let’s get to it—you’re going to love how easy this is.
Why You’ll Love This Recipe
I’ve tested this recipe more times than I can count, tweaking the ratios and the cooking times to get the perfect texture that doesn’t melt in your pocket or stick to your teeth. Here’s why I think you’ll fall for it too:
- Super Simple Ingredients: You only need four main things—dried elderberries, water, honey, and agar agar powder. No weird chemicals, no obscure health food store finds. You can literally make these with a trip to the grocery store and a quick online order for the agar.
- No Gelatin Required: This is a huge win for my vegetarian and vegan friends. Using agar agar (which comes from seaweed) gives these gummies a firm, clean bite that holds up at room temperature. Plus, it’s much gentler on digestion than gelatin for some people.
- Immune-Boosting Powerhouse: Elderberries are packed with antioxidants and vitamins that are famous for supporting the immune system. Paired with raw honey, which has its own antibacterial properties, you’ve got a little wellness bomb that actually tastes good.
- Fun for the Whole Family: My kid thinks these are candy. I know they’re medicine. It’s a win-win. They’re perfect for packing in lunchboxes, stashing in your purse, or keeping on the counter for a quick, healthy snack.
- Totally Customizable: You can use different fruit juices (like tart cherry or blueberry) to change the flavor, or add a pinch of cinnamon or ginger for an extra warming kick. This recipe is a template, not a rulebook.
This isn’t just another gummy recipe you’ll forget about. It’s the one that makes you feel accomplished and prepared. The first time you pull a perfect, ruby-red gummy out of the mold, you’ll feel a little burst of pride. And when you feel that tickle in your throat, you’ll be glad you have a stash waiting for you.
What Ingredients You Will Need
This recipe uses simple, wholesome ingredients to deliver a potent immune boost and a satisfying, chewy texture. You’ll be amazed at how little you need to create something so effective.
- Dried Elderberries (½ cup): These are the star of the show. You can find them at health food stores, online, or sometimes in the bulk section of your grocery store. Look for deep, dark purple berries that are plump and not dusty. I personally like the brand Starwest Botanicals for consistent quality. Do not use fresh elderberries—they must be cooked before eating.
- Water (2 cups): Filtered water is best for making your syrup base. Tap water with a strong chlorine taste can sometimes affect the final flavor. We’ll use this to simmer the berries and extract all that goodness.
- Raw Honey (¼ cup): This adds sweetness and natural antibacterial properties. I recommend a local, raw honey for the best flavor and health benefits. If you’re vegan or avoiding honey for little ones under one year old, you can substitute with maple syrup or agave nectar, though the flavor will change slightly. The honey also helps balance the tartness of the elderberries.
- Agar Agar Powder (2 tablespoons): This is the magic ingredient that replaces gelatin. It’s a plant-based thickener derived from seaweed. It’s crucial to use the powder form, not the flakes, for this recipe. The powder dissolves more evenly and gives a smoother, clearer gummy. My go-to is the brand “Now Foods.” It’s reliable and easy to find online.
- Optional: Lemon Juice (1 tablespoon): A little squeeze of fresh lemon juice brightens the flavor and helps preserve the gummies. It also adds a nice zing that cuts through the sweetness of the honey.
Ingredient Substitution Guidance:
If you don’t have dried elderberries, you can use 1 cup of unsweetened, 100% elderberry juice concentrate. If using juice concentrate, skip the simmering step and just heat the juice with the water. For a lower-sugar version, you can use a monk fruit-based honey substitute, but the texture might be slightly less firm. Always make sure your agar agar powder is fresh—old powder can lose its gelling power.
Equipment Needed
You don’t need a professional kitchen to make these. Here’s what you’ll want to have on hand:
- Small Saucepan: A 2-quart saucepan works perfectly. You don’t want anything too wide, or the liquid will evaporate too quickly.
- Fine-Mesh Strainer: This is essential for straining out the cooked elderberries and their tiny seeds. A nut milk bag or a cheesecloth-lined sieve will also work.
- Whisk: A small whisk is your best friend for dissolving the agar agar powder without clumps. A fork can work in a pinch, but a whisk is better.
- Silicone Gummy Molds: These are the fun part! You can get cute bear shapes, stars, or even simple rectangles. I got a set of bear molds from Amazon for about $8, and they’ve lasted for years. If you don’t have molds, you can pour the mixture into a shallow glass dish and cut it into squares once set.
- Liquid Measuring Cup: A glass measuring cup with a spout makes pouring the hot liquid into the molds much cleaner and less messy.
- Dropper or Small Spoon: For filling the tiny molds without spilling everywhere. A small medicine dropper is actually perfect for this.
Pro-Tip: Don’t use metal or hard plastic molds. The gummies can be tricky to pop out of those. Silicone is the absolute best for a clean release. Also, if you’re new to working with agar, don’t worry—it’s more forgiving than you think!
Preparation Method
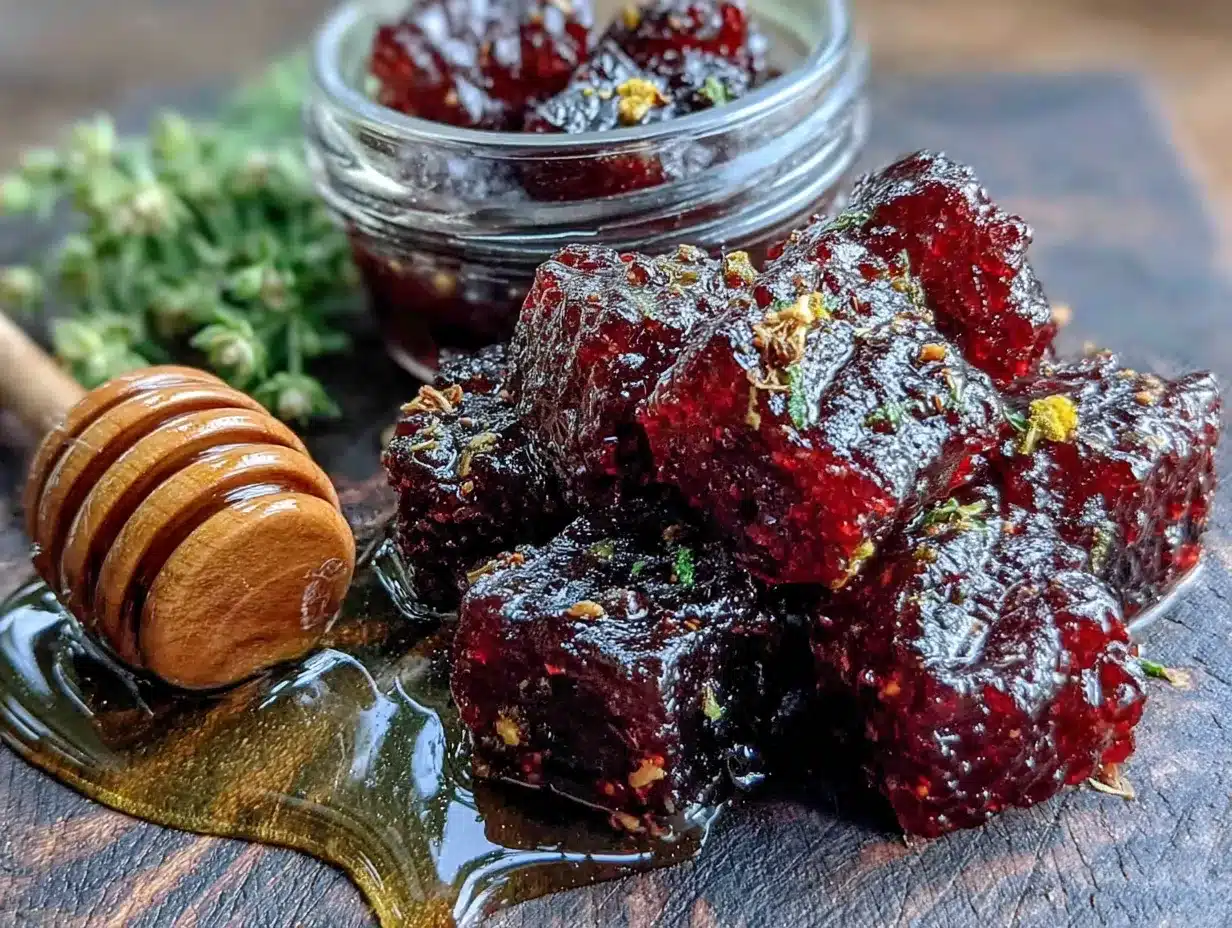
Let’s get to the good part. This process is incredibly simple, but I’ll walk you through every step so you feel totally confident.
- Make the Elderberry Syrup: In your small saucepan, combine the ½ cup of dried elderberries and 2 cups of water. Bring it to a boil over medium-high heat, then reduce the heat to low and let it simmer for about 20-25 minutes. You’ll notice the water turning a deep, dark purple, and the berries will plump up. The smell is amazing—kind of like a tart, fruity tea. After simmering, remove the pan from the heat and let it cool for about 10 minutes.
- Strain the Berries: Place your fine-mesh strainer over a large liquid measuring cup or bowl. Pour the mixture through the strainer, pressing gently on the berries with the back of a spoon to extract every last drop of that precious syrup. Discard the spent berries (they go great in compost!). You should have about 1 ½ cups of concentrated elderberry syrup. If you have more, you can simmer it a little longer to reduce it; if you have less, you can top it off with a splash of water.
- Combine with Honey and Lemon: While the syrup is still warm (but not boiling), whisk in the ¼ cup of raw honey and the 1 tablespoon of lemon juice (if using). Whisk until the honey is completely dissolved. Taste it! It should be sweet and tart. If it’s not sweet enough for your liking, you can add a little more honey now.
- Activate the Agar Agar: This is the most important step. You need to bring the mixture back to a gentle simmer. Sprinkle the 2 tablespoons of agar agar powder over the surface of the liquid while whisking constantly. Do not dump it all in at once! Whisk vigorously for about 1-2 minutes to make sure there are no lumps. Let the mixture come to a low boil and simmer for exactly 2-3 minutes. Agar agar needs to be boiled to activate its gelling properties. If you don’t boil it long enough, your gummies won’t set. You’ll see the liquid start to thicken slightly.
- Quickly Fill the Molds: Remove the saucepan from the heat. Work quickly! Agar agar starts to set at room temperature (around 100°F/38°C), so you have a limited window. Using your liquid measuring cup with a spout, carefully pour the mixture into your silicone molds. If you have a dropper, use it to fill the tiny details. Don’t overfill—leave a tiny bit of space at the top for easy popping later.
- Let Them Set: Place the filled molds on a flat surface in the refrigerator. Let them chill, undisturbed, for at least 30-60 minutes. They should be firm to the touch and pop out of the mold easily. If they feel sticky or soft, give them more time in the fridge. Sometimes, if your kitchen is warm, they need a full hour.
- Pop and Store: Gently flex the silicone mold to release the gummies. They should slide right out. If they stick, you can pop the whole mold in the freezer for 5 minutes, which helps them release perfectly.
Sensory Cue: When you boil the agar, the mixture will look slightly frothy and feel a little thicker when you whisk it. When the gummies are set, they should have a firm, bouncy texture—like a firm Jell-O, not a soft, jiggly one.
Cooking Tips & Techniques
I’ve made plenty of mistakes so you don’t have to. Here are the things I wish I knew the first time.
- Don’t Skip the Simmer: The agar agar needs a full, rolling boil for at least 2 minutes. I once got distracted and only let it simmer for 30 seconds. The gummies never set. They stayed a syrupy mess. Respect the boil!
- Work Fast: Agar agar sets at a higher temperature than gelatin. Once you take it off the heat, you have about 5-10 minutes before it starts to thicken in the pan. Have your molds ready and your pouring station set up before you start boiling.
- Dealing with Clumps: If you see tiny clumps of undissolved agar agar in your liquid, don’t panic. You can pour the mixture through a fine-mesh strainer again before filling the molds. This will give you a perfectly smooth gummy.
- Grease Your Molds (Optional): If you’re worried about sticking, you can lightly spray your silicone molds with a tiny bit of coconut oil spray before pouring. I rarely need to do this, but it’s a good trick for intricate molds.
- Testing for Set: Before you pour all your mixture into the molds, you can test the set. Place a small spoonful of the hot liquid on a cold plate and put it in the fridge for 2 minutes. If it firms up, you’re good to go. If it’s still liquid, you need to boil the mixture a little longer.
Variations & Adaptations
One of the best things about this recipe is how easy it is to change up. Here are a few of my favorite twists.
- Spiced Elderberry Gummies: Add a cinnamon stick and a few slices of fresh ginger to the simmering elderberries. It gives the gummies a warming, cozy flavor that’s amazing in the winter. Just remove the cinnamon and ginger before straining.
- Berry Blast Gummies: Swap out ½ cup of the water for ½ cup of unsweetened tart cherry juice or blueberry juice. This adds extra antioxidants and a delicious fruity depth. You might need to reduce the honey slightly if the juice is sweet.
- Vegan “Honey” Version: Replace the honey with an equal amount of maple syrup or agave nectar. Maple syrup gives a lovely, earthy sweetness that pairs beautifully with the elderberries. The texture will be the same, but the flavor will be slightly different.
- Citrus Zing: Add the zest of one orange or lemon to the syrup while it’s simmering. Strain it out with the berries. The citrus oils add a bright, fresh note that cuts through the richness of the honey.
I once made a batch with a splash of rose water (about ½ teaspoon) and it was surprisingly delightful. Don’t be afraid to experiment! These are your gummies.
Serving & Storage Suggestions
These gummies are best enjoyed as a daily immune support treat, not a meal replacement. Here’s how to keep them fresh and tasty.
- Serving Temperature: They are perfect straight from the fridge. They hold their shape well at room temperature for a few hours, making them great for lunchboxes or road trips. Just don’t leave them in a hot car!
- How to Serve: I usually give my family 1-2 gummies per day during cold and flu season. They’re a great afternoon snack, a post-school treat, or a little something to take the edge off a scratchy throat. You can also pop one before bed for a comforting, immune-supporting ritual.
- Storage: Store your gummies in an airtight container in the refrigerator. They will keep well for up to 2-3 weeks. I like to use a glass jar so I can see how many are left. Do not store them at room temperature for more than a day, as they can get sticky or moldy.
- Freezing: Yes, you can freeze these! Place the gummies in a single layer on a baking sheet lined with parchment paper and freeze for about an hour. Then, transfer them to a freezer-safe bag or container. They will last for up to 3 months. Thaw them in the fridge overnight before eating. The texture remains surprisingly good.
- Flavor Development: The gummies are best within the first week. After that, they can start to develop a slightly stronger, more concentrated elderberry flavor. It’s still good, just more intense.
Nutritional Information & Benefits
These aren’t just candy—they’re little health boosters. Here’s a quick look at what you’re getting.
- Estimated Nutrition (per 1 large gummy): Calories: 25, Total Fat: 0g, Sodium: 2mg, Total Carbohydrates: 6g (including 5g sugar), Protein: 0g. (Values are approximate and depend on the specific ingredients used).
- Elderberry Power: Elderberries are rich in anthocyanins, which are powerful antioxidants that help fight inflammation and support the immune system. They’re also a good source of Vitamin C and dietary fiber.
- Honey’s Benefits: Raw honey is a natural antibacterial and antifungal agent. It can help soothe a sore throat and provide a quick source of energy.
- Dietary Considerations: This recipe is naturally vegan (if using maple syrup), gluten-free, dairy-free, and nut-free. It contains no artificial colors, flavors, or preservatives.
- Allergen Note: The only potential allergen is honey, which should not be given to children under 1 year old. Always check the labels on your dried elderberries to ensure they are processed in a facility free from common allergens if that is a concern.
I love that I can give these to my family knowing exactly what’s in them. No high-fructose corn syrup, no weird gelling agents—just real food that supports our health.
Conclusion
So, there you have it. Homemade Elderberry Gummies with Honey (No Gelatin) that are simple, effective, and actually fun to make. I know it can feel a little intimidating to make your own gummies at first, but I promise you—if I can do it on a frantic Tuesday afternoon, you can do it. The process is forgiving, the ingredients are forgiving, and the result is something that makes you feel prepared and proud.
I love this recipe because it turns a chore (taking vitamins) into a treat. It’s a little act of care for yourself and your family. I encourage you to make a batch this weekend, even if you don’t think you need it. Having them in the fridge is like having a tiny safety net for your immune system.
Have you tried making these? Did you add your own twist? I’d love to hear about it in the comments below! Share your photos, your flavor variations, or any questions you have. Let’s build a community of people who love taking care of themselves, one delicious gummy at a time. Happy cooking!
Frequently Asked Questions
Can I use fresh elderberries instead of dried?
No, you should not use fresh elderberries for this recipe. Raw fresh elderberries can be mildly toxic and cause stomach upset. They must be cooked thoroughly, and the dried version is much more reliable for a consistent syrup. Stick with dried elderberries for safety and best results.
My gummies didn’t set! What went wrong?
This is the most common issue. The number one reason is that the agar agar was not boiled long enough. It needs a full, rolling boil for at least 2-3 minutes to activate. Another reason could be that you used too much liquid. Make sure you measure your syrup after straining. Finally, check the expiration date on your agar agar powder—if it’s old, it may have lost its gelling power.
Can I use agar agar flakes instead of powder?
I don’t recommend it for this specific recipe. Agar agar flakes have a different concentration and require a different ratio (usually about 1 tablespoon of flakes for every 1 teaspoon of powder). They also need to be soaked and boiled differently. Using powder gives you the most reliable, smooth result. Stick with powder for your first few batches.
How many gummies should I eat per day?
This is a supplement, not a candy. For adults, 2-4 gummies per day is a good general guideline. For children, 1-2 gummies per day is plenty. Always listen to your body, and consult with a healthcare professional if you have specific health concerns or are taking medications.
Can I make these without honey for a child under 1 year old?
Yes, absolutely! Simply replace the honey with an equal amount of maple syrup or agave nectar. Maple syrup is a fantastic substitute and gives a lovely flavor. Just remember, these gummies are still a treat, so they should be given in moderation to little ones.
Pin This Recipe!
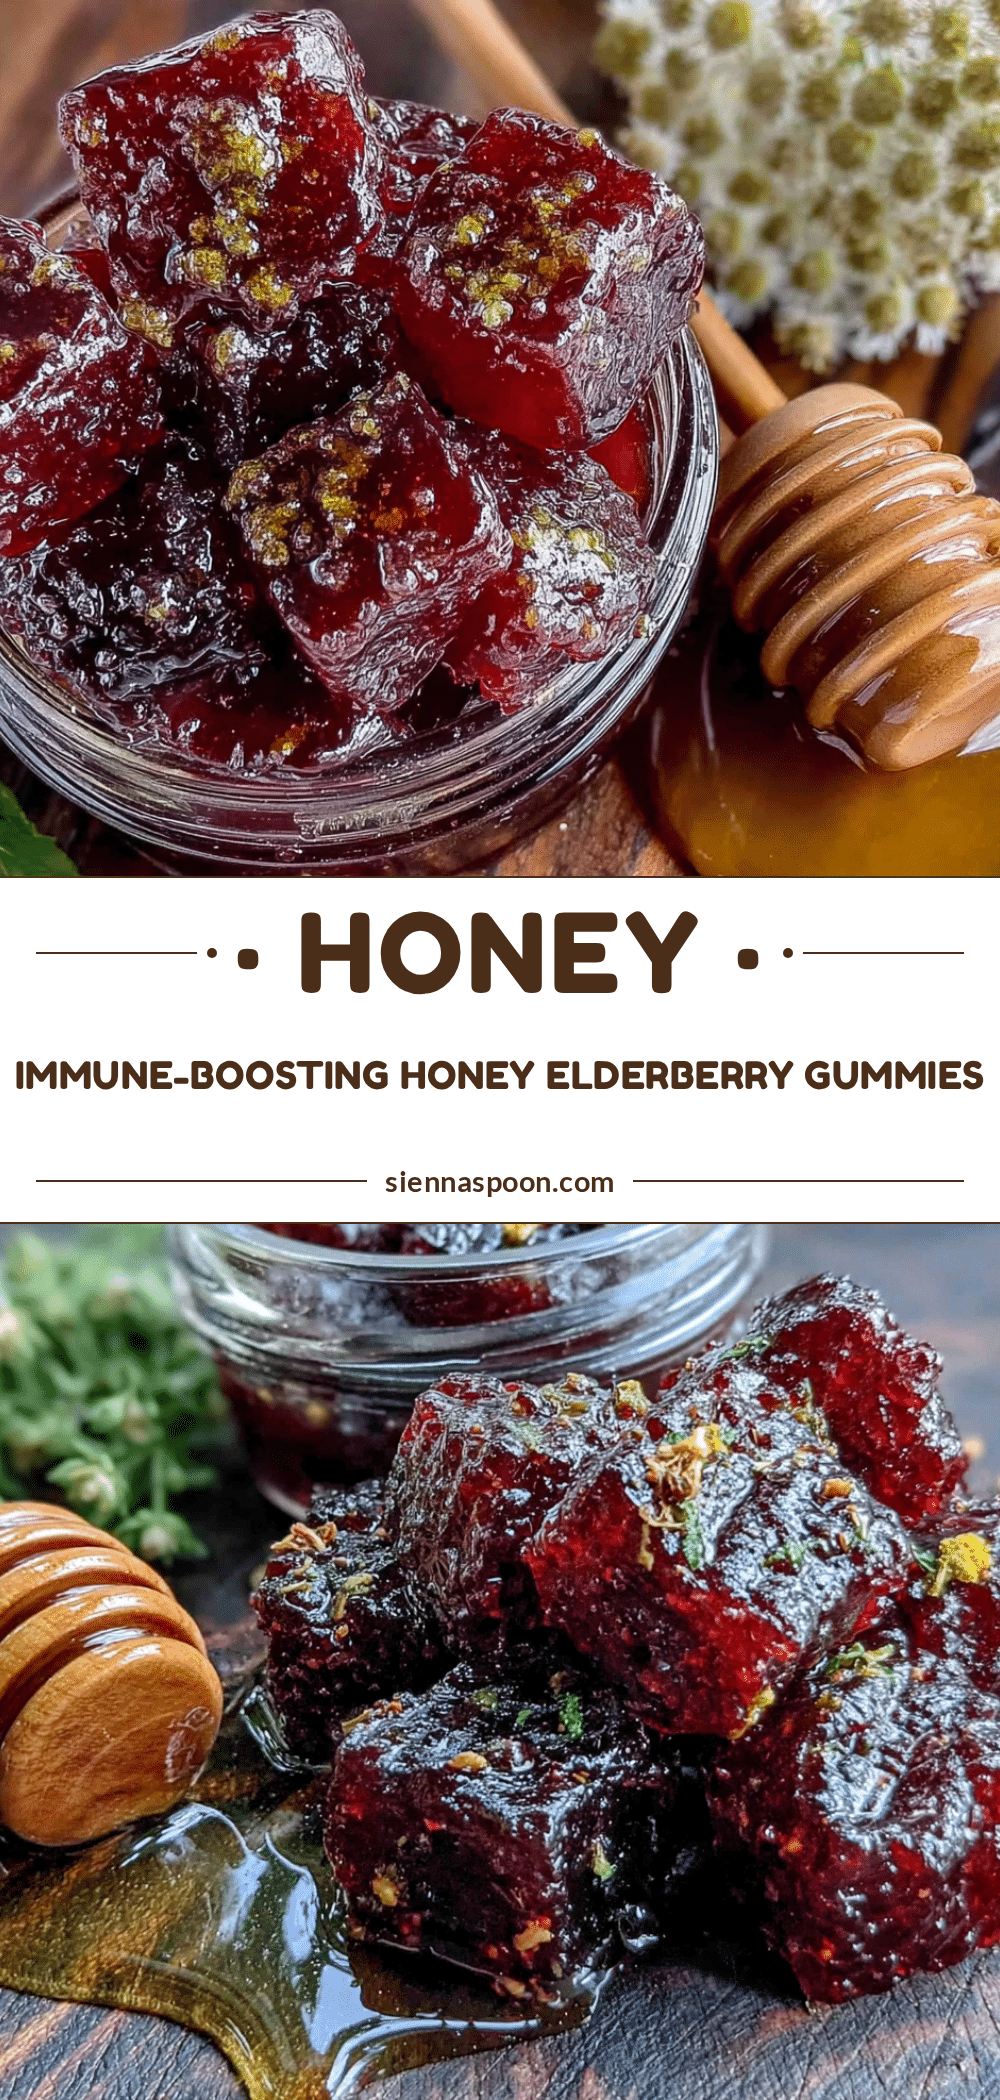
Homemade Elderberry Gummies: Easy 4-Ingredient Immune Boost
These Homemade Elderberry Gummies with Honey (No Gelatin) are a simple, plant-based immune boost made with just four ingredients. They’re a fun, functional snack that tastes like candy but supports your health.
- Prep Time: 10 minutes
- Cook Time: 25 minutes
- Total Time: 35 minutes
- Yield: 4 servings 1x
- Category: Snack
- Cuisine: American
Ingredients
- ½ cup dried elderberries
- 2 cups water
- ¼ cup raw honey
- 2 tablespoons agar agar powder
- 1 tablespoon lemon juice (optional)
Instructions
- Make the Elderberry Syrup: In a small saucepan, combine the dried elderberries and water. Bring to a boil over medium-high heat, then reduce heat to low and simmer for 20-25 minutes until the water turns deep purple. Remove from heat and let cool for 10 minutes.
- Strain the Berries: Place a fine-mesh strainer over a large liquid measuring cup or bowl. Pour the mixture through the strainer, pressing gently on the berries with the back of a spoon to extract all the syrup. Discard the spent berries. You should have about 1½ cups of concentrated elderberry syrup.
- Combine with Honey and Lemon: While the syrup is still warm (but not boiling), whisk in the honey and lemon juice (if using) until the honey is completely dissolved. Taste and adjust sweetness if desired.
- Activate the Agar Agar: Bring the mixture back to a gentle simmer. Sprinkle the agar agar powder over the surface while whisking constantly. Whisk vigorously for 1-2 minutes to avoid lumps. Let the mixture come to a low boil and simmer for exactly 2-3 minutes to activate the gelling properties.
- Quickly Fill the Molds: Remove from heat. Work quickly as agar agar sets at room temperature. Using a liquid measuring cup with a spout or a dropper, carefully pour the mixture into silicone gummy molds. Do not overfill.
- Let Them Set: Place the filled molds on a flat surface in the refrigerator. Chill, undisturbed, for at least 30-60 minutes until firm to the touch.
- Pop and Store: Gently flex the silicone mold to release the gummies. If they stick, place the mold in the freezer for 5 minutes. Store in an airtight container in the refrigerator.
Notes
Agar agar must be boiled for at least 2-3 minutes to activate. Work quickly after removing from heat as it sets at room temperature. For vegan version, substitute honey with maple syrup. Do not use fresh elderberries—they must be cooked. Store in refrigerator for up to 2-3 weeks or freeze for up to 3 months.
Nutrition
- Serving Size: 1 large gummy
- Calories: 25
- Sugar: 5
- Sodium: 2
- Carbohydrates: 6
Keywords: elderberry gummies, homemade gummies, immune boost, no gelatin, vegan gummies, healthy snack, elderberry recipe


