Love this? Save it for later!
Share the inspiration with your friends
Introduction
The neighborhood bake sale was in just over an hour, and I had zero time to prepare anything fancy. Everyone else was showing up with these multi-step, gourmet treats that probably took days to perfect. Meanwhile, I had a half-empty box of Rice Krispies and some marshmallows sitting on my counter. Honestly, it was a last-minute scramble—no elaborate frosting or fancy decorations, just whatever I could throw together fast.
I remember juggling phone calls, the dog barking nonstop, and a cracked mixing bowl that almost sent the whole batch flying across the kitchen. You know that feeling when the clock’s ticking, and you think, “I really should’ve started this earlier”? Yeah, that was me. Somehow, I ended up with these simple no-bake Rice Krispie lunchbox bars that took less than five minutes to mix and set.
What surprised me was how quickly these bars disappeared at the sale. Kids loved them, parents asked for the recipe, and I was grinning like I’d pulled off some secret culinary magic. I keep making this recipe because it’s honest, quick, and really hits the spot when you need a snack in a pinch. Maybe you’ve been there too—racing the clock but needing something tasty and fuss-free. That’s exactly why these bars have stuck around in my snack rotation.
Why You’ll Love This Recipe
After making these no-bake Rice Krispie lunchbox bars more times than I can count, I can say they’re a genuine lifesaver. Here’s why this recipe stands out:
- Quick & Easy: Ready in under 10 minutes, perfect when you’re juggling a million things and need a fast snack.
- Simple Ingredients: Pantry staples like Rice Krispies, marshmallows, and butter—no hunting for obscure items.
- Perfect for Lunchboxes: Portable, mess-free, and kid-friendly, making school or work snacks a breeze.
- Crowd-Pleaser: Both kids and adults rave about the chewy, crunchy texture combo.
- Unbelievably Delicious: The classic sweet flavor with a satisfying crunch that feels like comfort food.
This isn’t just another Rice Krispie bar recipe. I’ve found that melting the marshmallows gently over low heat and folding in the cereal carefully makes all the difference in texture. No clumps, no dry bits—just perfectly coated bars every time. Plus, the no-bake method means no oven fuss, which is a total win on busy days.
Honestly, these bars are the snack that makes you pause and smile after that first bite—simple, nostalgic, and exactly what you need when life’s moving fast.
What Ingredients You Will Need
This recipe uses simple, wholesome ingredients to deliver that classic Rice Krispie bar flavor and texture without any fuss. Most are pantry staples, so you’re likely already set for a quick snack fix.
- Rice Krispies cereal (about 6 cups / 180g) – the star that brings the crunch and lightness.
- Marshmallows (10 oz / 283g, about 40 large or 4 cups mini) – for that chewy, sweet binding magic. I prefer Jet-Puffed for consistent melting.
- Unsalted butter (3 tablespoons / 42g) – adds richness and helps the marshmallows melt smoothly.
- Vanilla extract (1 teaspoon) – optional but brings a lovely depth of flavor.
- Pinch of salt – balances the sweetness.
Optional add-ins:
- Mini chocolate chips or peanut butter chips for a twist.
- Chopped nuts like almonds or pecans for extra crunch.
- Dried fruit pieces such as cranberries or raisins.
For a gluten-free option, make sure your Rice Krispies cereal is certified gluten-free. You can swap the butter with coconut oil or vegan margarine for a dairy-free version, and use dairy-free marshmallows (look for brands like Dandies).
Equipment Needed
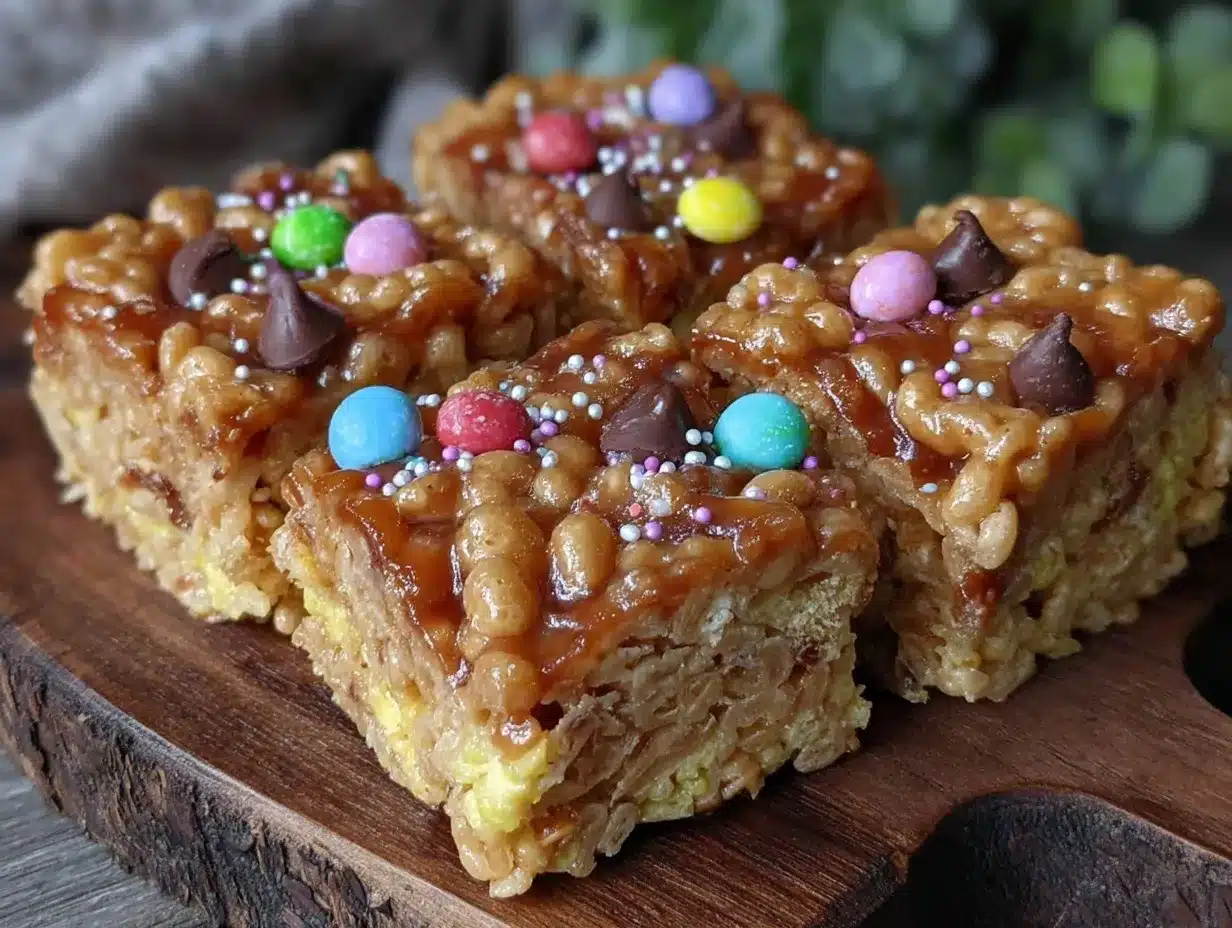
- Large mixing bowl – a sturdy glass or heatproof bowl works best for melting marshmallows.
- Medium saucepan – for melting butter and marshmallows together gently.
- Wooden spoon or heat-resistant spatula – to stir the sticky mixture without scratching your pans.
- 9×13-inch (23×33 cm) baking pan – lined with parchment paper or lightly greased for easy removal of bars.
- Measuring cups and spoons – for accurate ingredient amounts.
If you don’t have a saucepan, you can melt marshmallows and butter in the microwave in short bursts, stirring every 20 seconds. I’ve done both, but the stovetop gives more control to prevent scorching.
For cleanup, I recommend soaking your mixing tools right after use—marshmallows harden fast and can be tricky to scrub off once cooled.
Preparation Method
- Prepare your pan: Line a 9×13-inch (23×33 cm) baking pan with parchment paper or lightly grease it. This keeps the bars from sticking and makes cleanup a breeze. Set aside. (5 minutes)
- Melt the butter: In a medium saucepan over low heat, melt 3 tablespoons (42g) of unsalted butter until fully liquid but not browned. Low heat is key here—too hot and the marshmallows might scorch. (2-3 minutes)
- Add marshmallows: Toss in 10 oz (283g) of marshmallows. Stir gently but constantly until the marshmallows are melted and smooth. You’ll see the mixture become glossy and thick. If some small lumps remain, keep stirring off heat for a minute—they’ll dissolve. (4-5 minutes)
- Flavor it: Remove from heat and stir in 1 teaspoon vanilla extract and a pinch of salt. This little step makes a big flavor difference. (30 seconds)
- Mix in the cereal: Pour 6 cups (180g) of Rice Krispies cereal into the melted marshmallow mixture. Using a wooden spoon or spatula, fold the cereal carefully to coat evenly without smashing the flakes. The texture should be sticky but not mushy. (1-2 minutes)
- Press into the pan: Transfer the mixture into the prepared baking pan. Use a buttered spatula or wax paper to press it down firmly and evenly—this helps the bars hold their shape. Don’t press too hard or the bars will be too dense. (2 minutes)
- Cool and set: Let the bars cool at room temperature for at least 30 minutes to firm up. You can speed this up by placing the pan in the fridge, but avoid freezing as it can make the bars crumbly. (30+ minutes)
- Cut and serve: Once set, lift the bars out using the parchment paper edges and cut into squares or rectangles. Store leftovers in an airtight container to keep them fresh. (5 minutes)
If your mixture starts to harden before pressing it into the pan, warm it gently again over low heat for a few seconds to soften. This recipe is forgiving, but timing helps get the perfect chewy texture.
Cooking Tips & Techniques
Getting these no-bake Rice Krispie lunchbox bars just right is mostly about timing and gentle heat. Here are some tips I’ve picked up:
- Low and slow melting: Melt butter and marshmallows over low heat to avoid burning. Rushing this step can give a bitter taste and grainy texture.
- Use fresh marshmallows: Stale marshmallows can be dry and harder to melt smoothly, leading to crumbly bars.
- Don’t over-stir the cereal: Folding gently keeps the cereal flakes intact, giving you that light crunch.
- Press carefully: Use a piece of wax paper or a buttered spatula to press the mixture evenly without compacting too much.
- Work quickly but calmly: The marshmallow mixture sets fast. Have your pan ready before melting, so you can move swiftly.
- Storage matters: Keep bars in an airtight container at room temperature for up to 3 days. Refrigeration can dry them out.
One time, I got distracted by a phone call mid-prep and nearly let the marshmallow mixture scorch. Let me tell you, that burnt smell is something you don’t want to repeat! Honestly, a little focus goes a long way here.
Variations & Adaptations
This basic recipe is a great starting point and easy to tweak based on what you like or have on hand:
- Chocolate Lover’s Twist: Stir in 1 cup of mini chocolate chips after mixing the cereal for melty pockets of chocolate goodness.
- Peanut Butter Swirl: Melt 1/2 cup of peanut butter with the butter for a rich, nutty flavor that pairs perfectly with marshmallows.
- Fruit & Nut Boost: Add 1/2 cup chopped nuts and 1/3 cup dried cranberries or raisins to the cereal mixture for extra texture and flavor.
- Gluten-Free Option: Use gluten-free certified Rice Krispies to keep it safe for gluten-sensitive eaters.
- Dairy-Free Version: Swap butter for coconut oil and use vegan marshmallows for a plant-based treat.
Once, I tried adding crushed pretzels for a salty crunch, and honestly, it was a total hit with my kids. Feel free to get creative—you can’t really go wrong with this base.
Serving & Storage Suggestions
These bars are best served at room temperature when they’re chewy and soft. They make perfect grab-and-go snacks for lunchboxes, road trips, or after-school munchies.
Pair them with a glass of cold milk or a warm cup of tea for a comforting snack break. For parties, cut into smaller bite-sized squares and serve with fresh fruit to balance the sweetness.
Store leftover bars in an airtight container at room temperature for up to 3 days. If you want to keep them longer, wrap individual bars tightly and freeze them for up to a month. Thaw at room temperature before eating.
Over time, the bars might firm up a bit more, but they still stay deliciously chewy. If you find them too stiff, a few seconds in the microwave can soften them right back up.
Nutritional Information & Benefits
Each bar provides a quick energy boost from simple carbs and a bit of fat for satiety. Here’s an approximate breakdown per bar (if you cut the batch into 12 bars):
| Calories | 150-170 kcal |
|---|---|
| Fat | 5-7g |
| Carbohydrates | 28-32g |
| Protein | 1-2g |
| Sugar | 15-18g |
The marshmallows and cereal provide quick-release energy, which is great for active kids needing a fast snack. Butter adds a little richness and fat to help keep hunger at bay.
For those watching allergens, this recipe contains dairy and gluten unless you use gluten-free cereal and dairy-free alternatives. It’s an easy recipe to adapt if you have dietary considerations.
Personally, I appreciate this snack as a quick pick-me-up that’s homemade, so I know exactly what’s in it—no mystery ingredients or preservatives.
Conclusion
If you need a fast, fuss-free snack that everyone will love, these easy no-bake Rice Krispie lunchbox bars are your go-to. They’re simple, nostalgic, and come together in just minutes—perfect for hectic days or last-minute treats.
Feel free to tweak the basic recipe with your favorite add-ins or dietary swaps to make it your own. Honestly, it’s the kind of recipe that sticks around because it just works—simple ingredients, speedy prep, and happy snackers.
Give it a try, and please share your favorite variations or how it worked out for you in the comments. I love hearing your stories and little twists on this classic treat. Here’s to quick snacks that feel homemade and keep life moving!
FAQs
Can I use mini marshmallows instead of large ones?
Yes! Mini marshmallows work perfectly and melt even faster. Just use about 4 cups (around the same weight) as a substitute.
How long do these Rice Krispie bars last?
Stored in an airtight container at room temperature, they stay fresh for about 3 days. You can freeze them for up to a month for longer storage.
Can I make these bars vegan or dairy-free?
Absolutely! Use dairy-free margarine or coconut oil instead of butter, and swap regular marshmallows with vegan marshmallows like Dandies.
Is there a way to make these bars less sweet?
Try reducing the marshmallows slightly or adding mix-ins like nuts or pretzels to balance the sweetness with some saltiness and texture.
Can I add flavors like cinnamon or cocoa powder?
Yes, stirring in a teaspoon of cinnamon or a tablespoon of cocoa powder into the melted marshmallow mixture adds a nice flavor twist without affecting texture.
Pin This Recipe!
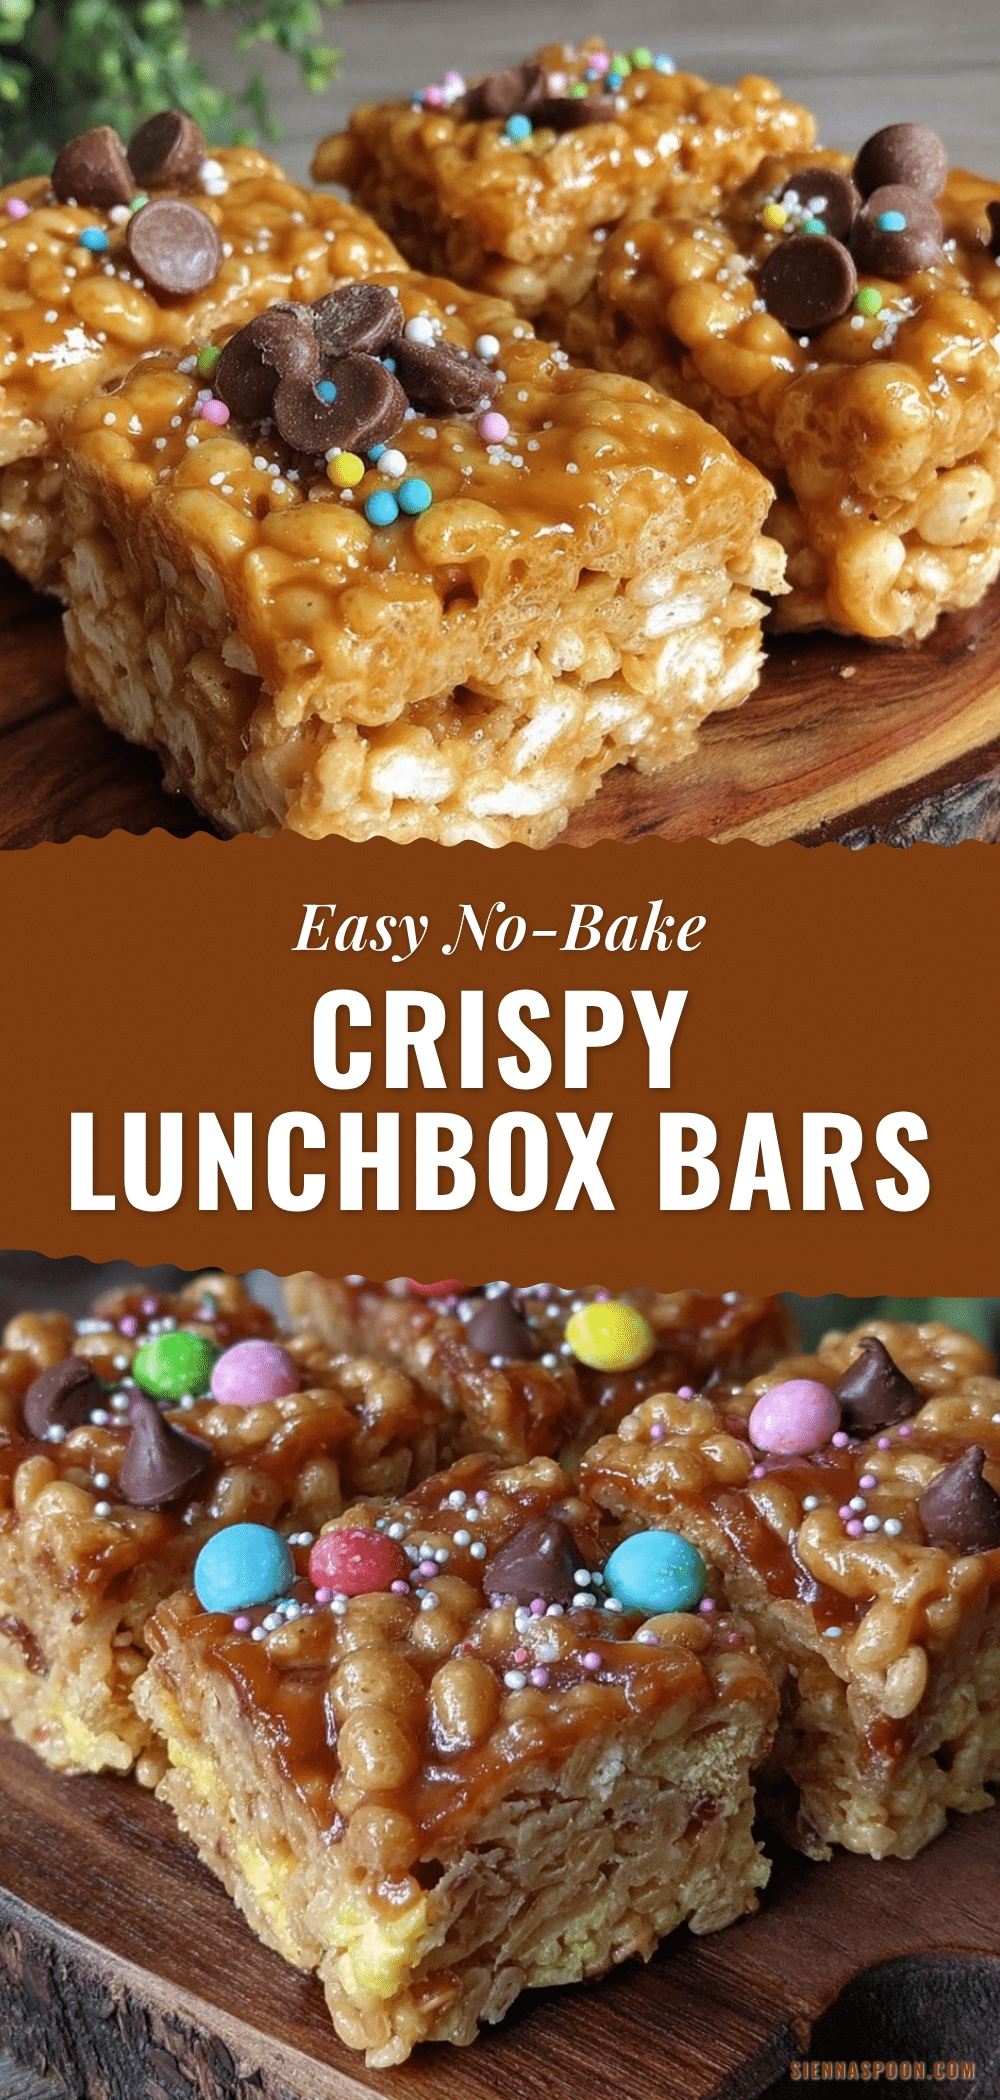
Easy No-Bake Rice Krispie Lunchbox Bars 5-Minute Quick Snack Recipe

A quick and easy no-bake Rice Krispie bar recipe perfect for last-minute snacks, lunchboxes, or bake sales. Made with simple pantry staples and ready in under 10 minutes.
- Prep Time: 5 minutes
- Cook Time: 7-8 minutes
- Total Time: 45 minutes
- Yield: 12 bars 1x
- Category: Snack
- Cuisine: American
Ingredients
- 6 cups (180g) Rice Krispies cereal
- 10 oz (283g) marshmallows (about 40 large or 4 cups mini)
- 3 tablespoons (42g) unsalted butter
- 1 teaspoon vanilla extract (optional)
- Pinch of salt
- Optional add-ins: mini chocolate chips, peanut butter chips, chopped nuts (almonds or pecans), dried fruit (cranberries or raisins)
Instructions
- Line a 9×13-inch (23×33 cm) baking pan with parchment paper or lightly grease it. Set aside. (5 minutes)
- In a medium saucepan over low heat, melt 3 tablespoons (42g) of unsalted butter until fully liquid but not browned. (2-3 minutes)
- Add 10 oz (283g) marshmallows to the melted butter. Stir gently and constantly until marshmallows are melted and smooth, glossy and thick. Keep stirring off heat if small lumps remain. (4-5 minutes)
- Remove from heat and stir in 1 teaspoon vanilla extract and a pinch of salt. (30 seconds)
- Pour 6 cups (180g) Rice Krispies cereal into the marshmallow mixture. Fold gently with a wooden spoon or spatula to coat evenly without smashing the flakes. (1-2 minutes)
- Transfer mixture into the prepared pan. Press down firmly and evenly with a buttered spatula or wax paper, but do not compact too much. (2 minutes)
- Let bars cool at room temperature for at least 30 minutes to firm up. You can refrigerate to speed up but avoid freezing. (30+ minutes)
- Lift bars out using parchment paper edges and cut into squares or rectangles. Store leftovers in an airtight container. (5 minutes)
Notes
Melt butter and marshmallows over low heat to avoid burning. Use fresh marshmallows for best texture. Fold cereal gently to keep flakes intact. Press mixture evenly but not too hard to avoid dense bars. Store bars in airtight container at room temperature for up to 3 days or freeze for up to 1 month. Warm bars briefly in microwave if too firm.
Nutrition
- Serving Size: 1 bar (if cut into 1
- Calories: 160
- Sugar: 16
- Sodium: 90
- Fat: 6
- Saturated Fat: 3.5
- Carbohydrates: 30
- Fiber: 0.5
- Protein: 1.5
Keywords: Rice Krispie bars, no-bake, quick snack, lunchbox bars, easy recipe, marshmallow bars, kid-friendly snack


