Love this? Save it for later!
Share the inspiration with your friends
Introduction
This was supposed to be a simple attempt at homemade cucumber salad. I grabbed the wrong jar—meant for pickles but ended up with a mismatched lid from an old jelly container—and the fridge was already bursting with leftovers from a rushed weeknight. Honestly, I was halfway distracted by a phone call from my friend Lisa, who was asking for a quick snack idea. What came out was nothing like the fresh salad I planned—instead, crunchy, tangy dill pickles that somehow nailed the flavor without any canning fuss.
Let me tell you, at first, I panicked—“No canning? How do you expect this to last?” I muttered to myself, juggling jars and spilled brine. Maybe you’ve been there: the kitchen chaos, the minor disasters, and the moments you swear you’ll never cook again. But after a few days, I peeked into the fridge and grabbed one. That snap when I bit in, the perfect balance of garlicky dill and a little zing from the vinegar—it was honestly better than any quick pickle I’d bought at the store. I couldn’t believe it.
Now, this easy quick refrigerator dill pickles recipe is my go-to when I want fast, no-hassle pickles that feel homemade but don’t require the whole canning ritual. It’s perfect for those nights when you want something crunchy and flavorful without a big kitchen production. The recipe stuck with me, and I keep making it, sometimes with a little extra garlic, sometimes with a hint of spice. If you’ve ever felt overwhelmed by canning or just want a quick pickle fix, I think you’ll like this one as much as I do.
Why You’ll Love This Recipe
Honestly, I wasn’t expecting much when I first tossed this together, but this easy quick refrigerator dill pickles recipe really surprised me. After testing it multiple times, I’m confident it hits the mark every time. Here’s why you’ll want to have this recipe at your fingertips:
- Quick & Easy: Comes together in under 20 minutes and ready to eat in about 24 hours—perfect for busy evenings or last-minute cravings.
- Simple Ingredients: Uses pantry staples and fresh cucumbers—no fancy trips to specialty stores needed.
- Perfect for Snacking & Meals: Great for sandwiches, burgers, or just munching straight from the jar.
- Crowd-Pleaser: Family and friends always ask for more, and it’s a hit at potlucks or casual get-togethers.
- Unbelievably Delicious: The balance of dill, garlic, and vinegar creates a tangy punch with a satisfying crunch that’s honestly addictive.
What makes this recipe different? It skips the whole canning process—no boiling water baths, no sterilizing jars, no waiting weeks. Instead, it uses a straightforward refrigerator method that’s foolproof and fast. Plus, the seasoning mix is carefully balanced: enough garlic to give a robust flavor without overpowering, and just the right amount of dill to keep things fresh and bright. It’s the kind of recipe that turns casual cucumber slices into a snack you’ll crave, and you don’t have to be a pickle pro to get it right.
What Ingredients You Will Need
This recipe uses simple, wholesome ingredients to deliver bold flavor and satisfying crunch without fuss. Most of these are pantry staples, and the fresh cucumbers are the real star.
- Cucumbers: 4-5 medium Kirby cucumbers or pickling cucumbers, sliced into spears or rounds (Kirby cucumbers are ideal for their firm texture and crunch)
- Fresh Dill: 3-4 sprigs of fresh dill (if unavailable, dried dill weed works, but fresh really shines here)
- Garlic Cloves: 3-4 cloves, peeled and lightly crushed (adds that unmistakable garlicky kick)
- White Vinegar: 1 cup (240 ml) – I recommend Heinz or Bragg for consistent acidity)
- Water: 1 cup (240 ml) – filtered or distilled for the cleanest taste
- Pickling Salt: 2 tablespoons (regular table salt can work, but pickling salt dissolves better and avoids cloudiness)
- Granulated Sugar: 1 tablespoon (balances the acidity just a touch)
- Black Peppercorns: 1 teaspoon (adds a subtle warmth)
- Red Pepper Flakes: 1/2 teaspoon, optional (for a gentle spicy note)
If you want to switch it up, you can use apple cider vinegar instead of white vinegar for a fruitier flavor. For a gluten-free version, all ingredients here are naturally gluten-free, so you’re all set.
Equipment Needed
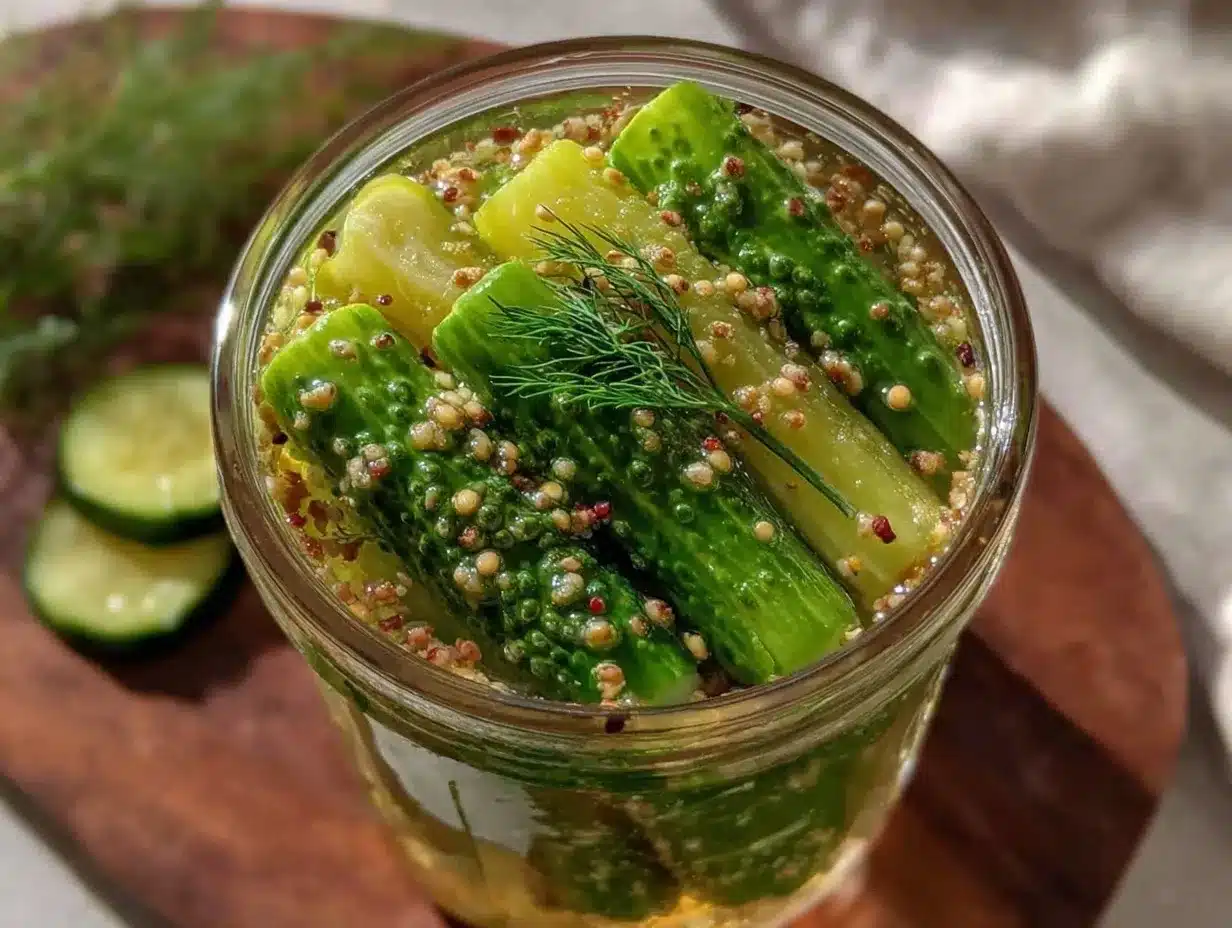
To make these easy quick refrigerator dill pickles, you don’t need much, which is part of the charm:
- Large Glass Jar or Mason Jar: A 1-quart (1-liter) jar with a tight-sealing lid is perfect—avoid plastic containers that may absorb flavors.
- Measuring Cups and Spoons: For precise vinegar, water, and salt measurements.
- Mixing Bowl: To combine the brine ingredients easily.
- Sharp Knife: For slicing cucumbers evenly (uniform pieces pickle more consistently).
- Cutting Board: A sturdy surface for slicing.
If you don’t have a mason jar, any clean, airtight container will do—even a repurposed jar from store-bought pickles works fine. I’ve used old glass jars when I was low on supplies, and they held up perfectly for refrigeration. Just make sure the lid seals well to keep flavors fresh.
Preparation Method
- Wash and Slice the Cucumbers: Rinse 4-5 medium pickling cucumbers under cold water. Slice into 1/4-inch (6 mm) thick rounds or spears, depending on your preference. Thinner slices pickle faster, but spears give a satisfying crunch. (Time: 5 minutes)
- Prepare the Brine: In a mixing bowl, combine 1 cup (240 ml) white vinegar, 1 cup (240 ml) water, 2 tablespoons pickling salt, and 1 tablespoon granulated sugar. Stir until the salt and sugar dissolve completely. (Time: 3 minutes)
- Pack the Jar: Place 3-4 sprigs of fresh dill, 3-4 lightly crushed garlic cloves, 1 teaspoon black peppercorns, and optional 1/2 teaspoon red pepper flakes into the bottom of a 1-quart (1-liter) glass jar. Then tightly pack the cucumber slices on top, leaving about 1/2 inch (1.25 cm) space at the top. (Time: 5 minutes)
- Add the Brine: Pour the brine over the cucumbers, making sure they are fully submerged. Use a clean spoon or a small weight to keep cucumbers below the brine if necessary. Seal the jar tightly. (Time: 2 minutes)
- Refrigerate and Wait: Place the jar in the refrigerator for at least 24 hours before tasting. The pickles will develop more flavor over 2-3 days. Keep refrigerated and consume within 3 weeks for best freshness. (Time: 24 hours minimum)
Tip: If your pickles turn out too salty or vinegary, try soaking the slices in cold water for 10 minutes before packing next time. Also, slicing cucumbers uniformly helps the brine penetrate evenly, so take your time with the knife.
Cooking Tips & Techniques
Making refrigerator dill pickles might sound straightforward, but a few tricks make a real difference:
- Pick the Right Cucumbers: Kirby or pickling cucumbers are less watery and crisper than slicing cucumbers. I learned this after a soggy batch when I used regular cucumbers by mistake—lesson paid for in crunchy disappointment!
- Don’t Skip the Salt: Pickling salt is your best friend here. It dissolves cleanly and avoids cloudiness, which can happen with table salt. If you only have table salt, reduce the amount by 1/4 teaspoon to avoid over-salting.
- Crush Garlic Lightly: Crushing garlic releases more flavor but be careful not to pulverize it. I’ve found lightly crushed cloves give a mellow garlic aroma without turning bitter.
- Submerge Cucumbers Fully: Air exposure leads to soft spots or mold. Use a fermentation weight or a clean glass disc to keep cucumbers below the brine surface.
- Timing Matters: Let the pickles chill for at least 24 hours, but if you’re impatient like me, even 12 hours gives a decent tang. The longer they sit, the more intense the flavor gets.
- Multitasking Tip: While the pickles rest, you can prep a quick sandwich or crispy garlic chicken to pair. Easy and delicious!
Variations & Adaptations
This easy quick refrigerator dill pickles recipe is wonderfully flexible. Here are some ways I’ve switched it up to keep things interesting:
- Spicy Kick: Add sliced jalapeños or increase the red pepper flakes for a fiery punch. Just last summer, I tried this with fresh jalapeños straight from my garden—so good!
- Garlic-Less Version: For a milder flavor, omit the garlic and add a teaspoon of mustard seeds for a slightly different spice profile.
- Low-Sodium Option: Reduce salt by half and extend the refrigeration time to 48 hours for safer fermentation and flavor development.
- Herb Variations: Swap fresh dill with fresh tarragon or rosemary for an herbal twist. Tarragon gives the pickles a subtle anise note that’s surprisingly good.
- Pickle Chips: Slice cucumbers thinner for chips instead of spears or rounds, great for dipping or topping burgers.
Serving & Storage Suggestions
These easy quick refrigerator dill pickles are best served chilled straight from the fridge. I like to add a few slices to sandwiches or burgers for that satisfying crunch and tartness. They also pair wonderfully with creamy dishes like potato salad or alongside smoked meats.
Store the pickles in their brine in the refrigerator. They’ll keep fresh for up to 3 weeks, but honestly, they rarely last that long in my kitchen. To reheat (if you like warm pickles, which is unusual but hey, to each their own), briefly warm them in a pan with a little butter and garlic for a savory twist.
Over time, the flavors deepen and the cucumbers soften a bit, so I recommend enjoying them within the first two weeks for optimal crunch.
Nutritional Information & Benefits
Here’s an approximate nutritional breakdown per serving (about 3 spears or 6 slices):
| Calories | 10 |
|---|---|
| Fat | 0g |
| Carbohydrates | 2g |
| Fiber | 0.5g |
| Sodium | 300mg |
Besides being low in calories and fat-free, these pickles provide a good source of antioxidants from the fresh dill and garlic. The vinegar also aids digestion and can help keep blood sugar levels steady. If you’re watching sodium intake, adjust the salt to your preference.
As a gluten-free, vegan-friendly snack, these pickles suit many dietary needs. I appreciate how they add bright flavor without any artificial ingredients or preservatives.
Conclusion
So, why should you make these easy quick refrigerator dill pickles? Because they’re simple, fast, and downright tasty without the intimidating canning process. You can customize them to fit your taste and dietary needs, and they make any meal better with their crunchy, tangy bite.
I love this recipe because it reminds me that sometimes, kitchen mishaps lead to the best discoveries. It’s practical and approachable for anyone who wants homemade pickles without the fuss. Give it a try, tweak it your way, and share how your batch turns out—I’m always curious about new variations!
Now, go get those cucumbers and make your fridge a little happier. And if you’re curious about pairing these with something crispy and garlicky, the crispy garlic chicken recipe from my blog is a perfect match!
FAQs
How long do quick refrigerator dill pickles last?
They typically keep well in the fridge for up to 3 weeks if stored properly in a sealed jar with brine.
Can I use regular cucumbers instead of pickling cucumbers?
You can, but regular cucumbers tend to be less crunchy and more watery, so the pickles might be softer.
Do I have to use fresh dill?
Fresh dill gives the best flavor, but dried dill can be used in a pinch—just reduce the amount to about 1 teaspoon.
Can I make these pickles without garlic?
Yes! Simply omit the garlic cloves or replace with mustard seeds for a different flavor profile.
Is it safe to make pickles without canning?
Yes, refrigerator pickles are safe because they’re kept cold and consumed within a few weeks. They don’t undergo long-term preservation like canned pickles.
Pin This Recipe!
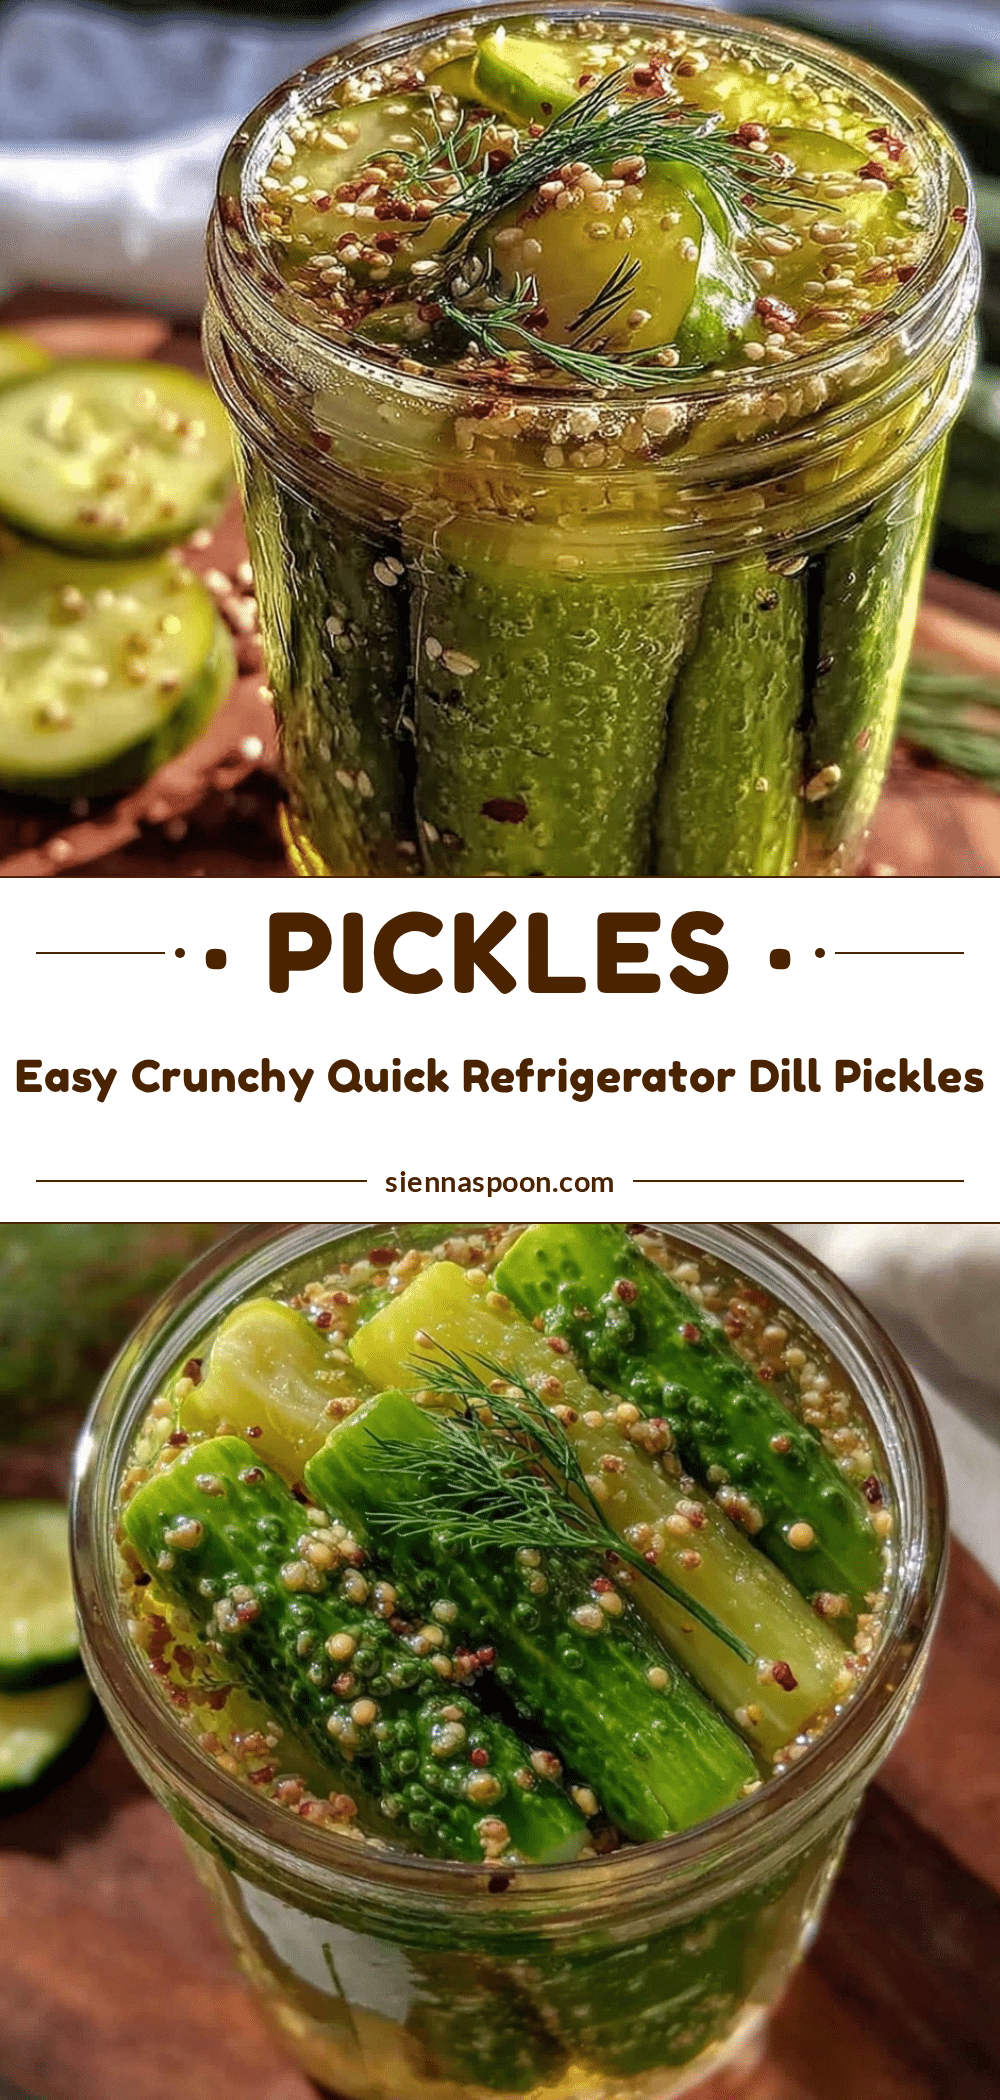
Easy Quick Refrigerator Dill Pickles Recipe
A simple, no-canning-needed recipe for crunchy, tangy dill pickles made quickly in the refrigerator. Perfect for fast snacking and easy homemade pickles.
- Prep Time: 15 minutes
- Cook Time: 0 minutes
- Total Time: 24 hours
- Yield: 4 servings 1x
- Category: Snack
- Cuisine: American
Ingredients
- 4–5 medium Kirby cucumbers or pickling cucumbers, sliced into spears or rounds
- 3–4 sprigs fresh dill (or 1 teaspoon dried dill weed)
- 3–4 garlic cloves, peeled and lightly crushed
- 1 cup (240 ml) white vinegar
- 1 cup (240 ml) water
- 2 tablespoons pickling salt
- 1 tablespoon granulated sugar
- 1 teaspoon black peppercorns
- 1/2 teaspoon red pepper flakes (optional)
Instructions
- Wash and slice the cucumbers into 1/4-inch thick rounds or spears.
- In a mixing bowl, combine white vinegar, water, pickling salt, and granulated sugar. Stir until dissolved.
- Place fresh dill sprigs, crushed garlic cloves, black peppercorns, and optional red pepper flakes into the bottom of a 1-quart glass jar. Pack cucumber slices tightly on top, leaving about 1/2 inch space at the top.
- Pour the brine over the cucumbers, ensuring they are fully submerged. Use a spoon or weight to keep cucumbers below the brine if needed. Seal the jar tightly.
- Refrigerate for at least 24 hours before tasting. Pickles develop more flavor over 2-3 days. Consume within 3 weeks for best freshness.
Notes
Use Kirby or pickling cucumbers for best crunch. Pickling salt dissolves better and avoids cloudiness. Lightly crush garlic cloves for mellow flavor. Keep cucumbers fully submerged in brine to prevent mold. Refrigerate at least 24 hours; longer for stronger flavor. Adjust salt to taste if needed. Store refrigerated and consume within 3 weeks.
Nutrition
- Serving Size: About 3 spears or 6
- Calories: 10
- Sodium: 300
- Carbohydrates: 2
- Fiber: 0.5
Keywords: quick pickles, refrigerator pickles, dill pickles, no canning, easy pickles, homemade pickles, crunchy pickles