Love this? Save it for later!
Share the inspiration with your friends
The summer I turned thirty, I was helping my plumber, Gary, fix a leaky faucet in my kitchen when he suddenly started talking about cakes. Now, Gary isn’t the type you’d expect to know anything about baking—he’s more of a “wrench and pipe” guy. But there he was, wiping his hands on a rag, describing in detail how to make the perfect red velvet flag cake with cream cheese frosting. Honestly, I wasn’t expecting cooking advice from Gary, but the way he described the layers and that tangy frosting had me hooked. He even pulled out a crumpled recipe he’d scribbled on the back of a receipt from a local bakery he swore by.
I remember the cracked mixing bowl I grabbed from the cupboard while he talked, nearly dropping it in my excitement to start baking. You know that feeling when a recipe just clicks, like it’s meant to be? That’s exactly what happened here. Maybe you’ve been there—stumbling upon a hidden gem recipe in the most unlikely moments. Since then, the perfect red velvet flag cake with cream cheese frosting has become my go-to showstopper, especially for holidays and celebrations where I want to bring a bit of surprise and delight. Let me tell you, this cake is the kind that makes you pause, close your eyes after the first bite, and savor every crumb.
Why You’ll Love This Recipe
After testing this red velvet flag cake countless times (and honestly, eating more than my fair share), I can say it’s truly a standout. Here’s why it might just become your favorite too:
- Quick & Easy: Comes together in under 90 minutes, which means no late-night baking marathons.
- Simple Ingredients: Most of these are pantry staples—no fancy or hard-to-find items required.
- Perfect for Celebrations: Whether it’s the Fourth of July or a birthday bash, the flag design makes it a festive centerpiece.
- Crowd-Pleaser: Kids and adults alike rave over the moist cake paired with tangy cream cheese frosting.
- Unbelievably Delicious: The balance of cocoa, buttermilk, and that slight tang from the cream cheese frosting hits all the right notes.
This isn’t just another red velvet cake recipe; it’s the best version I’ve found. The trick is a perfectly balanced batter that stays moist and a frosting that’s smooth but not cloying. Plus, the flag design? It’s a fun twist that brings a little wow-factor without extra fuss. This cake is the kind of dessert that brings people together and spreads smiles, which is why I keep making it time and again.
What Ingredients You Will Need
This recipe uses simple, wholesome ingredients to deliver bold flavor and that signature red velvet charm without complicating things. Most of these are staples you probably already have, but I’ll mention a few tips and substitutions along the way.
- For the Cake Batter:
- All-purpose flour – 2 ½ cups (312g)
- Granulated sugar – 2 cups (400g)
- Unsweetened cocoa powder – 1 ½ tablespoons (use a good-quality brand like Hershey’s for best flavor)
- Baking soda – 1 ½ teaspoons
- Salt – 1 teaspoon
- Buttermilk – 1 cup (240ml), room temperature (for that tender crumb; use dairy-free milk with 1 tbsp vinegar if needed)
- Vegetable oil – 1 cup (240ml), neutral flavor
- Large eggs – 2, room temperature
- Red food coloring – 2 tablespoons (gel-based works best for vibrant color without thinning batter)
- Vanilla extract – 1 teaspoon
- Distilled white vinegar – 1 teaspoon (reacts with baking soda for lift)
- For the Cream Cheese Frosting:
- Cream cheese – 16 ounces (450g), softened (I prefer Philadelphia brand for consistency)
- Unsalted butter – ½ cup (113g), softened
- Powdered sugar – 4 cups (480g), sifted to avoid lumps
- Vanilla extract – 1 teaspoon
- Pinch of salt
Feel free to swap all-purpose flour with a gluten-free blend if you need to keep it gluten-free. For the frosting, coconut cream cheese is a nice dairy-free alternative, though it changes the flavor slightly. In summer, fresh strawberries make a nice garnish to complement the cake’s richness.
Equipment Needed
- Two 9-inch (23 cm) round cake pans – non-stick or well-greased
- Electric mixer or stand mixer – for smooth batter and frosting
- Mixing bowls – medium and large
- Measuring cups and spoons – for precise ingredient amounts
- Rubber spatula – for folding and scraping
- Cooling racks – to cool the layers evenly
- Offset spatula or butter knife – for frosting the cake smoothly
If you don’t have round pans, a square 9×13-inch pan works, but the flag design might need adjusting. For budget-friendly alternatives, silicone spatulas and pans work well and are easy to clean. I’ve found that a stand mixer speeds things up, but a hand mixer is equally fine. Just be careful not to overmix the batter to keep the cake tender.
Preparation Method
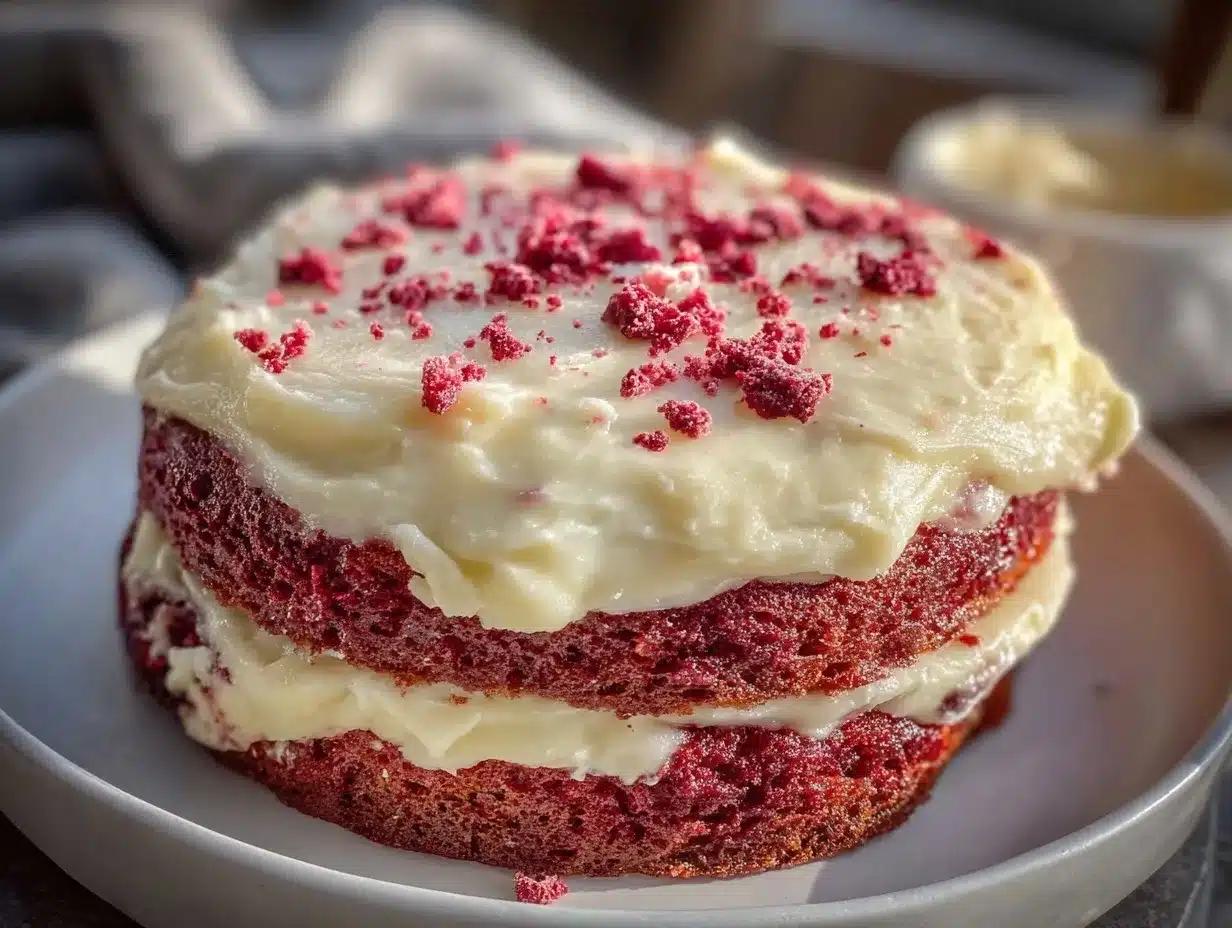
- Preheat and prep pans: Preheat your oven to 350°F (175°C). Grease two 9-inch round cake pans with butter and line the bottoms with parchment paper for easy release. This should take about 10 minutes.
- Mix dry ingredients: In a large bowl, sift together 2 ½ cups (312g) of all-purpose flour, 2 cups (400g) sugar, 1 ½ tablespoons cocoa powder, 1 ½ teaspoons baking soda, and 1 teaspoon salt. Whisk gently to combine.
- Combine wet ingredients: In another bowl, whisk 1 cup (240ml) buttermilk, 1 cup (240ml) vegetable oil, 2 large eggs, 2 tablespoons red food coloring, 1 teaspoon vanilla extract, and 1 teaspoon distilled white vinegar. Mixing these well ensures the color and flavor are evenly distributed.
- Incorporate wet into dry: Slowly pour the wet mixture into the dry ingredients while mixing on low speed with an electric mixer. Mix just until combined—overmixing can make the cake tough. The batter should be smooth and vibrant red.
- Divide batter: Pour the batter evenly into the two prepared pans. Gently tap the pans on the counter to release any air bubbles. This step helps avoid tunnels in your cake.
- Bake: Place pans in the preheated oven and bake for 30-35 minutes. Test doneness by inserting a toothpick into the center; it should come out clean or with a few crumbs. Be careful not to overbake—cakes can dry out quickly.
- Cool layers: Let cakes cool in pans for 10 minutes, then run a knife around the edges and invert onto cooling racks. Remove parchment paper and allow to cool completely, about 1 hour.
- Prepare frosting: Beat 16 ounces (450g) softened cream cheese with ½ cup (113g) softened unsalted butter on medium speed until creamy. Gradually add 4 cups (480g) powdered sugar, then 1 teaspoon vanilla and a pinch of salt. Mix until smooth and spreadable.
- Assemble the flag cake: Once cakes are fully cooled, place one layer on your serving plate. Spread a generous amount of cream cheese frosting evenly on top. Place the second cake layer over it. Use the remaining frosting to cover the top and sides of the cake evenly.
- Create the flag design: Use extra frosting or white chocolate to create stripes and a small cluster of blueberries and strawberries for the stars section. This part is fun and forgiving—no need to be perfect! Your guests will love the festive look.
Cooking Tips & Techniques
Getting the perfect red velvet flag cake isn’t rocket science, but a few tips can save you headaches:
- Don’t skip sifting dry ingredients: This keeps the cocoa and flour light and lump-free, giving a smooth batter.
- Use room temperature ingredients: Eggs and buttermilk blend better and give a tender crumb.
- Be gentle when mixing: Overmixing develops gluten and makes the cake dense. Mix just until combined.
- Check your oven temperature: Use an oven thermometer if possible. Too hot or too cool can mess with baking times and texture.
- Chill cream cheese and butter the right amount: Too cold and the frosting will be lumpy; too warm and it might be runny. Softened but still cool is ideal.
- Layer frosting evenly: Use an offset spatula for smooth sides and sharp edges, which makes your flag design pop.
Once, I accidentally added cold eggs straight from the fridge and ended up with a lumpy batter. Lesson learned: always prep ingredients in advance! Also, multitasking by prepping frosting while cakes cool cuts down on overall time. Trust me, less waiting means less temptation to sneak bites before the party.
Variations & Adaptations
This red velvet flag cake is versatile enough to suit different tastes and dietary needs:
- Gluten-Free: Swap all-purpose flour for a 1:1 gluten-free baking blend. The texture is slightly different but still delicious.
- Vegan Version: Use flax eggs (1 tbsp ground flaxseed + 3 tbsp water per egg), dairy-free buttermilk (almond or soy milk with vinegar), and vegan cream cheese for frosting.
- Flavor Twists: Add a teaspoon of espresso powder to the batter to intensify the cocoa flavor. Or swap the traditional cream cheese frosting for mascarpone mixed with a little honey for a milder tang.
- Seasonal Adaptation: In winter, decorate with sugared cranberries and rosemary sprigs instead of berries for a festive touch.
I once tried a version with a layer of homemade cherry preserves inside—unexpected but fantastic. Feel free to experiment with fillings or even alternate colored layers for a fun surprise inside.
Serving & Storage Suggestions
This cake is best served at room temperature. The cream cheese frosting tastes richest when not too cold, so take it out of the fridge about 30 minutes before serving. For presentation, the red and white stripes paired with fresh berries add a patriotic pop that’s perfect for gatherings.
Pair your slice with a cup of black coffee or a glass of cold milk—both complement the cake’s richness nicely. Leftovers keep well in an airtight container in the refrigerator for up to 4 days.
To reheat, let the slice come to room temperature or warm gently in the microwave for 10-15 seconds. Flavors meld beautifully over time, so if you can, make the cake a day ahead to let the frosting set and the layers soak up all that moisture.
Nutritional Information & Benefits
Each slice (1/12th of cake) contains approximately:
- Calories: 350-400 kcal
- Fat: 18g
- Carbohydrates: 50g
- Protein: 4g
- Sugar: 35g
The recipe includes buttermilk and cream cheese, which provide calcium and protein. Cocoa powder adds antioxidants, and the use of vegetable oil keeps the cake moist without butter’s saturated fat. While indulgent, this cake fits nicely into a balanced diet when enjoyed in moderation. For dietary concerns, swapping ingredients as mentioned in variations can help tailor it to your needs.
Conclusion
The perfect red velvet flag cake with cream cheese frosting isn’t just a dessert; it’s a conversation starter, a memory maker, and honestly, a little bit of art on your table. I love that it’s approachable for any home baker but still impressive enough to wow guests. Whether you’re celebrating a holiday or just craving a sweet treat, this cake brings a bit of joy and color to your kitchen.
Feel free to make it your own—play with the decorations, try different frostings, or add your favorite berries. I’d love to hear how your version turns out, so don’t hesitate to leave a comment or share your photos. Trust me, once you try this recipe, you’ll keep coming back for more slices of sweet, tangy, red velvet goodness.
FAQs
Can I make this red velvet flag cake ahead of time?
Yes! You can bake the cake layers and make the frosting a day ahead. Store layers wrapped in plastic wrap at room temperature and assemble the next day for best results.
What if I don’t have buttermilk?
Simply add 1 tablespoon of white vinegar or lemon juice to 1 cup of milk, let it sit for 5 minutes, and use as a buttermilk substitute.
How do I get the perfect red color without too much food dye?
Gel food coloring works best because it’s concentrated and won’t thin your batter. Start with 2 tablespoons and adjust if you want a deeper red.
Can I freeze this cake?
Yes, you can freeze the unfrosted cake layers wrapped tightly in plastic wrap and foil for up to 2 months. Thaw overnight in the fridge before frosting.
What’s the best way to prevent cream cheese frosting from being runny?
Make sure your cream cheese and butter are softened but not too warm. Chill the frosting for 15-20 minutes if it feels too soft before spreading on the cake.
Pin This Recipe!
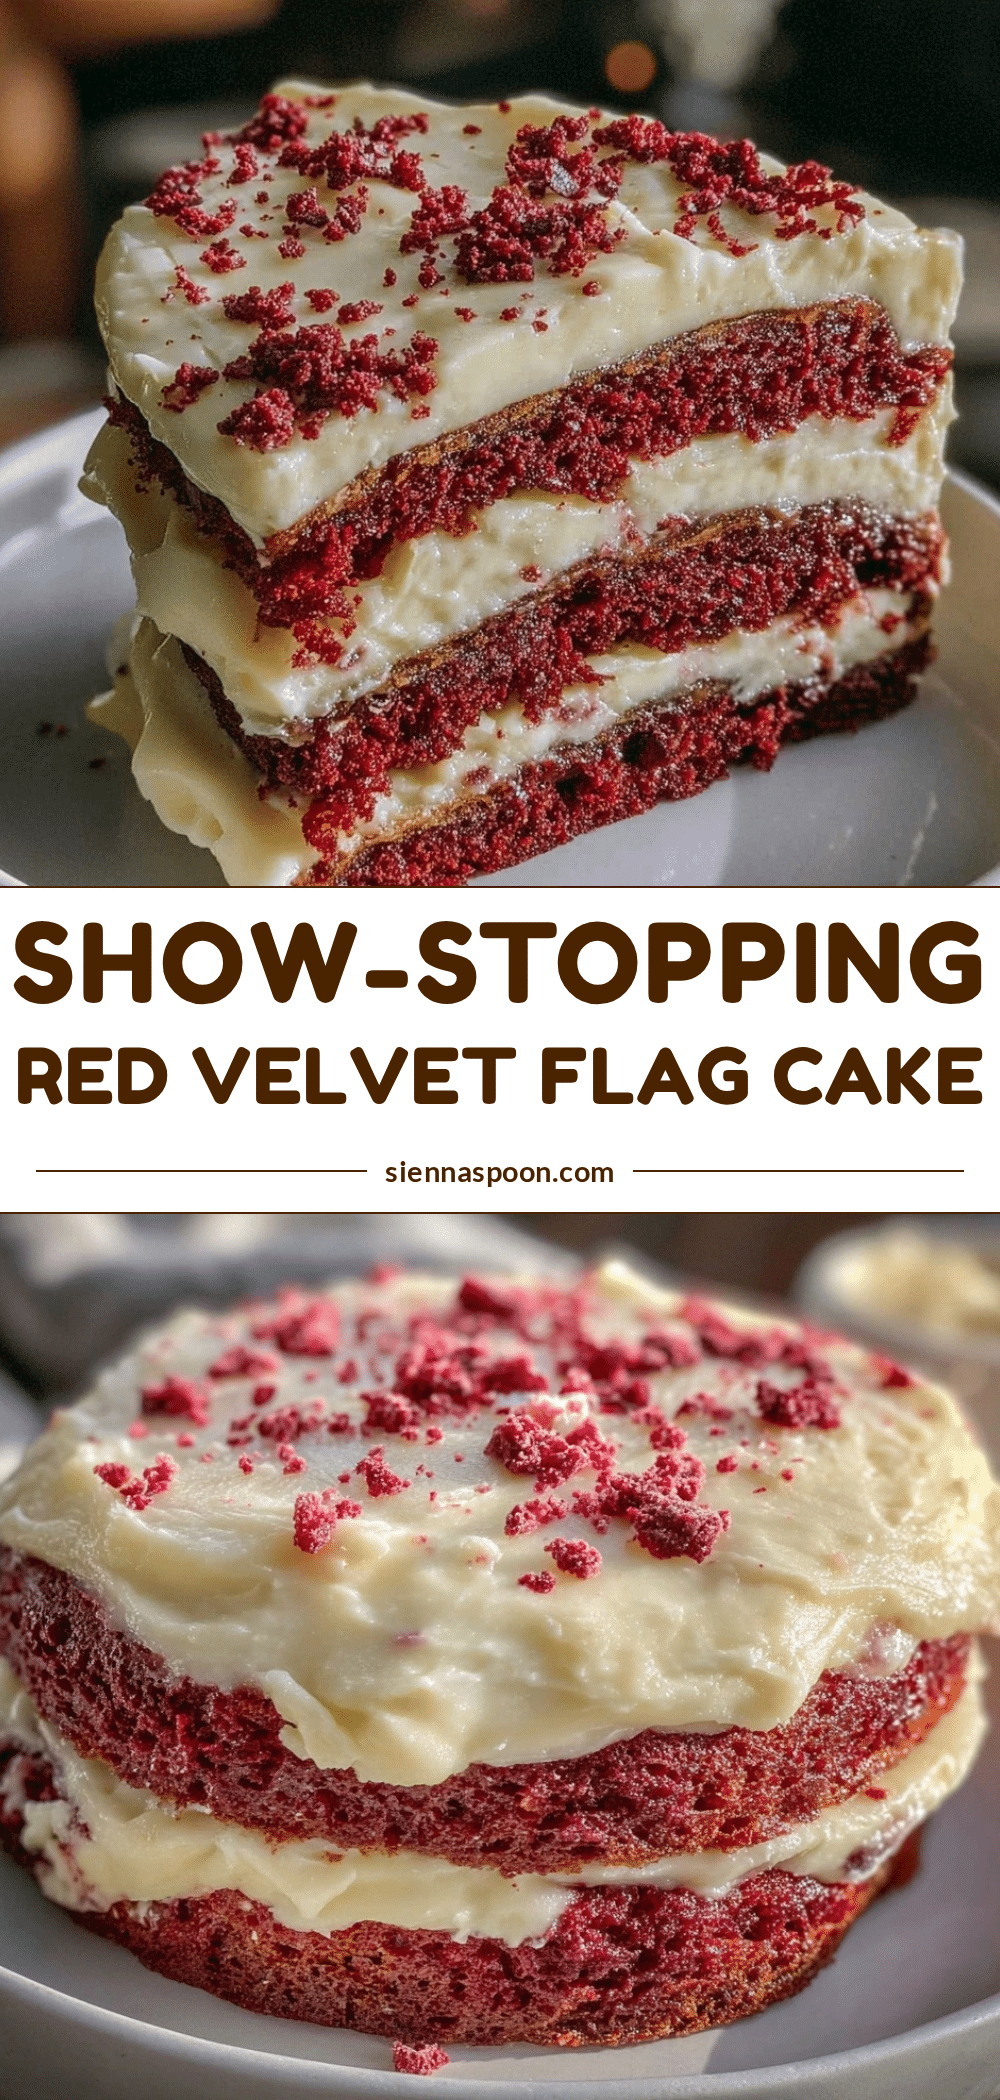
Perfect Red Velvet Flag Cake Recipe Easy Homemade Cream Cheese Frosting
A moist and flavorful red velvet cake with a tangy cream cheese frosting, perfect for celebrations and holidays with a festive flag design.
- Prep Time: 20 minutes
- Cook Time: 35 minutes
- Total Time: 1 hour 55 minutes
- Yield: 12 servings 1x
- Category: Dessert
- Cuisine: American
Ingredients
- 2 ½ cups (312g) all-purpose flour
- 2 cups (400g) granulated sugar
- 1 ½ tablespoons unsweetened cocoa powder
- 1 ½ teaspoons baking soda
- 1 teaspoon salt
- 1 cup (240ml) buttermilk, room temperature (or dairy-free milk with 1 tbsp vinegar)
- 1 cup (240ml) vegetable oil, neutral flavor
- 2 large eggs, room temperature
- 2 tablespoons red food coloring (gel-based recommended)
- 1 teaspoon vanilla extract
- 1 teaspoon distilled white vinegar
- 16 ounces (450g) cream cheese, softened
- ½ cup (113g) unsalted butter, softened
- 4 cups (480g) powdered sugar, sifted
- 1 teaspoon vanilla extract (for frosting)
- Pinch of salt (for frosting)
Instructions
- Preheat your oven to 350°F (175°C). Grease two 9-inch round cake pans with butter and line the bottoms with parchment paper.
- In a large bowl, sift together the flour, sugar, cocoa powder, baking soda, and salt. Whisk gently to combine.
- In another bowl, whisk together the buttermilk, vegetable oil, eggs, red food coloring, vanilla extract, and distilled white vinegar.
- Slowly pour the wet mixture into the dry ingredients while mixing on low speed with an electric mixer. Mix just until combined.
- Pour the batter evenly into the two prepared pans. Gently tap the pans on the counter to release air bubbles.
- Bake for 30-35 minutes. Test doneness by inserting a toothpick into the center; it should come out clean or with a few crumbs.
- Let cakes cool in pans for 10 minutes, then invert onto cooling racks and remove parchment paper. Cool completely, about 1 hour.
- Beat cream cheese and unsalted butter on medium speed until creamy. Gradually add powdered sugar, vanilla, and salt. Mix until smooth and spreadable.
- Place one cake layer on a serving plate. Spread a generous amount of frosting evenly on top. Place the second layer over it.
- Use remaining frosting to cover the top and sides of the cake evenly.
- Create the flag design using extra frosting or white chocolate for stripes and a cluster of blueberries and strawberries for stars.
Notes
Use gel-based red food coloring for vibrant color without thinning the batter. Avoid overmixing to keep the cake tender. Softened but cool cream cheese and butter yield the best frosting texture. The cake layers and frosting can be made a day ahead for convenience. For gluten-free, substitute flour with a gluten-free blend. Vegan adaptations include flax eggs, dairy-free buttermilk, and vegan cream cheese.
Nutrition
- Serving Size: 1 slice (1/12th of c
- Calories: 375
- Sugar: 35
- Fat: 18
- Carbohydrates: 50
- Protein: 4
Keywords: red velvet cake, cream cheese frosting, flag cake, easy cake recipe, celebration cake, homemade cake, patriotic dessert


