Love this? Save it for later!
Share the inspiration with your friends
“Last Thursday, I was just swinging by my neighbor Jenna’s to borrow some sugar—but before I even stepped inside, the unmistakable scent of vanilla and cinnamon hit me like a warm hug. Jenna wasn’t making a big deal out of it, just casually rolling out dough while her kids buzzed around the kitchen, but honestly, those pencil-shaped sugar cookies with royal icing looked like a work of art in the making. She flicked a glance my way, all nonchalant, like she wasn’t about to show me a recipe that would haunt my cookie dreams for weeks. I mean, who would think that simple sugar cookies could look that perfect and taste that good? The way the icing glistened in the light, the sharp edges of the pencil tips—Jenna made it look effortless, but I knew this was something special. Maybe you’ve been there, standing in someone’s kitchen, watching magic happen almost by accident. I didn’t have a clue how those cookies would turn out when I tried the recipe later, but that moment stuck with me—the warm kitchen, the sound of soft laughter, and those little works of edible art that felt like a celebration of everyday sweetness.”
Why You’ll Love This Recipe
Honestly, these perfect pencil-shaped sugar cookies with royal icing aren’t just another cookie recipe; they bring a little sparkle to any day, whether it’s back-to-school time or just because. I’ve tested this recipe multiple times, tweaking the dough and icing until it was just right—soft but sturdy cookies with icing that dries smooth and shiny without cracking.
- Quick & Easy: Ready to bake and decorate in under 90 minutes, making it great for last-minute projects or casual get-togethers.
- Simple Ingredients: No fancy stuff needed—classic pantry staples like butter, sugar, eggs, and basic baking essentials.
- Perfect for Any Occasion: Whether you’re prepping for a classroom party, gifting to a teacher, or just having fun with the kids, these cookies fit right in.
- Crowd-Pleaser: Kids are especially thrilled by the pencil shape, and adults appreciate the buttery sweetness and that smooth royal icing finish.
- Unbelievably Delicious: The balance between the tender cookie and the lightly sweet, crisp icing is pure comfort food joy.
What sets this recipe apart is the icing technique I learned from Jenna—she blends just the right amount of meringue powder to get a texture that’s firm but still easy to pipe. Also, the dough holds its shape perfectly, so your pencil outlines look sharp and crisp, not bloated or soft. Honestly, it’s the kind of recipe that makes you pause after the first bite—the sweetness isn’t overwhelming, and the delicate crunch is just right. It’s a subtle nod to childhood nostalgia wrapped in a grown-up’s baking know-how.
What Ingredients You Will Need
This recipe uses simple, wholesome ingredients to deliver bold flavor and that perfect texture without fuss. Most of these are pantry staples, but choosing good quality items really makes a difference in your final cookies and royal icing.
- For the Sugar Cookies:
- 2 ¾ cups (345g) all-purpose flour (I prefer King Arthur for consistent texture)
- 1 teaspoon baking powder
- ½ teaspoon salt
- 1 cup (227g) unsalted butter, softened (room temperature for smooth creaming)
- 1 ½ cups (300g) granulated sugar
- 1 large egg, room temperature
- 1 teaspoon pure vanilla extract (fresh vanilla always beats artificial)
- Optional: ½ teaspoon almond extract for a subtle twist
- For the Royal Icing:
- 3 tablespoons meringue powder (Wilton brand works well)
- 4 cups (480g) powdered sugar, sifted
- 6 tablespoons (90ml) warm water (adjust for consistency)
- Food coloring gels: yellow, pink, black, and green (for pencil colors)
- Optional: a few drops of lemon juice for brightness
Feel free to swap regular flour with gluten-free flour blend if you need a gluten-free option, but note the texture might be slightly different. For dairy-free versions, use vegan butter and egg replacers like applesauce or flaxseed meal. The meringue powder is key to getting that glossy, hard-drying icing—avoid substituting with regular egg whites for safety and consistency.
Equipment Needed
- Mixing bowls (medium and large)
- Electric hand mixer or stand mixer (trust me, this makes creaming butter a breeze)
- Measuring cups and spoons
- Rolling pin (a non-stick one helps keep dough smooth)
- Pencil-shaped cookie cutter (if you don’t have one, a sharp knife and a steady hand work)
- Baking sheets lined with parchment paper or silicone mats
- Wire cooling racks
- Piping bags with fine round tips (#1 or #2) for icing details
- Small bowls for mixing icing colors
If you’re on a budget, a sturdy plastic rolling pin and disposable piping bags work just fine. I once tried using a zip-top bag with a corner snipped for piping—honestly, it’s a little messier but totally doable! For cleaning, soaking your piping tips in warm water right after use saves a lot of hassle. Also, silicone mats are a worthy investment—they keep cookies from sticking and help bake evenly.
Preparation Method
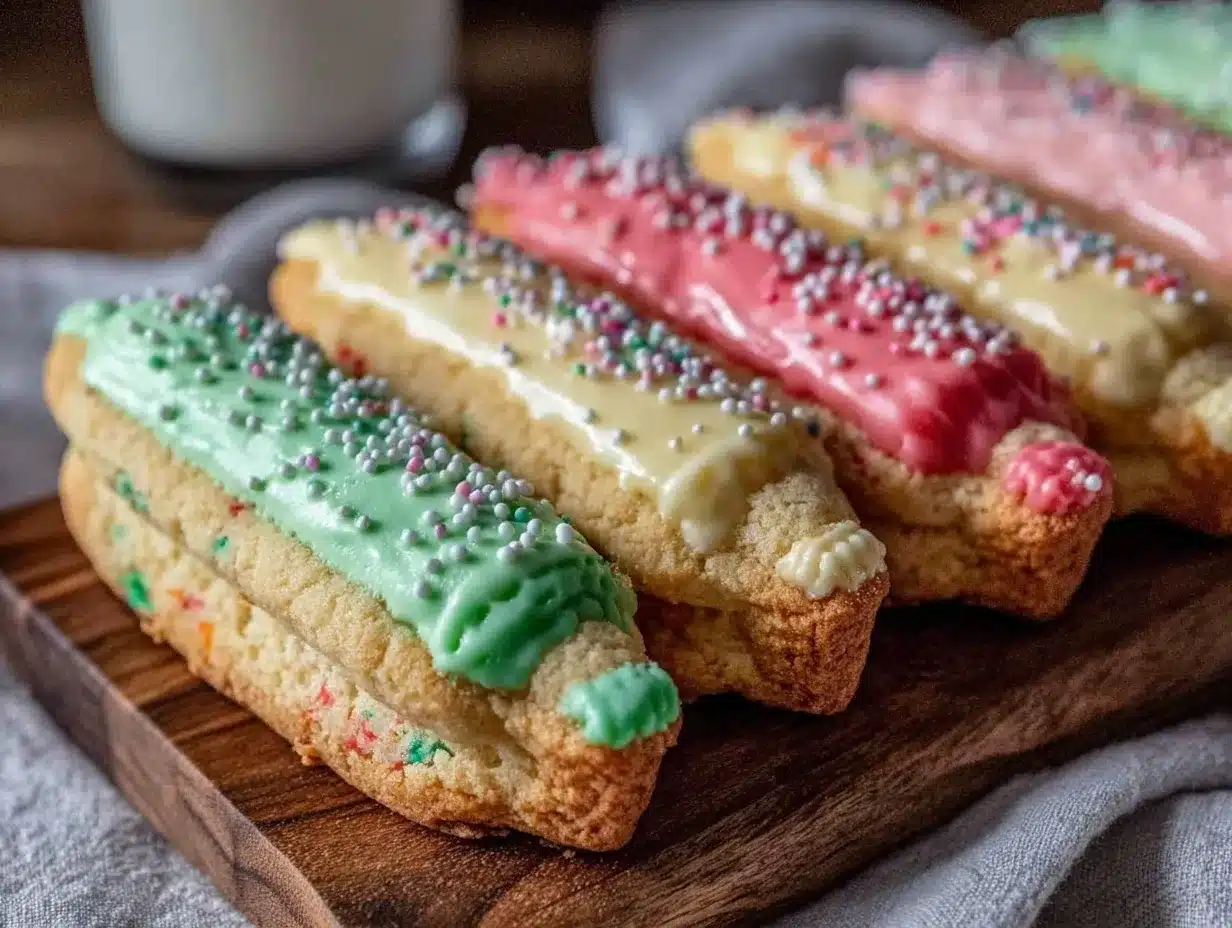
- Mix Dry Ingredients: In a medium bowl, whisk together 2 ¾ cups (345g) all-purpose flour, 1 teaspoon baking powder, and ½ teaspoon salt. Set aside. (5 minutes)
- Cream Butter and Sugar: In a large bowl, beat 1 cup (227g) softened unsalted butter with 1 ½ cups (300g) granulated sugar using an electric mixer on medium speed until light and fluffy—about 3-4 minutes. (This step is key for tender cookies!)
- Add Egg and Vanilla: Beat in 1 large egg and 1 teaspoon pure vanilla extract until fully incorporated. If using almond extract, add here. (1-2 minutes)
- Combine Wet and Dry: Gradually add the dry flour mixture to the wet ingredients, mixing on low speed until the dough comes together. Avoid overmixing to keep cookies tender. The dough should be soft but not sticky. If too sticky, chill for 15 minutes. (5 minutes)
- Chill Dough: Wrap the dough in plastic wrap and refrigerate for at least 1 hour. This makes rolling easier and helps maintain shape during baking.
- Preheat Oven and Prepare Baking Sheets: Set oven to 350°F (175°C). Line baking sheets with parchment or silicone mats.
- Roll and Cut Dough: On a lightly floured surface, roll the dough to about ¼-inch (6mm) thickness. Use the pencil-shaped cookie cutter to cut out shapes. If no cutter, cut rectangles about 4 inches long, then shape the tip with a knife. Transfer cookies carefully to baking sheets. (20 minutes)
- Bake Cookies: Bake for 10-12 minutes or until edges are just beginning to turn golden. The centers will look slightly soft but will firm up as they cool. Avoid overbaking or cookies dry out. (10-12 minutes)
- Cool Completely: Let cookies rest on the baking sheet for 5 minutes, then transfer to wire racks to cool fully before decorating. (At least 30 minutes)
- Prepare Royal Icing: In a large bowl, combine 3 tablespoons meringue powder, 4 cups powdered sugar, and 6 tablespoons warm water. Beat on high speed until stiff peaks form—about 5-7 minutes. Adjust water slightly if icing is too thick or thin. Divide into small bowls and tint with food coloring for pencil body, tip, eraser, and graphite.
- Decorate Cookies: Use piping bags with fine tips to outline and flood areas with different colors. Start with the pencil tip (gray/black), then the yellow body, pink eraser, and finally the silver ferrule. Let each layer dry for 10-15 minutes before adding the next to prevent colors from bleeding.
- Drying Time: Allow decorated cookies to dry completely at room temperature for 4-6 hours or overnight for best results before stacking or packaging.
A quick tip: If your icing starts to crust in the bowl while decorating, pop a damp towel over it to keep it moist. And don’t stress if your first batch isn’t perfect—practice makes perfect, especially with piping! I remember accidentally squeezing a little too hard and ending up with a lopsided pencil tip—those cookies still tasted amazing, though.
Cooking Tips & Techniques
Working with royal icing and shaping sugar cookies can feel tricky at first, but a few tricks can make your life easier.
- Keep Your Dough Cool: Warm dough is sticky and hard to cut. Chilling it for at least an hour helps maintain sharp edges and prevents spreading during baking.
- Don’t Overmix: Overworking the dough develops gluten, making cookies tough. Mix just until ingredients come together for tender, buttery cookies.
- Consistent Icing Thickness: Flood icing should be thin enough to spread smoothly but not so thin it runs off the edges. Test on parchment first—a drop should hold its shape but level out.
- Practice Piping: Steady hands come with practice. I like to rest my elbow on the counter and guide the bag gently for neat lines.
- Layer Your Colors: Let each color dry to a matte finish before adding the next to avoid blending. Use a small fan or air conditioner to speed drying if needed.
- Fix Mistakes Quickly: If icing smudges, scrape gently with a toothpick and fix immediately before it sets.
- Storage: Store cookies in a single layer in an airtight container to keep icing crisp.
One lesson I learned the hard way: baking cookies on cold sheets straight from the fridge leads to uneven baking. Always use room temperature baking sheets or bake straight from the fridge with fresh sheets. Also, remember to have fun—imperfections add character!
Variations & Adaptations
This pencil-shaped sugar cookie recipe is quite flexible, letting you customize flavors, colors, and dietary preferences.
- Flavor Variations: Add lemon zest to the dough for a bright twist or swap vanilla for almond or maple extract for unique notes.
- Color Customization: Use different food coloring gels to match school colors, seasonal themes, or party palettes. Try pastel shades for spring or bold primary colors for back-to-school events.
- Dietary Adjustments: For gluten-free cookies, use a 1:1 gluten-free baking flour blend. For egg-free, substitute the egg with ¼ cup unsweetened applesauce or a flax egg.
- Alternative Icing: If royal icing feels intimidating, try a simple glaze made with powdered sugar and milk, though it won’t harden as firmly.
- Baking Methods: These cookies can also be baked in convection ovens—reduce temperature by 25°F (15°C) and keep an eye on browning.
I once swapped out the yellow icing for a bright turquoise for a friend’s art-themed party, and they were a hit—just goes to show how fun and adaptable this recipe truly is.
Serving & Storage Suggestions
These pencil-shaped sugar cookies are best enjoyed at room temperature, where the buttery cookie and crisp royal icing shine together. Serve them on a colorful platter during school events, office parties, or casual coffee breaks.
They pair wonderfully with a warm cup of chai tea or classic hot chocolate. For a fresh touch, add a side of sliced apples or a light fruit salad to balance the sweetness.
To store, place cookies in a single layer inside an airtight container at room temperature for up to 5 days. If you want to keep them longer, freeze the undecorated cookies wrapped tightly in plastic wrap and foil for up to 3 months. Decorated cookies freeze best after the icing has fully dried—wrap gently between layers with parchment paper.
When reheating, avoid microwaving as it softens the icing. Instead, let frozen cookies thaw at room temperature for several hours. You’ll notice the flavors mellow and deepen as they rest, making the next-day cookie almost better than fresh.
Nutritional Information & Benefits
One pencil-shaped sugar cookie (about 3 inches long) contains approximately:
| Calories | 120 |
|---|---|
| Fat | 6g |
| Carbohydrates | 17g |
| Sugar | 10g |
| Protein | 1g |
While these cookies are an indulgent treat, they also provide a quick energy boost—perfect for a midday pick-me-up. Using real butter adds a rich flavor and some fat-soluble vitamins, and vanilla extract offers trace antioxidants. If you’re mindful of allergens, note that the recipe contains gluten, dairy, and eggs, but as mentioned earlier, substitutions can be made for many dietary needs.
Personally, I think treats like these are part of balanced living—sometimes you just need a sweet, cheerful cookie that brings a smile and a little break from the busy day.
Conclusion
Making these perfect pencil-shaped sugar cookies with royal icing is more than just baking—it’s a way to create something simple yet special. Whether you’re marking the start of a school year, celebrating a milestone, or just craving a sweet moment, this recipe delivers consistent, delightful results. I encourage you to play with colors, flavors, and decorating techniques to make your own version truly your own.
This recipe has become a favorite in my kitchen because it combines ease, beauty, and taste without fuss. Honestly, there’s something quietly satisfying about rolling out that dough, cutting precise pencils, and watching the icing dry into a glossy finish. If you try it, I’d love to hear how your cookies turned out—don’t hesitate to share your stories or tweaks!
Grab your apron, dust off your rolling pin, and make some memories with these charming pencil-shaped sugar cookies. Happy baking!
FAQs
Can I make the sugar cookie dough ahead of time?
Yes! You can prepare the dough and refrigerate it tightly wrapped for up to 3 days before rolling and cutting.
How do I fix royal icing that is too runny or too thick?
If your icing is too runny, add more powdered sugar a tablespoon at a time. If too thick, add small drops of warm water until it reaches the desired consistency.
What is the best way to store decorated sugar cookies?
Store them in an airtight container at room temperature in a single layer to keep the icing crisp. Avoid stacking decorated cookies unless separated with parchment.
Can I use fresh egg whites instead of meringue powder for the royal icing?
It’s not recommended due to food safety concerns and icing stability. Meringue powder is safer and gives consistent results.
How do I keep cookies from spreading too much while baking?
Chilling the dough before baking and using parchment or silicone mats helps maintain shape. Also, avoid over-creaming the butter and sugar.
Pin This Recipe!
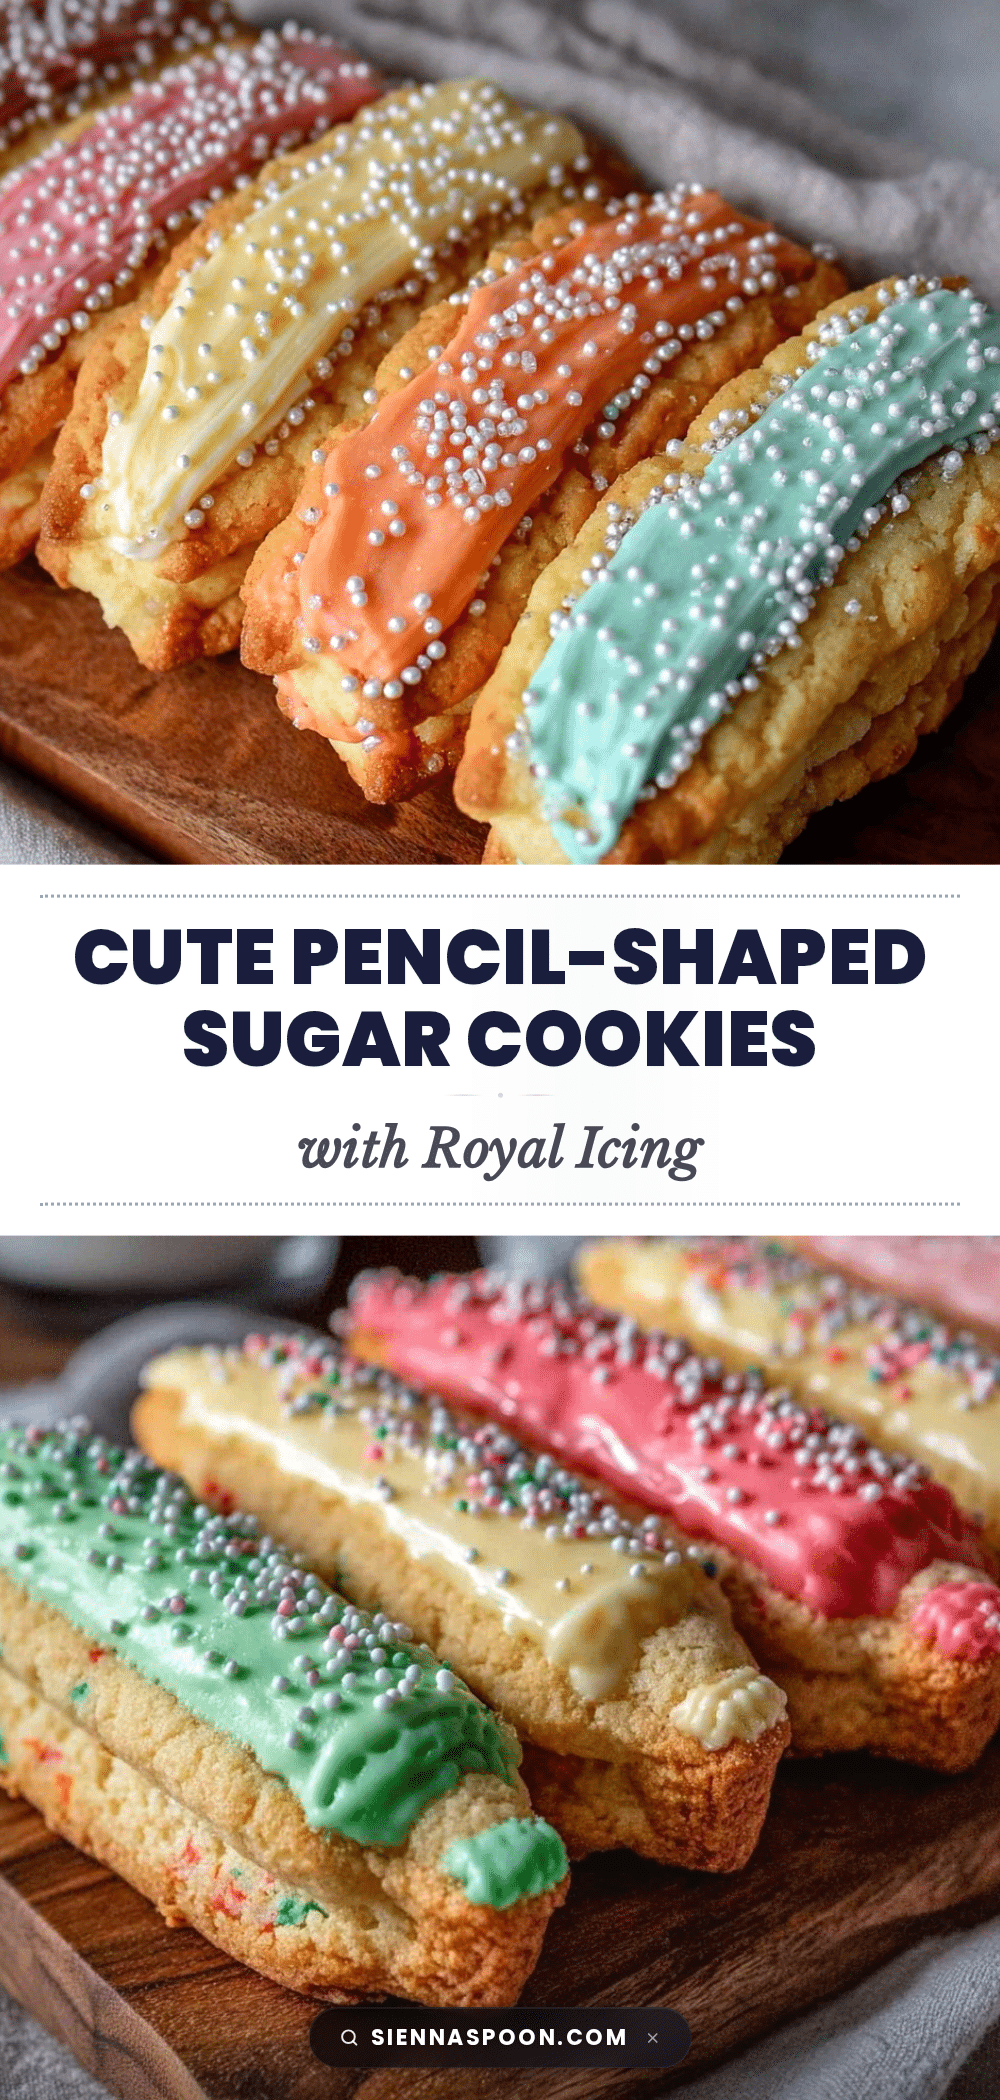
Perfect Pencil-Shaped Sugar Cookies

These pencil-shaped sugar cookies with royal icing are soft yet sturdy, featuring smooth, shiny icing that dries without cracking. Perfect for back-to-school, parties, or gifting, they combine classic buttery sweetness with a fun, artistic touch.
- Prep Time: 20 minutes
- Cook Time: 12 minutes
- Total Time: 1 hour 40 minutes
- Yield: 24 cookies 1x
- Category: Dessert
- Cuisine: American
Ingredients
- 2 ¾ cups (345g) all-purpose flour
- 1 teaspoon baking powder
- ½ teaspoon salt
- 1 cup (227g) unsalted butter, softened
- 1 ½ cups (300g) granulated sugar
- 1 large egg, room temperature
- 1 teaspoon pure vanilla extract
- Optional: ½ teaspoon almond extract
- 3 tablespoons meringue powder
- 4 cups (480g) powdered sugar, sifted
- 6 tablespoons (90ml) warm water
- Food coloring gels: yellow, pink, black, and green
- Optional: a few drops of lemon juice
Instructions
- Mix dry ingredients: whisk together flour, baking powder, and salt in a medium bowl; set aside.
- Cream butter and sugar: beat softened butter with granulated sugar on medium speed until light and fluffy, about 3-4 minutes.
- Add egg and vanilla extract (and almond extract if using); beat until fully incorporated.
- Gradually add dry flour mixture to wet ingredients on low speed until dough forms; avoid overmixing. Chill dough 15 minutes if too sticky.
- Wrap dough in plastic wrap and refrigerate for at least 1 hour.
- Preheat oven to 350°F (175°C). Line baking sheets with parchment paper or silicone mats.
- Roll dough on lightly floured surface to ¼-inch thickness. Cut pencil shapes using cookie cutter or knife. Transfer to baking sheets.
- Bake for 10-12 minutes until edges begin to turn golden; centers will be slightly soft.
- Cool cookies on baking sheet 5 minutes, then transfer to wire racks to cool completely.
- Prepare royal icing: beat meringue powder, powdered sugar, and warm water on high speed until stiff peaks form, about 5-7 minutes. Adjust consistency as needed.
- Divide icing and tint with food coloring for pencil parts: tip (gray/black), body (yellow), eraser (pink), ferrule (silver).
- Decorate cookies using piping bags with fine tips, layering colors with 10-15 minutes drying between layers.
- Allow decorated cookies to dry completely at room temperature for 4-6 hours or overnight before storing or packaging.
Notes
[‘Chill dough for at least 1 hour to maintain shape and prevent spreading.’, ‘Avoid overmixing dough to keep cookies tender.’, ‘Keep royal icing covered with a damp towel while decorating to prevent crusting.’, ‘Let each icing color dry before applying the next to avoid bleeding.’, ‘Store cookies in a single layer in an airtight container to keep icing crisp.’, ‘Freeze undecorated cookies wrapped tightly for up to 3 months; decorated cookies freeze best after icing dries.’, ‘Use meringue powder for royal icing for safety and consistency; avoid fresh egg whites.’]
Nutrition
- Serving Size: 1 cookie (about 3 in
- Calories: 120
- Sugar: 10
- Fat: 6
- Carbohydrates: 17
- Protein: 1
Keywords: sugar cookies, pencil-shaped cookies, royal icing, back to school cookies, easy sugar cookies, decorated cookies, cookie recipe


