Love this? Save it for later!
Share the inspiration with your friends
Introduction
“You know that feeling when you’re craving something cold and sweet but also want to keep things light and dairy-free? Well, that’s exactly how this creamy dairy-free coconut ice cream recipe came to be. Last summer, on a particularly sweltering Thursday afternoon, I found myself rummaging through the freezer, hoping for a treat. Turns out, all I had was a can of coconut milk and a stubborn craving for ice cream. Honestly, I wasn’t sure if it would work, especially without an ice cream maker, but I decided to give it a shot.
What followed was a bit of a mess—I forgot to chill the coconut milk properly, and I might have over-whipped the mixture at one point, making the kitchen look like a mini snowstorm. But when I finally scooped that first spoonful, the rich, velvety texture and tropical coconut flavor blew me away. It reminded me of those carefree beach days, even though I was just parked on my couch in my pajamas. Maybe you’ve been there too—when life just calls for a simple, comforting scoop of ice cream but without the dairy or fuss.
Since that somewhat chaotic start, this recipe has become my go-to for those moments when I want a sweet, creamy dessert that’s kind to my stomach and the planet. Let me tell you, this no-churn coconut ice cream is about to be your new favorite too.
Why You’ll Love This Recipe
If you’re on the fence about making homemade dairy-free ice cream, let me assure you, this recipe ticks all the boxes. Through countless trials (and a few kitchen mishaps), I’ve settled on a version that’s both simple and indulgent. Here’s why this creamy dairy-free coconut ice cream recipe stands out:
- Quick & Easy: It comes together in under 15 minutes—no ice cream maker needed, perfect for those spontaneous dessert cravings.
- Simple Ingredients: You probably already have everything in your pantry—coconut milk, a touch of sweetener, and vanilla. No complicated shopping trips here.
- Perfect for Warm Days: Whether it’s a sunny afternoon or a backyard barbecue, this ice cream cools you down and refreshes your palate effortlessly.
- Crowd-Pleaser: I’ve served this at family gatherings and potlucks, and it always disappears fast—even the skeptics ask for seconds.
- Unbelievably Delicious: The creamy texture mimics traditional ice cream, with a tropical twist that’s both comforting and exciting.
This isn’t just another coconut ice cream recipe. The secret lies in whipping the chilled coconut cream to a fluffy, airy consistency before gently folding in the sweetener and vanilla. It’s a little technique I picked up from a local vegan café that totally changes the game. Honestly, it’s the kind of dessert that makes you pause mid-bite and smile. Give it a try—you won’t regret it.
What Ingredients You Will Need
This recipe uses simple, wholesome ingredients to deliver a bold, satisfying flavor and that luscious texture you crave from ice cream—without any dairy. Plus, many of these are pantry staples, so you can whip this up in no time.
- Full-fat canned coconut milk (2 cans, chilled overnight): The star of the show; look for brands like Native Forest or Thai Kitchen for the best creaminess.
- Maple syrup or agave nectar (1/3 cup): Adds natural sweetness and depth. You can swap with honey if you aren’t strictly vegan.
- Pure vanilla extract (1 teaspoon): Enhances the flavor with warm, aromatic notes.
- Pinch of sea salt: Balances the sweetness and highlights the coconut flavor.
- Lemon juice (optional, 1 teaspoon): Brightens the flavor subtly, especially if you prefer a tangy hint.
Optional mix-ins to customize your ice cream:
- Toasted shredded coconut (1/4 cup) for extra texture
- Mini dairy-free chocolate chips
- Fresh or frozen berries stirred in before freezing
Pro tip: Make sure your coconut milk is well chilled so the cream separates from the liquid. This separation is key to getting that fluffy, creamy texture. I usually pop the cans in the fridge the night before, and it’s a game-changer.
Equipment Needed
- Mixing bowl: A large, chilled bowl works best to keep the coconut cream cold while whipping.
- Electric hand mixer or stand mixer: Essential for whipping the coconut cream to soft peaks. A whisk works but requires some serious arm power!
- Spatula: For gently folding in sweeteners and mix-ins without deflating the cream.
- Freezer-safe container: Preferably a loaf pan or a shallow container with a lid for easy freezing and scooping.
If you don’t own an electric mixer, a sturdy balloon whisk and lots of patience will do the trick—though I won’t lie, it’s a workout. Also, a fine mesh strainer can be handy if you want to strain any lumps from your sweeteners or mix-ins.
Preparation Method
- Chill the coconut milk: Place two cans of full-fat coconut milk in the fridge overnight. This step is crucial for separating the thick cream from the liquid.
- Prepare your workspace: Pop a large mixing bowl in the freezer about 15 minutes before starting. A cold bowl helps the cream whip better.
- Open the cans carefully: Without shaking, open the chilled cans and scoop out the thickened coconut cream into the chilled bowl. Leave the clear coconut water for smoothies or other recipes.
- Whip the coconut cream: Using an electric mixer on medium-high speed, whip the cream until soft peaks form—about 3 to 5 minutes. You’ll notice it becoming fluffy and light.
- Add sweetener and flavor: Lower the mixer speed to low, then add 1/3 cup maple syrup, 1 teaspoon vanilla extract, and a pinch of sea salt. Whip just to combine, about 30 seconds.
- Optional lemon juice: Stir in 1 teaspoon lemon juice by hand to brighten flavors, if using.
- Fold in mix-ins: Gently fold in any extras like toasted coconut or chocolate chips with a spatula, being careful not to knock out the air.
- Freeze: Transfer the mixture to a freezer-safe container, smooth the top with a spatula, and cover. Freeze for at least 4 hours or until firm enough to scoop.
- Serving tip: Before scooping, let the ice cream sit at room temperature for 5 to 10 minutes to soften slightly for easier serving.
If you find the ice cream too icy, try reducing the freezer time slightly next round or increase the maple syrup by a tablespoon for added creaminess. And hey, don’t be shy about giving the container a quick stir halfway through freezing to keep ice crystals small.
Cooking Tips & Techniques
Whipping coconut cream can be a little tricky at first. Here are some tips that saved me from many failed batches:
- Always chill your cans thoroughly: Warm coconut milk won’t separate properly, and you’ll end up with a soupy mess instead of fluffy cream.
- Use full-fat coconut milk: Light versions don’t have enough fat to whip up nicely.
- Be patient while whipping: It can take a few minutes before you see the cream thicken. Stop whipping once you hit soft peaks to avoid over-whipping and breaking the cream.
- Don’t toss the leftover coconut water: It’s great for smoothies or as a refreshing drink.
- Freeze in a shallow container: This helps the ice cream set faster and more evenly.
One time, I tried adding the sweetener before whipping and ended up with a dense texture. Now, I always whip first, then fold in the goodies. It’s a small change but makes a huge difference.
Variations & Adaptations
This creamy dairy-free coconut ice cream recipe is super flexible. Here are some ways to make it your own:
- Chocolate Coconut: Add 1/4 cup cocoa powder to the coconut cream before whipping for a rich chocolatey treat.
- Fruit Swirl: Fold in pureed mango, strawberry, or blueberry after whipping, then gently swirl before freezing for a natural fruity twist.
- Nutty Delight: Mix in chopped toasted almonds or macadamia nuts for added crunch and flavor.
- Low Sugar: Reduce sweetener to 2 tablespoons and add a pinch of stevia or monk fruit for sweetness without the sugar spike.
- Allergen-Free: This recipe is naturally soy-free and gluten-free. For nut-free, avoid nutty mix-ins.
Personally, I love adding a tablespoon of espresso powder for a subtle coffee kick—perfect for an afternoon pick-me-up. Try experimenting with your favorite flavors; this base is forgiving and welcoming.
Serving & Storage Suggestions
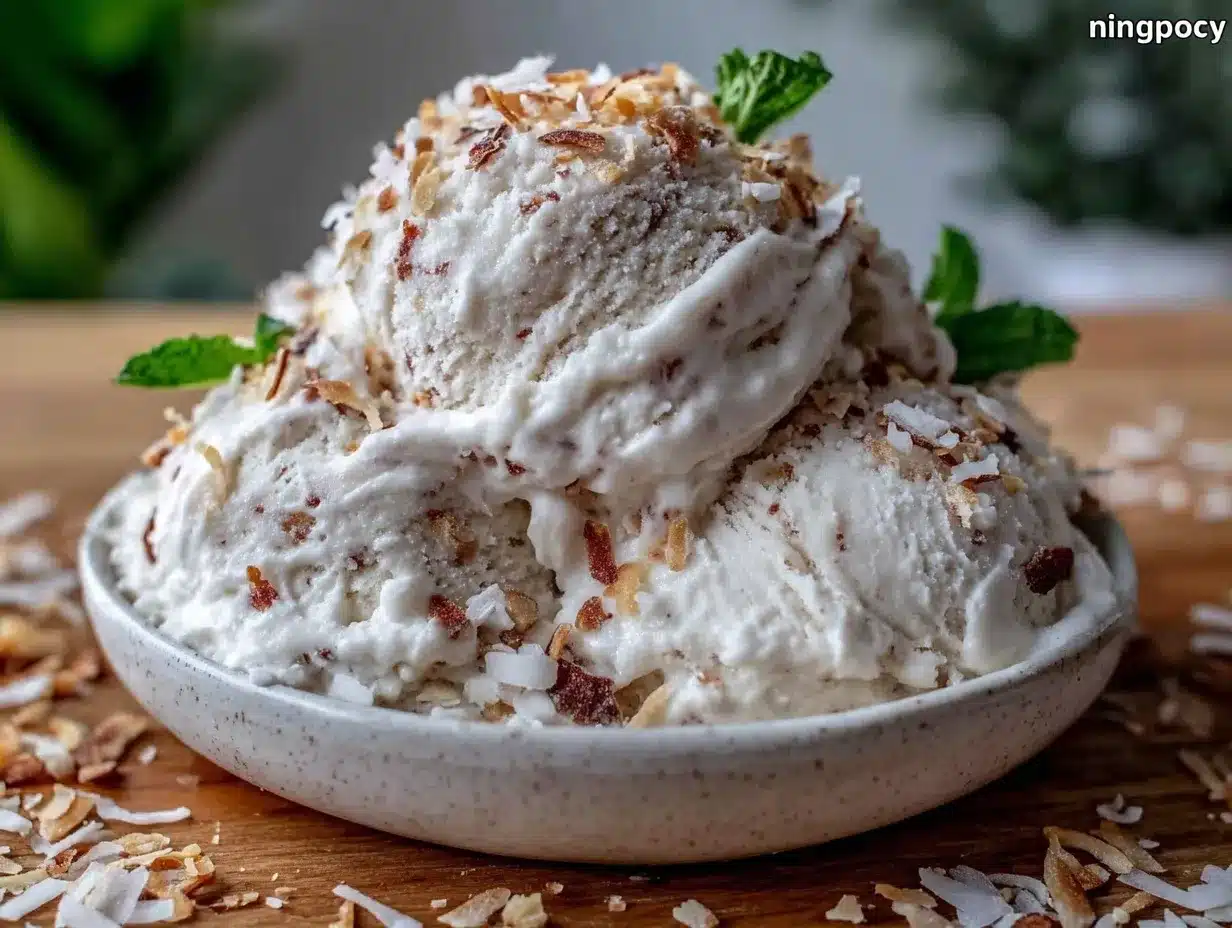
Serve this creamy dairy-free coconut ice cream chilled but not rock-solid. Let it soften for 5 to 10 minutes after removing it from the freezer for the best scoopability. Garnish with toasted coconut flakes, fresh berries, or a drizzle of dark chocolate sauce for a little extra flair.
This ice cream pairs beautifully with warm fruit cobblers, crispy garlic chicken for a surprising sweet-savory combo, or even a refreshing mojito on the side.
Store leftovers in an airtight container in the freezer for up to two weeks. If the texture becomes a bit icy, just let it thaw in the fridge for 15-20 minutes before scooping. Flavors actually deepen after a day or two, making it even tastier.
Nutritional Information & Benefits
Per 1/2 cup serving, this creamy dairy-free coconut ice cream generally contains:
| Calories | 180 |
|---|---|
| Fat | 16g (mostly healthy saturated fats) |
| Carbohydrates | 10g (mostly from natural sweeteners) |
| Protein | 1g |
| Sugar | 8g (from maple syrup) |
Coconut milk offers medium-chain triglycerides (MCTs), which some studies suggest can support metabolism and provide quick energy. Plus, this recipe is free from dairy, soy, and gluten, making it suitable for many special diets. From a wellness perspective, it’s a guilt-free way to enjoy a creamy dessert without the lactose or additives found in store-bought options.
Conclusion
This creamy dairy-free coconut ice cream recipe is a keeper for anyone who wants a luscious, homemade treat without the dairy drama. It’s simple, satisfying, and flexible enough to suit all sorts of flavor preferences. I love it because it’s a little reminder that indulgence doesn’t have to be complicated or heavy—just honest, good food made with a bit of care and a lot of heart.
If you give this recipe a try, I’d love to hear how you customize it or any tips you discover along the way. Share your experiences and let’s keep making sweet, creamy moments together. After all, everyone deserves a scoop of happiness now and then!
Frequently Asked Questions
Can I use light coconut milk instead of full-fat?
Light coconut milk usually doesn’t have enough fat to whip properly, so it’s best to stick with full-fat canned coconut milk for the creamiest results.
Do I need an ice cream maker for this recipe?
Nope! This recipe is designed to be no-churn, so just whip the coconut cream and freeze it. It’s perfect for those without special equipment.
How do I prevent ice crystals from forming?
Freezing in a shallow container and stirring the mixture once or twice during the first hour of freezing helps keep the texture smooth and creamy.
Can I sweeten this with sugar or artificial sweeteners?
You can use granulated sugar, but it might take longer to dissolve. Artificial sweeteners can alter texture, so maple syrup or agave nectar is preferred for balance and flavor.
Is this recipe suitable for vegans?
Yes! It’s dairy-free and can be made vegan by using plant-based sweeteners and avoiding honey if strict veganism is important.
Pin This Recipe!
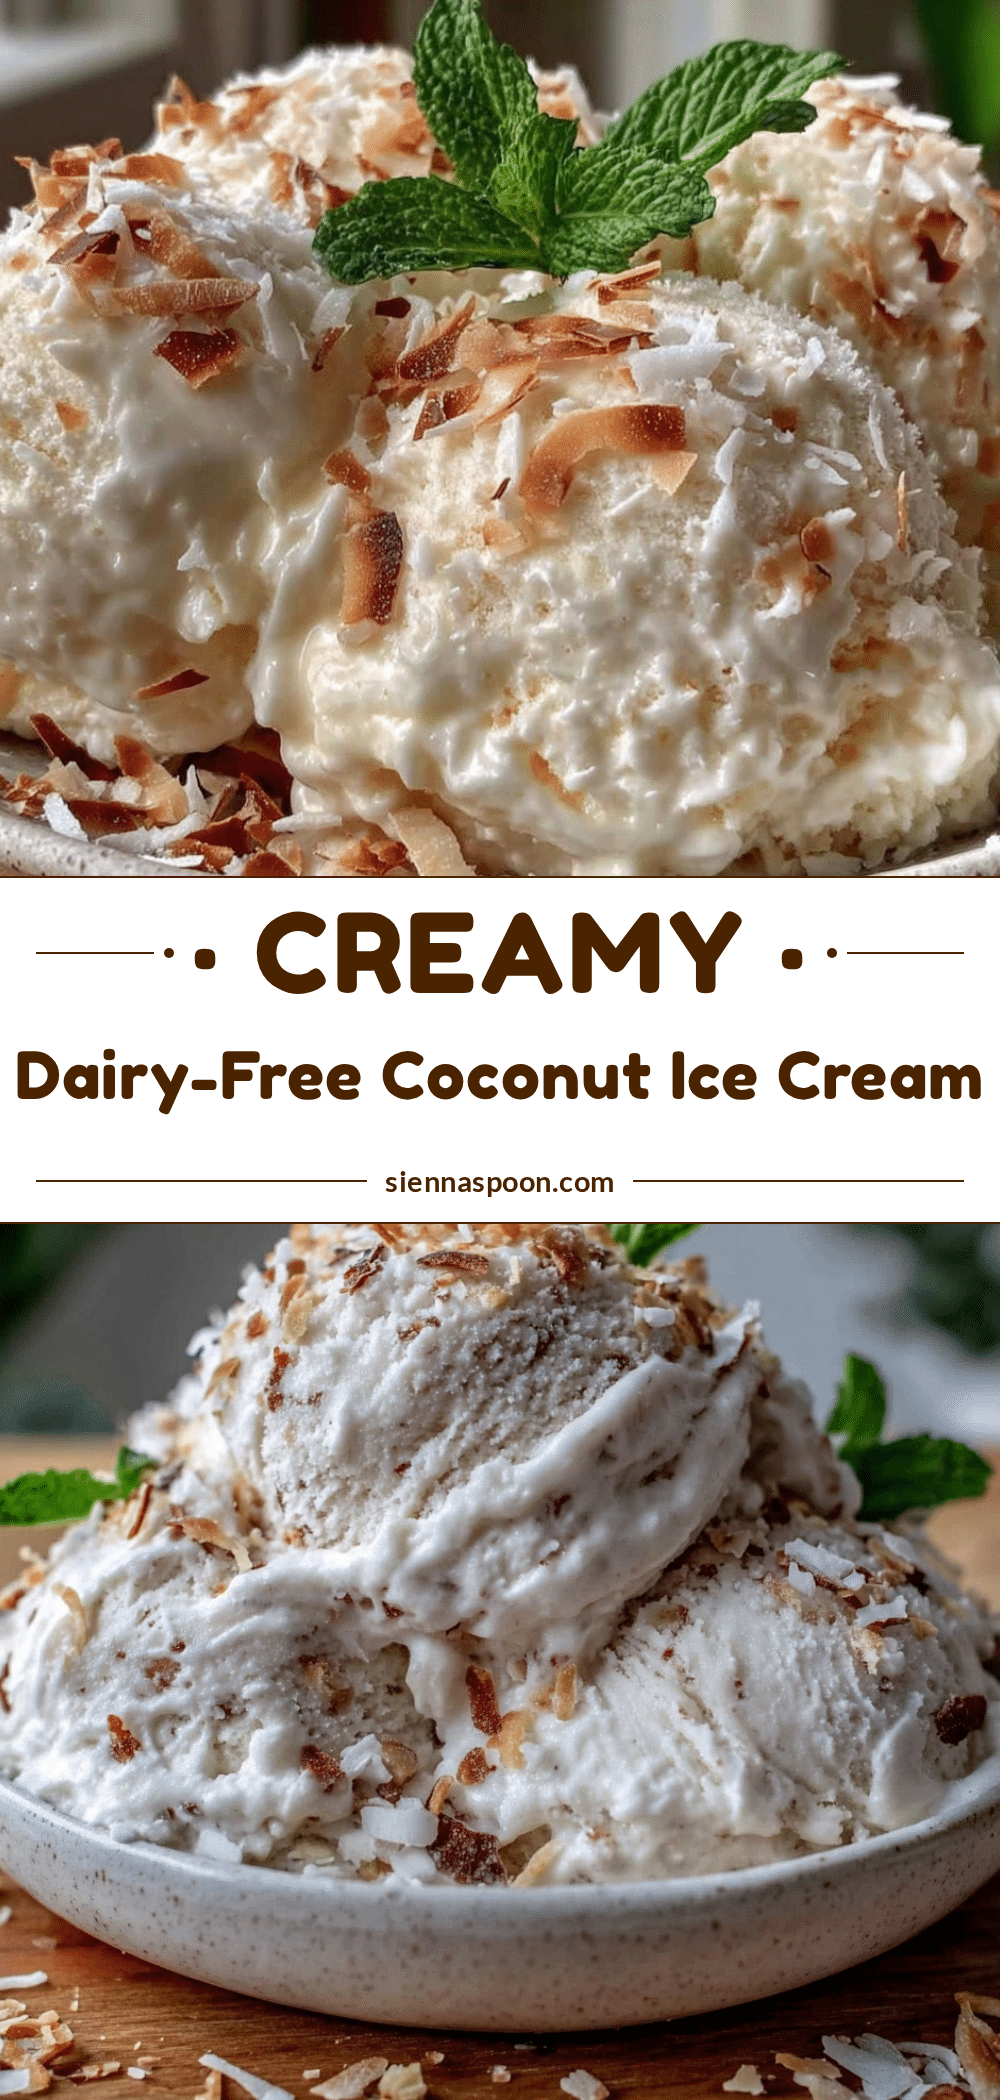
Creamy Dairy-Free Coconut Ice Cream Recipe Easy Homemade No-Churn Delight

A quick and easy no-churn dairy-free coconut ice cream that is creamy, refreshing, and perfect for warm days. Made with simple ingredients like full-fat coconut milk, maple syrup, and vanilla, this recipe delivers a luscious tropical treat without any dairy.
- Prep Time: 15 minutes
- Cook Time: 4 hours
- Total Time: 4 hours 15 minutes
- Yield: 6 servings 1x
- Category: Dessert
- Cuisine: Vegan, Dairy-Free
Ingredients
- 2 cans full-fat canned coconut milk, chilled overnight
- 1/3 cup maple syrup or agave nectar
- 1 teaspoon pure vanilla extract
- Pinch of sea salt
- 1 teaspoon lemon juice (optional)
- Optional mix-ins: 1/4 cup toasted shredded coconut, mini dairy-free chocolate chips, fresh or frozen berries
Instructions
- Chill the coconut milk: Place two cans of full-fat coconut milk in the fridge overnight to separate the cream from the liquid.
- Prepare your workspace: Chill a large mixing bowl in the freezer for about 15 minutes before starting.
- Open the cans carefully without shaking and scoop out the thickened coconut cream into the chilled bowl, leaving the coconut water for other uses.
- Whip the coconut cream using an electric mixer on medium-high speed until soft peaks form, about 3 to 5 minutes.
- Lower mixer speed to low and add maple syrup, vanilla extract, and sea salt. Whip just to combine, about 30 seconds.
- Stir in lemon juice by hand if using.
- Gently fold in any optional mix-ins with a spatula, being careful not to deflate the cream.
- Transfer the mixture to a freezer-safe container, smooth the top, cover, and freeze for at least 4 hours or until firm.
- Before serving, let the ice cream sit at room temperature for 5 to 10 minutes to soften for easier scooping.
Notes
Make sure coconut milk is well chilled to separate cream from liquid. Avoid over-whipping to prevent breaking the cream. Freeze in a shallow container for even setting. Stir the mixture once or twice during the first hour of freezing to reduce ice crystals. Leftover coconut water can be used for smoothies. If ice cream is too icy, reduce freezer time or increase maple syrup slightly. Let ice cream soften 5-10 minutes before serving for best scoopability.
Nutrition
- Serving Size: 1/2 cup
- Calories: 180
- Sugar: 8
- Sodium: 10
- Fat: 16
- Saturated Fat: 14
- Carbohydrates: 10
- Fiber: 1
- Protein: 1
Keywords: dairy-free ice cream, coconut ice cream, no-churn ice cream, vegan dessert, homemade ice cream, coconut milk dessert, easy ice cream recipe