Love this? Save it for later!
Share the inspiration with your friends
Introduction
“You really can’t rush perfection,” my friend Jess joked as she pulled a batch of homemade burger buns from her tiny apartment oven. It was a rainy Thursday evening, and I’d stopped by unannounced, craving a burger but wary of gluten. Jess, who’s battled gluten sensitivity for years, was on a mission to craft the fluffiest gluten-free buns she could find. Honestly, I wasn’t expecting much—gluten-free bread has a reputation, right? But the moment she handed me a warm bun, light as a cloud and with just the right chew, I was hooked.
What makes these buns so special? Potato starch. Jess swore by it, saying it gave the buns a pillowy texture that other gluten-free recipes just couldn’t match. I watched her scribble down the recipe on a napkin between bites, a little flour dusting her counter and a cracked bowl nearby from a previous batch gone sideways. Maybe you’ve been there—trying to get gluten-free bread right feels like chasing a ghost. But this recipe stuck with me, and now I keep making these buns for weekend cookouts and last-minute burger nights. Let me tell you, they’re a game changer for anyone craving burger bliss without the gluten drama.
Why You’ll Love This Recipe
Having tested more gluten-free bread recipes than I care to admit, I can confidently say this one stands out. The magic of potato starch combined with a few simple ingredients makes these buns uniquely soft yet sturdy enough to hold your favorite burger fillings without falling apart.
- Quick & Easy: Ready in under 90 minutes, perfect when you want fresh buns without the wait.
- Simple Ingredients: No need for specialty stores; potato starch and common pantry staples are all you need.
- Perfect for Any Occasion: Whether it’s a casual BBQ or a cozy dinner, these buns fit right in.
- Crowd-Pleaser: Even gluten-eating friends have asked for seconds—no one suspects they’re gluten-free!
- Unbelievably Delicious: The texture is light, fluffy, with a slight chew that feels just right.
This isn’t your run-of-the-mill gluten-free bun. The potato starch adds a subtle moistness and softness that many other recipes lack. Plus, the method includes a brief proofing step that helps develop flavor and structure, making it more bread-like than crumbly. Honestly, it’s the kind of recipe you’ll want to keep on hand for those impromptu burger cravings, and it’s been a staple in my kitchen ever since Jess shared it.
What Ingredients You Will Need
This recipe uses simple, wholesome ingredients to deliver bold flavor and satisfying texture without the fuss. Most are pantry staples, and the star player—potato starch—is easy to find in grocery stores or online. Feel free to swap a few items to suit your preferences or dietary needs.
- Potato starch – 1 ½ cups (180g) (gives the buns their soft, fluffy texture; I prefer Bob’s Red Mill for consistency)
- Gluten-free all-purpose flour blend – 1 cup (120g) (choose one with xanthan gum included, or add 1 tsp separately)
- Instant yeast – 2 ¼ tsp (one packet, about 7g) (makes the dough rise beautifully)
- Warm water – ¾ cup (180ml) (around 110°F/43°C; too hot, and you risk killing the yeast)
- Eggs – 2 large (room temperature; helps with structure and moisture)
- Olive oil – 2 tbsp (adds richness and tenderness)
- Honey – 1 tbsp (balances flavors and feeds the yeast)
- Salt – 1 tsp (enhances flavor)
- Apple cider vinegar – 1 tsp (helps with dough elasticity)
- Sesame seeds – Optional, for topping
If you want a dairy-free version, swap the eggs with flax eggs (1 tbsp ground flaxseed mixed with 3 tbsp water per egg) and use a neutral oil like avocado oil. The buns still come out wonderfully fluffy! In summer, I sometimes add fresh herbs like rosemary or thyme for a subtle twist.
Equipment Needed
- Mixing bowls: Medium and large sizes for combining ingredients comfortably.
- Stand mixer with dough hook: Optional but helpful for kneading, especially for gluten-free dough which can be sticky. If you don’t have one, a sturdy wooden spoon and some patience work fine.
- Baking sheet: Standard size, lined with parchment paper or a silicone baking mat to prevent sticking.
- Kitchen scale: Highly recommended for accuracy, especially with gluten-free baking.
- Measuring cups and spoons: For liquid and dry ingredients.
- Clean kitchen towel or plastic wrap: For covering dough during proofing to keep moisture in.
I once tried baking these buns on a pizza stone, and while the crust was crispier, I preferred the softer edges from a regular sheet pan for sandwiches. Also, keeping your equipment clean and dry helps prevent any interference with yeast activity.
Preparation Method
- Activate the yeast: In a small bowl, combine ¾ cup (180ml) warm water with 1 tbsp honey and the instant yeast (2 ¼ tsp). Stir gently and let it sit for 5-7 minutes until foamy. If it doesn’t foam, your yeast might be inactive—start again with fresh yeast.
- Mix dry ingredients: In a large bowl, whisk together 1 ½ cups (180g) potato starch, 1 cup (120g) gluten-free all-purpose flour, and 1 tsp salt. Make sure to break up any lumps for an even texture.
- Combine wet ingredients: In another bowl, beat 2 large eggs, 2 tbsp olive oil, and 1 tsp apple cider vinegar. Add the foamy yeast mixture and stir to combine.
- Form the dough: Pour the wet ingredients into the dry ingredients bowl. Using a stand mixer fitted with a dough hook, mix on low speed for about 4-5 minutes until a sticky but cohesive dough forms. If mixing by hand, use a wooden spoon and then your hands to bring it together (expect some stickiness—that’s normal!).
- First proof: Cover the bowl with a clean kitchen towel or plastic wrap. Place in a warm, draft-free spot for 45-60 minutes until the dough roughly doubles in size. It might not rise as dramatically as wheat dough, but you’ll notice some puffiness.
- Shape the buns: Lightly flour your hands with potato starch. Divide the dough into 6 equal portions (about 110g each). Shape each into a smooth ball and place them on a parchment-lined baking sheet, spaced about 2 inches apart.
- Second proof: Cover loosely with a towel and let rest for 20-30 minutes. Meanwhile, preheat your oven to 375°F (190°C).
- Add toppings: For classic flair, brush the buns gently with a little water or beaten egg and sprinkle sesame seeds on top.
- Bake: Place the tray in the center rack and bake for 20-25 minutes, or until the buns are golden brown and sound hollow when tapped on the bottom.
- Cool: Transfer buns to a wire rack and let cool completely before slicing. This step is key to avoid crumbly buns—patience pays off!
Pro tip: If the dough feels too sticky while shaping, dust your hands lightly but avoid adding too much extra starch which can dry out the buns. Also, I learned the hard way that rushing the cooling time leads to crumbly buns—so give these a good rest before piling on your favorite toppings.
Cooking Tips & Techniques
Gluten-free baking is a bit of a craft, and these tips come from trial, error, and a few laughs in my kitchen:
- Use fresh yeast: Old yeast means flat buns. I always check the expiration date and proof the yeast first to avoid surprises.
- Potato starch matters: Not all brands behave the same. I stick with Bob’s Red Mill or Anthony’s for consistent results.
- Don’t skip the vinegar: It helps with dough elasticity, making buns less crumbly and more bread-like.
- Handle dough gently: Gluten-free dough isn’t stretchy like wheat dough. Avoid over-kneading; mix just until combined.
- Proof in a warm spot: I sometimes use the oven with just the light on for a cozy rising environment.
- Timing is everything: Overbaking dries out the buns, underbaking leaves them gummy. The hollow tap test is your best guide.
Once, I forgot to add the vinegar and ended up with buns that fell apart when sliced—lesson learned the sticky way! Also, multitasking helps; while the dough proofs, I prep burger fixings or make a quick salad, making the whole dinner flow smoothly.
Variations & Adaptations
These buns are a fantastic base for customizing to your tastes or dietary needs. Here are some ideas I’ve tried or recommend:
- Herb-Infused Buns: Add 1 tbsp finely chopped fresh rosemary or thyme to the dry ingredients for a savory twist that pairs beautifully with grilled meats.
- Seeded Buns: Mix chia seeds or flaxseeds into the dough for extra fiber and a nutty crunch.
- Vegan Version: Replace eggs with flax eggs and use coconut oil instead of olive oil. The texture is slightly different but still fluffy and delicious.
- Whole Grain Blend: Substitute part of the gluten-free flour with buckwheat or sorghum flour for a nuttier flavor and more complex nutrition.
- Alternative Cooking Methods: Try baking in a cast-iron skillet for a rustic crust or even air frying small buns for a quicker, crispier result.
One time, I swapped potato starch for tapioca starch in a pinch—it wasn’t quite as fluffy but still tasty. Experimentation is part of the fun here!
Serving & Storage Suggestions
These buns are best served fresh and slightly warm, but they hold up well if stored properly. Here’s how I handle them:
- Serving: Slice gently with a serrated knife. These buns cradle juicy burger patties, crisp lettuce, and melty cheese perfectly.
- Pairings: Serve alongside homemade fries, coleslaw, or a fresh green salad. A crisp lager or iced tea complements the meal nicely.
- Storage: Store cooled buns in an airtight container or resealable bag at room temperature for up to 2 days.
- Freezing: Wrap buns individually in plastic wrap and freeze for up to 1 month. Thaw at room temperature or toast straight from frozen.
- Reheating: Warm in the oven at 300°F (150°C) for 5-7 minutes or toast in a skillet for a crisp exterior.
Flavors deepen a bit after resting, but I prefer them fresh for that signature fluffiness. These buns also make excellent sandwich bases beyond burgers—try them with grilled chicken or veggie patties!
Nutritional Information & Benefits
Each fluffy gluten-free burger bun (approximate values) contains around 150-170 calories, 3g protein, 30g carbohydrates, and 2.5g fat. The use of potato starch keeps the buns low in fat and gluten-free, making them suitable for those with gluten intolerance or celiac disease.
Potato starch is a great alternative thickener and binder without adding gluten, and its digestibility can be gentler on sensitive stomachs. The eggs provide protein and essential nutrients, while olive oil contributes heart-healthy fats.
This recipe is naturally free of dairy and nuts, but always check ingredient labels for cross-contamination if allergies are a concern.
Conclusion
Honestly, these fluffy gluten-free burger buns with potato starch have become a kitchen staple for anyone avoiding gluten without wanting to sacrifice texture or taste. They’re approachable, forgiving, and delicious, making gluten-free burger nights something to look forward to instead of dread. I encourage you to try the recipe as is, then tweak it to your liking—maybe add herbs, seeds, or try a vegan version. Cooking is about making a recipe yours, after all.
Let me know how your buns turn out or any creative spins you come up with! Sharing these moments makes the whole cooking journey more fun. So grab your mixing bowl, and let’s make some buns that even gluten lovers will ask for seconds!
FAQs about Fluffy Gluten-Free Burger Buns with Potato Starch
Can I use regular flour instead of gluten-free flour?
This recipe is designed specifically for gluten-free flour blends. Using regular wheat flour will change the texture and rise, so I recommend sticking with gluten-free to get the best results.
What if I don’t have potato starch? Can I substitute another starch?
You can try tapioca or cornstarch, but potato starch gives the best fluffiness and moisture. Other starches may produce a different texture.
How should I store leftover buns to keep them fresh?
Cool completely, then store in an airtight container at room temperature for up to 2 days or freeze wrapped individually for up to a month.
Can I make the dough ahead of time?
Yes! After the first proof, you can refrigerate the dough overnight, then shape and bake the next day. Just allow extra time for the second proof at room temperature.
Are these buns suitable for people with egg allergies?
You can replace eggs with flax eggs for an egg-free version. The texture will be slightly different but still tasty and fluffy.
If you’re curious about pairing these buns with some juicy, flavorful patties, you might enjoy my crispy garlic chicken recipe or even some homemade vegan black bean burgers for a plant-based option. Both go wonderfully on these buns!
Pin This Recipe!
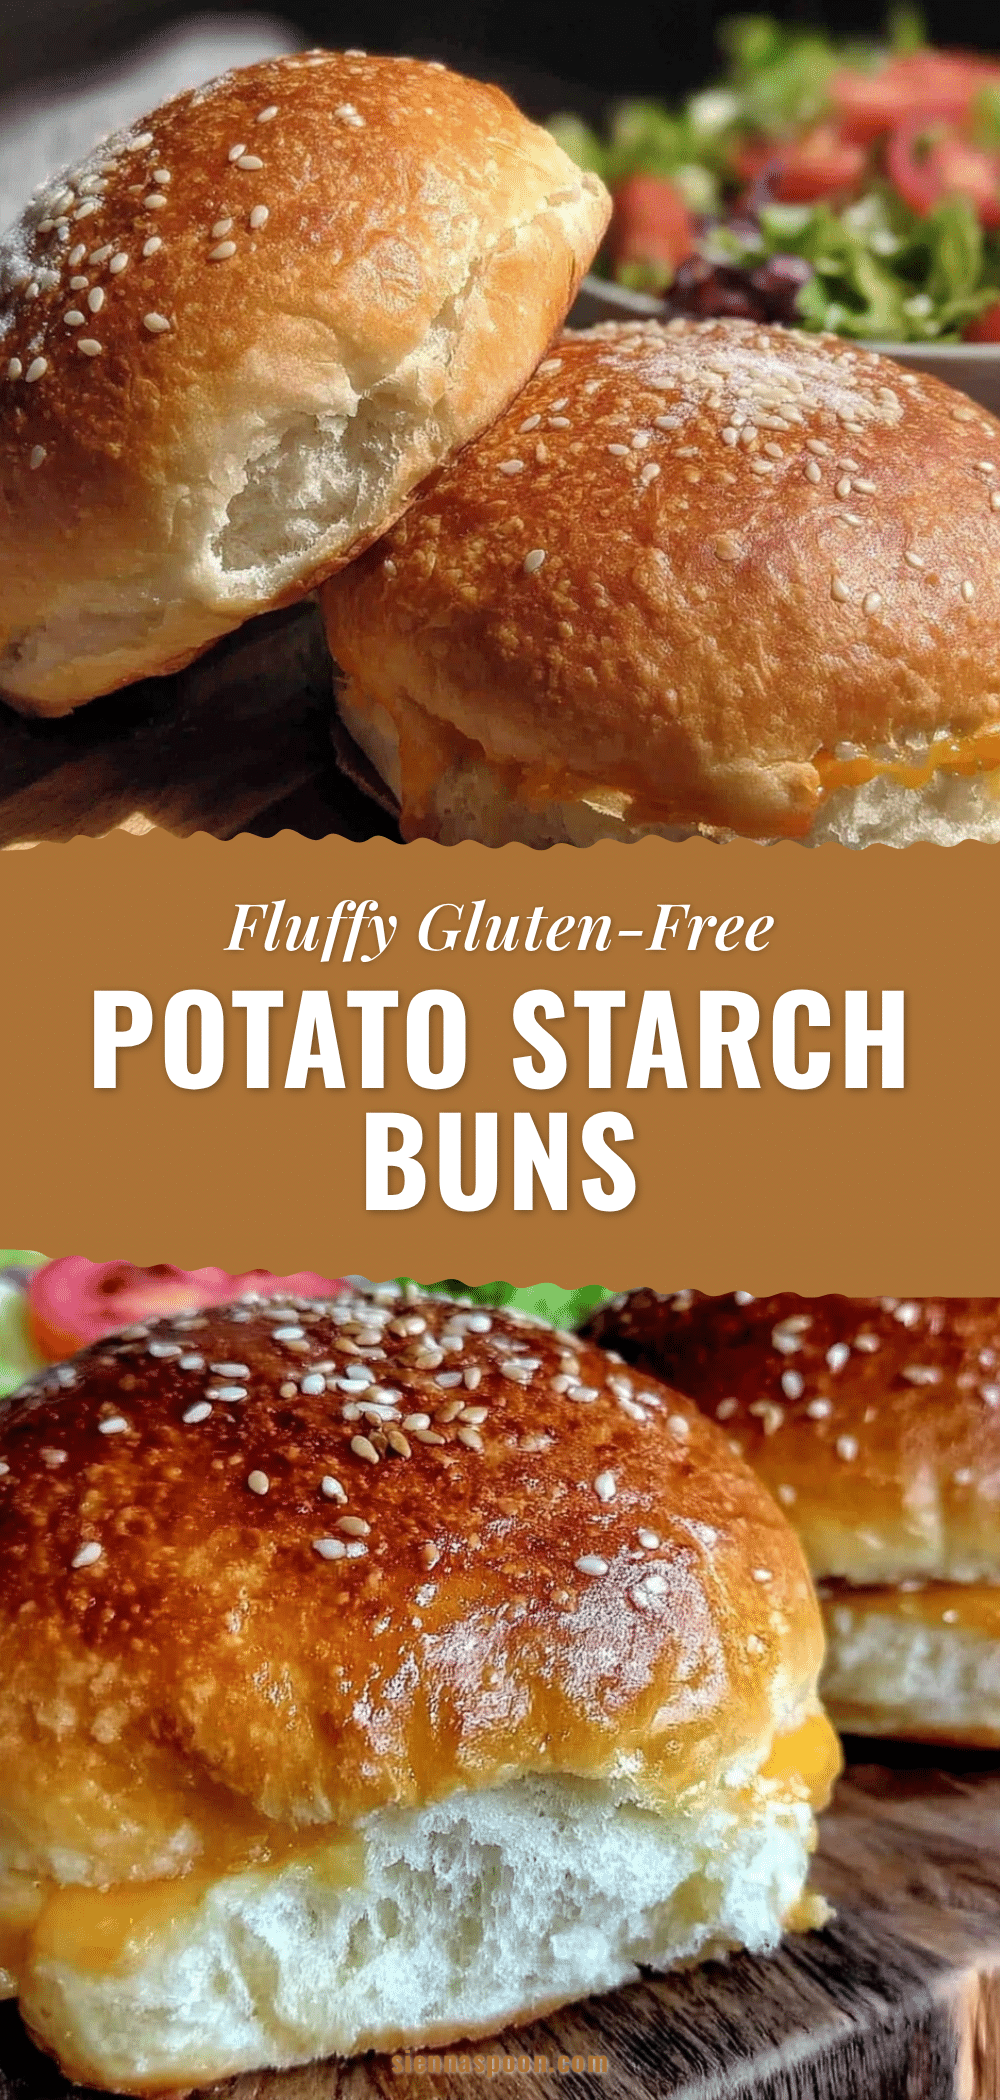
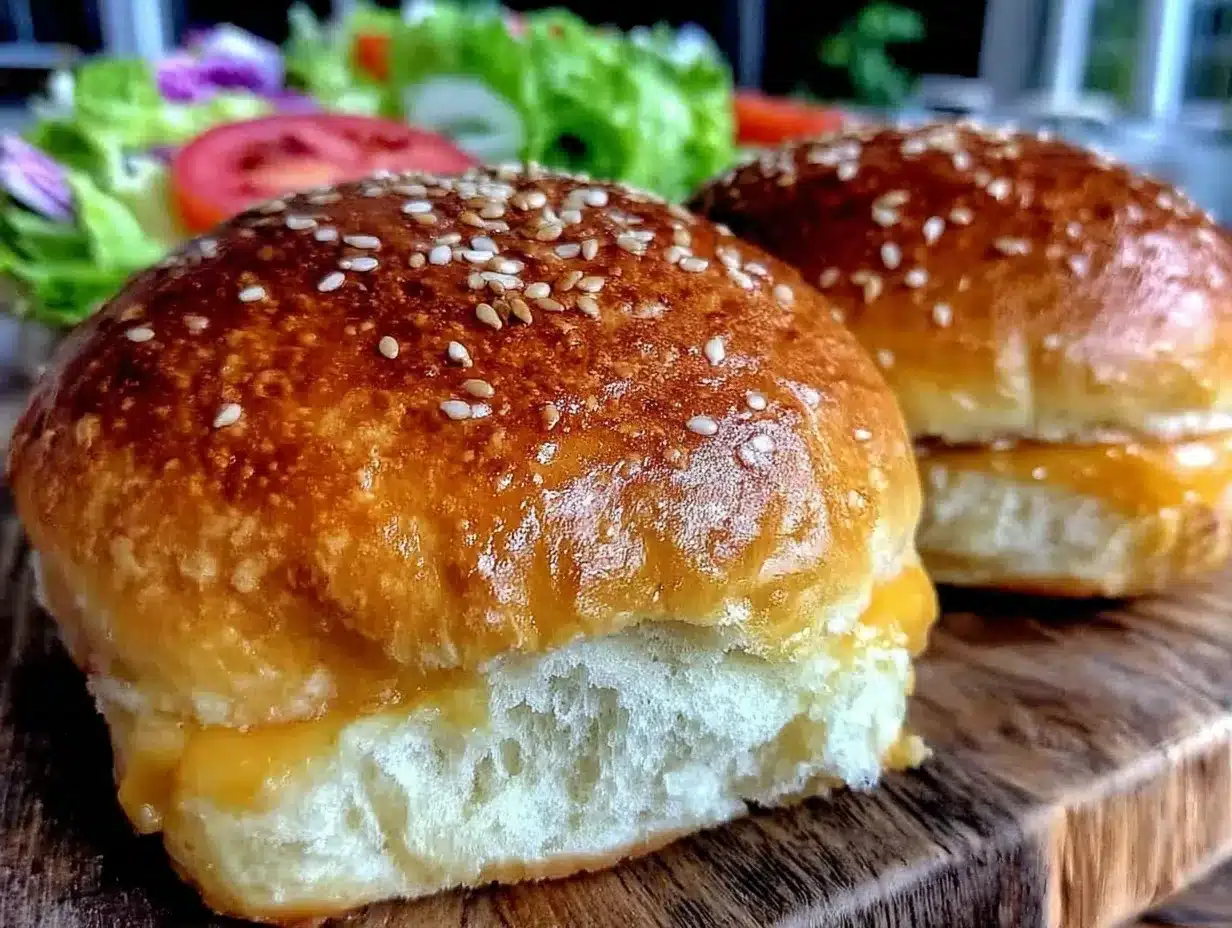
Fluffy Gluten-Free Burger Buns with Potato Starch

These fluffy gluten-free burger buns use potato starch to achieve a soft, pillowy texture perfect for holding your favorite burger fillings without falling apart. Easy to make and ready in under 90 minutes, they are a game changer for gluten-sensitive eaters and burger lovers alike.
- Prep Time: 15 minutes
- Cook Time: 25 minutes
- Total Time: 85 minutes
- Yield: 6 buns 1x
- Category: Bread
- Cuisine: Gluten-Free
Ingredients
- 1 ½ cups (180g) potato starch
- 1 cup (120g) gluten-free all-purpose flour blend (with xanthan gum included or add 1 tsp separately)
- 2 ¼ tsp (7g) instant yeast
- ¾ cup (180ml) warm water (around 110°F/43°C)
- 2 large eggs (room temperature)
- 2 tbsp olive oil
- 1 tbsp honey
- 1 tsp salt
- 1 tsp apple cider vinegar
- Sesame seeds (optional, for topping)
Instructions
- Activate the yeast: In a small bowl, combine ¾ cup warm water with 1 tbsp honey and the instant yeast. Stir gently and let sit for 5-7 minutes until foamy.
- Mix dry ingredients: In a large bowl, whisk together potato starch, gluten-free flour, and salt, breaking up any lumps.
- Combine wet ingredients: In another bowl, beat eggs, olive oil, and apple cider vinegar. Add the foamy yeast mixture and stir to combine.
- Form the dough: Pour wet ingredients into dry ingredients. Mix with a stand mixer fitted with a dough hook on low speed for 4-5 minutes until sticky but cohesive. Alternatively, mix by hand with a wooden spoon and hands.
- First proof: Cover the bowl with a clean towel or plastic wrap and place in a warm, draft-free spot for 45-60 minutes until dough roughly doubles in size.
- Shape the buns: Lightly flour hands with potato starch. Divide dough into 6 equal portions (~110g each). Shape into smooth balls and place on a parchment-lined baking sheet spaced 2 inches apart.
- Second proof: Cover loosely with a towel and let rest for 20-30 minutes. Preheat oven to 375°F (190°C).
- Add toppings: Brush buns gently with water or beaten egg and sprinkle sesame seeds if desired.
- Bake: Place tray in center rack and bake for 20-25 minutes until golden brown and hollow sounding when tapped.
- Cool: Transfer buns to a wire rack and let cool completely before slicing to avoid crumbliness.
Notes
Use fresh yeast and proof it to ensure activity. Avoid over-kneading the dough; mix just until combined. Proof dough in a warm, draft-free spot. Let buns cool completely before slicing to prevent crumbling. Potato starch brand affects texture; Bob’s Red Mill or Anthony’s recommended. For dairy-free, replace eggs with flax eggs and use neutral oil. Optional herbs or seeds can be added for variation.
Nutrition
- Serving Size: 1 bun
- Calories: 160
- Sugar: 3
- Sodium: 200
- Fat: 2.5
- Saturated Fat: 0.3
- Carbohydrates: 30
- Fiber: 1
- Protein: 3
Keywords: gluten-free burger buns, potato starch buns, homemade gluten-free bread, fluffy burger buns, gluten-free baking