Love this? Save it for later!
Share the inspiration with your friends
“You know that feeling when you’re scrambling last minute to make something fun for a kid’s party, and all you have is a pantry full of basics and zero oven time?” That was me last Saturday afternoon. My nephew’s Star Wars-themed birthday bash was in just a couple of hours, and I hadn’t planned a thing. Honestly, I was almost resigned to handing out store-bought snacks when my sister mentioned how much he loved Rice Krispie treats. But, of course, they needed a little extra something to match the Death Star theme she’d gone all out on.
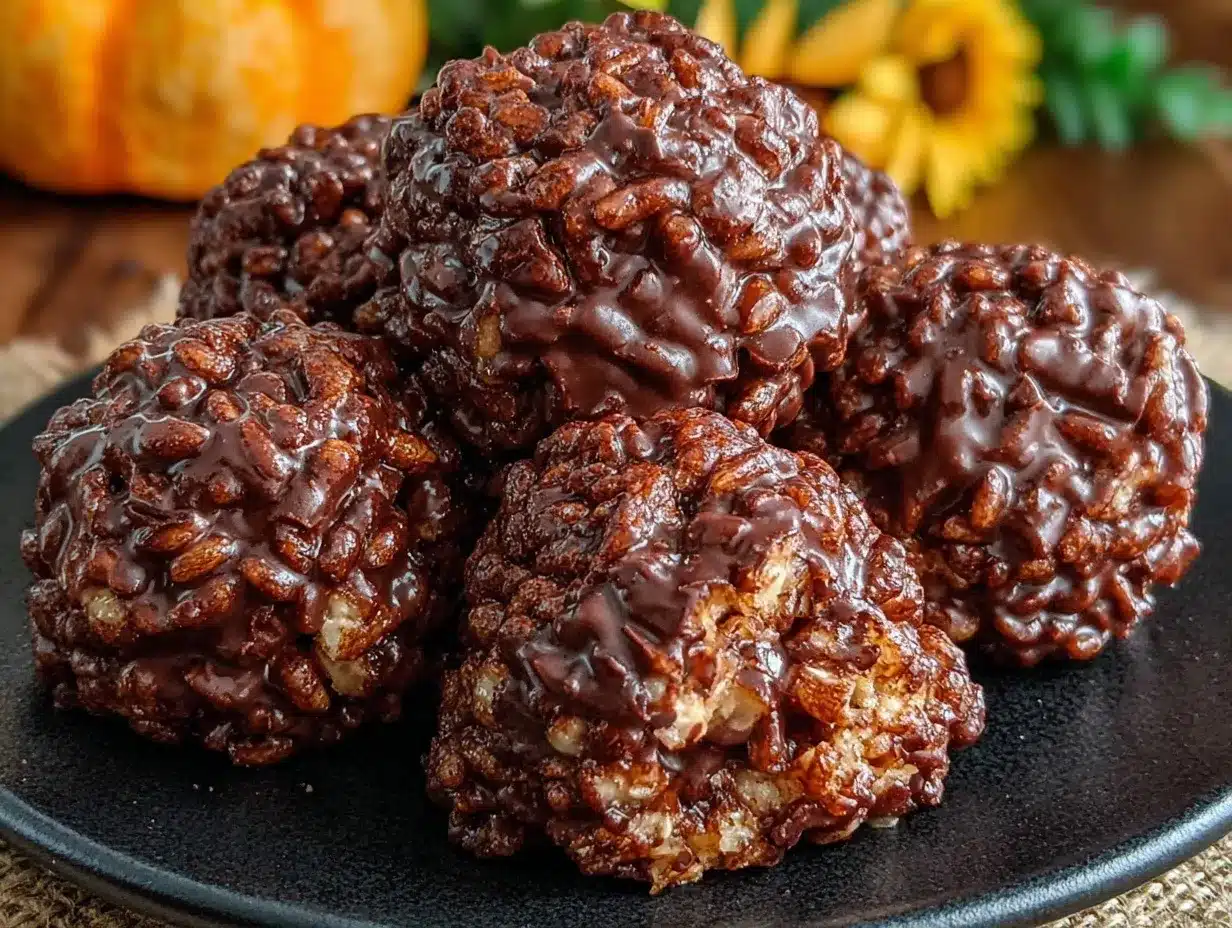
I wasn’t expecting to pull together something epic without baking or fancy ingredients, but a quick raid through the pantry and a bit of playful creativity later, I ended up with these Easy No-Bake Death Star Rice Krispie Treats. The kids went wild for them, and honestly, I kinda stole the show at the snack table. The best part? They’re ridiculously simple to make, even when you’re juggling a million things and the clock’s ticking.
Let me tell you, making treats shaped like the Death Star without turning the kitchen into a total mess was a minor victory in itself. I did have a bit of a marshmallow mishap (don’t ask), but all in all, these treats turned out just right—crispy, sweet, and totally fun. So, if you’re looking for a no-fuss, no-bake recipe that kids will adore and that fits perfectly into a sci-fi themed party or just a playful snack time, this one’s for you.
Why You’ll Love This Recipe
After testing this recipe a couple of times (and yes, cleaning up a sticky kitchen more than once), I can honestly say it’s a keeper. Here’s why this recipe consistently wins over both kids and adults:
- Quick & Easy: Ready in under 30 minutes with no oven required—perfect for those last-minute party saves or quick afternoon treats.
- Simple Ingredients: Uses pantry staples like Rice Krispies cereal, marshmallows, and butter. No weird or hard-to-find items needed.
- Perfect for Kids’ Parties: The fun Death Star shape makes it a hit at themed events, and the no-bake method keeps it safe for little helpers in the kitchen.
- Crowd-Pleaser: The classic sweet and crispy combo is a total favorite among kids, while adults appreciate the nostalgic vibe.
- Unbelievably Delicious: The soft marshmallow coating combined with the crisp cereal makes every bite a comforting treat.
This isn’t just any Rice Krispie treat recipe. I added a few tricks to make the marshmallow coating smoother and easier to shape, and the mold technique means you can impress without spending hours fiddling. Plus, the Death Star theme brings a playful twist that really makes these treats stand out. Honestly, the moment my nephew bit into one and smiled like he was on the bridge of a starship, I knew this recipe would stick around forever.
What Ingredients You Will Need
This recipe keeps things straightforward, using simple ingredients that work together to create that classic Rice Krispie treat texture with a fun twist. Here’s what you’ll need:
- Rice Krispies cereal (6 cups / 150 grams) – the crunchy base. I prefer Kellogg’s for that perfect snap.
- Marshmallows (10 oz / 280 grams) – the glue that holds everything together. Use regular marshmallows for best results.
- Unsalted butter (4 tablespoons / 57 grams) – adds richness and helps melt the marshmallows smoothly.
- Black food coloring gel (optional, about 1 teaspoon) – to tint the marshmallow mixture a deep gray for that authentic Death Star look.
- Vanilla extract (1 teaspoon) – adds subtle warmth and depth to the flavor.
- Non-stick cooking spray or butter – for greasing your mold or pan to avoid sticking.
Optional additions:
- Mini chocolate chips or edible silver glitter – to add a bit of “starry” sparkle or texture on top.
- Almond flour – if you want to dust the mold for easier release without altering flavor.
You can swap out the butter for coconut oil if you want a dairy-free version, and if you’re avoiding artificial colors, you can skip the food coloring — the treats will still taste amazing, just a bit lighter in color.
Equipment Needed
- Large mixing bowl: For melting marshmallows and mixing with the cereal. Glass or heatproof plastic works best.
- Large saucepan or microwave-safe bowl: To melt the butter and marshmallows.
- Spatula or wooden spoon: Essential for stirring the hot marshmallow mixture without burning yourself.
- Death Star-shaped silicone mold or cookie cutter: Silicone molds are my go-to because they’re flexible and make getting the treats out easier. If you don’t have one, a round cookie cutter or even shaping by hand works.
- Non-stick cooking spray or butter: For greasing molds and pans.
- Measuring cups and spoons: To keep the measurements spot on for perfect texture.
If you don’t have a Death Star mold, don’t sweat it—using a simple round mold or shaping the treats freehand still gets you great results. I’ve found silicone molds hold up well to repeated use, just give them a gentle clean with warm soapy water after each batch. For budget-friendly options, a sturdy plastic bowl or pan lined with parchment paper also works great for making classic Rice Krispie squares.
Preparation Method
- Prepare your workspace: Lightly grease your Death Star silicone mold or cookie cutter with non-stick spray or butter. If using a pan, line it with parchment paper for easy removal. This step prevents sticky messes later. (5 minutes)
- Melt the butter: In a large saucepan over low heat, melt 4 tablespoons (57 grams) of unsalted butter until just melted, not browned. Stir gently to avoid splashing. (3-4 minutes)
- Add marshmallows: Immediately add 10 oz (280 grams) of marshmallows to the melted butter. Stir continuously with a spatula until the mixture is smooth and fully melted. This should take about 5 minutes. Be patient here — marshmallows can be stubborn! (5 minutes)
- Mix in vanilla and food coloring: Remove from heat and stir in 1 teaspoon of vanilla extract. If you want that Death Star gray, add about 1 teaspoon of black food coloring gel and mix thoroughly until evenly colored. If you skip this step, your treats will be classic white. (1-2 minutes)
- Combine with Rice Krispies: Pour 6 cups (150 grams) of Rice Krispies cereal into the marshmallow mixture. Stir quickly but gently until all cereal is coated evenly. The mixture should be sticky but not dripping. (2 minutes)
- Shape the treats: Press the mixture firmly into your prepared Death Star mold or cookie cutter. Use a buttered spatula or wax paper to press down evenly and avoid sticking to your hands. If using a pan, press into an even layer about 1-inch (2.5 cm) thick. (5 minutes)
- Let cool and set: Allow the treats to cool at room temperature for at least 30 minutes to firm up. Avoid the temptation to pop them in the fridge right away — slow cooling helps maintain that perfect chewy texture. (30 minutes)
- Remove from mold: Gently pop the treats out of the mold. If they resist, a quick twist or pressing the back of the mold can help. Trim edges if needed for a cleaner shape. (2-3 minutes)
- Optional decoration: Sprinkle mini chocolate chips or edible silver glitter on top for a “starry” effect if desired. (2 minutes)
Pro tip: When stirring marshmallows, use a sturdy spatula to avoid snapping or splattering. If the mixture starts to harden before you finish shaping, gently warm it for a few seconds in the microwave to soften.
Cooking Tips & Techniques
Making the perfect Rice Krispie treat takes a little know-how, especially when going for a fun shape like the Death Star. Here are some tips I’ve picked up over the years:
- Low and slow melting: Melting butter and marshmallows on low heat prevents scorching and keeps the mixture smooth and glossy.
- Don’t rush the mixing: Stir marshmallows constantly to avoid lumps or burning spots, and mix the cereal in quickly while the marshmallow is still warm but not too hot.
- Grease your tools: Butter your spatula and molds to make handling sticky marshmallow mixture easier and prevent frustration.
- Shape while warm: The mixture becomes firm quickly, so work efficiently but gently pressing into molds or pans.
- Practice makes perfect: My first batch was a sticky mess because I pressed too hard and cracked the treats. Light, even pressure is key.
- Timing is everything: Allow treats to set fully at room temperature for the best chewiness — refrigeration can make them too firm.
- Multitasking trick: While the treats set, it’s a great time to tidy the kitchen or prepare drinks for the party. Trust me, no one will mind!
I once tried mixing in colored sprinkles directly into the marshmallow mixture (big mistake—the colors bled!). Now I stick to decorating on top after shaping to keep things neat and vibrant.
Variations & Adaptations
This recipe is pretty adaptable, so you can tweak it to match different tastes or dietary needs without losing the fun factor. Here are some ideas:
- Gluten-Free: Rice Krispies cereal is gluten-free in some brands like Nature’s Path Organic Crispy Rice. Double-check packaging to keep it safe.
- Dairy-Free Version: Swap butter for coconut oil and use vegan marshmallows for a dairy-free treat all kids can enjoy.
- Chocolate Death Star: Add 1/2 cup (45 grams) of mini chocolate chips or drizzle melted dark chocolate on top after molding for extra decadence.
- Seasonal Twist: In the winter, stir in peppermint extract instead of vanilla for a festive flavor twist.
- Personal Touch: I once added crushed pretzels inside the mixture for a salty crunch that surprised everyone. Totally worth a try!
For a less sticky, more manageable treat, try chilling the marshmallow mixture for a few minutes before shaping. Just don’t wait too long or it’ll harden! And if you don’t have a Death Star mold, a round cookie cutter or even shaping by hand works great and still looks fun.
Serving & Storage Suggestions
These treats are best served at room temperature, right out of the mold when they’re chewy and soft. They make an eye-catching centerpiece on a party table, especially when paired with other themed snacks like crispy garlic chicken for the grown-ups.
To store, place the treats in an airtight container at room temperature and enjoy within 2-3 days. If you want to keep them longer, they freeze beautifully wrapped tightly in plastic wrap and then foil—just thaw at room temperature before serving.
Reheating isn’t usually necessary, but if the treats get a little firm, a 5-10 second zap in the microwave softens them right up.
Interestingly, letting these treats sit for a day can deepen their flavor and improve texture, so if you’re prepping ahead, they might actually taste better the next day. Just make sure they stay airtight to keep moisture out.
Nutritional Information & Benefits
Each serving of these Rice Krispie treats offers a sweet energy boost, perfect for active kids at parties or after school. Here’s an estimate per serving (based on 12 servings):
| Calories | 160 |
|---|---|
| Carbohydrates | 30 g |
| Fat | 4 g |
| Sugar | 18 g |
| Protein | 1 g |
While these treats aren’t exactly health food, the key ingredients provide quick carbohydrates and a little fat for sustained energy. Using real butter adds a touch of richness and fat-soluble vitamins.
If you opt for dairy-free or gluten-free versions, these treats remain accessible for common dietary restrictions, making them a great choice for group events.
Personally, I see these as an occasional fun treat that brings joy and a little nostalgia—a reminder of simple pleasures and shared moments.
Conclusion
To wrap it up, these Easy No-Bake Death Star Rice Krispie Treats are the perfect combination of fun, simplicity, and deliciousness. Whether you’re throwing a kid’s party, looking for a quick snack, or just want to channel your inner sci-fi fan in the kitchen, this recipe delivers. The no-bake method and simple ingredients make it a stress-free way to impress, and the playful shape adds that extra wow factor.
Feel free to tweak the flavor, color, or add-ins to suit your crew’s tastes—I promise it’s hard to go wrong. I love how these treats bring a little magic and laughter to any gathering, and I hope you’ll enjoy making them as much as I do.
Give it a try and let me know how your party goes! Share your Death Star creations or any fun twists you come up with—I’m always excited to hear from fellow snack adventurers. May the treats be with you!
FAQs
Can I make these Rice Krispie treats ahead of time?
Absolutely! They can be made a day or two ahead and stored airtight at room temperature. Just avoid refrigerating to keep them soft and chewy.
What if I don’t have a Death Star mold?
No worries! Use a round cookie cutter, a silicone muffin cup, or shape the treats by hand. The fun is in the flavor and texture!
Can I use mini marshmallows instead of regular ones?
Yes, mini marshmallows work just as well and may melt a bit faster. Just keep an eye on the melting process to avoid burning.
How do I prevent the treats from sticking to my hands when shaping?
Lightly grease your hands with butter or spray them with non-stick cooking spray. You can also use a buttered spatula or wax paper to press the mixture into molds.
Are these treats safe for kids with allergies?
They contain dairy and gluten unless you use gluten-free cereal and dairy-free butter and marshmallows. Always check ingredient labels and adjust based on specific allergies.
Pin This Recipe!
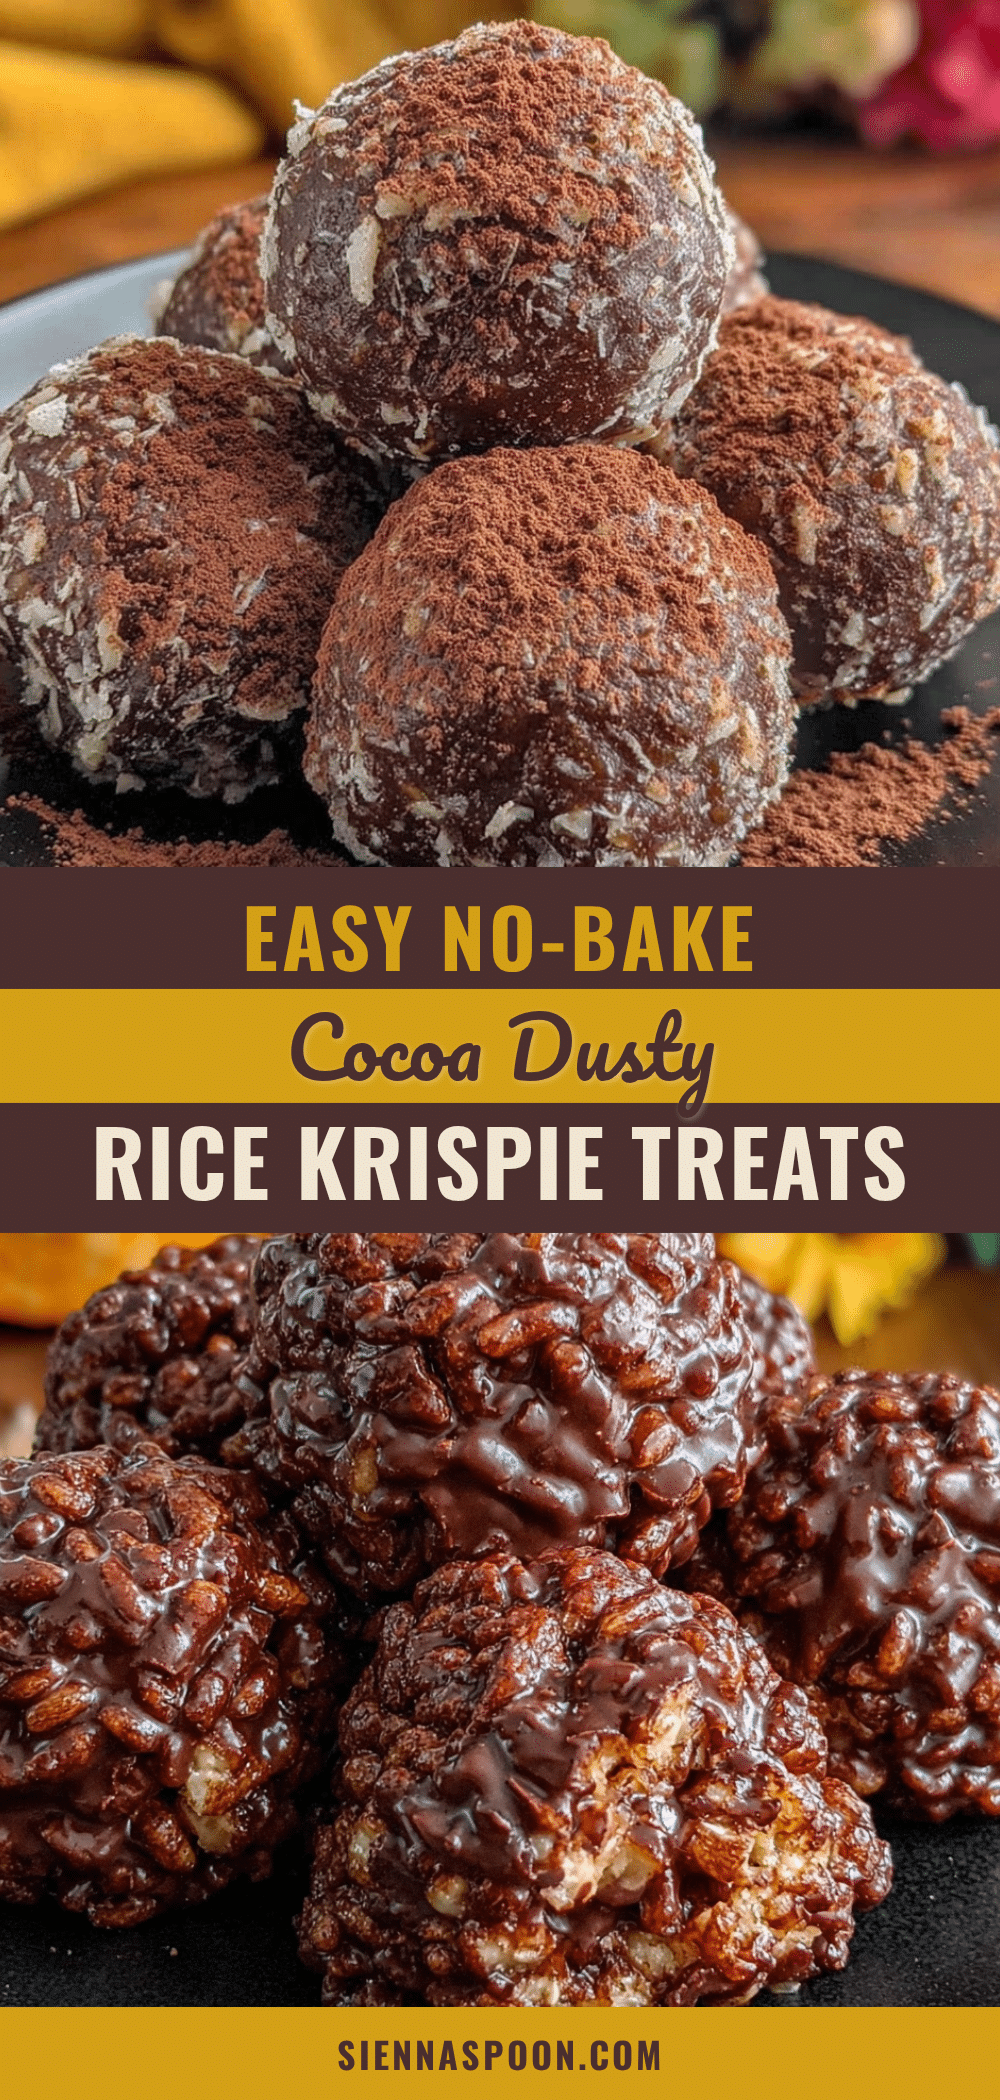
Easy No-Bake Death Star Rice Krispie Treats Perfect for Kids Parties

These no-bake Rice Krispie treats shaped like the Death Star are quick, easy, and perfect for kids’ parties. Made with simple pantry staples, they deliver a fun and delicious snack without any oven time.
- Prep Time: 10 minutes
- Cook Time: 15 minutes
- Total Time: 40 minutes
- Yield: 12 servings 1x
- Category: Dessert
- Cuisine: American
Ingredients
- 6 cups (150 grams) Rice Krispies cereal
- 10 oz (280 grams) marshmallows
- 4 tablespoons (57 grams) unsalted butter
- 1 teaspoon black food coloring gel (optional)
- 1 teaspoon vanilla extract
- Non-stick cooking spray or butter for greasing
- Optional: mini chocolate chips or edible silver glitter
- Optional: almond flour for dusting mold
Instructions
- Lightly grease your Death Star silicone mold or cookie cutter with non-stick spray or butter. If using a pan, line it with parchment paper for easy removal. (5 minutes)
- In a large saucepan over low heat, melt 4 tablespoons (57 grams) of unsalted butter until just melted, not browned. Stir gently. (3-4 minutes)
- Immediately add 10 oz (280 grams) of marshmallows to the melted butter. Stir continuously with a spatula until smooth and fully melted, about 5 minutes.
- Remove from heat and stir in 1 teaspoon vanilla extract. Add about 1 teaspoon black food coloring gel if desired and mix until evenly colored. (1-2 minutes)
- Pour 6 cups (150 grams) Rice Krispies cereal into the marshmallow mixture. Stir quickly but gently until all cereal is coated evenly. (2 minutes)
- Press the mixture firmly into the prepared mold or cookie cutter using a buttered spatula or wax paper. If using a pan, press into an even 1-inch (2.5 cm) thick layer. (5 minutes)
- Allow the treats to cool at room temperature for at least 30 minutes to firm up. Avoid refrigerating immediately. (30 minutes)
- Gently pop the treats out of the mold. Trim edges if needed for a cleaner shape. (2-3 minutes)
- Optionally, sprinkle mini chocolate chips or edible silver glitter on top for decoration. (2 minutes)
Notes
Use low heat to melt butter and marshmallows slowly to avoid scorching. Grease spatula and molds to prevent sticking. Work quickly when shaping as mixture firms fast. Let treats set at room temperature for best chewy texture. If mixture hardens before shaping, warm briefly in microwave to soften.
Nutrition
- Serving Size: 1 treat (1/12th of r
- Calories: 160
- Sugar: 18
- Fat: 4
- Carbohydrates: 30
- Protein: 1
Keywords: Rice Krispie treats, no-bake, kids party snacks, Death Star treats, Star Wars snacks, easy dessert, no oven dessert