Love this? Save it for later!
Share the inspiration with your friends
I was standing in the checkout line at the craft store last October when a bag of candy corn fell off the shelf and busted open at my feet. The cashier laughed and said, “Halloween’s already haunting me.” And just like that—the smell of that cheap sugary corn syrup hit me, and I was seven years old again, sitting cross-legged on my Aunt Margo’s linoleum kitchen floor, watching her dip pretzel rods into a pot of melted almond bark while I carefully pressed a sliced almond onto the tip of each one. She called them “witches’ fingers,” and she’d wrap each one in a little square of wax paper before handing them out to us kids. She passed away five years ago. I haven’t had a single Halloween since without thinking about those pretzel rods—and honestly, I’ve spent every October trying to get the chocolate-to-almond ratio exactly right. Maybe you’ve been there—chasing a taste you can almost but not quite remember, like a song you can only hum the chorus to. This year, I finally nailed it. And let me tell you, these Spooky Witch Finger Pretzel Rods with Almond Nails are the Halloween snack I’ve been chasing for two decades.
These aren’t just another sweet-and-salty Halloween treat. They’re creepy, they’re cute, and they’re ridiculously easy to make. You get that satisfying crunch from the pretzel rod, that creamy sweetness from the melted candy coating, and that little almond “nail” on the end that makes everyone do a double-take. I’ve brought them to three Halloween parties this month alone, and every single time, someone says, “Wait—are those actual fingers?” That’s the moment I live for.
- Quick & Easy : Comes together in under 30 minutes, perfect for last-minute Halloween cravings or classroom treats.
- Simple Ingredients : No fancy grocery trips needed; you likely already have everything in your kitchen.
- Perfect for Halloween : Great for parties, trick-or-treaters, spooky movie nights, or just scaring your coworkers in the break room.
- Crowd-Pleaser : Kids love the creepy factor, and adults love how they taste like a candy bar meets a soft pretzel.
- Unbelievably Delicious : The sweet coating, salty pretzel, and nutty almond create a combo that’s next-level addictive.
What makes these different from every other Halloween pretzel recipe out there? It’s the technique. I dip the rods twice for a thicker, more even coating—no patchy spots. I press the almond on at just the right angle so it looks like a real fingernail. And I add a tiny dab of red gel icing at the base to look like a cuticle. It’s a small touch, but it takes these from “cute” to “creepy” in one second flat. This recipe isn’t just good—it’s the kind that makes you close your eyes after the first bite. It’s comfort food reimagined for Halloween: spooky, sweet, and soul-satisfying.
What Ingredients You Will Need
This recipe uses simple, pantry-friendly ingredients to deliver bold flavor and spooky presentation without the fuss. Most of these you can grab in one aisle at the grocery store, which is exactly what you want when you’re already juggling Halloween decorations and costume planning.
- Pretzel rods (12-15 rods, standard size) — Look for thick, straight rods that aren’t too crumbly. I prefer Snyder’s of Hanover brand because they hold up well during dipping without breaking. (Pro tip: buy an extra bag because you will snap a few by accident. I always do.)
- White candy melts or almond bark (12 oz bag) — This is your “skin” coating. I recommend Wilton or Merckens brand for the smoothest melt. Avoid white chocolate chips—they don’t melt as smoothly and can seize up. Almond bark works beautifully and has a nice vanilla flavor.
- Sliced almonds (about 30-40 slices) — These become the fingernails. Look for raw or lightly roasted, not salted. You want them flat and wide, not tiny slivers. Pick through the bag and choose the biggest, most uniform slices.
- Green gel food coloring (optional but recommended) — This gives the coating that sickly, witchy green tint. I use Americolor brand “Avocado” or “Leaf Green.” Liquid food coloring can thin the coating, so stick with gel.
- Red piping gel or red icing (small tube) — For the “cuticle” detail at the base of the almond. A tiny dot makes a huge difference in the creepy factor. You can find this in the cake decorating aisle.
- Edible dust or cocoa powder (optional) — A light dusting gives the fingers a “dirty” look, like they just crawled out of the ground. I use a tiny sieve and tap it gently.
- Wax paper or parchment paper — For setting the dipped pretzels. Wax paper works best because the coating releases easily once set.
- Piping bag or zip-top bag — For drizzling any extra coating or adding details. A sandwich-sized bag works fine.
For the green tint, start with just a toothpick’s worth of gel and stir well. You can always add more, but you can’t take it out. I once added too much and ended up with pretzels that looked like radioactive waste. Still tasty, but not the vibe I was going for.
Equipment Needed
You don’t need any fancy kitchen gadgets for this recipe, which is part of why I love it. Here’s what you’ll want on hand:
- Microwave-safe bowl (medium size, glass or ceramic) — For melting the candy coating. Avoid plastic bowls, as they can hold onto grease and cause the coating to seize.
- Rubber spatula — For stirring the coating and scraping every last bit out of the bowl. I use a silicone one that doesn’t scratch.
- Baking sheet or tray — Lined with wax paper or parchment paper for the dipped pretzels to set on. A rimmed baking sheet works best so nothing rolls off.
- Small piping bag or zip-top bag — For adding the red cuticle detail. If you don’t have a piping bag, snip a tiny corner off a sandwich bag and you’re good to go.
- Toothpicks — For applying the red gel precisely and for any touch-up work. Also useful for popping air bubbles in the coating.
- Paring knife or small offset spatula — For spreading any drips or uneven coating before it sets. Honestly, your finger works too—just lick it clean first.
- Tweezers (optional but helpful) — For placing the almond slices precisely. My hands are not that steady, so tweezers save me from crooked fingernails.
I bought a set of cheap tweezers from the drugstore specifically for kitchen use. They live in my utensil drawer now and come out for every decorating project. Best two dollars I ever spent.
Preparation Method
This recipe moves fast once you start, so I recommend setting everything up before you melt anything. Trust me on this—I once tried to multitask and ended up with hardened candy coating in the bowl and a pile of undipped pretzels staring at me.
- Set up your workspace. Line a baking sheet with wax paper or parchment paper. Arrange your pretzel rods on a separate plate so they’re ready to grab. Open your bag of sliced almonds and pick out the best-looking ones—big, flat, and not broken. Set them in a small bowl.
- Melt the candy coating. Place the candy melts or almond bark in a microwave-safe bowl. Microwave in 30-second intervals at 50% power, stirring well after each interval. This usually takes 1.5 to 2 minutes total. The coating should be smooth and completely melted with no lumps. If you’re using green food coloring, add a tiny dab of gel with a toothpick and stir until the color is even. Aim for a pale, sickly green—not bright neon. (Think “witch skin,” not “highlighter.”)
- Dip the pretzel rods. Hold a pretzel rod by one end and dip it into the melted coating, leaving about 1 to 1.5 inches undipped at the top (this becomes the “stump” where the finger was broken off). Twist and turn the pretzel to coat it evenly. Lift it out and let the excess drip back into the bowl for a few seconds. If you want a thicker coating, dip it a second time after the first layer has set for about 2 minutes. I always do a double dip—it looks more realistic and tastes better.
- Place the almond nail. Immediately after dipping, press a sliced almond onto the tip of the dipped end. The pointed end of the almond should face outward, mimicking a fingernail. Press gently but firmly so it sticks. If the coating is already starting to set, dip the almond in the melted coating first to help it adhere. Use tweezers if you want perfect placement—I don’t always bother, and slightly crooked nails look more “witchy” anyway.
- Add the cuticle detail. Using a toothpick or the tip of a piping bag, place a tiny dot of red piping gel at the base of the almond where it meets the coating. This looks like a bloody or irritated cuticle. Less is more here—you want a suggestion of blood, not a crime scene. (Though honestly, my kids prefer the gory versions.)
- Create “knuckle wrinkles.” While the coating is still wet, use the back of a butter knife or a toothpick to gently drag three or four horizontal lines across the coated part of the pretzel. These mimic knuckle creases. Don’t press too hard—you just want an indentation, not a cut through to the pretzel.
- Let them set. Place the finished pretzel rod on the wax paper-lined baking sheet. Repeat with the remaining pretzels. Allow them to set completely at room temperature, which takes about 15-20 minutes. If you’re in a hurry (I often am), pop the tray in the refrigerator for 10 minutes.
- Optional dirty effect. Once set, lightly dust the pretzels with a tiny amount of cocoa powder or edible dust using a fine sieve. This gives them a “just dug up” appearance. I do this only for adult parties—kids prefer the clean, bright green version.
A note on timing: each pretzel takes about 30 seconds to dip and decorate once you get into a rhythm. For a batch of 15, plan on about 10-12 minutes of active work plus 20 minutes of setting time. That’s it. You can make these while watching a Halloween movie, and honestly, it’s a great activity to do with kids—just expect more almond nails on the floor than on the pretzels.
Cooking Tips & Techniques
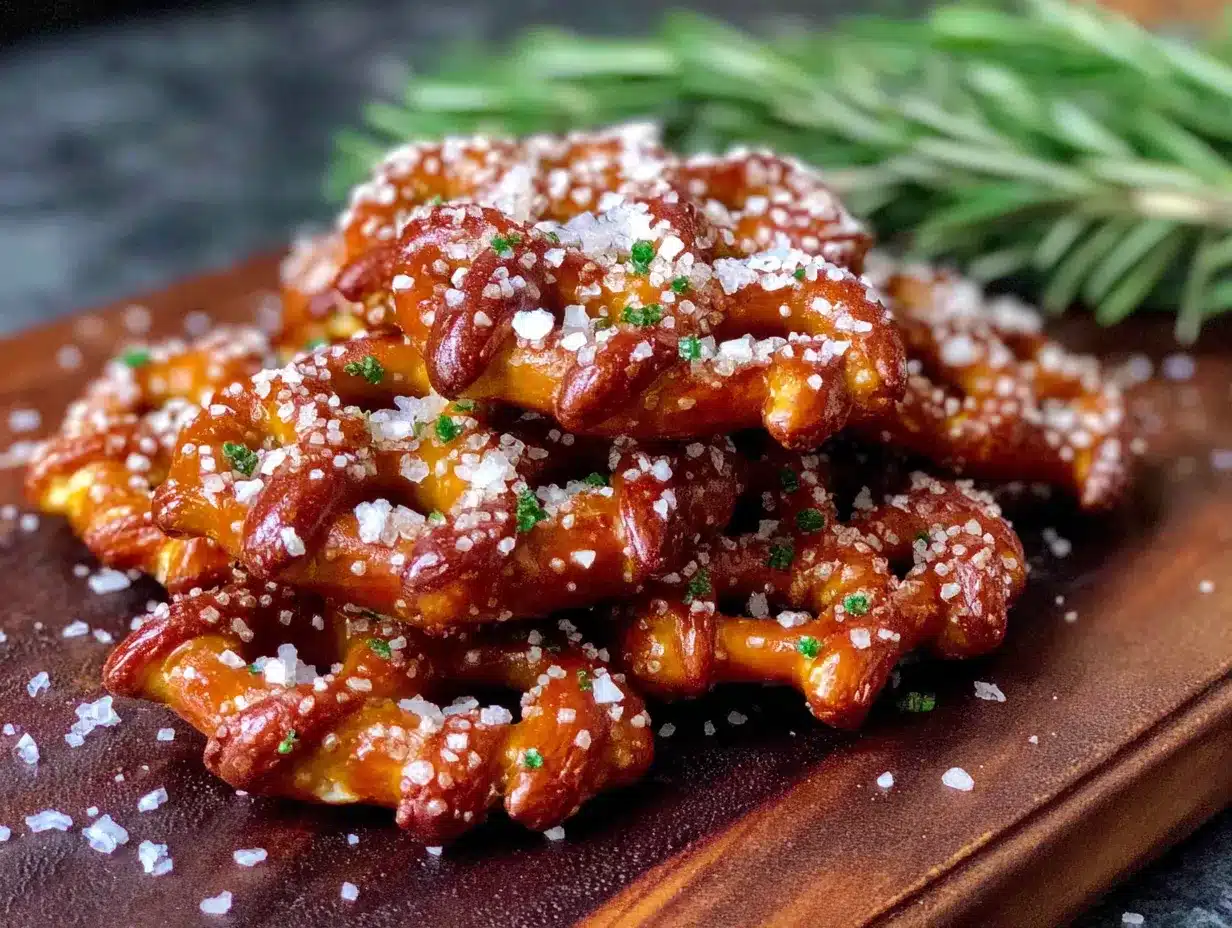
I’ve made these Spooky Witch Finger Pretzel Rods about eight times this month alone, and I’ve learned a few things the hard way so you don’t have to.
Don’t overheat the coating. Candy melts are temperamental. If you microwave them too long or at full power, they’ll seize into a thick, clumpy mess that’s impossible to dip in. Always use 50% power and stir between intervals. If your coating does seize, add a teaspoon of coconut oil or vegetable shortening and stir—it sometimes saves it. Sometimes it doesn’t. I keep a backup bag of melts in the pantry just in case.
The double-dip trick. For the most realistic “finger” look, dip each pretzel rod once, let it set for 2 minutes, then dip it again. The second coat hides any pretzel texture showing through and gives you a smooth, opaque surface. It also makes the knuckle wrinkles look more defined. Yes, it uses more coating, but the result is worth it.
Almond placement matters. The almond should be positioned so the pointed end extends slightly beyond the tip of the pretzel rod, like a fingernail extending past the fingertip. If you place it too far back, it looks like a weird bump. If you place it too far forward, it falls off. I aim for about 1/8 inch of almond extending past the tip. And press firmly—I’ve lost more almond nails to loose placement than I care to admit.
Work in small batches. Don’t melt all your coating at once. Melt about half the bag, dip a few pretzels, and if the coating starts to thicken as it cools, pop it back in the microwave for 15 seconds. This keeps the consistency perfect throughout the process. I learned this after my third batch when the coating got so thick I was basically frosting pretzels instead of dipping them.
Keep your hands clean. Green coating gets everywhere. Wear disposable gloves if you have them, or keep a damp paper towel nearby. I once answered the door mid-project and scared the UPS driver with my green fingers. He thought it was a medical condition.
Variations & Adaptations
The beauty of this recipe is how customizable it is. Here are some variations I’ve tried and loved:
Bloody Fingers: Skip the green food coloring and use white coating. After the pretzels set, drizzle red candy melts or strawberry syrup over the tips to look like blood. I made these for a vampire-themed party and they were gone in 20 minutes. The contrast of white and red is genuinely unsettling.
Chocolate Witches’ Fingers: Use dark or milk chocolate candy melts instead of white. The chocolate version looks like dirt-covered fingers, and you can skip the green coloring entirely. Add a dusting of crushed Oreo crumbs for extra “dirt” effect. My husband prefers these—he says the white ones are “too realistic” and it creeps him out.
Gluten-Free Option: Use gluten-free pretzel rods. I’ve tested this with Glutino brand and they work perfectly. The coating and almonds are naturally gluten-free, so this is an easy swap. Just make sure your candy melts are certified gluten-free if that’s a concern.
Nut-Free Version: Replace the sliced almonds with sunflower seed kernels or pepitas for the “nails.” They’re smaller, so you’ll need to press them on carefully, but they look surprisingly fingernail-like. Or skip the nail entirely and just pipe a fingernail shape with white or pink icing. I’ve done both, and the sunflower seed version is my favorite nut-free option.
Extra Spooky: Add edible googly eyes to a few of the pretzels before the coating sets. They look like fingers with eyes on them, which is equal parts ridiculous and terrifying. My kids demand this version every year now.
Serving & Storage Suggestions
These Spooky Witch Finger Pretzel Rods are best served at room temperature, arranged on a platter in a way that maximizes the creepy factor. I like to pile them in a “hand” shape on a black serving tray, with the almond nails pointing outward like they’re reaching for you. You can also stand them up in a tall jar or vase for a witch’s broomstick effect.
For presentation, consider adding some dry ice to a bowl nearby for a fog effect—just be careful not to let it touch the pretzels directly. I also like to scatter a few loose sliced almonds around the platter to look like broken fingernails. It’s gross. It’s perfect.
Storage: Store the pretzels in an airtight container at room temperature for up to 5 days. Do not refrigerate them unless absolutely necessary—the coating can develop condensation and become sticky. If you must refrigerate, let them come to room temperature before serving. Layer them between sheets of wax paper to prevent sticking. I use a shallow Tupperware container and stack them in a single layer with paper between.
Freezing: You can freeze these for up to 2 months. Place them in a single layer on a baking sheet and freeze until solid, then transfer to a freezer-safe bag or container. Thaw at room temperature for about 30 minutes before serving. The coating may look a little dull after freezing, but the taste is still great.
Make ahead: These are perfect for making a day or two before your Halloween party. In fact, the flavors meld together nicely after a day. Just keep them in an airtight container and don’t add the red cuticle detail until right before serving—it can bleed into the coating if left too long.
Nutritional Information & Benefits
Let’s be honest—these are a treat, not a health food. But here’s the breakdown so you know what you’re working with:
| Per pretzel rod (approximate) | Value |
|---|---|
| Calories | 120-150 |
| Total Fat | 6-8g |
| Saturated Fat | 3-4g |
| Carbohydrates | 16-20g |
| Sugar | 10-12g |
| Protein | 2-3g |
| Sodium | 150-200mg |
Health highlights: Almonds are a good source of vitamin E, magnesium, and healthy fats. Pretzels provide a quick energy source from carbohydrates. The candy coating is mostly sugar and fat, so moderation is key—but honestly, who eats more than two or three of these in one sitting? (Don’t answer that. I’ve definitely eaten six.)
Dietary considerations: This recipe contains dairy (candy melts often contain milk solids), gluten (pretzels), and tree nuts (almonds). For a dairy-free version, look for dairy-free candy melts. For gluten-free, use gluten-free pretzel rods. For nut-free, use sunflower seeds as described in the variations section.
I like to think of these as a Halloween indulgence that at least has a few redeeming qualities. The almonds give you a little protein, the pretzel gives you a little salt to balance the sugar, and the creeping horror on your guests’ faces? Priceless.
Conclusion
These Spooky Witch Finger Pretzel Rods with Almond Nails are everything I want in a Halloween snack: easy to make, ridiculously fun to serve, and genuinely delicious. They’re the kind of recipe that makes people stop and stare before they take a bite—and then they can’t stop eating them. I’ve made them for classroom parties, adult Halloween gatherings, and even just for myself on a quiet October evening with a horror movie playing in the background. They never disappoint.
I love that this recipe lets me be creative without being complicated. You can make them as clean or as gory as you want. You can involve the kids or keep it as a solo project. And every time you serve them, someone will say, “Wait—those are pretzels?” and you get to watch their face change from horror to delight.
So go ahead—grab a bag of pretzel rods and some candy melts, and make these for your next Halloween gathering. Customize them however you like. Add extra blood. Skip the green. Make them look like zombie fingers or vampire fingers or just really, really creepy witch fingers. And when your guests ask where you got the recipe, tell them it was passed down from your aunt who lived in a gingerbread house. They’ll believe you.
I’d love to hear how yours turn out! Drop a comment below with your favorite variation, or tag me in your photos if you make these. Happy Halloween, and may your pretzels always be perfectly spooky.
Frequently Asked Questions
Can I use chocolate chips instead of candy melts?
You can, but I don’t recommend it. Chocolate chips contain stabilizers that prevent them from melting smoothly, and they don’t harden as firmly at room temperature. Your pretzels will be softer and more likely to get messy. Candy melts or almond bark are formulated specifically for dipping and give you that nice, snappy coating.
How far in advance can I make these?
You can make them up to 5 days ahead if stored properly in an airtight container at room temperature. I’ve made them 2 days before a party and they were perfect. Just wait to add the red cuticle detail until right before serving so it doesn’t bleed.
My candy coating is too thick. What do I do?
Add a teaspoon of coconut oil or vegetable shortening and microwave for 10 seconds, then stir vigorously. This should thin it out without affecting the taste. Don’t add water—it will cause the coating to seize. If it’s already seized, you might need to start over with fresh coating. We’ve all been there.
Can I make these without food coloring?
Absolutely! The white coating version looks like pale, creepy fingers on their own. You can even leave them white and add the red cuticle detail for a classic “zombie finger” look. Or dip them in chocolate for a darker, dirtier appearance. The green is optional—it’s just for that classic witchy aesthetic.
My almond nails keep falling off. What am I doing wrong?
This usually happens when the coating has started to set before you press the almond on. Make sure you add the almond immediately after dipping, while the coating is still wet and tacky. If the coating is already firming up, dip the back of the almond in the melted coating first to act as glue, then press it on. Also, make sure you’re pressing firmly enough—don’t be shy about it.
Pin This Recipe!
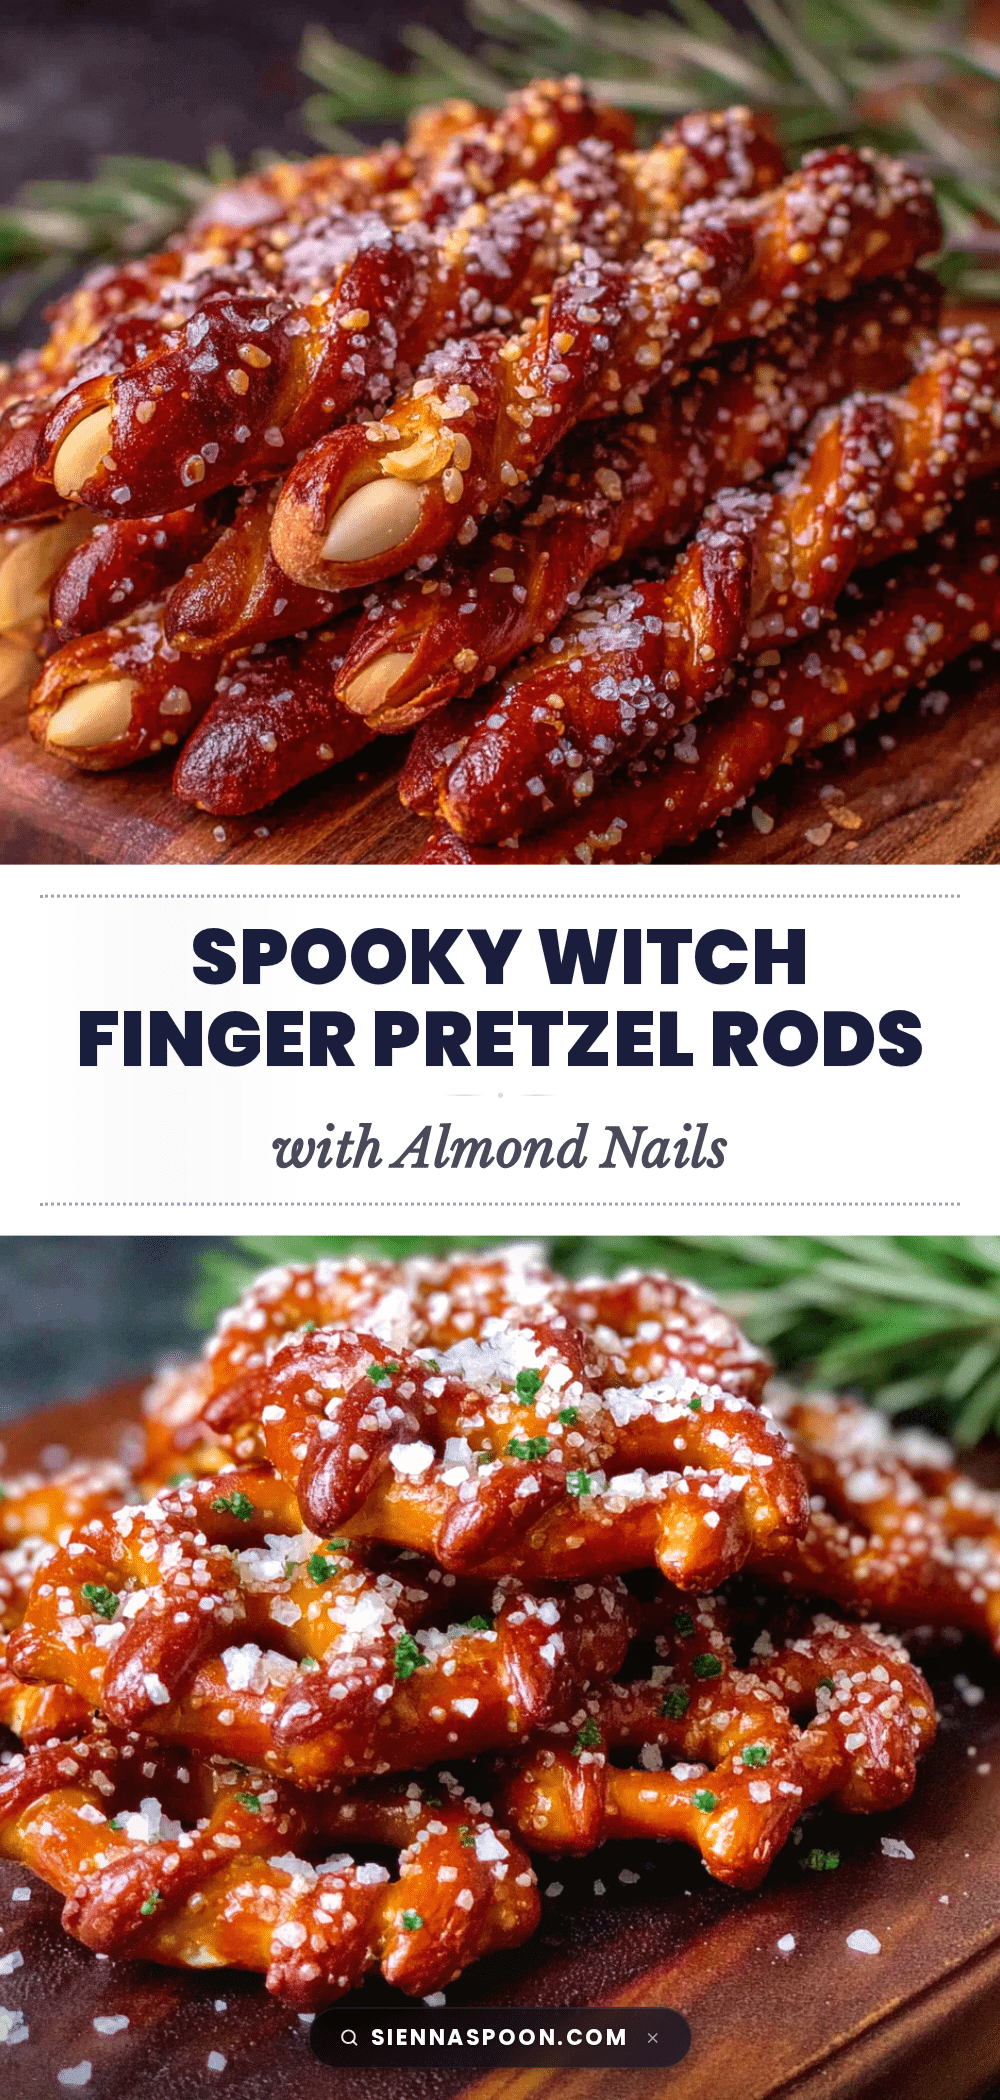
Spooky Witch Finger Pretzel Rods: Easy Halloween Snack

These Spooky Witch Finger Pretzel Rods with Almond Nails are a creepy, cute, and ridiculously easy Halloween snack. They combine the satisfying crunch of a pretzel rod with creamy sweet candy coating and an almond ‘nail’ for a spooky treat that’s perfect for parties, trick-or-treaters, or spooky movie nights.
- Prep Time: 10 minutes
- Cook Time: 2 minutes
- Total Time: 30 minutes
- Yield: 15 servings 1x
- Category: Dessert
- Cuisine: American
Ingredients
- 12–15 pretzel rods (standard size, e.g., Snyder’s of Hanover)
- 12 oz white candy melts or almond bark (e.g., Wilton or Merckens)
- 30–40 sliced almonds (raw or lightly roasted, not salted)
- Green gel food coloring (optional, e.g., Americolor ‘Avocado’ or ‘Leaf Green’)
- Red piping gel or red icing (small tube)
- Edible dust or cocoa powder (optional, for ‘dirty’ effect)
- Wax paper or parchment paper
- Piping bag or zip-top bag
Instructions
- Set up your workspace: Line a baking sheet with wax paper or parchment paper. Arrange pretzel rods on a separate plate. Pick out the best-looking sliced almonds (big, flat, not broken) and set them in a small bowl.
- Melt the candy coating: Place candy melts or almond bark in a microwave-safe bowl. Microwave in 30-second intervals at 50% power, stirring well after each interval, until smooth (about 1.5 to 2 minutes total). If using green food coloring, add a tiny dab of gel with a toothpick and stir until evenly colored (pale, sickly green).
- Dip the pretzel rods: Hold a pretzel rod by one end and dip it into the melted coating, leaving about 1 to 1.5 inches undipped at the top (the ‘stump’). Twist and turn to coat evenly. Lift out and let excess drip back into the bowl. For a thicker coating, dip a second time after the first layer has set for about 2 minutes.
- Place the almond nail: Immediately after dipping, press a sliced almond onto the tip of the dipped end, pointed end facing outward. Press gently but firmly so it sticks. If coating is setting, dip the almond in the melted coating first to help it adhere.
- Add the cuticle detail: Using a toothpick or the tip of a piping bag, place a tiny dot of red piping gel at the base of the almond where it meets the coating.
- Create ‘knuckle wrinkles’: While the coating is still wet, use the back of a butter knife or a toothpick to gently drag three or four horizontal lines across the coated part of the pretzel to mimic knuckle creases.
- Let them set: Place the finished pretzel rod on the wax paper-lined baking sheet. Repeat with remaining pretzels. Allow to set completely at room temperature (15-20 minutes) or in the refrigerator for 10 minutes.
- Optional dirty effect: Once set, lightly dust the pretzels with a tiny amount of cocoa powder or edible dust using a fine sieve for a ‘just dug up’ appearance.
Notes
Don’t overheat the coating; use 50% power and stir between intervals. For a thicker coating, double-dip. Work in small batches to keep coating consistency. Keep hands clean with disposable gloves or a damp paper towel. Almonds should extend about 1/8 inch past the pretzel tip. For nut-free, use sunflower seed kernels or pepitas. For gluten-free, use gluten-free pretzel rods. Store in an airtight container at room temperature for up to 5 days. Freeze for up to 2 months.
Nutrition
- Serving Size: 1 pretzel rod
- Calories: 135
- Sugar: 11
- Sodium: 175
- Fat: 7
- Saturated Fat: 3.5
- Carbohydrates: 18
- Fiber: 1
- Protein: 2.5
Keywords: Halloween, pretzel rods, witch fingers, almond nails, candy melts, spooky snack, easy treat, party food


