Love this? Save it for later!
Share the inspiration with your friends
It was 11:47 PM on a random Thursday, and I was staring into the fridge like it owed me money. A specific, almost aggressive craving for something cheesy, beefy, and deeply satisfying had hit me out of nowhere. I didn’t have the fancy ingredients for the layered casserole I had in my head, but I had a pound of ground beef, a half-empty box of long-grain rice, and a block of cheddar that was begging to be used. The idea that arrived was simple: what if I just cooked it all in one skillet, let it get messy and melty, and called it dinner? Honestly, it felt a little rebellious for a weeknight, but the late hour made me bold.
So I grabbed my heaviest skillet and started browning the beef. The sizzle was so loud it probably woke up my neighbor’s dog, but I didn’t care. I was on a mission. I tossed in some onion and garlic from the basket, added the rice straight to the pan, and poured in some broth I’d frozen weeks ago. Let me tell you, the smell that filled my tiny kitchen was unreal—like a cozy diner and a home-cooked hug had a baby. I stirred it all together, covered it, and just waited, hoping my late-night gamble would pay off.
When I lifted the lid, the rice was perfectly tender, the beef was seasoned just right, and the whole thing was bubbling away. I threw a mountain of shredded cheddar on top, let it melt into a glorious, stringy blanket, and scooped myself a huge bowl. That first bite? I actually closed my eyes. It was everything I wanted—comforting, cheesy, and so ridiculously easy. I’ve made this cheesy ground beef and rice skillet for every potluck and dinner party since, and it always steals the show. Maybe you’ve been there, late at night, just needing one good dish to make everything feel right. This is that dish.
Why You’ll Love This Recipe
This isn’t just another weeknight dinner. This is the recipe that makes you look like a hero without breaking a sweat. I’ve tested this cheesy ground beef and rice skillet more times than I can count—tweaking the liquid ratio, trying different cheeses, and even burning a batch or two (we don’t talk about the burned garlic incident). What I landed on is pure gold. Here is why this one is different:
- Quick & Easy : From fridge to table in about 30 minutes. Perfect for those nights when you need dinner done yesterday.
- Simple Ingredients : You likely have ground beef, rice, cheese, and a few spices in your kitchen right now. No fancy grocery trips required.
- Perfect for Hosting : This dish is a crowd-pleaser that scales beautifully. I’ve served it at casual game nights and more formal dinner parties—it disappears every time.
- Crowd-Pleaser : Kids devour it. Adults ask for seconds. It is universally loved, which is rare for a one-pan meal.
- Unbelievably Delicious : The texture is spot on—tender rice, juicy beef, and that gooey, melted cheese on top. It is next-level comfort food.
What makes this version stand out? It is all in the technique. I cook the rice directly in the skillet with the beef and aromatics, letting it absorb all those savory flavors. No separate pots, no complicated steps. The seasoning is perfectly balanced—smoky paprika, a hint of garlic, and a touch of heat if you want it. This isn’t just another recipe; it is your new go-to for impressing guests without stress.
What Ingredients You Will Need
This recipe uses simple, wholesome ingredients to deliver bold flavor and satisfying texture without the fuss. Most of these are pantry staples, which makes this dish perfect for last-minute hosting.
- 1 pound (450g) ground beef – I prefer 80/20 for the best flavor. The fat keeps the meat juicy. For a leaner option, use 90/10 and add a tablespoon of olive oil.
- 1 cup (200g) long-grain white rice – Uncooked. Basmati or jasmine work beautifully. Do not use instant rice—it will turn mushy.
- 1 medium yellow onion, diced – About 1 cup. Adds sweetness and depth.
- 3 cloves garlic, minced – Fresh is best. I use my garlic press for speed.
- 2 cups (480ml) beef broth – Low-sodium is ideal so you control the salt. I love Pacific Foods brand for its rich flavor.
- 1 can (14.5 oz / 411g) diced tomatoes, undrained – Fire-roasted adds a smoky kick. Regular works great too.
- 1 teaspoon smoked paprika – This is my secret weapon. It adds that subtle, campfire-like flavor.
- 1 teaspoon onion powder – For extra savory depth.
- 1/2 teaspoon garlic powder – Don’t skip this even with fresh garlic. It rounds out the flavor.
- 1/2 teaspoon dried oregano – Adds an earthy, herbal note.
- Salt and black pepper to taste – Start with 1/2 teaspoon salt and 1/4 teaspoon pepper.
- 2 cups (225g) shredded sharp cheddar cheese – Shred it yourself from a block. Pre-shredded cheese has anti-caking agents that prevent smooth melting.
- 2 tablespoons unsalted butter – For sautéing the aromatics. Adds richness.
- Optional: 1/4 teaspoon red pepper flakes – For a subtle heat. I add this when I’m serving adults only.
- Fresh parsley or chives for garnish – A pop of color and freshness. Totally optional but pretty.
Ingredient Tips: When choosing ground beef, look for bright red color and minimal liquid in the package. For the rice, I’ve tested this with brown rice (add 1/2 cup more liquid and cook 15 minutes longer), but white rice gives the best texture for this quick skillet. If you want a dairy-free version, use your favorite plant-based cheddar shreds—they melt surprisingly well.
Equipment Needed
You don’t need a lot of fancy gear for this one. Here is what I use every time:
- Large skillet or Dutch oven – A 12-inch skillet with a tight-fitting lid is perfect. I use my trusty Lodge cast iron skillet. It distributes heat evenly and holds temperature well. If you don’t have a lid, use a sheet of aluminum foil tightly crimped around the edges.
- Wooden spoon or spatula – For breaking up the beef and stirring. Silicone works too, but wood won’t scratch your pan.
- Cheese grater – A box grater or Microplane. Seriously, skip the pre-shredded stuff.
- Measuring cups and spoons – For accuracy. I keep a set of magnetic measuring spoons on my fridge.
- Cutting board and chef’s knife – For dicing the onion and mincing garlic. A sharp knife makes all the difference.
- Liquid measuring cup – For the broth. A glass one with spout is easiest.
Budget-Friendly Options: If you don’t have a heavy skillet, a non-stick pan works fine—just watch the heat so the rice doesn’t burn. I’ve even made this in a large stainless steel pot in a pinch.
Preparation Method
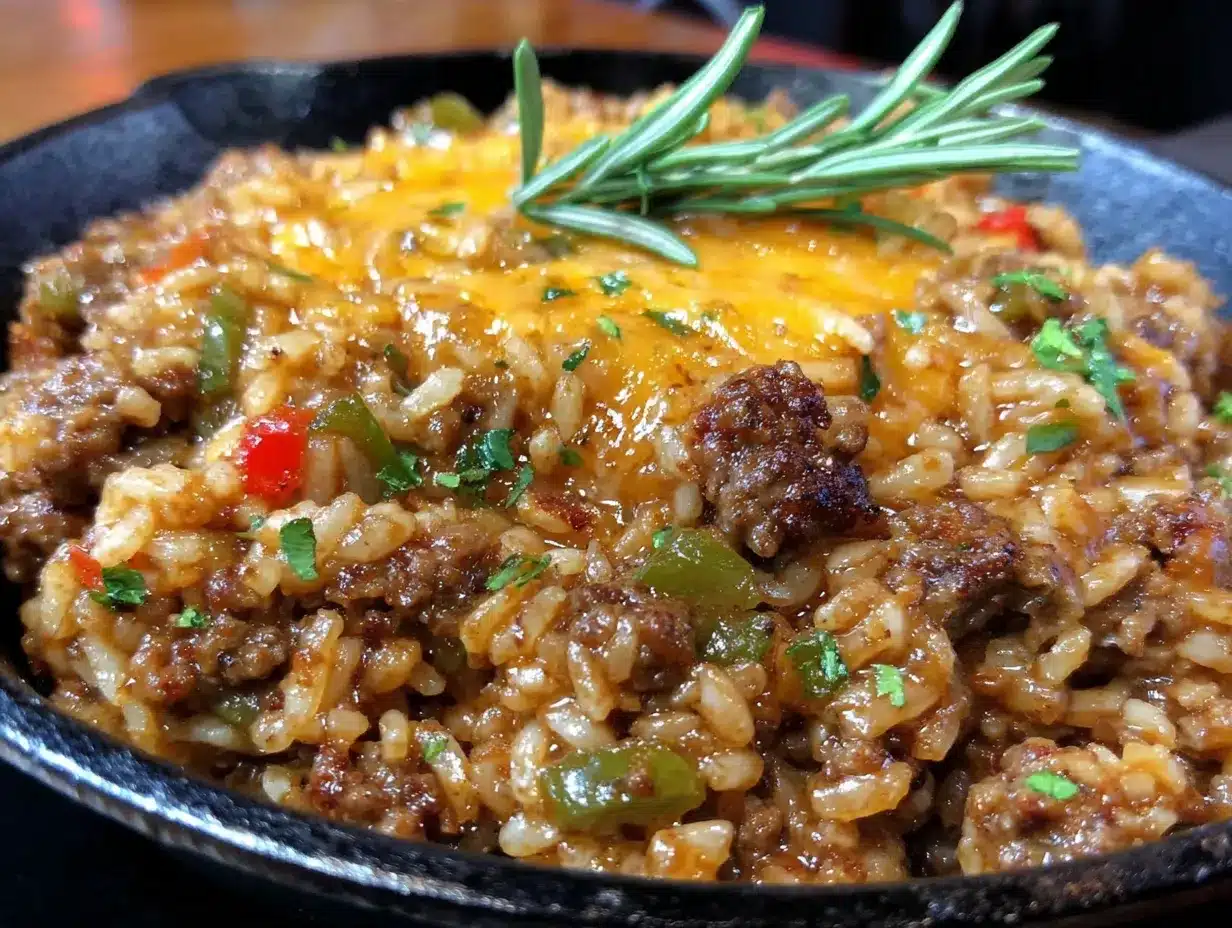
Alright, let’s get cooking. Follow these steps, and you’ll have a perfect cheesy ground beef and rice skillet every time.
- Prep your ingredients first. Dice the onion, mince the garlic, and shred the cheese. Measure out the rice, broth, and spices. This makes the process smooth and stress-free. Trust me, you don’t want to be hunting for the paprika while the beef is browning.
- Melt the butter in your large skillet over medium-high heat. Let it foam and subside, about 1 minute.
- Add the ground beef. Break it up with your wooden spoon into small, even pieces. Cook for 5-7 minutes, stirring occasionally, until it is browned and no longer pink. Don’t rush this step—good browning means more flavor. If there is excess fat, carefully spoon it out, leaving about 1 tablespoon in the pan.
- Add the diced onion to the beef. Cook for 3-4 minutes, stirring often, until the onion is soft and translucent. It should smell sweet and savory.
- Stir in the minced garlic, smoked paprika, onion powder, garlic powder, oregano, and red pepper flakes (if using). Cook for 30 seconds until fragrant. The garlic should sizzle but not brown—if it turns dark, your heat is too high.
- Pour in the beef broth and the can of diced tomatoes with their juices. Use your spoon to scrape up any browned bits from the bottom of the pan. This is called deglazing, and it adds so much flavor.
- Add the uncooked rice and stir everything together. Season with 1/2 teaspoon salt and 1/4 teaspoon black pepper. Bring the liquid to a boil—you should see steady bubbles across the surface.
- Reduce the heat to low, cover the skillet with a tight-fitting lid, and let it simmer. Set a timer for 18 minutes. Do not lift the lid during this time! The steam is what cooks the rice perfectly.
- After 18 minutes, turn off the heat and let the pan sit, still covered, for 5 minutes. This allows the rice to finish absorbing the liquid without burning.
- Remove the lid and fluff the rice gently with a fork. The rice should be tender and the mixture should be moist but not soupy. If it looks too wet, let it sit uncovered for 2-3 minutes. If it looks dry, add a splash of broth.
- Sprinkle the shredded cheddar cheese evenly over the top. Cover the skillet again for 2-3 minutes until the cheese is completely melted and gooey. For a golden, bubbly top, you can pop the skillet under the broiler for 1-2 minutes—just watch it closely so it doesn’t burn.
- Garnish with fresh parsley or chives and serve immediately. The cheese should be stretchy and the rice fluffy.
Sensory Cues: When the beef is browning, listen for a steady sizzle. The onions should look glassy and smell sweet. When you lift the lid after simmering, the steam should smell rich and savory, and the cheese should be glossy and melted.
Pro Tip: If you are making this for a crowd, you can double the recipe. Use a 14-inch skillet or a large Dutch oven. Increase the simmering time by 5 minutes since the larger volume takes longer to heat through.
Cooking Tips & Techniques
I’ve made this cheesy ground beef and rice skillet at least thirty times, and I’ve learned a few things the hard way. Here are my best tips:
Don’t Rush the Browning. I once tried to speed this up by cranking the heat to high. The beef browned unevenly and some bits burned. Medium-high heat is your friend. Let the meat develop a nice crust—that’s where the flavor lives.
The Lid is Non-Negotiable. The first time I made this, I peeked after 10 minutes because I was impatient. The rice was still crunchy, and I had to add more liquid and extend the cooking time. Keep that lid on! The steam is what makes the rice fluffy, not mushy.
Toast the Rice for Extra Flavor. This is a game-changer. Before adding the broth, stir the uncooked rice into the beef and onion mixture for 1-2 minutes. It will turn slightly translucent and smell nutty. This step adds a deeper, almost toasty flavor that makes the dish feel more complex.
Watch Your Salt. Broth and canned tomatoes already contain salt. I always use low-sodium broth and add salt gradually. You can always add more at the end, but you can’t take it out.
My Biggest Failure: I once used pre-shredded cheese because I was in a rush. It melted into a greasy, clumpy mess instead of that beautiful, smooth blanket. Never again. Spend the two minutes grating your own block of cheese. It makes a huge difference.
Timing Strategy: While the rice simmers, I use that 18-minute window to make a quick side salad or set the table. It makes hosting feel effortless because the main dish is mostly hands-off.
Variations & Adaptations
One of the best things about this recipe is how flexible it is. Here are some ways to make it your own:
- Spicy Southwest Version: Swap the diced tomatoes for a can of Rotel (tomatoes with green chiles). Add 1 teaspoon of cumin and a pinch of cayenne. Top with pepper jack cheese instead of cheddar. I made this for a game day party, and it was gone in 10 minutes.
- Vegetarian Option: Replace the ground beef with 1 pound of plant-based crumbles or 2 cans of black beans (rinsed and drained). Use vegetable broth instead of beef broth. The cooking time stays the same. My vegetarian friend said it was the best “meaty” skillet she’d had in years.
- Add Veggies: Sauté a diced bell pepper or a cup of chopped mushrooms along with the onion. You can also stir in a handful of frozen peas or corn during the last 5 minutes of simmering. It adds color and nutrition without extra effort.
- Different Cheese Blends: Try a mix of mozzarella and provolone for an Italian twist, or use Monterey Jack for a milder flavor. For a smoky kick, use half cheddar and half smoked gouda.
- Make it Keto-Friendly: Substitute the rice with 2 cups of cauliflower rice. Add it after the broth has simmered for 5 minutes, then cook for only 5-7 minutes more. The texture is different but still delicious.
Personal Variation: I once added a dollop of sour cream and a spoonful of salsa on top of each serving. It turned into a deconstructed burrito bowl situation, and honestly, it was amazing.
Serving & Storage Suggestions
This cheesy ground beef and rice skillet is best served hot, straight from the skillet. The cheese should be melty and the rice tender. Here is how to serve and store it:
Serving Temperature: Serve immediately after the cheese melts. If you are hosting, keep the skillet on a trivet at the table—it looks gorgeous and keeps the food warm. I like to set out bowls of extra toppings like diced avocado, sliced jalapeños, fresh cilantro, and hot sauce so guests can customize their bowls.
What to Serve Alongside: A simple green salad with a tangy vinaigrette cuts through the richness. I also love serving it with warm tortillas or crusty bread to soak up any leftover juices. For a complete meal, add a side of roasted vegetables like broccoli or zucchini.
Storage Instructions: Let the skillet cool completely, then transfer leftovers to an airtight container. It will keep in the refrigerator for up to 4 days. The flavors actually meld together and get even better overnight.
Reheating Tips: The microwave works in a pinch, but the best way is on the stovetop. Add a splash of broth or water to a skillet, add the leftovers, and heat over medium-low, stirring occasionally, until warmed through. This prevents the rice from drying out. You can also reheat individual portions in the microwave for 1-2 minutes, stirring halfway.
Freezer Instructions: This dish freezes beautifully. Portion it into freezer-safe containers and freeze for up to 3 months. Thaw overnight in the fridge and reheat on the stovetop. The texture of the rice stays surprisingly good.
Flavor Development: I actually prefer the leftovers. The rice absorbs more of the tomato and beef juices, making every bite even more flavorful. It is perfect for meal prep lunches.
Nutritional Information & Benefits
Here is the estimated nutritional breakdown for one serving (based on 6 servings):
- Calories: 485 kcal
- Protein: 32g
- Fat: 24g
- Carbohydrates: 38g
- Fiber: 2g
- Sugar: 4g
- Sodium: 680mg
Health Benefits: This dish is a good source of protein from the beef and cheese, which helps keep you full and satisfied. The tomatoes provide lycopene, an antioxidant linked to heart health. Garlic and onions offer anti-inflammatory properties. If you want to lighten it up, use lean ground beef and reduce the cheese by half.
Dietary Considerations: This recipe is naturally gluten-free (double-check your broth and spices). For a lower-carb option, use cauliflower rice. For a dairy-free version, use plant-based cheese and a dairy-free butter substitute. It is not suitable for a low-fat diet as written, but you can easily adjust.
Allergens: Contains dairy (butter, cheese). If you are lactose intolerant, try lactose-free cheddar or a hard aged cheese like Parmesan, which has minimal lactose.
From my perspective, this is a balanced comfort meal. It has protein, carbs, and fat in a satisfying ratio. I feel good serving it to my family because it is made from whole ingredients, not processed shortcuts.
Conclusion
This cheesy ground beef and rice skillet is the kind of recipe that becomes a legend in your kitchen. It is simple enough for a sleepy Tuesday night but impressive enough for a dinner party. The combination of juicy beef, perfectly cooked rice, and that glorious melted cheese is unbeatable. I love that it comes together in one pan with minimal cleanup, and I love even more how happy it makes everyone who eats it.
I honestly think this is the best version of this classic dish you will find. It has been tested, tweaked, and loved by everyone who has tried it. Whether you serve it for a casual family dinner or as the star of your next potluck, it will not disappoint.
Now I want to hear from you! Have you tried this recipe? Did you add your own twist? Drop a comment below and tell me about it. Share this post with a friend who needs a new go-to dinner, and don’t forget to pin it for later. Happy cooking, friend—you’ve got this!
Frequently Asked Questions
Can I use brown rice instead of white rice?
Yes, but you will need to adjust the liquid and cooking time. Use 2 1/2 cups of broth instead of 2 cups, and simmer for 35-40 minutes instead of 18. Check the rice for doneness before adding the cheese.
Why is my rice still crunchy after 18 minutes?
This usually happens if the heat was too low or the lid wasn’t tight enough. Make sure the liquid was at a full boil before covering, and keep the heat on low (not simmer). If the rice is still hard, add 1/4 cup more broth and cook for 5 more minutes.
Can I make this ahead of time for a party?
Absolutely! Prepare the skillet up to the point of adding the cheese. Let it cool, cover, and refrigerate for up to 24 hours. When you are ready to serve, reheat on the stovetop over medium-low heat, add the cheese, and let it melt. You may need to add a splash of broth to loosen it up.
What can I use instead of ground beef?
Ground turkey, chicken, or pork all work beautifully. For a vegetarian option, use plant-based crumbles or two cans of black beans. Adjust the seasoning slightly—turkey and chicken benefit from a bit more salt and paprika.
How do I prevent the cheese from becoming greasy?
Always shred your own cheese from a block. Pre-shredded cheese is coated with cellulose and starches that prevent smooth melting. Also, add the cheese off the heat and let it melt gently with the residual warmth—high heat can cause the fats to separate.
Pin This Recipe!
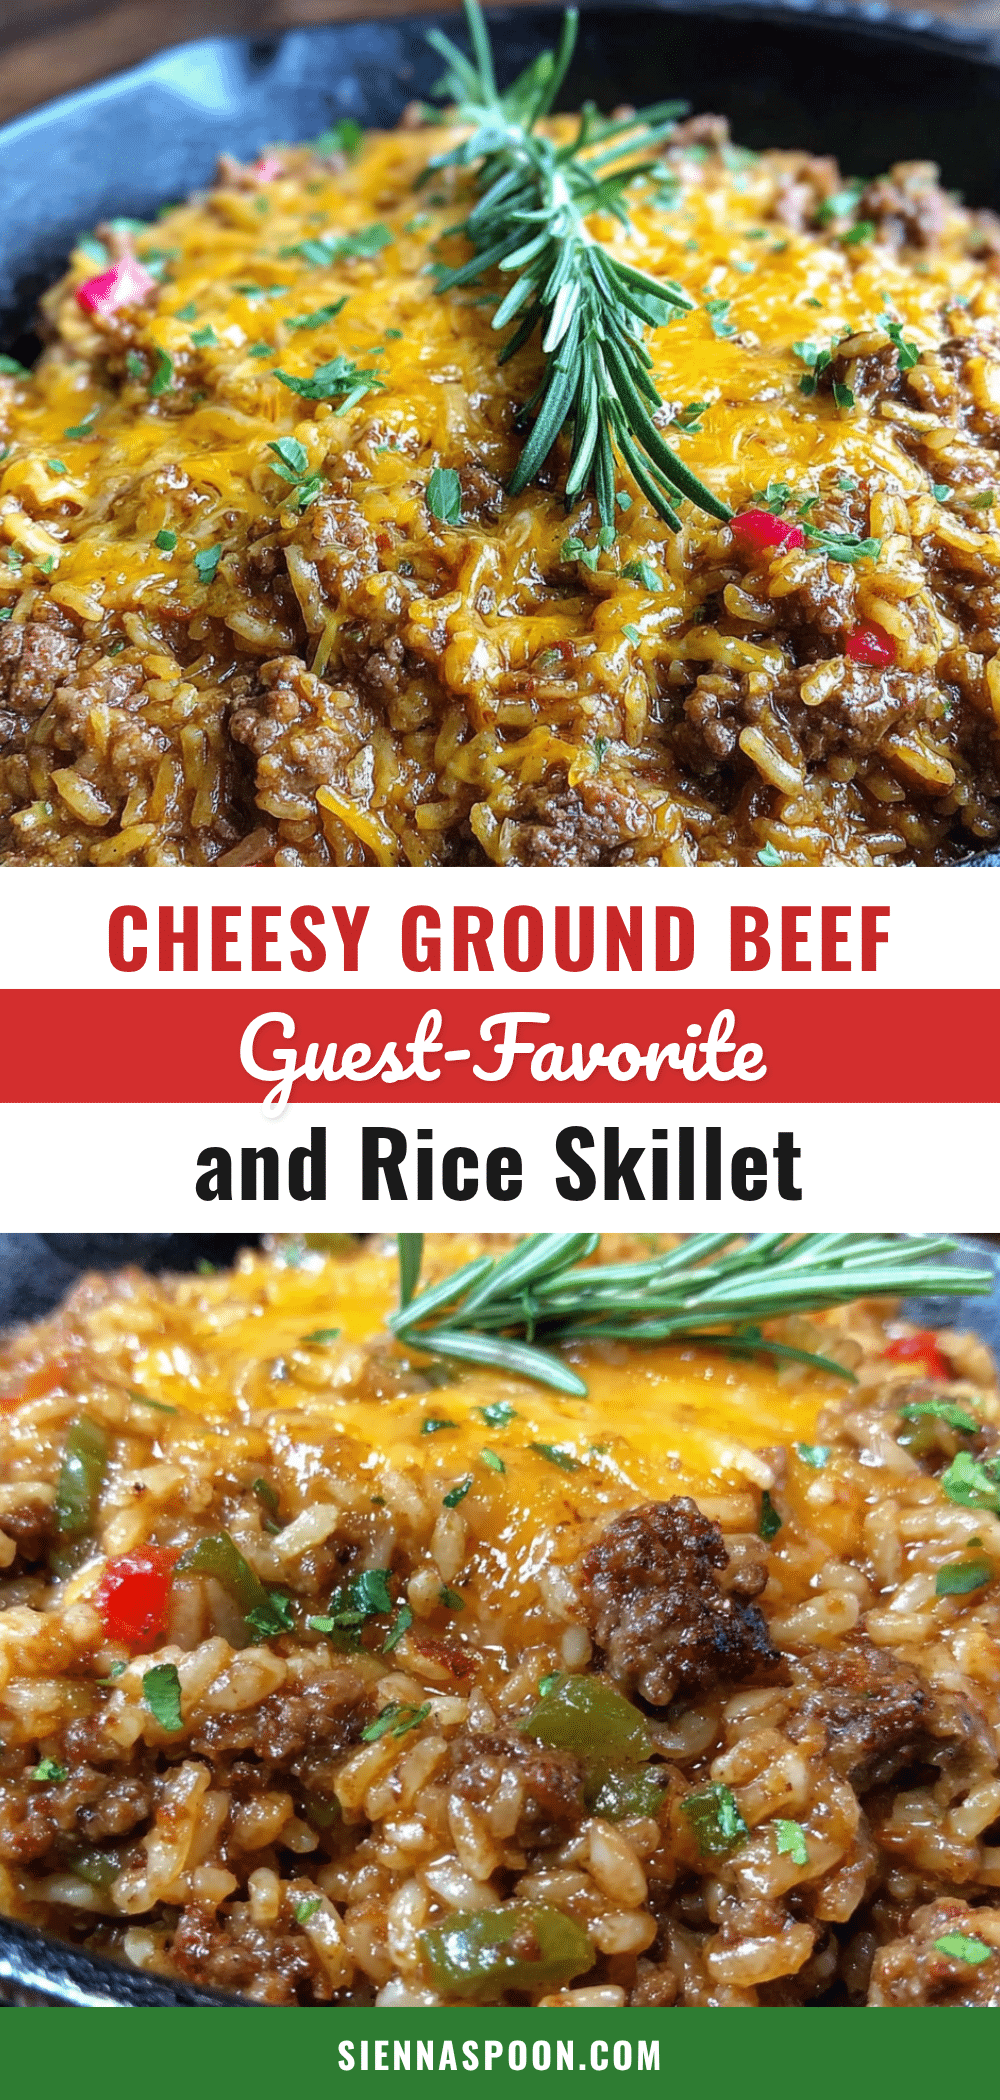
Best Cheesy Ground Beef and Rice Skillet Recipe

A quick and easy one-pan meal featuring juicy ground beef, tender rice, and a blanket of melted cheddar cheese. Perfect for busy weeknights or casual entertaining.
- Prep Time: 10 minutes
- Cook Time: 30 minutes
- Total Time: 40 minutes
- Yield: 6 servings 1x
- Category: Main Course
- Cuisine: American
Ingredients
- 1 pound (450g) ground beef (80/20 preferred)
- 1 cup (200g) long-grain white rice, uncooked
- 1 medium yellow onion, diced (about 1 cup)
- 3 cloves garlic, minced
- 2 cups (480ml) low-sodium beef broth
- 1 can (14.5 oz / 411g) diced tomatoes, undrained (fire-roasted preferred)
- 1 teaspoon smoked paprika
- 1 teaspoon onion powder
- 1/2 teaspoon garlic powder
- 1/2 teaspoon dried oregano
- Salt and black pepper to taste (start with 1/2 tsp salt and 1/4 tsp pepper)
- 2 cups (225g) shredded sharp cheddar cheese (shredded from a block)
- 2 tablespoons unsalted butter
- Optional: 1/4 teaspoon red pepper flakes
- Fresh parsley or chives for garnish (optional)
Instructions
- Prep your ingredients first: dice the onion, mince the garlic, and shred the cheese. Measure out the rice, broth, and spices.
- Melt the butter in a large skillet (12-inch with lid) over medium-high heat until foaming subsides, about 1 minute.
- Add the ground beef and break it up with a wooden spoon. Cook for 5-7 minutes, stirring occasionally, until browned and no longer pink. Spoon out excess fat, leaving about 1 tablespoon in the pan.
- Add the diced onion to the beef and cook for 3-4 minutes, stirring often, until soft and translucent.
- Stir in the minced garlic, smoked paprika, onion powder, garlic powder, oregano, and red pepper flakes (if using). Cook for 30 seconds until fragrant.
- Pour in the beef broth and the can of diced tomatoes with their juices. Scrape up any browned bits from the bottom of the pan (deglazing).
- Add the uncooked rice and stir everything together. Season with 1/2 teaspoon salt and 1/4 teaspoon black pepper. Bring the liquid to a boil.
- Reduce the heat to low, cover the skillet with a tight-fitting lid, and let it simmer for 18 minutes. Do not lift the lid during this time.
- After 18 minutes, turn off the heat and let the pan sit, still covered, for 5 minutes.
- Remove the lid and fluff the rice gently with a fork. If too wet, let sit uncovered for 2-3 minutes; if too dry, add a splash of broth.
- Sprinkle the shredded cheddar cheese evenly over the top. Cover the skillet again for 2-3 minutes until the cheese is completely melted and gooey. For a golden top, broil for 1-2 minutes.
- Garnish with fresh parsley or chives and serve immediately.
Notes
For best results, shred your own cheese from a block to avoid anti-caking agents. Do not lift the lid during simmering to ensure fluffy rice. For a spicy Southwest version, use Rotel tomatoes and pepper jack cheese. Leftovers keep in the fridge for up to 4 days and freeze well for up to 3 months.
Nutrition
- Serving Size: 1 serving (based on
- Calories: 485
- Sugar: 4
- Sodium: 680
- Fat: 24
- Saturated Fat: 12
- Carbohydrates: 38
- Fiber: 2
- Protein: 32
Keywords: cheesy ground beef and rice skillet, one-pan dinner, ground beef recipe, easy weeknight dinner, cheesy rice skillet


