Love this? Save it for later!
Share the inspiration with your friends
There used to be a tiny bakery in our neighborhood called “Grain & Sugar” that made the most perfect small-batch chocolate chip cookies I had ever tasted. When they suddenly closed their doors last spring, I honestly felt a little lost. My kids would ask for “those cookies from the bakery” every single afternoon, and I’d have to break the news that they were gone for good. After seven attempts—including one batch that turned into a single giant cookie disk—I finally cracked the code. These are the cookies that made my youngest say, “These are even better than the bakery ones, Mom.” And let me tell you, that moment made every failed attempt worth it.
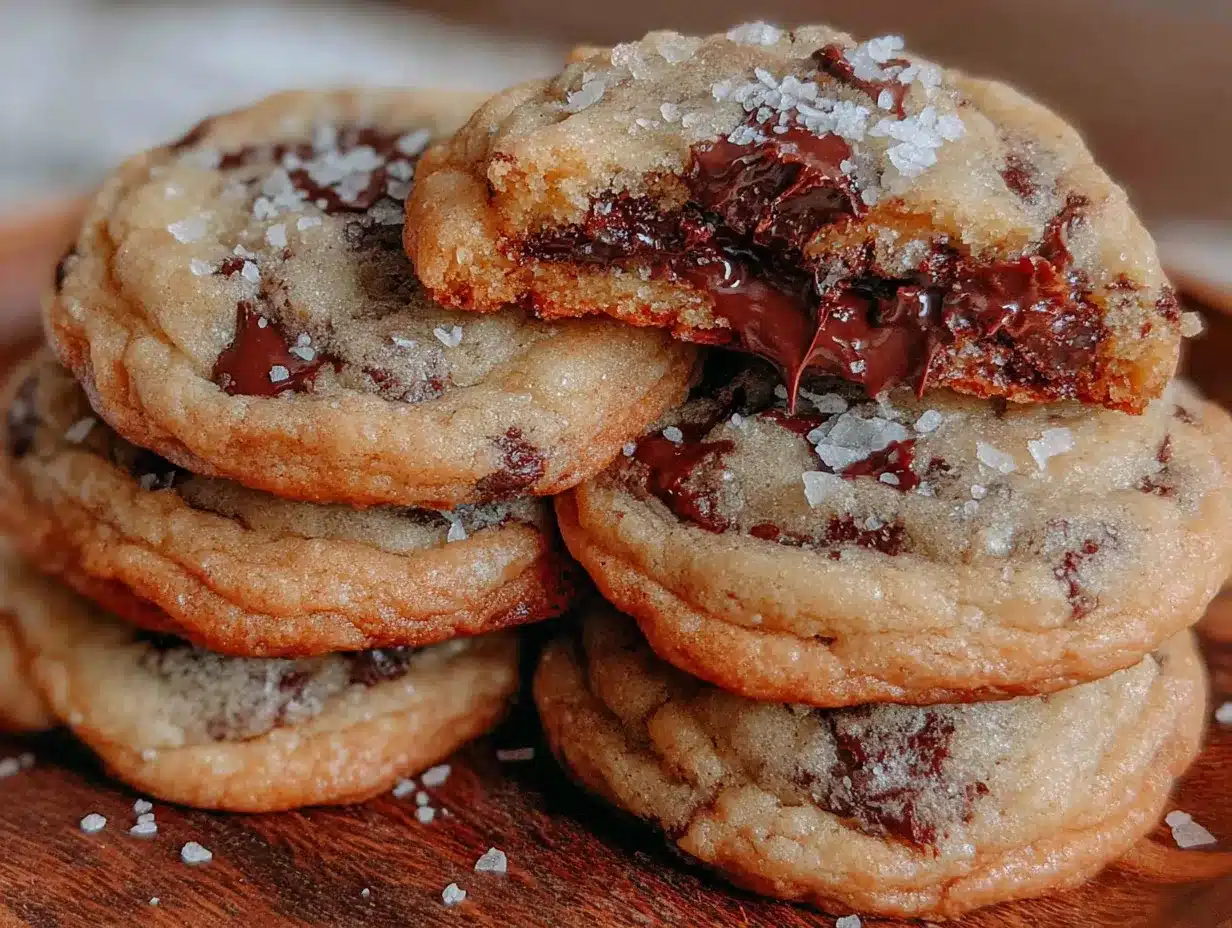
What makes these cookies special isn’t some fancy technique or rare ingredient. It’s the perfect balance of crispy edges and soft, gooey centers that stay tender even the next day. The best part? There’s no chilling required, which means you can go from craving to cookie in under 30 minutes. I mean, who has time to wait around when a cookie emergency strikes?
Maybe you’ve been there too—standing in your kitchen at 8 PM with kids begging for something sweet, and you’re staring at your pantry wondering if you have the energy for a full baking project. These cookies are your answer. They’re small-batch perfection, giving you exactly six generous cookies without the temptation of a full batch staring at you from the counter. Honestly, it’s the kind of recipe that saves your sanity and makes you look like a hero.
Why You’ll Love This Recipe
Let me be real with you—I’ve tested this recipe more times than I care to admit. My family has been my official taste-testing panel, and they’ve been more than happy to participate. Here’s why this recipe has earned a permanent spot in my rotation:
- No Chilling Required: From mixing bowl to oven in less than 15 minutes. No waiting, no planning ahead, just pure cookie satisfaction.
- Perfect Small Batch: Makes exactly 6 cookies—enough to satisfy a craving without having a mountain of cookies tempting you all week.
- Kid-Approved: My kids have declared these “the best cookies ever made,” and they’re not easy to impress.
- Pantry Staples: You probably have everything you need already in your kitchen. No special trips to the store required.
- Budget-Friendly: Simple ingredients that won’t break the bank, and they use common items you likely already stock.
- Foolproof Results: Even if you’re not a confident baker, these cookies turn out perfectly every single time.
What makes these cookies different from every other chocolate chip cookie recipe out there? It’s the ratio. I spent weeks tweaking the butter-to-flour ratio until I got that perfect balance where the edges get golden and crispy while the center stays soft and almost doughy. The secret is using melted butter, which gives you that chewy texture without any of the fuss of creaming cold butter and sugar together.
These cookies are the kind that make you close your eyes after the first bite. They’re comfort food at its finest—simple, honest, and absolutely delicious. Perfect for after-school snacks, late-night cravings, or when you just need something warm and sweet to brighten your day.
What Ingredients You Will Need
This recipe uses simple, wholesome ingredients that you probably already have in your kitchen. No fancy extracts or specialty flours here—just good, honest ingredients that work together to create cookie magic.
For the Cookie Dough:
- 1/2 cup (113g) unsalted butter, melted (I prefer using unsalted so I can control the salt level—Kerrygold is my go-to for its rich flavor)
- 1/2 cup (100g) packed light brown sugar (adds moisture and that deep, caramel-like sweetness)
- 1/4 cup (50g) granulated sugar (helps create those crispy edges)
- 1 large egg yolk (the yolk adds richness without making the dough too wet—save the white for breakfast!)
- 1 teaspoon vanilla extract (pure vanilla extract makes a difference, but imitation works fine too)
- 1 cup (125g) all-purpose flour (spoon and level your flour—don’t scoop directly from the bag)
- 1/2 teaspoon baking soda (make sure it’s fresh for proper rise)
- 1/4 teaspoon salt (I use fine sea salt for even distribution)
- 1/2 cup (90g) semi-sweet chocolate chips (I love Ghirardelli for their melt-in-your-mouth quality)
Ingredient Tips & Substitutions:
- Butter: If you only have salted butter, just reduce the added salt to a pinch. The cookies will still turn out great.
- Sugars: You can use all brown sugar if that’s what you have—the cookies will be softer and chewier with a deeper flavor.
- Flour: For a gluten-free version, use a 1:1 gluten-free baking flour blend. I’ve tested this with Bob’s Red Mill and it works beautifully.
- Chocolate Chips: Feel free to use milk chocolate for sweeter cookies, dark chocolate for a more intense flavor, or even white chocolate chips for a different twist.
- Egg Yolk: If you’re vegan, you can substitute with 1 tablespoon of aquafaba (chickpea brine) mixed with 1 teaspoon of cornstarch.
Equipment Needed
You don’t need a fancy kitchen to make these cookies. Here’s what you’ll need:
- Large mixing bowl (any bowl works—I use a ceramic one I’ve had for years)
- Whisk or wooden spoon (a whisk works best for combining wet ingredients)
- Rubber spatula (for scraping every last bit of dough from the bowl)
- Measuring cups and spoons (accuracy matters in baking, so use proper measuring tools)
- Baking sheet (a light-colored baking sheet gives the most even browning)
- Parchment paper or silicone baking mat (prevents sticking and makes cleanup a breeze)
- Cookie scoop or tablespoon (for evenly sized cookies—a 1.5-tablespoon scoop is perfect)
- Cooling rack (optional but helps cookies cool evenly)
If you don’t have a cookie scoop, just use two tablespoons to portion the dough. And if you don’t have parchment paper, you can lightly grease your baking sheet with butter or cooking spray—just watch the bottoms to make sure they don’t burn.
Preparation Method
Alright, let’s get to the fun part! Follow these steps carefully, and you’ll have perfect cookies in no time.
Step 1: Melt the Butter
Place your 1/2 cup of butter in a microwave-safe bowl and heat in 20-second intervals until just melted. You want it melted but not hot—if it’s too hot, it will cook the egg yolk later. Let it cool for about 2 minutes while you gather your other ingredients. The butter should be warm to the touch but not steaming.
Step 2: Combine the Wet Ingredients
In your large mixing bowl, whisk together the melted butter, brown sugar, and granulated sugar until smooth. The mixture should look like wet sand and smell amazing. Add the egg yolk and vanilla extract, then whisk vigorously for about 30 seconds until the mixture becomes slightly lighter in color and looks glossy. This step is important—it helps create that chewy texture we’re after.
Step 3: Mix the Dry Ingredients
In a separate small bowl, whisk together the flour, baking soda, and salt. Make sure the baking soda is evenly distributed—nobody wants a pocket of baking soda in their cookie! If you’re feeling lazy, you can skip this step and add the dry ingredients directly to the wet mixture, but whisking them separately ensures even distribution.
Step 4: Combine Wet and Dry
Add the flour mixture to the wet ingredients and stir with your rubber spatula until just combined. Be careful not to overmix—stop as soon as you no longer see streaks of flour. Overmixing develops gluten and will make your cookies tough instead of tender. The dough will be soft and slightly sticky, which is exactly what you want.
Step 5: Add the Chocolate Chips
Fold in the chocolate chips with your spatula until they’re evenly distributed throughout the dough. If you want those beautiful pools of chocolate on top of your cookies, reserve about a tablespoon of chips and press them onto the tops of the dough balls right before baking. Trust me, this little trick makes them look bakery-worthy.
Step 6: Portion the Dough
Preheat your oven to 350°F (175°C). While it’s heating, line your baking sheet with parchment paper. Use your cookie scoop or a tablespoon to portion the dough into 6 equal balls—each should be about 2 tablespoons in size. Place them on the baking sheet about 2 inches apart. They’ll spread a bit, but not too much since this is a small batch.
Step 7: Bake to Perfection
Bake for 10-12 minutes, or until the edges are golden brown and the centers still look slightly soft and puffy. The cookies will continue to bake on the hot baking sheet after you take them out, so don’t wait until they’re fully golden all over. At 10 minutes, they’ll be softer and gooier; at 12 minutes, they’ll be crispier. I usually go for 11 minutes for that perfect middle ground.
Step 8: Cool and Enjoy
Let the cookies cool on the baking sheet for 5 minutes—this is crucial! They’ll be very soft when they first come out, and moving them too early will cause them to fall apart. After 5 minutes, transfer them to a cooling rack or enjoy them warm. I always sneak one while it’s still warm, and honestly, that’s the best way to eat them.
Cooking Tips & Techniques
After making these cookies more times than I can count, I’ve learned a few things the hard way. Here are my best tips to ensure your cookies turn out perfect every time:
Don’t Overmix the Dough
This is the number one mistake I see home bakers make. Once you add the flour, mix only until it disappears. Overmixing develops gluten, which makes cookies tough and cakey instead of tender and chewy. I learned this lesson after making a batch that felt like hockey pucks—never again!
Use Room Temperature Egg Yolk
Cold egg yolk can seize up the butter and make your dough lumpy. Let your egg sit out for 15 minutes before using, or place it in a bowl of warm water for 5 minutes. If you forget, don’t worry—just mix a little longer and the lumps will work out.
Measure Flour Correctly
Scooping your measuring cup directly into the flour bag packs in extra flour, which leads to dry, dense cookies. Instead, spoon the flour into your measuring cup and level it off with a knife. This simple step makes a huge difference in the final texture.
The Warm Cookie Trick
If you want that “fresh from the bakery” experience, pop your cookies in the microwave for 10 seconds before serving. It melts the chocolate chips and softens the cookie to perfection. My kids ask for this every single time.
Baking Sheet Matters
Dark baking sheets absorb more heat and can cause your cookies to brown too quickly on the bottom. Stick with light-colored baking sheets for the most even results. If you only have dark sheets, reduce your oven temperature by 25°F.
Variations & Adaptations
One of the best things about this recipe is how versatile it is. Here are some of my favorite variations:
Double Chocolate Chip Cookies
Replace 2 tablespoons of the flour with 2 tablespoons of unsweetened cocoa powder. The cookies will have a rich chocolate flavor that pairs beautifully with the semi-sweet chips. My neighbor tried this version and now makes it exclusively.
Peanut Butter Chocolate Chip
Add 2 tablespoons of creamy peanut butter to the wet ingredients and reduce the butter by 1 tablespoon. The peanut butter adds a nutty depth that complements the chocolate perfectly. Just make sure to mix it in well so it’s evenly distributed.
Gluten-Free Version
Swap the all-purpose flour with a 1:1 gluten-free baking flour blend. I’ve tested this with Bob’s Red Mill and King Arthur Measure for Measure, and both work wonderfully. The cookies might spread slightly more, so chill the dough for 10 minutes if you notice them getting too flat.
Vegan Adaptation
Use melted coconut oil or vegan butter instead of dairy butter, and replace the egg yolk with 1 tablespoon of aquafaba mixed with 1 teaspoon of cornstarch. The texture will be slightly different—more crisp than chewy—but still absolutely delicious.
Add-In Ideas
Feel free to get creative with your mix-ins. Try white chocolate chips and dried cranberries, chopped pecans and dark chocolate, or even crushed pretzels for a sweet-salty combo. My personal favorite is adding 1/4 cup of toasted coconut flakes for a tropical twist.
Serving & Storage Suggestions
These cookies are best enjoyed warm, but they’re pretty amazing at room temperature too. Here’s how to serve and store them:
Serving Ideas
Serve them with a cold glass of milk for the ultimate classic experience. For a dessert twist, sandwich a scoop of vanilla ice cream between two cookies for an instant ice cream sandwich. Or crumble them over a bowl of vanilla yogurt for a quick dessert parfait.
Storage Instructions
Store leftover cookies in an airtight container at room temperature for up to 5 days. Place a slice of bread in the container to keep them soft—the cookies will absorb moisture from the bread, keeping them fresh longer. Just replace the bread every couple of days.
Freezing Tips
You can freeze the baked cookies for up to 3 months. Wrap each cookie individually in plastic wrap, then place them in a freezer-safe bag. Thaw at room temperature for about 30 minutes, or microwave for 15 seconds for that fresh-baked warmth.
If you want to freeze the dough instead, portion it into balls and place them on a baking sheet in the freezer for 1 hour. Transfer the frozen dough balls to a freezer bag, and bake directly from frozen—just add 2 extra minutes to the baking time. This is my go-to for spontaneous cookie cravings!
Nutritional Information & Benefits
While these cookies are definitely a treat, here’s what you can expect nutritionally per cookie (based on 6 cookies):
- Calories: Approximately 320 calories per cookie
- Fat: 18g (11g saturated)
- Carbohydrates: 38g
- Protein: 4g
- Sugar: 24g
- Sodium: 180mg
Health Highlights
The butter provides a good source of vitamin A, and the dark chocolate chips contain antioxidants called flavonoids that support heart health. The egg yolk offers protein and essential vitamins like B12 and D. While these aren’t health food by any means, they’re made with real, recognizable ingredients—no preservatives or artificial additives.
Dietary Considerations
This recipe contains dairy, eggs, and gluten. For dairy-free options, use vegan butter or coconut oil. For egg-free, use the aquafaba substitution mentioned earlier. For gluten-free, use a 1:1 gluten-free flour blend. Always check your chocolate chips for any allergen concerns, especially if you’re using specialty brands.
Conclusion
These small-batch chocolate chip cookies have become a staple in our home, and I have a feeling they’ll become one in yours too. There’s something special about a recipe that delivers consistent, delicious results without any fuss or waiting around. Whether you’re baking with your kids on a rainy afternoon or sneaking a late-night treat for yourself, these cookies never disappoint.
I love that this recipe proves you don’t need a bakery or complicated techniques to enjoy perfect chocolate chip cookies. Just simple ingredients, a little bit of love, and 30 minutes of your time. The best part? You can customize them to your heart’s content—swap the chips, add some nuts, or keep them classic. They’re your cookies now.
So go ahead—preheat that oven and give these a try. I promise you’ll be amazed at how something so simple can be so incredibly satisfying. And when you do make them, come back and let me know how they turned out. Did you try any fun variations? Did your kids love them as much as mine do? Drop a comment below—I read every single one and love hearing your cookie stories!
Frequently Asked Questions
Can I double this recipe?
Absolutely! Just double all the ingredients and bake in batches. The cookies will still turn out perfectly. If you’re feeding a crowd, I recommend making a double batch—they disappear fast!
Why didn’t my cookies spread?
If your cookies didn’t spread, your flour might have been measured too generously, or your butter wasn’t warm enough when you mixed it. Make sure to spoon and level your flour, and let your melted butter cool only slightly before using it.
Can I use margarine instead of butter?
You can, but the cookies won’t be as flavorful or have the same texture. Butter adds richness and helps create those crispy edges. If you’re in a pinch, margarine will work, but I really recommend sticking with butter for the best results.
How do I make these cookies softer?
For softer cookies, reduce the baking time by 1-2 minutes and let them cool completely on the baking sheet. You can also replace 2 tablespoons of the granulated sugar with an additional 2 tablespoons of brown sugar, which adds moisture.
Can I make these cookies ahead of time?
Yes! You can prepare the dough up to 2 days in advance and keep it covered in the refrigerator. Let it sit at room temperature for 10 minutes before scooping and baking. You can also freeze the dough balls for up to 3 months for fresh cookies anytime.
Pin This Recipe!
The Best Small-Batch Chocolate Chip Cookies (Kid-Approved)

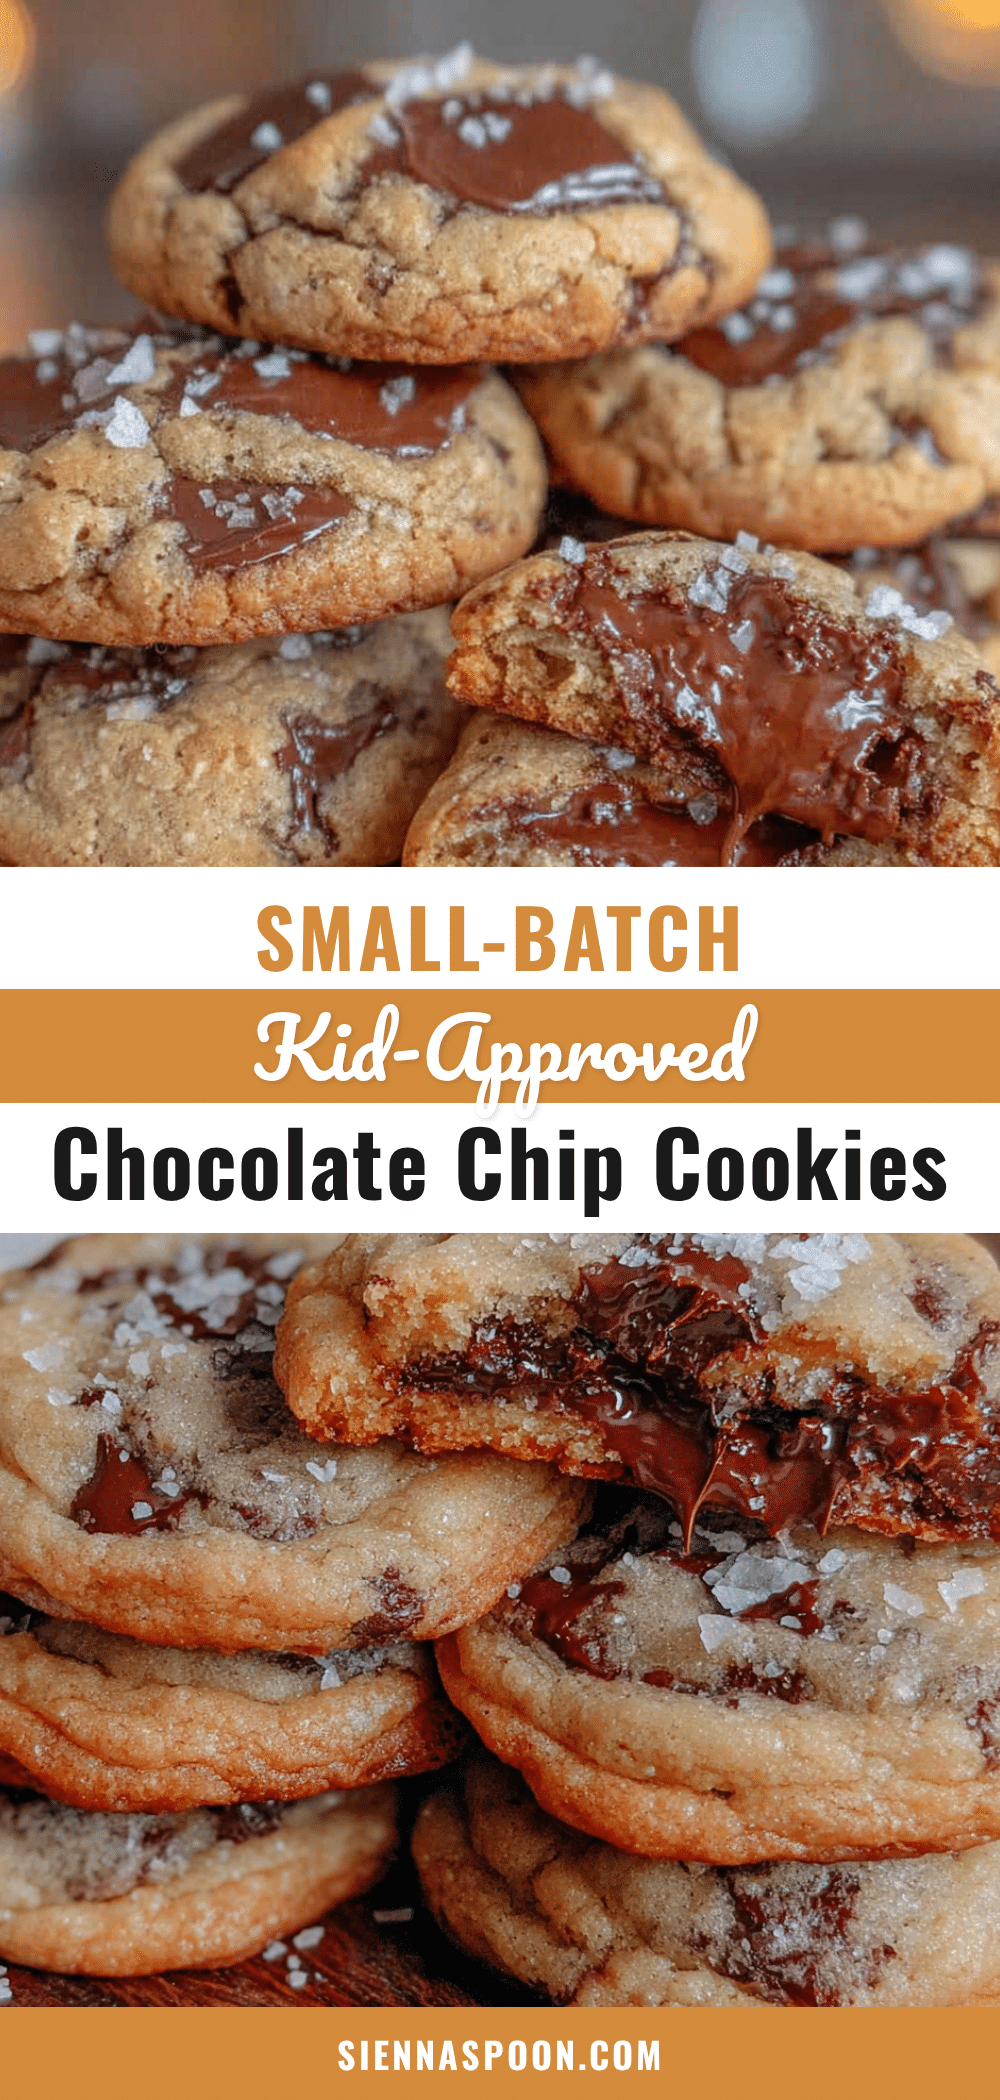
These small-batch chocolate chip cookies have crispy edges and soft, gooey centers, made with no chilling required and ready in under 30 minutes. Perfect for satisfying a craving without a full batch.
- Prep Time: 15 minutes
- Cook Time: 11 minutes
- Total Time: 26 minutes
- Yield: 6 cookies 1x
- Category: Dessert
- Cuisine: American
Ingredients
- 1/2 cup (113g) unsalted butter, melted
- 1/2 cup (100g) packed light brown sugar
- 1/4 cup (50g) granulated sugar
- 1 large egg yolk
- 1 teaspoon vanilla extract
- 1 cup (125g) all-purpose flour
- 1/2 teaspoon baking soda
- 1/4 teaspoon salt
- 1/2 cup (90g) semi-sweet chocolate chips
Instructions
- Melt the butter in a microwave-safe bowl in 20-second intervals until just melted. Let cool for about 2 minutes.
- In a large mixing bowl, whisk together melted butter, brown sugar, and granulated sugar until smooth. Add egg yolk and vanilla extract, whisk vigorously for about 30 seconds until glossy.
- In a separate small bowl, whisk together flour, baking soda, and salt.
- Add flour mixture to wet ingredients and stir with a rubber spatula until just combined. Do not overmix.
- Fold in chocolate chips until evenly distributed. Reserve about a tablespoon of chips to press onto tops of dough balls before baking.
- Preheat oven to 350°F (175°C). Line a baking sheet with parchment paper. Portion dough into 6 equal balls (about 2 tablespoons each) and place 2 inches apart on baking sheet.
- Bake for 10-12 minutes, until edges are golden brown and centers still look slightly soft and puffy.
- Let cookies cool on baking sheet for 5 minutes, then transfer to a cooling rack or enjoy warm.
Notes
For best results, use room temperature egg yolk, measure flour by spooning and leveling, and do not overmix the dough. For a gluten-free version, use a 1:1 gluten-free flour blend. For vegan, use melted coconut oil or vegan butter and replace egg yolk with 1 tablespoon aquafaba mixed with 1 teaspoon cornstarch.
Nutrition
- Serving Size: 1 cookie
- Calories: 320
- Sugar: 24
- Sodium: 180
- Fat: 18
- Saturated Fat: 11
- Carbohydrates: 38
- Fiber: 1
- Protein: 4
Keywords: small-batch chocolate chip cookies, no chill cookies, kid-approved cookies, easy cookie recipe, quick cookies


