Love this? Save it for later!
Share the inspiration with your friends
Let me tell you about the time I almost showed up to a holiday potluck empty-handed. My sister-in-law’s annual “Friendsgiving” was in six hours, and I’d completely forgotten. Everyone else would be bringing their A-game—think Paula Deen-level mac and cheese, slow-cooked brisket, and pies that looked like they belonged on a magazine cover. I had a head of cauliflower, a sad bulb of garlic, and about thirty minutes of actual cooking time before I had to run out the door. Honestly, I was ready to just grab a bottle of wine and call it a day. But then I remembered this roasted garlic mashed cauliflower recipe I’d been tinkering with. It’s quick, it’s low-carb, and it tastes so ridiculously creamy that people actually fight over it. I threw it together, crossed my fingers, and walked in feeling like a fraud next to all those elaborate dishes. You know what happened? That sad little cauliflower was the first thing to disappear. Someone even asked me for the recipe while they were still chewing. I just smiled and said, “Oh, it’s nothing.” But we both knew it was something.
This recipe has become my secret weapon. It’s the one I bring to every gathering where I need to look like I tried, but also need to stay on track with my eating. It’s rich, buttery, and has that deep, sweet flavor from roasted garlic that makes you forget you’re eating a vegetable. Plus, it comes together in under thirty minutes. If that’s not a weeknight miracle, I don’t know what is.
Why You’ll Love This Recipe
I’ve tested this recipe more times than I can count—on busy weeknights, for holiday feasts, and even for a random Tuesday when I just needed some comfort food without the carb crash. It’s one of those rare dishes that checks every single box. Here’s why you’ll keep coming back to it:
- Quick & Easy: From start to finish, this dish is on the table in about 25 minutes. The hands-on time is even less. Perfect for those nights when you’re tired and hungry and just want something good to eat.
- Simple Ingredients: You probably have most of these in your kitchen right now. Cauliflower, garlic, butter, cream cheese, and a little salt and pepper. No fancy trips to a specialty store needed.
- Perfect for Low-Carb & Keto: This is the side dish that saves dinner when you’re watching your carbs. It has that same creamy, comforting texture as mashed potatoes, but with a fraction of the carbs.
- Crowd-Pleaser: I’ve served this to hardcore carb lovers, picky kids, and skeptical in-laws. Every single time, they go back for seconds. It’s that good.
- Unbelievably Delicious: The secret is the roasted garlic. It adds a mellow, almost nutty sweetness that raw garlic just can’t match. Paired with cream cheese, it becomes silky, rich, and absolutely irresistible.
What makes this different from every other mashed cauliflower recipe out there? It’s the technique. Most recipes skip the roasting step for the garlic, or they use only butter, which can make the texture watery. I blend in a little cream cheese for stability and richness, and I make sure to really dry out the cauliflower after steaming. The result is a side dish that’s thick, creamy, and actually holds its shape on the plate. No soup here.
This isn’t just a substitute for mashed potatoes. It’s the kind of dish that makes you close your eyes after the first bite. It’s comfort food, reimagined—healthier, faster, and with the same soul-soothing satisfaction. You can impress guests without stress, or just turn a simple weeknight meal into something memorable.
What Ingredients You Will Need
This recipe uses simple, wholesome ingredients to deliver bold flavor and satisfying texture without the fuss. Most of these are pantry staples, which makes it perfect for a last-minute side.
- 1 large head of cauliflower (about 2 pounds / 900g), cut into florets. Look for a head that’s firm and white, without any brown spots. The florets should be roughly the same size for even cooking.
- 1 whole head of garlic. Yes, the whole thing. Roasting mellows the garlic into something sweet and spreadable. You’ll only need the roasted cloves, so don’t worry about peeling them raw.
- 2 tablespoons (30ml) olive oil, for roasting the garlic. A good quality extra-virgin olive oil works beautifully here.
- 3 tablespoons (42g) unsalted butter. I use salted butter in a pinch, but unsalted lets you control the final seasoning better. (I love Kerrygold for its rich flavor.)
- 2 ounces (56g) cream cheese, softened. This is the secret ingredient. It adds creaminess and a slight tang, and it helps stabilize the mash so it doesn’t turn watery. Let it sit out for 10 minutes to soften.
- 1/4 cup (60ml) heavy cream, or full-fat milk. Heavy cream makes it extra luxurious, but whole milk works too. For a dairy-free option, use unsweetened coconut cream.
- 1/2 teaspoon salt, plus more to taste. I prefer fine sea salt for even seasoning.
- 1/4 teaspoon black pepper, freshly ground. Don’t skip this—it balances the richness.
- Optional: Fresh chives or parsley, for garnish. Adds a pop of color and a fresh, oniony bite.
Ingredient Selection Tips: For the best texture, use a firm, fresh cauliflower. If the head feels light or has soft spots, skip it. For the cream cheese, I recommend Philadelphia full-fat—it’s consistent and melts smoothly. Avoid low-fat versions, as they can make the mash grainy.
Substitution Guidance: If you’re dairy-free, swap the butter for a good vegan butter (like Miyoko’s), use dairy-free cream cheese, and replace the heavy cream with full-fat canned coconut milk. The flavor will be slightly different, but still delicious. For a vegan version, you can also add a tablespoon of nutritional yeast for a cheesy note.
Equipment Needed
You don’t need a ton of fancy equipment for this recipe, which is part of its charm. Here’s what you’ll want to have on hand:
- Chef’s knife and cutting board. A sharp knife makes cutting the cauliflower florets much easier and safer.
- Small baking sheet or oven-safe dish. For roasting the garlic. A small dish is fine if you want to keep the garlic contained.
- Aluminum foil. To wrap the garlic while it roasts. This traps steam and ensures the cloves become soft and spreadable.
- Large pot or Dutch oven. For steaming or boiling the cauliflower. A pot with a steamer basket is ideal. If you don’t have one, a regular pot with a tight-fitting lid works too.
- Steamer basket (optional but recommended). Steaming prevents the cauliflower from becoming waterlogged, which is the number one mistake people make.
- Food processor or high-speed blender. A food processor gives you the smoothest, creamiest texture. I use a Cuisinart 14-cup model and it works perfectly. An immersion blender can work, but you’ll need to be patient and work in batches.
- Rubber spatula. For scraping every last bit of that creamy goodness out of the food processor. Don’t waste a single bite.
- Serving bowl. Something pretty to present it in, but honestly, you can eat it straight from the processor bowl and I won’t judge.
Budget-Friendly Tips: If you don’t own a food processor, a potato masher will work. The texture will be chunkier, but it’s still delicious. Just make sure the cauliflower is very tender. A hand mixer can also work, but be careful not to overmix, or it can turn gluey.
Preparation Method
Let’s get cooking. This whole process takes about 25 minutes, and most of that is hands-off roasting time. Here’s exactly how to do it:
- Preheat your oven to 400°F (200°C). While it’s heating, grab your head of garlic. Slice off the top quarter-inch to expose the tops of the cloves. Place the garlic on a piece of aluminum foil, drizzle with the olive oil, and wrap it up tightly. Pop it in the oven for 30-35 minutes. It’s done when the cloves are soft and golden. (If you’re in a hurry, you can microwave the garlic in a small dish with a splash of water for 2-3 minutes. It won’t be as sweet, but it works in a pinch.)
- While the garlic roasts, prep the cauliflower. Wash the head and cut it into florets. Try to make them roughly the same size—about 1 to 2 inches. This ensures even cooking. You can also chop the stem into small pieces and cook it with the florets. No waste here.
- Steam the cauliflower. Fill your large pot with about an inch of water and bring it to a boil. Place the cauliflower in a steamer basket, cover, and steam for 8-10 minutes. You want it fork-tender—a knife should slide in with zero resistance. Do not overcook it to the point of mushiness, or it will become watery. If you don’t have a steamer basket, you can boil the florets in salted water for 6-8 minutes. Just drain them very well.
- Dry the cauliflower. This step is crucial. After draining, spread the steamed florets on a clean kitchen towel or paper towels for a few minutes. Let the steam escape. The drier the cauliflower, the creamier your mash will be. I can’t stress this enough. Excess water is the enemy of good mashed cauliflower.
- Squeeze the roasted garlic. Once the garlic is cool enough to handle (about 5 minutes), squeeze the bottom of the head. The soft, golden cloves will slide right out into a small bowl. Mash them with a fork into a paste. Set aside.
- Combine everything in the food processor. Add the dried cauliflower, roasted garlic paste, butter, softened cream cheese, heavy cream, salt, and pepper to the bowl of your food processor. Secure the lid and pulse a few times to break everything down, then process continuously for about 30-45 seconds. Stop and scrape down the sides with a rubber spatula. Process again for another 15-20 seconds, until the mixture is completely smooth and creamy. Taste it. Add more salt or pepper if needed. (I always add a tiny pinch more salt at this stage—it really wakes up the flavors.)
- Serve immediately. Transfer the mash to a serving bowl. Garnish with fresh chives or parsley if you’re feeling fancy. If you need to keep it warm for a few minutes, place the bowl over a pot of simmering water, covered, for up to 20 minutes. You can also reheat it gently on the stovetop with a splash more cream.
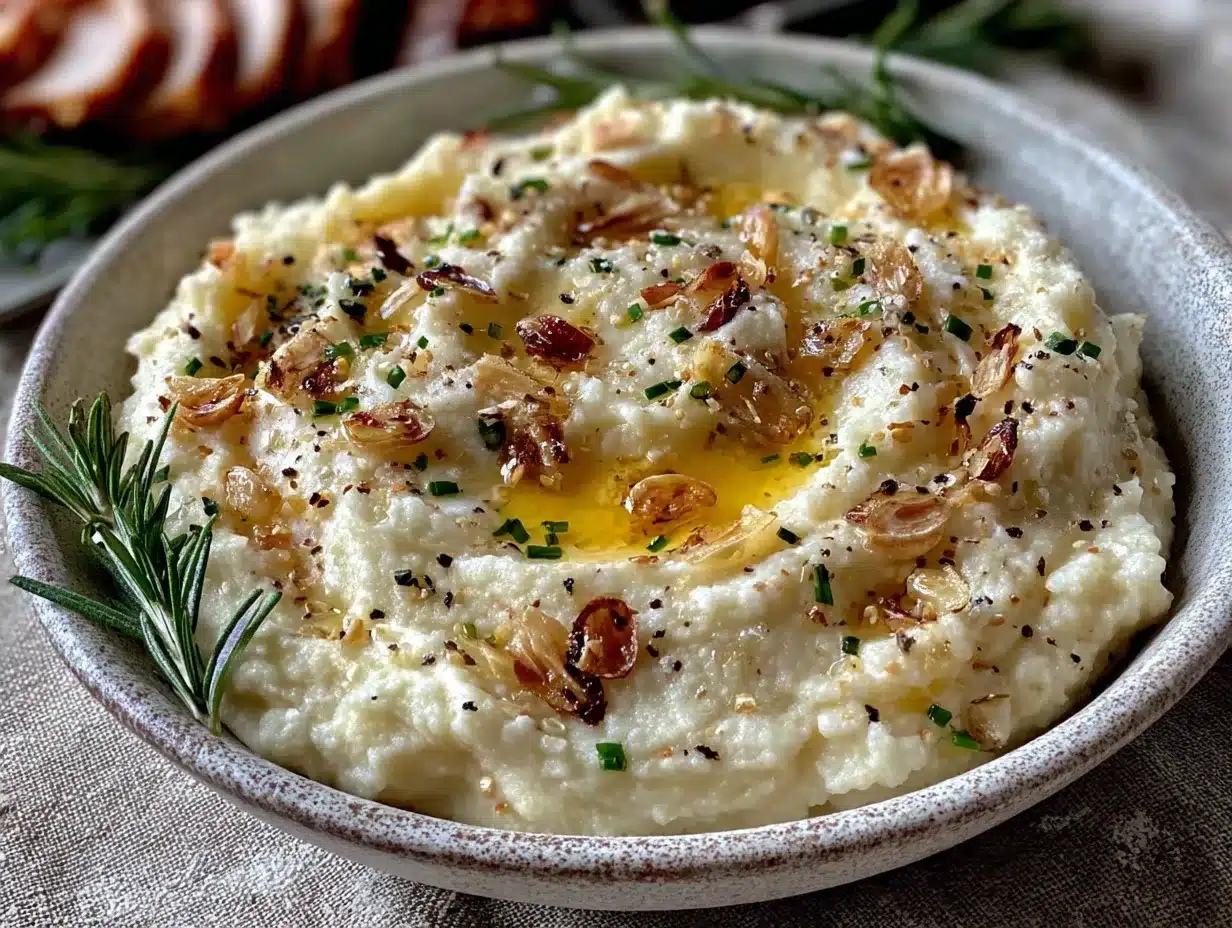
Visual Cue: At the end of processing, the mash should look like a cloud—pale, fluffy, and completely smooth. It should hold its shape when you spoon it, not spread out into a puddle.
Cooking Tips & Techniques
I’ve made this recipe so many times that I’ve learned exactly what can go wrong. Let me save you some trouble. Here are my best tips:
- Don’t skip the drying step. I know it seems like an extra, fussy thing to do. But trust me, it’s the difference between a creamy mash and a watery mess. Cauliflower is basically a sponge for water. If you don’t let that steam escape, you’ll end up with soup. I learned this the hard way when I brought a watery mash to a family dinner. My aunt politely called it “rustic.”
- Roast the garlic until it’s truly soft. Under-roasted garlic will still have that sharp, pungent bite. You want it to be so soft that you can squish it with your fingers. If you’re short on time, you can roast it while you prep the cauliflower. Just set a timer so you don’t forget it.
- Use a food processor, not a blender. Blenders can overwork the cauliflower, turning it into a gluey paste. A food processor gives you that light, fluffy texture. If you only have a blender, pulse it in short bursts and scrape the sides often.
- Season generously. Cauliflower is a blank canvas. It needs salt to taste like anything at all. Don’t be shy. I usually add a little more salt and pepper right before serving, after tasting.
- Warm your cream and butter. If you add cold cream cheese or cold butter to the hot cauliflower, the mixture can seize up and become lumpy. Let your cream cheese sit out for 10 minutes, and cut the butter into small pieces so it melts quickly.
Variations & Adaptations
One of the best things about this recipe is how easy it is to customize. Here are some of my favorite variations:
- Cheesy Roasted Garlic Cauliflower Mash: Add 1/2 cup (50g) of freshly grated Parmesan cheese to the food processor along with the other ingredients. It adds a salty, umami kick that’s incredible with roasted meats.
- Herb-Infused Version: Toss a few sprigs of fresh thyme or rosemary into the pot while the cauliflower steams. Remove the stems before processing. Or stir in 2 tablespoons of chopped fresh chives or parsley at the end for a fresh, green flavor.
- Vegan Adaptation: Use vegan butter and dairy-free cream cheese. Replace the heavy cream with full-fat canned coconut milk. Add 1 tablespoon of nutritional yeast for a cheesy, savory note. The texture will be slightly different—a little less thick—but still delicious.
- Spicy Kick: Add 1/4 teaspoon of cayenne pepper or a pinch of red pepper flakes along with the salt. It pairs beautifully with the sweet roasted garlic.
- Bacon-Topped: Because bacon makes everything better. Crumble 3-4 slices of crispy bacon over the top before serving. The salty, smoky crunch is a perfect contrast to the creamy mash.
I once made a batch with roasted red peppers blended in—just a half cup. It turned a beautiful pink color and had a slightly sweet, smoky flavor. My kids ate it without even asking what it was. That’s a win in my book.
Serving & Storage Suggestions
This mashed cauliflower is incredibly versatile. Here’s how to serve and store it:
- Serving Temperature: Serve it hot, straight from the food processor. It cools down quickly, so if you’re making it ahead, reheat it gently on the stovetop with a splash of cream or milk. You can also keep it warm in a slow cooker on the “warm” setting for up to an hour.
- Presentation: Spoon it into a shallow serving bowl and create a swirl on top with the back of a spoon. Drizzle with a little melted butter or olive oil, and sprinkle with fresh chives or parsley. A pinch of flaky sea salt on top looks beautiful and adds a nice crunch.
- Complementary Dishes: This is the perfect side for roasted chicken, grilled steak, pork chops, or baked salmon. It also works beautifully under a rich stew or braised short ribs. For a vegetarian meal, serve it with roasted mushrooms and a side of sautéed greens.
- Storage: Store leftovers in an airtight container in the refrigerator for up to 4 days. The flavors actually meld and deepen overnight, so it might taste even better the next day.
- Reheating: The best way to reheat is on the stovetop over low heat, stirring constantly. Add a splash of cream, milk, or even chicken broth to loosen it up. You can also microwave it in 30-second bursts, stirring between each. Don’t overheat it, or it can become watery.
- Freezing: Yes, you can freeze this! Portion it into freezer-safe bags or containers. It will keep for up to 3 months. Thaw in the refrigerator overnight, then reheat gently. The texture might be slightly softer after freezing, but it’s still delicious.
Nutritional Information & Benefits
This recipe is a nutritional powerhouse disguised as comfort food. Here’s the breakdown for one serving (about 1 cup / 240ml, based on 4 servings):
Estimated Nutritional Values (per serving):
- Calories: 210
- Fat: 18g
- Carbohydrates: 9g
- Fiber: 4g
- Net Carbs: 5g
- Protein: 5g
Health Benefits: Cauliflower is a cruciferous vegetable packed with vitamin C, vitamin K, and fiber. It’s also rich in antioxidants that support overall health. The garlic adds allicin, a compound known for its anti-inflammatory and immune-boosting properties. By swapping out potatoes for cauliflower, you’re drastically reducing the carb load while still getting that comforting, creamy texture. This dish is naturally gluten-free and, with the vegan adaptations, can be dairy-free as well.
Dietary Considerations: This recipe is low-carb, keto-friendly, and gluten-free. It’s also vegetarian. For a vegan version, follow the substitution notes above. Please note that this recipe contains dairy (butter, cream cheese, heavy cream). If you have a dairy allergy, the vegan adaptations will work well.
From a wellness perspective, this is one of those recipes that makes you feel good about eating vegetables. It’s indulgent enough to satisfy a craving, but wholesome enough to eat regularly. I love that I can serve it to my family without anyone complaining about “eating healthy.”
Frequently Asked Questions
Can I make this mashed cauliflower ahead of time?
Absolutely. You can make it up to 2 days in advance. Store it in the refrigerator in an airtight container. Reheat it gently on the stovetop with a splash of cream or milk to restore its creamy texture. It’s a great make-ahead side for holiday dinners.
Why is my mashed cauliflower watery?
This is the most common issue. It usually happens because the cauliflower wasn’t dried properly after steaming. Make sure to drain it well and let it sit on a towel for a few minutes. Also, avoid overcooking the cauliflower—it should be tender, not falling apart. Using a food processor instead of a blender also helps prevent a watery texture.
Can I use frozen cauliflower?
Yes, you can. Frozen cauliflower is already blanched, so it cooks faster. However, it tends to hold more water. To compensate, thaw the frozen cauliflower completely and press it firmly between paper towels to remove as much moisture as possible before steaming or cooking. You may need to cook it for a few minutes less.
How do I make this recipe dairy-free?
It’s easy. Use vegan butter (like Miyoko’s or Earth Balance), dairy-free cream cheese (Kite Hill makes a great one), and full-fat canned coconut milk instead of heavy cream. The flavor will be slightly different, but the texture will still be creamy and delicious. Add a tablespoon of nutritional yeast for a cheesy flavor.
Can I freeze this mashed cauliflower?
Yes! Portion it into freezer-safe bags or containers. It will keep for up to 3 months. Thaw in the refrigerator overnight, then reheat gently on the stovetop or in the microwave. The texture might be slightly softer after freezing, but it’s still a great option for meal prep.
Conclusion
This quick roasted garlic mashed cauliflower is more than just a low-carb side dish. It’s a lifesaver for busy weeknights, a secret weapon for holiday potlucks, and a genuinely delicious way to eat more vegetables. It’s creamy, it’s comforting, and it comes together in under 30 minutes with ingredients you probably already have.
I love this recipe because it proves that eating well doesn’t have to be complicated or boring. You don’t need to spend hours in the kitchen or hunt down exotic ingredients. Sometimes, the best dishes are the simplest ones—made with a little love, a lot of garlic, and a willingness to try something new.
Now I want to hear from you. Have you tried making mashed cauliflower before? What’s your favorite way to serve it? Drop a comment below and let me know. And if you give this recipe a try, tag me in your photos—I love seeing your creations. Happy cooking, friends!
Pin This Recipe!
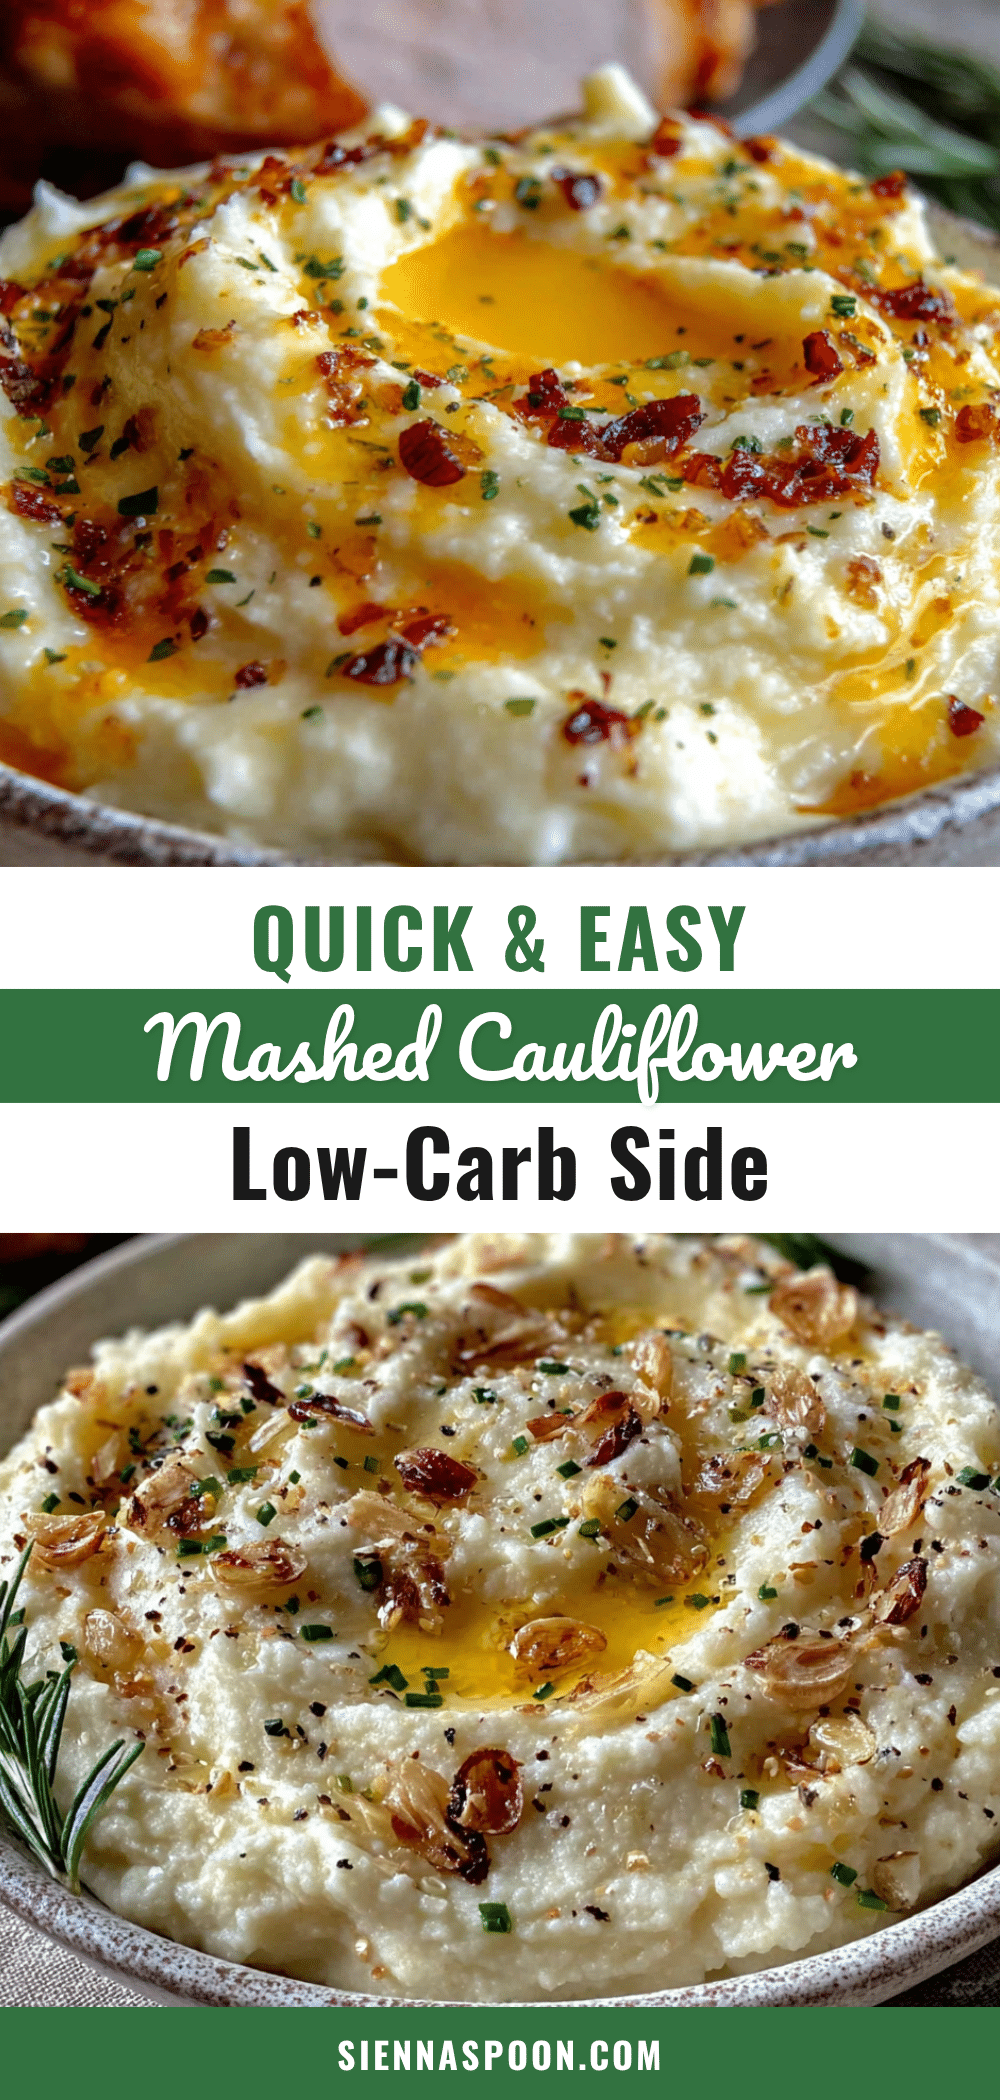
Easy Low-Carb Roasted Garlic Mashed Cauliflower Recipe

This quick and easy low-carb mashed cauliflower is creamy, buttery, and packed with the sweet flavor of roasted garlic. It’s the perfect side dish for busy weeknights or holiday gatherings, and it comes together in under 30 minutes.
- Prep Time: 10 minutes
- Cook Time: 25 minutes
- Total Time: 35 minutes
- Yield: 4 servings 1x
- Category: Side Dish
- Cuisine: American
Ingredients
- 1 large head of cauliflower (about 2 pounds / 900g), cut into florets
- 1 whole head of garlic
- 2 tablespoons (30ml) olive oil
- 3 tablespoons (42g) unsalted butter
- 2 ounces (56g) cream cheese, softened
- 1/4 cup (60ml) heavy cream
- 1/2 teaspoon salt, plus more to taste
- 1/4 teaspoon black pepper, freshly ground
- Optional: Fresh chives or parsley, for garnish
Instructions
- Preheat your oven to 400°F (200°C). Slice off the top quarter-inch of the garlic head to expose the cloves. Place the garlic on a piece of aluminum foil, drizzle with olive oil, wrap tightly, and roast for 30-35 minutes until soft and golden.
- While the garlic roasts, wash the cauliflower and cut into 1-2 inch florets. Steam in a steamer basket over boiling water for 8-10 minutes until fork-tender. Do not overcook.
- Drain the cauliflower well and spread on a clean kitchen towel or paper towels for a few minutes to dry thoroughly.
- Once the garlic is cool enough to handle, squeeze the bottom of the head to release the soft cloves. Mash with a fork into a paste.
- In a food processor, combine the dried cauliflower, roasted garlic paste, butter, softened cream cheese, heavy cream, salt, and pepper. Pulse a few times, then process continuously for 30-45 seconds. Scrape down the sides and process for another 15-20 seconds until smooth and creamy. Taste and adjust seasoning.
- Serve immediately, garnished with fresh chives or parsley if desired.
Notes
Don’t skip drying the cauliflower after steaming—it’s key to a creamy, not watery, mash. For a dairy-free version, use vegan butter, dairy-free cream cheese, and full-fat canned coconut milk. Add 1 tablespoon nutritional yeast for a cheesy flavor. Leftovers can be stored in the refrigerator for up to 4 days or frozen for up to 3 months.
Nutrition
- Serving Size: 1 cup (240ml)
- Calories: 210
- Sugar: 3
- Sodium: 320
- Fat: 18
- Saturated Fat: 10
- Carbohydrates: 9
- Fiber: 4
- Protein: 5
Keywords: low-carb, keto, roasted garlic, mashed cauliflower, quick, easy, side dish, gluten-free, vegetarian


