Love this? Save it for later!
Share the inspiration with your friends
I was standing in the spice aisle of my local grocery store last November when the smell hit me. Not from the jars around me, but from somewhere else entirely — a memory so sharp and sudden it stopped me mid-reach for the cinnamon. I was seven years old, standing on a stepstool in my neighbor Mrs. Kowalski’s kitchen, watching her measure out spoonfuls of pumpkin pie spice with the kind of serious precision that only a retired home economics teacher could manage. She’d let me press the cookie cutters into the dough, but the spice blend? That was her territory. I never did get her exact recipe, and she moved away years ago. But standing there in that grocery store aisle, surrounded by the smell of cinnamon and nutmeg and something warm I couldn’t name, I knew I had to try to recreate those cookies myself. Maybe you’ve been there — that sudden, aching need for a taste you can almost remember but not quite hold onto.
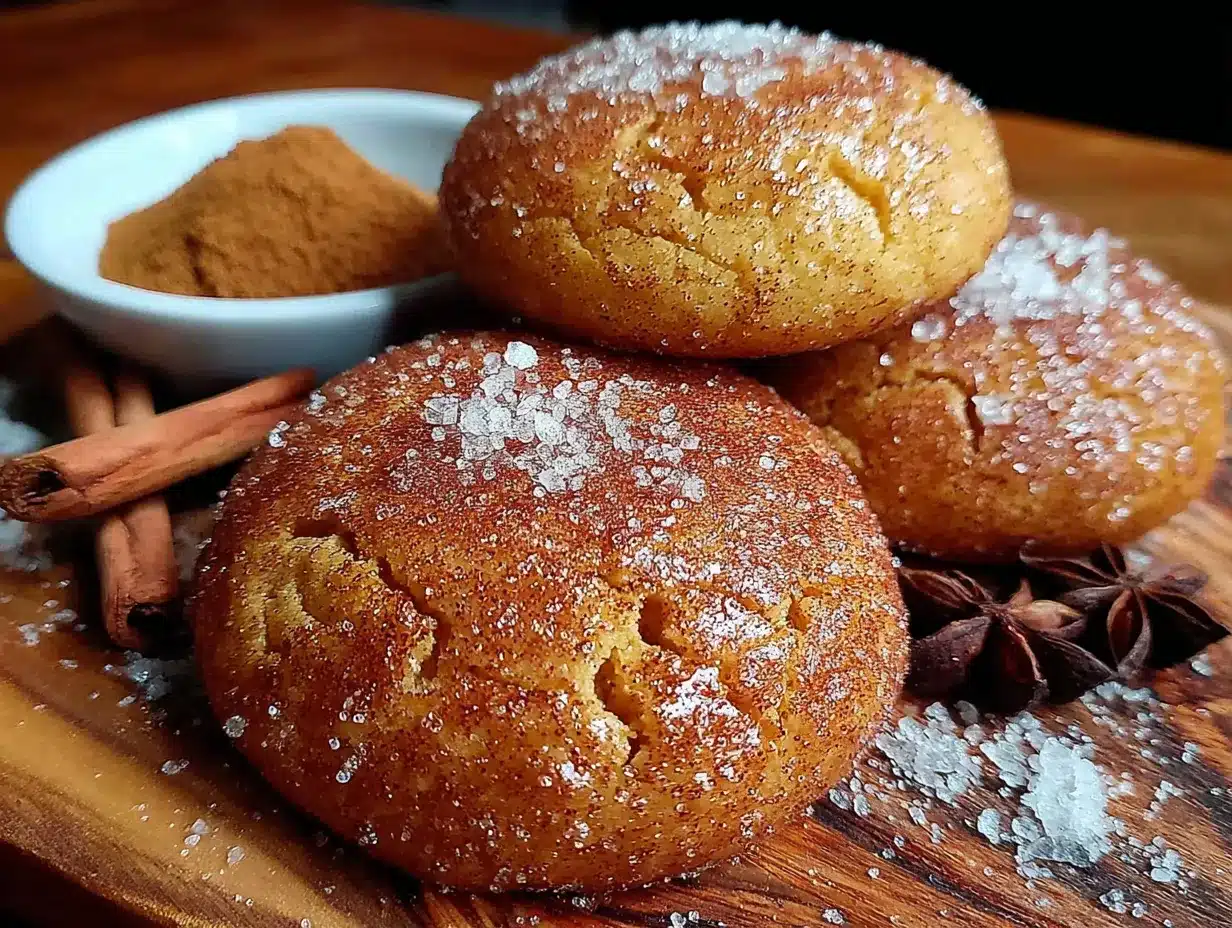
I went home with three different brands of pumpkin pie spice, a can of pumpkin puree, and what my husband called “that determined look.” Honestly, the first batch was a disaster — flat, crumbly, and about as cozy as a wet sock. But the second batch? Closer. The third batch made me tear up a little, because it was almost there. And this version, the one I’m sharing with you today, is the one that finally made me stop chasing a ghost and start making my own memory. These Cozy Pumpkin Snickerdoodle Cookies with Cinnamon Sugar are soft in the middle, slightly crisp on the edges, and coated in a cinnamon-sugar blanket that sticks to your fingers and your soul.
I keep making them because they work when nothing else does. Bad day? These cookies. First snow of the season? These cookies. Need to bring something to a friend’s house without looking like you tried too hard? You guessed it. They’re not fancy, and they’re not complicated. They’re just warm, spiced, and exactly what you need.
Why You’ll Love This Recipe
Let me tell you why these cookies have become my most-requested fall recipe. I’ve tested this probably a dozen times — tweaking the flour ratio, playing with the pumpkin amount, figuring out the perfect chill time — so you don’t have to. And I’ve got the flour-dusted kitchen counters and the burned-first-batch stories to prove it. Here’s what makes these cookies different from every other pumpkin cookie recipe out there:
- Soft and Chewy, Not Cakey — Most pumpkin cookies turn out like little orange cakes. Not these. The secret is blotting your pumpkin puree to remove excess moisture, which gives you a dense, tender cookie with that signature snickerdoodle chew.
- Simple Pantry Ingredients — You probably already have everything you need. No specialty flours, no obscure extracts, no running to three different stores. Just butter, sugar, pumpkin, flour, and spices.
- Perfect for Cozy Evenings — These cookies were made for cold weather, rainy afternoons, and those nights when you just want to curl up with something warm and sweet. They make your whole house smell like autumn.
- Crowd-Pleaser Status — I’ve brought these to potlucks, cookie swaps, and casual get-togethers. They disappear fast. Kids love the cinnamon sugar coating, and adults love the subtle pumpkin warmth that isn’t overpowering.
- Unbelievably Delicious — The texture is what gets everyone. That slight crackle on top from the cinnamon sugar, the soft center that gives just a little when you bite into it, the way the pumpkin and spices meld together — it’s next-level comfort food hiding in a simple cookie.
This isn’t just another pumpkin cookie recipe. It’s the one that makes you close your eyes after the first bite. It’s comfort food reimagined — familiar but better, cozy but not heavy. Perfect for impressing guests without stress, or turning a quiet Tuesday night into something memorable.
What Ingredients You Will Need
This recipe uses simple, wholesome ingredients to deliver big flavor without any fuss. Most of these are pantry staples, especially if you do any fall baking at all. Here’s what you’ll need and why each one matters:
For the Cookies
- Unsalted butter, softened — 1 cup (2 sticks, 226g). I prefer using unsalted so I can control the salt level. Let it sit out for about 30 minutes before starting; you want it soft but not melty.
- Granulated sugar — 1 cup (200g). Regular white sugar gives the cookies structure and helps them spread just the right amount.
- Light brown sugar, packed — ½ cup (100g). This adds moisture and a hint of molasses flavor that plays beautifully with the pumpkin.
- Pumpkin puree — ¾ cup (170g). Not pumpkin pie filling! Make sure you get 100% pure pumpkin. I like Libby’s for consistent results, but any brand works. Here’s the trick: blot your pumpkin puree between paper towels before using to remove excess water. This is non-negotiable for the right texture.
- Large egg — 1, at room temperature. Helps bind everything together and adds richness.
- Vanilla extract — 1 teaspoon. Use pure vanilla if you have it; it makes a real difference in the flavor depth.
- All-purpose flour — 2 ½ cups (312g). Spoon and level your flour — don’t scoop straight from the bag or you’ll end up with dry cookies.
- Cream of tartar — 2 teaspoons. This is the secret to the classic snickerdoodle tang and that soft, chewy texture. Don’t skip it!
- Baking soda — 1 teaspoon. Helps the cookies spread and rise just a little.
- Salt — ½ teaspoon. Balances the sweetness and enhances all the warm spices.
- Pumpkin pie spice — 1 ½ teaspoons. I use McCormick, but you can make your own by mixing cinnamon, nutmeg, ginger, and allspice.
- Ground cinnamon — 1 teaspoon. Adds that warm, familiar flavor that makes these cookies so comforting.
For the Cinnamon Sugar Coating
- Granulated sugar — ¼ cup (50g).
- Ground cinnamon — 2 tablespoons (16g). Yes, that’s a lot! But you want a generous coating that really shines.
Substitution notes: If you’re dairy-free, you can use vegan butter sticks (I like Earth Balance) — just make sure they’re softened properly. For a gluten-free version, swap the all-purpose flour with a 1:1 gluten-free baking flour blend that contains xanthan gum. I’ve tested this with King Arthur’s Measure for Measure and it works great. And if you don’t have cream of tartar, you can substitute with 1 teaspoon of lemon juice or white vinegar added to the wet ingredients — but honestly, the texture won’t be quite the same. Cream of tartar really is worth buying for this recipe.
Equipment Needed
You don’t need a fancy kitchen to make these cookies. Here’s what I use and what you can substitute if needed:
- Electric mixer — A stand mixer with the paddle attachment is ideal, but a hand mixer works perfectly fine. You could even do this by hand with a wooden spoon if you’re up for a workout.
- Large mixing bowls — You’ll need at least two: one for the wet ingredients and one for the dry.
- Baking sheets — Two standard half-sheet pans work great. If you only have one, just bake in batches and let the pan cool completely between rounds.
- Parchment paper or silicone baking mats — I prefer parchment paper for easy cleanup and consistent browning. Silicone mats work too, but cookies might spread slightly more.
- Cookie scoop — A 1.5-tablespoon scoop makes uniform cookies that bake evenly. If you don’t have one, use two spoons to portion the dough.
- Wire cooling rack — Essential for letting cookies cool properly so they don’t get soggy on the bottom.
- Paper towels — For blotting the pumpkin puree. This step is easy to forget but makes a huge difference.
- Plastic wrap — For chilling the dough. You can also use a reusable beeswax wrap if you’re trying to reduce waste.
I bought my cookie scoop at a kitchen supply store for about eight dollars, and it’s one of the best investments I’ve made for consistent baking. But honestly? A couple of spoons and a good eye work just fine.
Preparation Method
Let’s get to the good part. Here’s how to make these cookies step by step, with all the little tricks I’ve learned from making them more times than I can count.
- Blot the pumpkin puree. Spread your ¾ cup of pumpkin puree on a plate lined with a few layers of paper towels. Place another paper towel on top and press gently to absorb excess moisture. Let it sit while you prepare the other ingredients. This step is crucial — too much water in the pumpkin will make your cookies spread into flat, sad discs. You’ll be amazed at how much liquid comes out.
- Cream the butter and sugars. In a large mixing bowl, beat the softened butter, granulated sugar, and brown sugar together on medium speed for about 2-3 minutes, until light and fluffy. Scrape down the sides of the bowl halfway through. You want the mixture to look pale and airy — this incorporates air that helps the cookies rise properly.
- Add the wet ingredients. Beat in the egg, vanilla extract, and the blotted pumpkin puree. Mix on low speed until just combined. Don’t overmix here — you don’t want to develop too much gluten later. The mixture might look a little curdled at this point, and that’s totally normal. Trust the process.
- Combine the dry ingredients. In a separate bowl, whisk together the all-purpose flour, cream of tartar, baking soda, salt, pumpkin pie spice, and ground cinnamon. Whisking ensures everything is evenly distributed — you don’t want one cookie to get all the cinnamon while another gets none.
- Mix the wet and dry ingredients. Gradually add the dry ingredients to the wet mixture, mixing on low speed. Stop as soon as the flour disappears. A few streaks of flour are fine — you can fold those in by hand with a spatula. Overmixing at this stage will make your cookies tough.
- Chill the dough. This is the hardest part, I know. Cover the bowl with plastic wrap and refrigerate for at least 1 hour, or up to 24 hours. Chilling solidifies the butter, which prevents the cookies from spreading too much in the oven. It also allows the flavors to meld together. I’ve tested this with and without chilling, and the chilled dough always produces thicker, chewier cookies with better flavor.
- Preheat and prepare. About 15 minutes before you’re ready to bake, preheat your oven to 350°F (175°C). Line your baking sheets with parchment paper. Make the cinnamon sugar coating by mixing the ¼ cup granulated sugar and 2 tablespoons cinnamon in a small shallow bowl.
- Shape and coat the cookies. Scoop about 1.5 tablespoons of dough (I use my cookie scoop for this) and roll it into a ball between your palms. The dough will be slightly sticky but manageable. Roll each ball generously in the cinnamon sugar mixture, making sure it’s completely coated. Place the coated dough balls on the prepared baking sheets, spacing them about 2 inches apart. They’ll spread a little, but not too much.
- Bake. Bake for 10-12 minutes, rotating the pans halfway through. The cookies should look puffed and slightly cracked on top, with the edges just starting to set. The centers will look a little underdone — that’s exactly what you want. For softer cookies, bake closer to 10 minutes. For slightly crisper edges, go for 12.
- Cool properly. Let the cookies cool on the baking sheet for 5 minutes. This allows them to finish setting up without overbaking. Then transfer them to a wire rack to cool completely. If you try to move them too soon, they’ll fall apart. Trust me, I’ve learned this the hard way more than once.
Sensory cues to watch for: When you take the cookies out of the oven, they should be golden at the edges and pale in the center. The cinnamon sugar coating will have cracked slightly, creating that beautiful snickerdoodle look. Your kitchen will smell like autumn in a way that makes everyone wander in asking what you’re baking.
Cooking Tips & Techniques
After about six batches of trial and error, here are the things I wish someone had told me before I started:
Don’t skip the blotting step. I know it seems fussy, but pumpkin puree holds a surprising amount of water. If you skip this, your cookies will spread into thin, crispy discs instead of thick, chewy rounds. I blot mine on a paper-towel-lined plate and let it sit for a full 5 minutes. You’ll see the paper towels darken with moisture — that’s exactly what you want to remove.
Chill the dough for real. I once tried to rush this and baked after only 20 minutes of chilling. The cookies spread so much they merged into one giant cookie on the pan. A delicious giant cookie, sure, but not what I was going for. One hour minimum, and overnight is even better. The dough gets firmer and easier to handle, and the spices have time to deepen.
Use a cookie scoop for uniform sizes. This isn’t just about looks — cookies that are the same size bake at the same rate. If some are bigger and some are smaller, you’ll end up with burnt edges on the small ones before the big ones are done. My scoop cost less than ten dollars and it’s one of the most-used tools in my kitchen.
Rotate your pans halfway through. Most ovens have hot spots, and the back of the oven tends to be hotter than the front. Rotating your pans at the 5-minute mark ensures even browning. I set a timer on my phone so I don’t forget.
Let them cool on the pan. This was a hard lesson for me. I was so eager to eat them that I’d try to move the cookies right away, and they’d crumble into pieces. Those 5 minutes on the hot baking sheet are essential — the cookies continue to bake gently from the residual heat, and they firm up enough to be moved without breaking.
If your cookies spread too much, your dough might be too warm, or your butter might have been too soft. Pop the shaped dough balls back in the fridge for 15 minutes before baking. This little trick has saved many batches for me.
Variations & Adaptations
One of the best things about this recipe is how flexible it is. Here are some variations I’ve tried and loved:
Pumpkin Chocolate Chip Snickerdoodles. Fold in ¾ cup of semi-sweet chocolate chips after mixing the dough. The chocolate pairs beautifully with the warm spices, and my kids say this version is “the best cookie ever made.” High praise from a seven-year-old.
Gluten-Free Version. I tested this with King Arthur’s Measure for Measure gluten-free flour blend, and it worked beautifully. No one at my cookie swap could tell the difference. Just make sure your blend contains xanthan gum, which helps mimic the structure of gluten.
Vegan Adaptation. Use vegan butter sticks (not the spreadable kind in a tub) and a flax egg (1 tablespoon ground flaxseed mixed with 3 tablespoons water, let sit for 5 minutes). The texture is slightly less tender, but still delicious. I made these for a vegan friend’s birthday and they were gone in minutes.
Spice It Up. If you love a stronger spice flavor, add ¼ teaspoon of ground ginger and a pinch of ground cloves to the dough. I do this when I’m feeling like the cookies need a little extra warmth. It gives them a more complex, chai-like flavor profile.
Maple Glaze Drizzle. For an extra-special version, whisk together ½ cup powdered sugar, 2 tablespoons maple syrup, and 1 tablespoon milk (or non-dairy milk) until smooth. Drizzle over the cooled cookies. This turns them into a dessert that feels fancy enough for a holiday party but is still easy enough for a Tuesday night.
Pumpkin Snickerdoodle Ice Cream Sandwiches. Okay, this one is a little extra, but hear me out. Take two slightly underbaked cookies (bake for 9 minutes instead of 10), let them cool, then sandwich a scoop of vanilla or cinnamon ice cream between them. Roll the edges in crushed graham crackers or additional cinnamon sugar. It’s ridiculous and wonderful and perfect for a warm fall day.
Serving & Storage Suggestions
These cookies are best served slightly warm, when the cinnamon sugar coating is still a little melty and the centers are soft. But honestly, they’re delicious at room temperature too — I’ve been known to eat them straight from the cooling rack without any pretense of a plate.
What to serve with them: A cold glass of milk is the classic pairing, and for good reason. The creamy milk balances the warm spices perfectly. For a grown-up version, try them with a cup of hot chai tea or a spiced latte. I also love serving them alongside a scoop of vanilla bean ice cream for a simple but impressive dessert.
Storage instructions: Store the cookies in an airtight container at room temperature for up to 5 days. Place a slice of bread in the container — it will absorb excess moisture and keep the cookies soft. Replace the bread slice every couple of days if the cookies last that long (they never do in my house).
Freezer instructions: These cookies freeze beautifully. You have two options: freeze the baked cookies in a single layer on a baking sheet, then transfer to a freezer bag for up to 3 months. Thaw at room temperature for about 30 minutes. Or freeze the unbaked dough balls on a baking sheet, then transfer to a freezer bag. Bake from frozen, adding 2-3 minutes to the baking time. This is my favorite method — I always keep a bag of dough balls in the freezer for emergencies.
How flavors develop: These cookies actually taste better the next day. The spices have time to meld and mellow, and the texture softens slightly. If you can resist eating them all on day one, you’ll be rewarded on day two. I’ve also found that they make excellent cookie crumbs for topping yogurt or ice cream after a few days.
Nutritional Information & Benefits
Let’s be real — these are cookies, not health food. But they do have some redeeming qualities. Here’s the estimated nutritional breakdown per cookie (based on 24 cookies):
| Nutrient | Amount |
|---|---|
| Calories | 165 |
| Total Fat | 8g |
| Saturated Fat | 5g |
| Cholesterol | 28mg |
| Sodium | 95mg |
| Total Carbohydrates | 22g |
| Dietary Fiber | 1g |
| Sugars | 13g |
| Protein | 2g |
The good stuff: Pumpkin is packed with vitamin A (great for eye health and immune function) and fiber. The cinnamon in the coating has anti-inflammatory properties and may help regulate blood sugar. And let’s not forget the emotional health benefits — there’s something genuinely therapeutic about the process of baking and sharing cookies with people you love.
Dietary considerations: This recipe contains gluten, dairy, and eggs. For gluten-free and vegan options, see the variations section above. These cookies are nut-free as written, making them safe for school bake sales and parties where allergies might be a concern.
My personal take? I believe in balance. These cookies are a treat, and treats are meant to be enjoyed without guilt. One cookie with your afternoon tea won’t derail anything — it might just make your day a little brighter.
Conclusion
These Cozy Pumpkin Snickerdoodle Cookies with Cinnamon Sugar have become my fall baking tradition, and I hope they become yours too. They’re the cookies I make when I want to fill my house with the smell of cinnamon and warmth. They’re the cookies I bring to friends who need a little cheering up. And they’re the cookies I reach for on cold, rainy evenings when nothing else will do.
What I love most about this recipe is how forgiving it is. You can make it your own — add chocolate chips, drizzle with glaze, double the cinnamon, or keep it simple. The base recipe is solid, and it welcomes your personal touch. That’s the kind of recipe worth keeping.
I’d love to hear how these turn out for you. Did you add your own twist? Did you bake them for a special occasion? Drop a comment below and let me know — I read every single one, and your stories and photos make my day. And if you’re feeling generous, share this recipe with someone who needs a little cozy in their life right now.
Happy baking, friends. May your kitchen smell like cinnamon and your heart feel full.
Frequently Asked Questions
Can I use pumpkin pie filling instead of pumpkin puree?
No, please don’t. Pumpkin pie filling is already sweetened and spiced, which will throw off the sugar and spice balance in this recipe. Stick with 100% pure pumpkin puree for the best results. I learned this the hard way when I grabbed the wrong can and ended up with cookies that were way too sweet and oddly spiced.
Why did my cookies turn out flat?
This usually happens for one of three reasons: the dough wasn’t chilled long enough, the butter was too soft, or you didn’t blot the pumpkin puree. Make sure you chill the dough for at least an hour, use butter that’s softened but not melty, and blot that pumpkin! If your first batch spreads too much, try chilling the shaped dough balls for 15 minutes before baking the next batch.
Can I make the dough ahead of time?
Absolutely. The dough can be refrigerated for up to 3 days in an airtight container. In fact, the flavor improves with time. You can also freeze the dough balls for up to 3 months — just bake from frozen and add 2-3 minutes to the baking time. This is my favorite way to have fresh cookies on demand.
Do I have to use cream of tartar?
Yes, for the classic snickerdoodle texture and tang. Cream of tartar is what gives snickerdoodles their signature soft, chewy texture and slightly tangy flavor. If you don’t have it, you can substitute with 1 teaspoon of lemon juice or white vinegar added to the wet ingredients, but the texture won’t be quite the same. I recommend picking up a jar — it lasts forever and you’ll use it for other recipes too.
How do I know when the cookies are done baking?
Look for these signs: the edges should be set and lightly golden, the tops should look puffed and slightly cracked, and the centers should still look a little soft and underdone. They’ll continue to bake on the hot pan for the 5 minutes you let them cool. If you’re unsure, err on the side of underbaking — slightly underdone cookies are delicious, but overbaked ones are dry and crumbly.
Pin This Recipe!
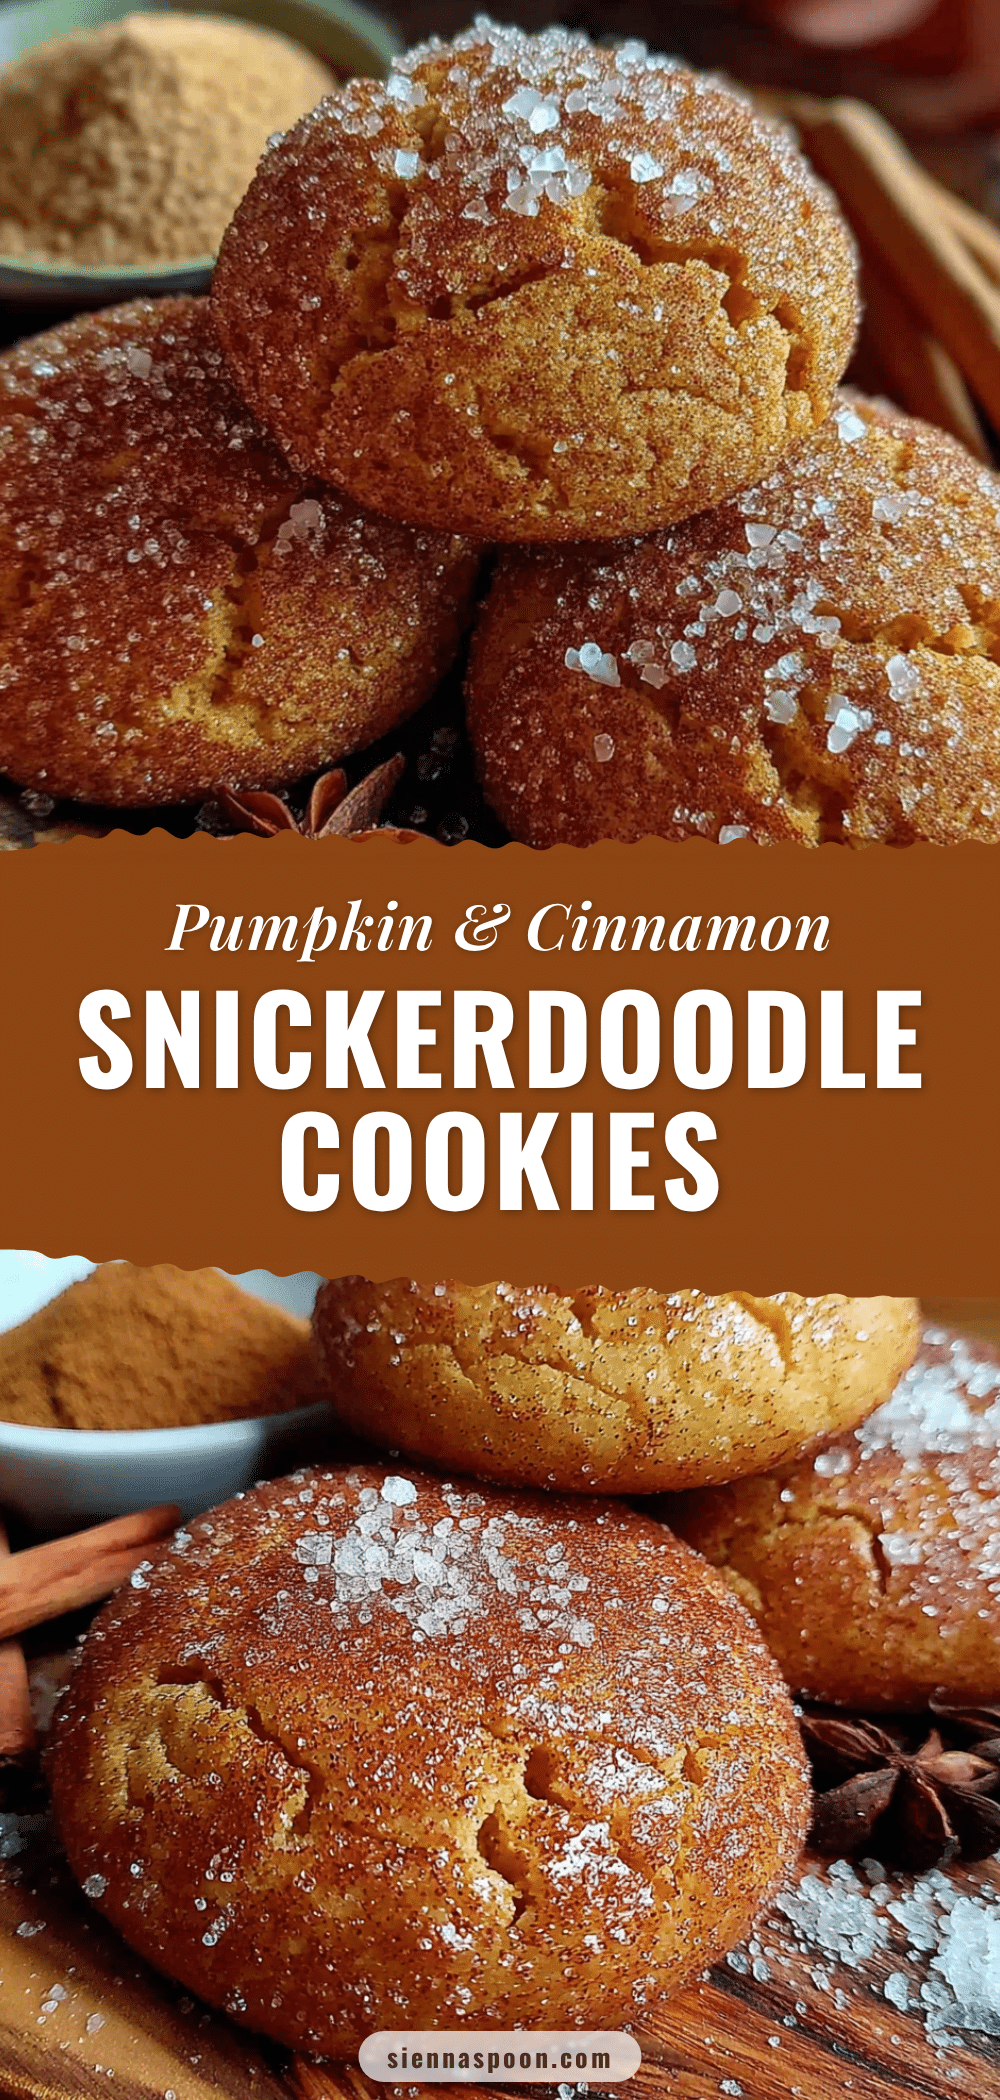
Cozy Pumpkin Snickerdoodle Cookies with Easy Cinnamon Sugar
Soft and chewy pumpkin snickerdoodle cookies coated in a generous cinnamon-sugar blanket. Made with simple pantry ingredients, these cozy cookies are perfect for fall evenings and crowd-pleasing occasions.
- Prep Time: 15 minutes
- Cook Time: 12 minutes
- Total Time: 1 hour 27 minutes (includes 1 hour chilling)
- Yield: 24 servings 1x
- Category: Dessert
- Cuisine: American
Ingredients
- 1 cup (2 sticks, 226g) unsalted butter, softened
- 1 cup (200g) granulated sugar
- ½ cup (100g) light brown sugar, packed
- ¾ cup (170g) pumpkin puree, blotted
- 1 large egg, at room temperature
- 1 teaspoon vanilla extract
- 2 ½ cups (312g) all-purpose flour
- 2 teaspoons cream of tartar
- 1 teaspoon baking soda
- ½ teaspoon salt
- 1 ½ teaspoons pumpkin pie spice
- 1 teaspoon ground cinnamon
- ¼ cup (50g) granulated sugar (for coating)
- 2 tablespoons (16g) ground cinnamon (for coating)
Instructions
- Blot the pumpkin puree: Spread ¾ cup pumpkin puree on a plate lined with paper towels. Place another paper towel on top and press gently to absorb excess moisture. Let sit while preparing other ingredients.
- Cream the butter and sugars: In a large mixing bowl, beat softened butter, granulated sugar, and brown sugar together on medium speed for 2-3 minutes until light and fluffy. Scrape down sides halfway through.
- Add the wet ingredients: Beat in the egg, vanilla extract, and blotted pumpkin puree on low speed until just combined. Mixture may look slightly curdled.
- Combine the dry ingredients: In a separate bowl, whisk together flour, cream of tartar, baking soda, salt, pumpkin pie spice, and ground cinnamon.
- Mix wet and dry ingredients: Gradually add dry ingredients to wet mixture, mixing on low speed until just combined. Fold in any remaining flour streaks by hand with a spatula.
- Chill the dough: Cover bowl with plastic wrap and refrigerate for at least 1 hour, or up to 24 hours.
- Preheat and prepare: About 15 minutes before baking, preheat oven to 350°F (175°C). Line baking sheets with parchment paper. Mix ¼ cup granulated sugar and 2 tablespoons cinnamon in a small shallow bowl.
- Shape and coat cookies: Scoop about 1.5 tablespoons of dough, roll into a ball, then roll generously in cinnamon sugar mixture. Place on prepared baking sheets 2 inches apart.
- Bake: Bake for 10-12 minutes, rotating pans halfway through. Cookies should look puffed and slightly cracked on top with edges just set.
- Cool properly: Let cookies cool on baking sheet for 5 minutes, then transfer to a wire rack to cool completely.
Notes
Don’t skip blotting the pumpkin puree to remove excess moisture. Chilling the dough for at least 1 hour is essential for thick, chewy cookies. For softer cookies, bake closer to 10 minutes; for crisper edges, bake 12 minutes. Cookies taste even better the next day as flavors meld.
Nutrition
- Serving Size: 1 cookie
- Calories: 165
- Sugar: 13
- Sodium: 95
- Fat: 8
- Saturated Fat: 5
- Carbohydrates: 22
- Fiber: 1
- Protein: 2
Keywords: pumpkin snickerdoodle, pumpkin cookies, snickerdoodle cookies, fall cookies, cinnamon sugar cookies, soft pumpkin cookies


